Potato, Leek and Kale Soup

So Mike has bronchitis. He’s not thrilled, for obvious reasons, but also because he’s been sick straight through some of the nicest days we’ve had in months.

The sun is out, the temperatures are steadily warming up, and there are legitimate flowers growing in our yard. It’s amazing! And on nights like we’ve been having, I naturally gravitate toward the grill. Except when my husband is sick. On nights like THAT, I gravitate toward soup.

Leek Soup (8)

There’s been a leek in our fridge for more than a week, and unlike my interaction with most vegetables, I was kind of stumped on how to use it, and had forgotten why I bought it in the first place.

I know when people are sick, chicken noodle soup is the natural go-to, but I decided to switch it up and make a creamy potato leek soup – completely vegetarian, and completely daily and gluten free.

Leek Soup (1)

What You Need:

  • One large leek, top layer and leaves removed, sliced
  • 4-5 small to medium yellow potatoes, quartered (you can peel them if you want – I didn’t)
  • 3 cloves garlic, chopped
  • 1/2 yellow onion, roughly chopped
  • 3-4 cups kale, chopped
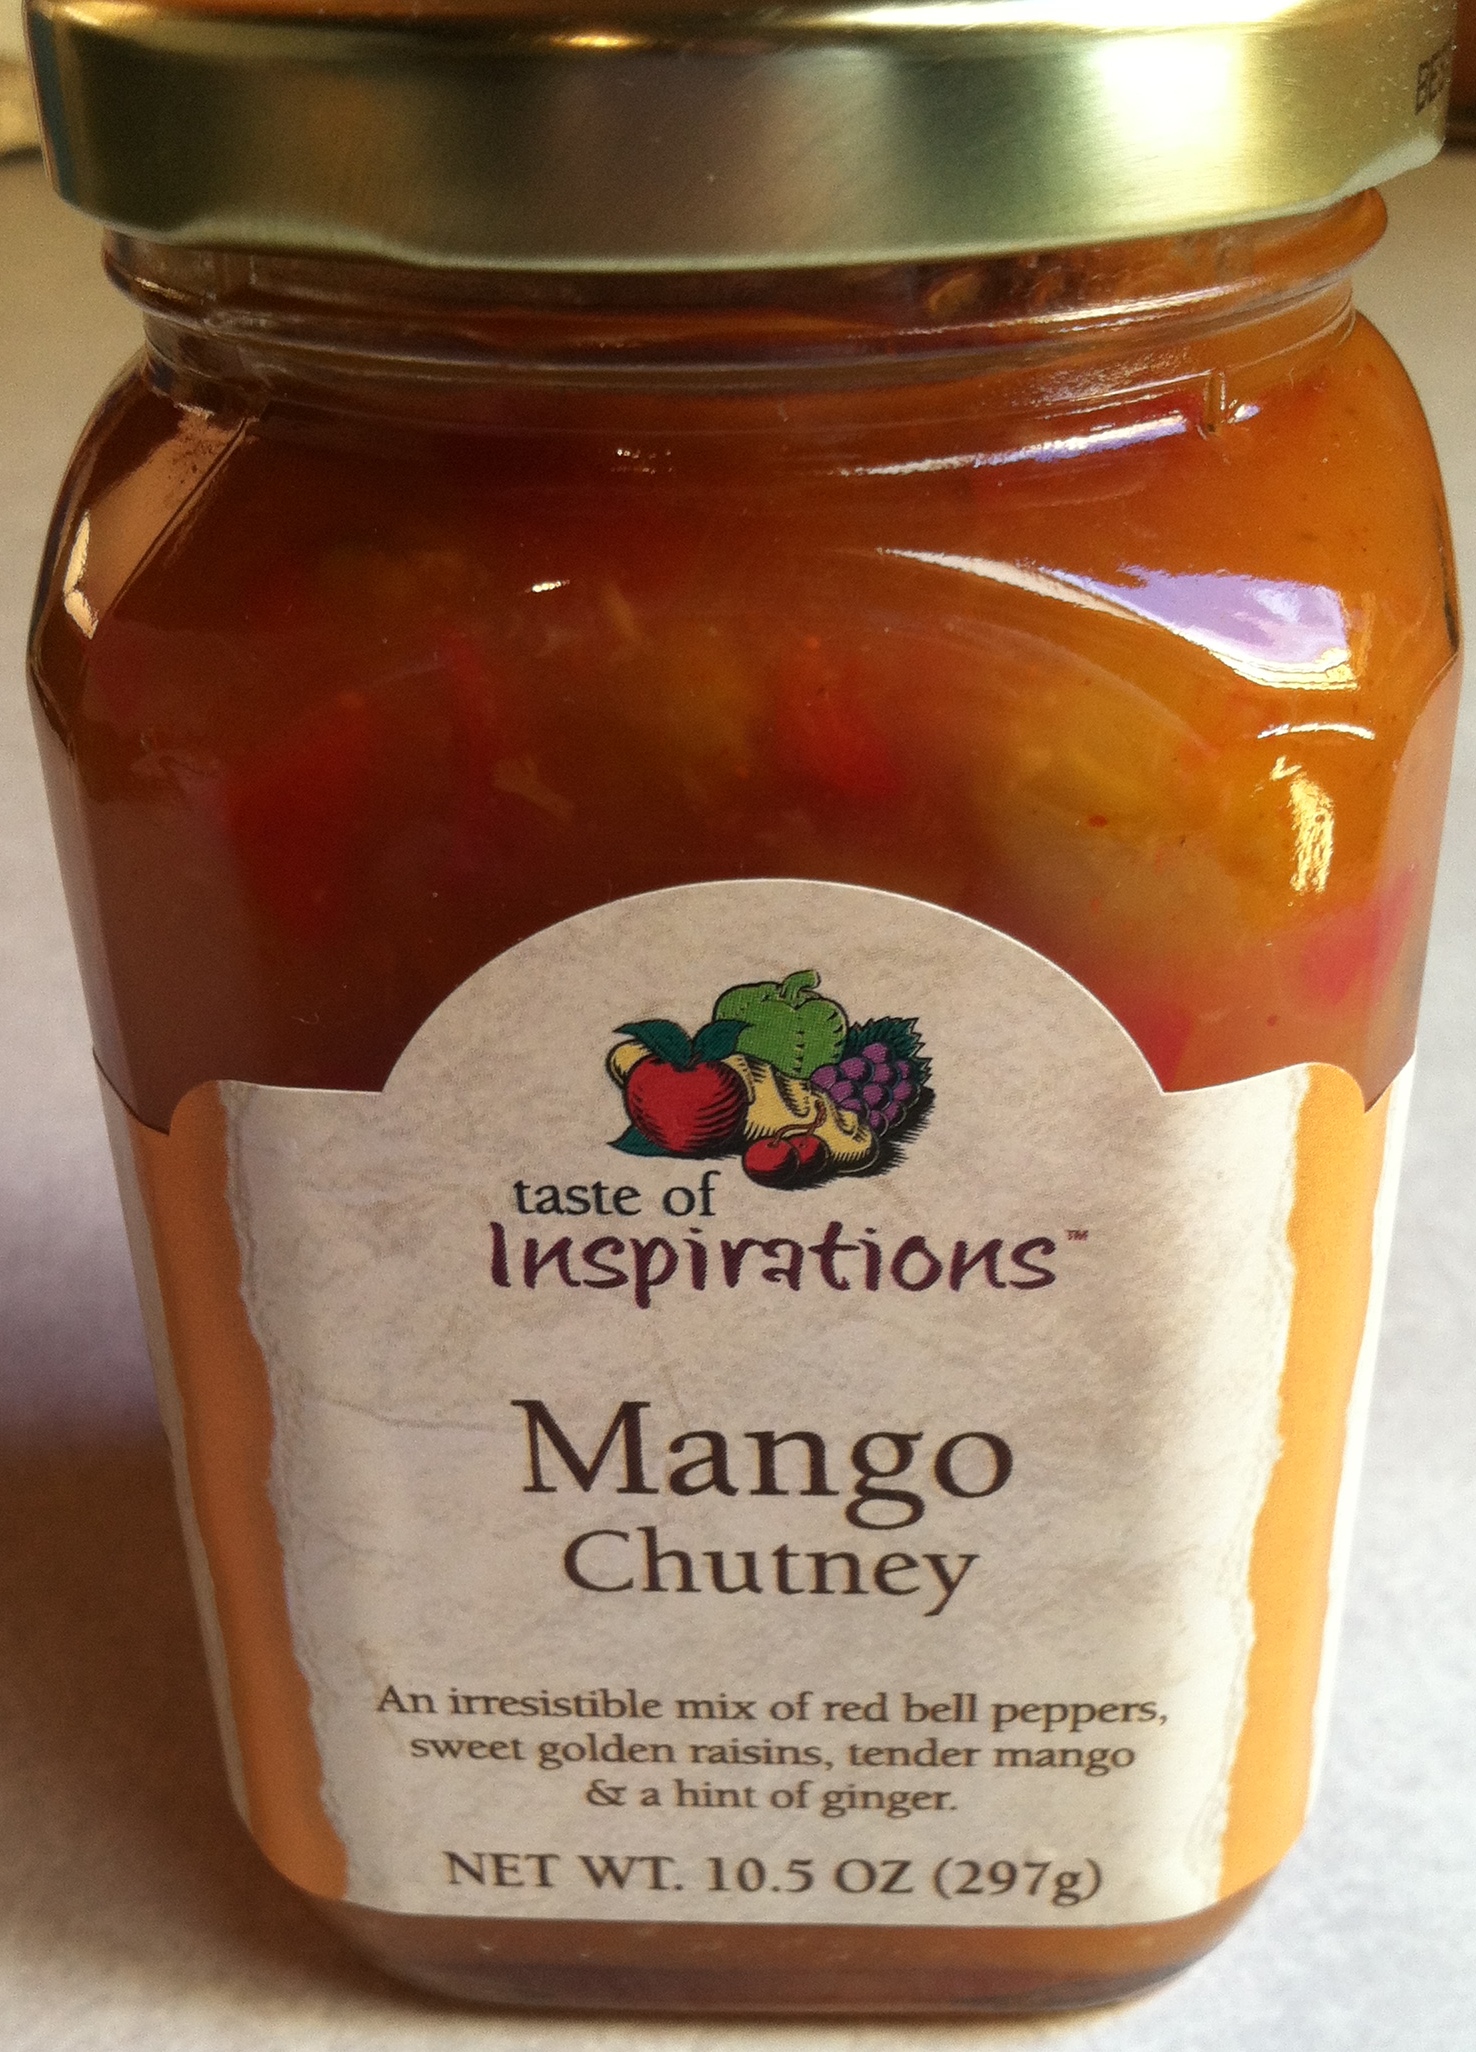
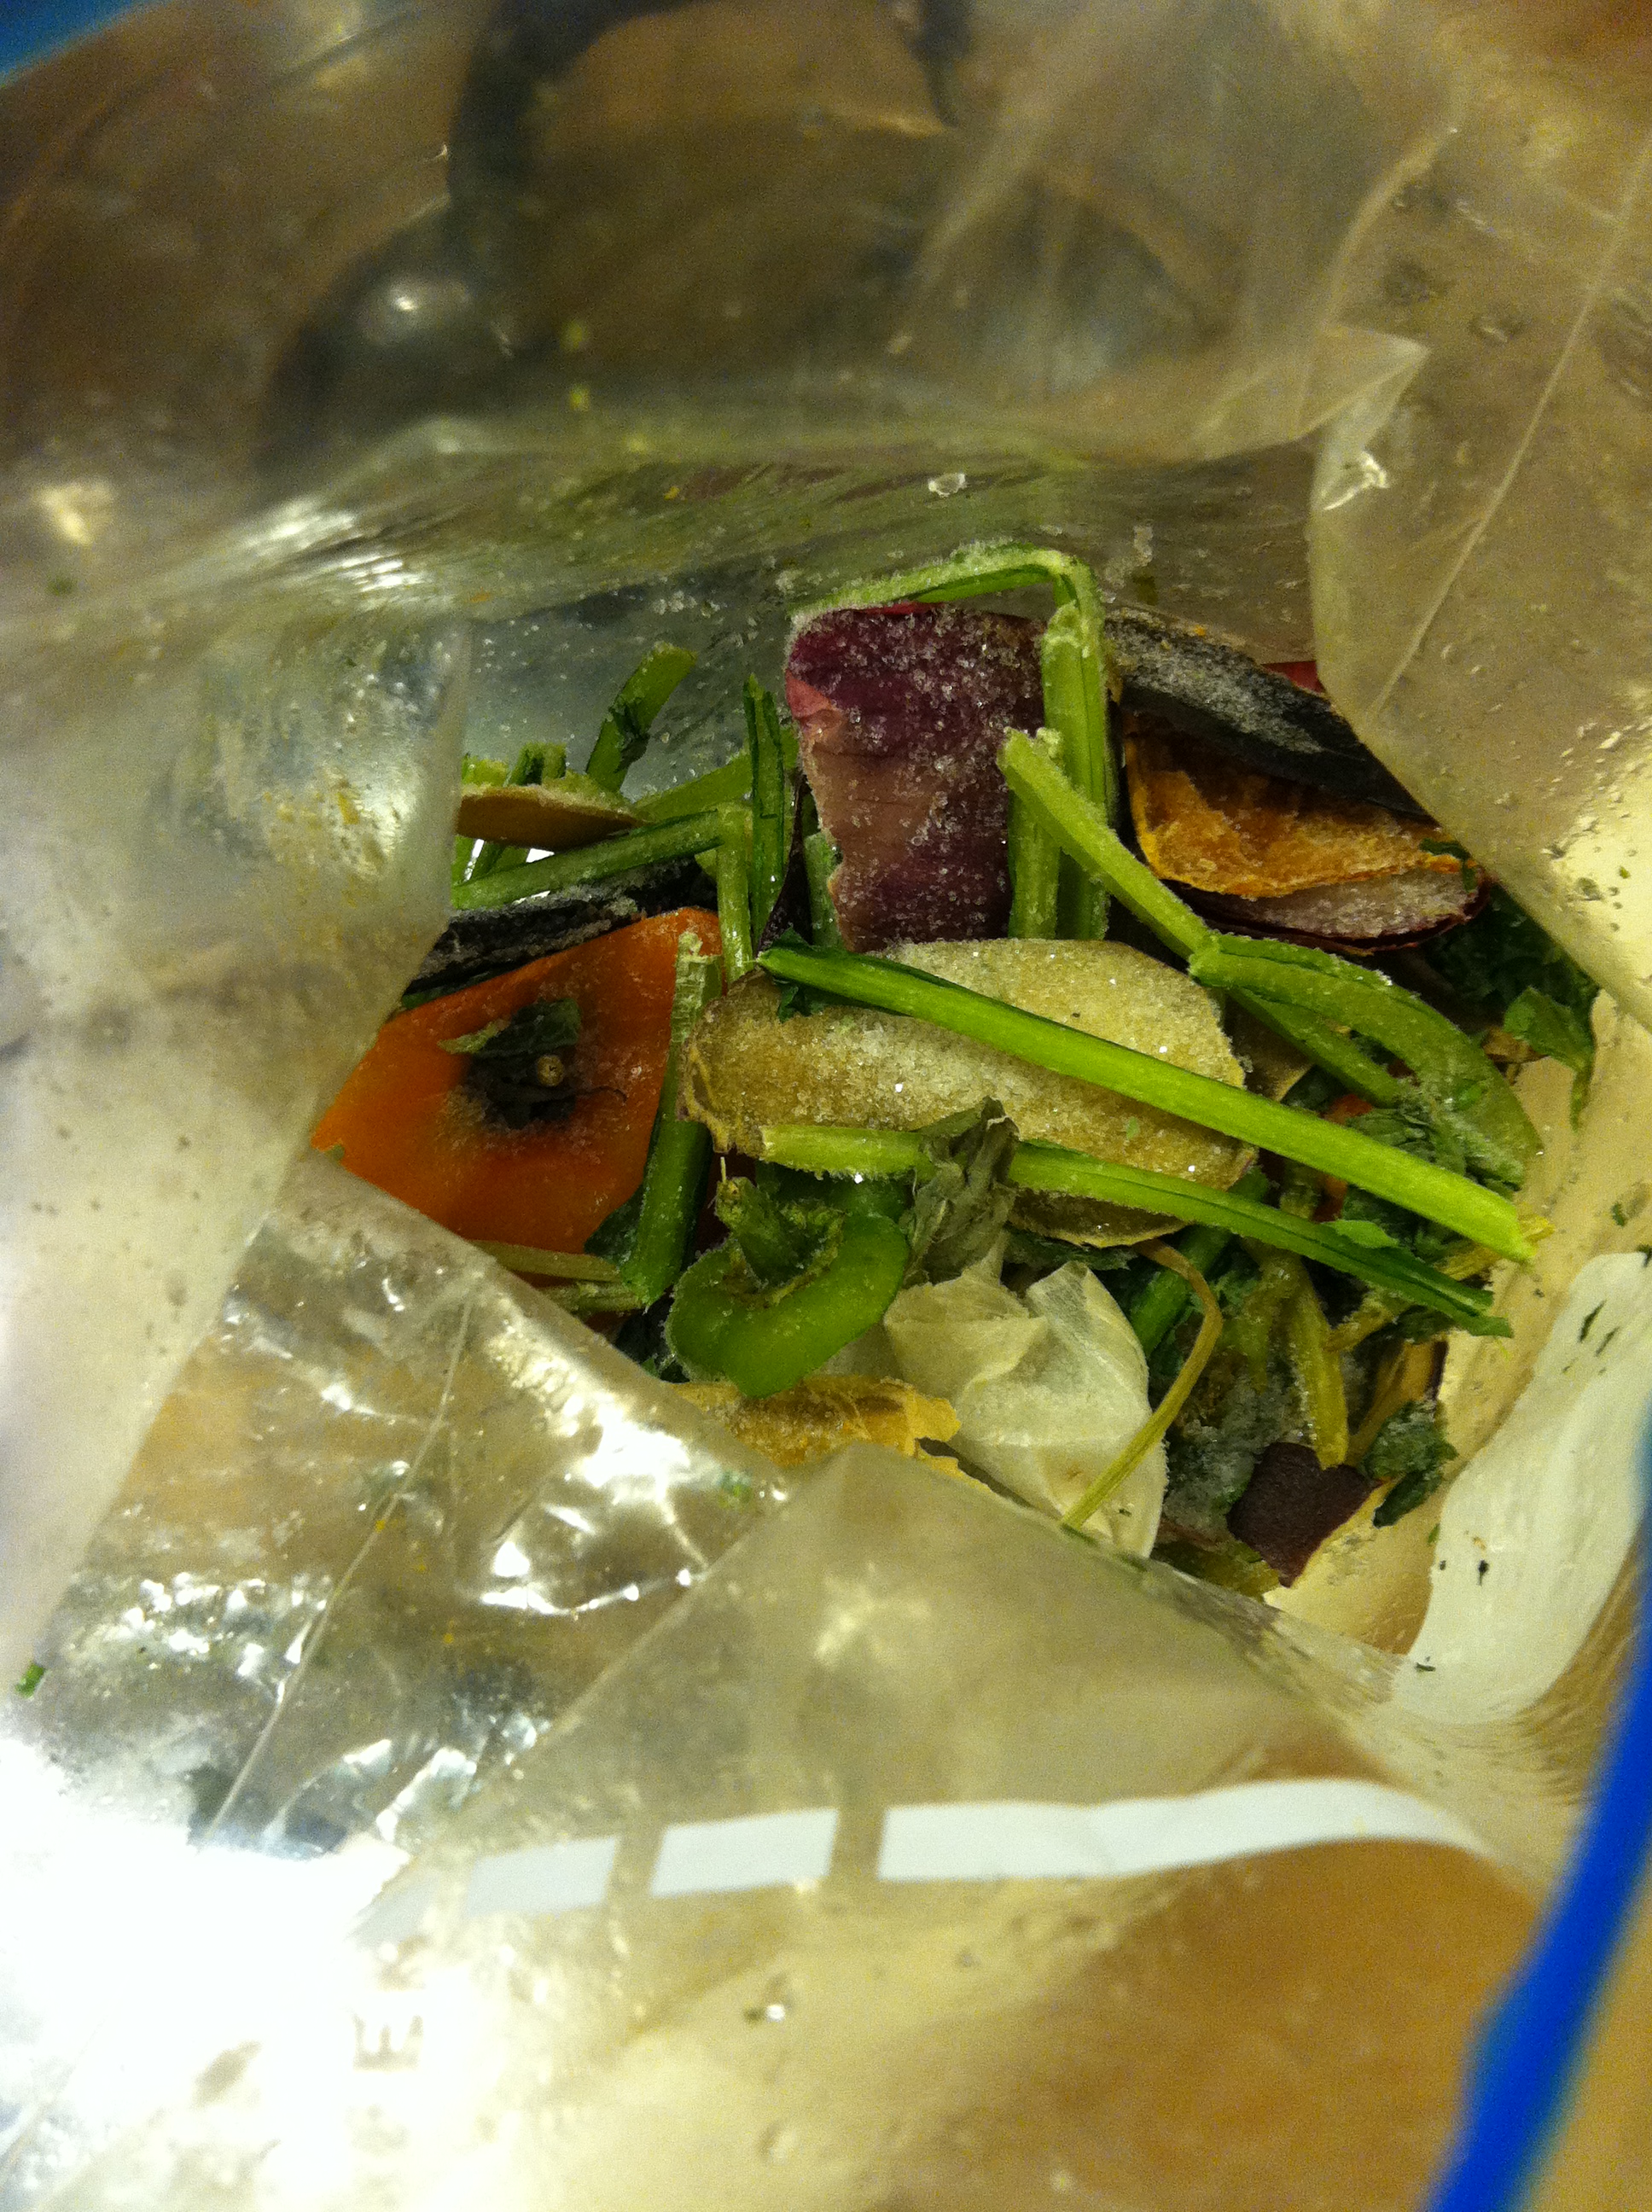
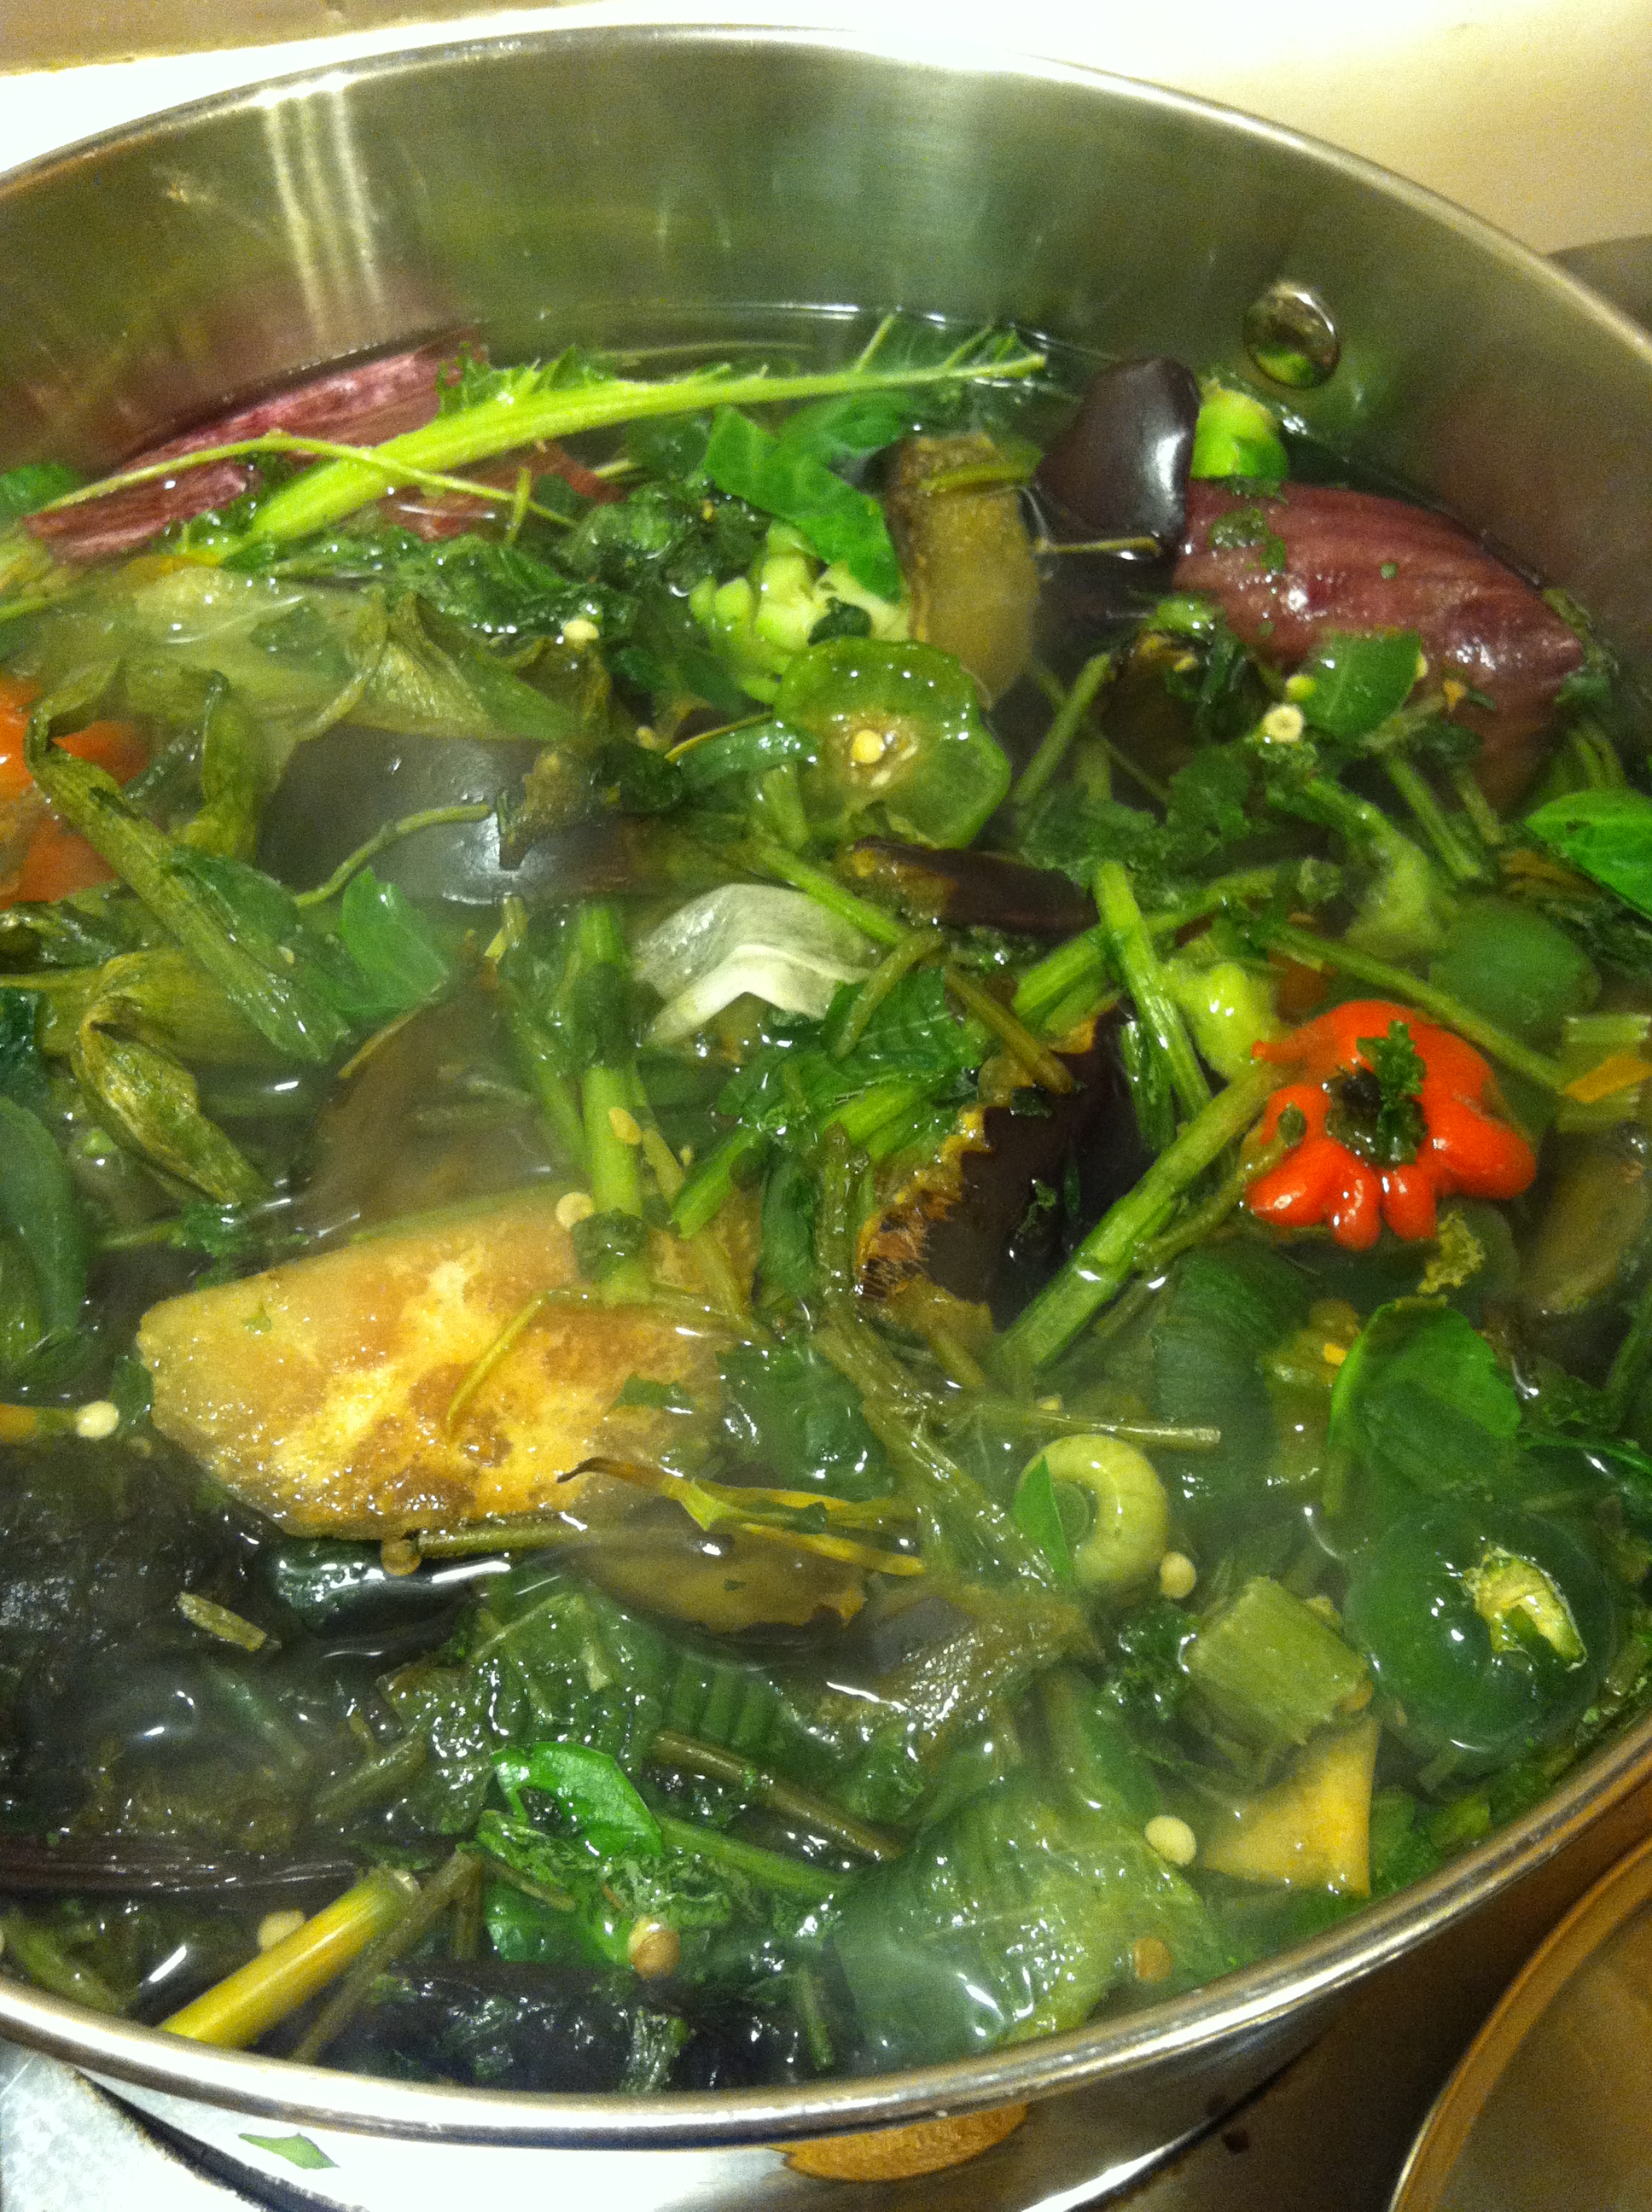
  • 3 cups vegetable broth (I got mine this way)
  • 1/3 cup almond or soy milk
  • 2 tbsp olive oil
  • 1 tbsp ground black pepper

What You Do: Leek Soup (5)

Fill a large saucepan halfway with water and bring to a boil. Add the potatoes and cook at a slow boil for about 30 minutes or until soft.

Drain the potatoes into a strainer and set aside.

Leek Soup (2) 
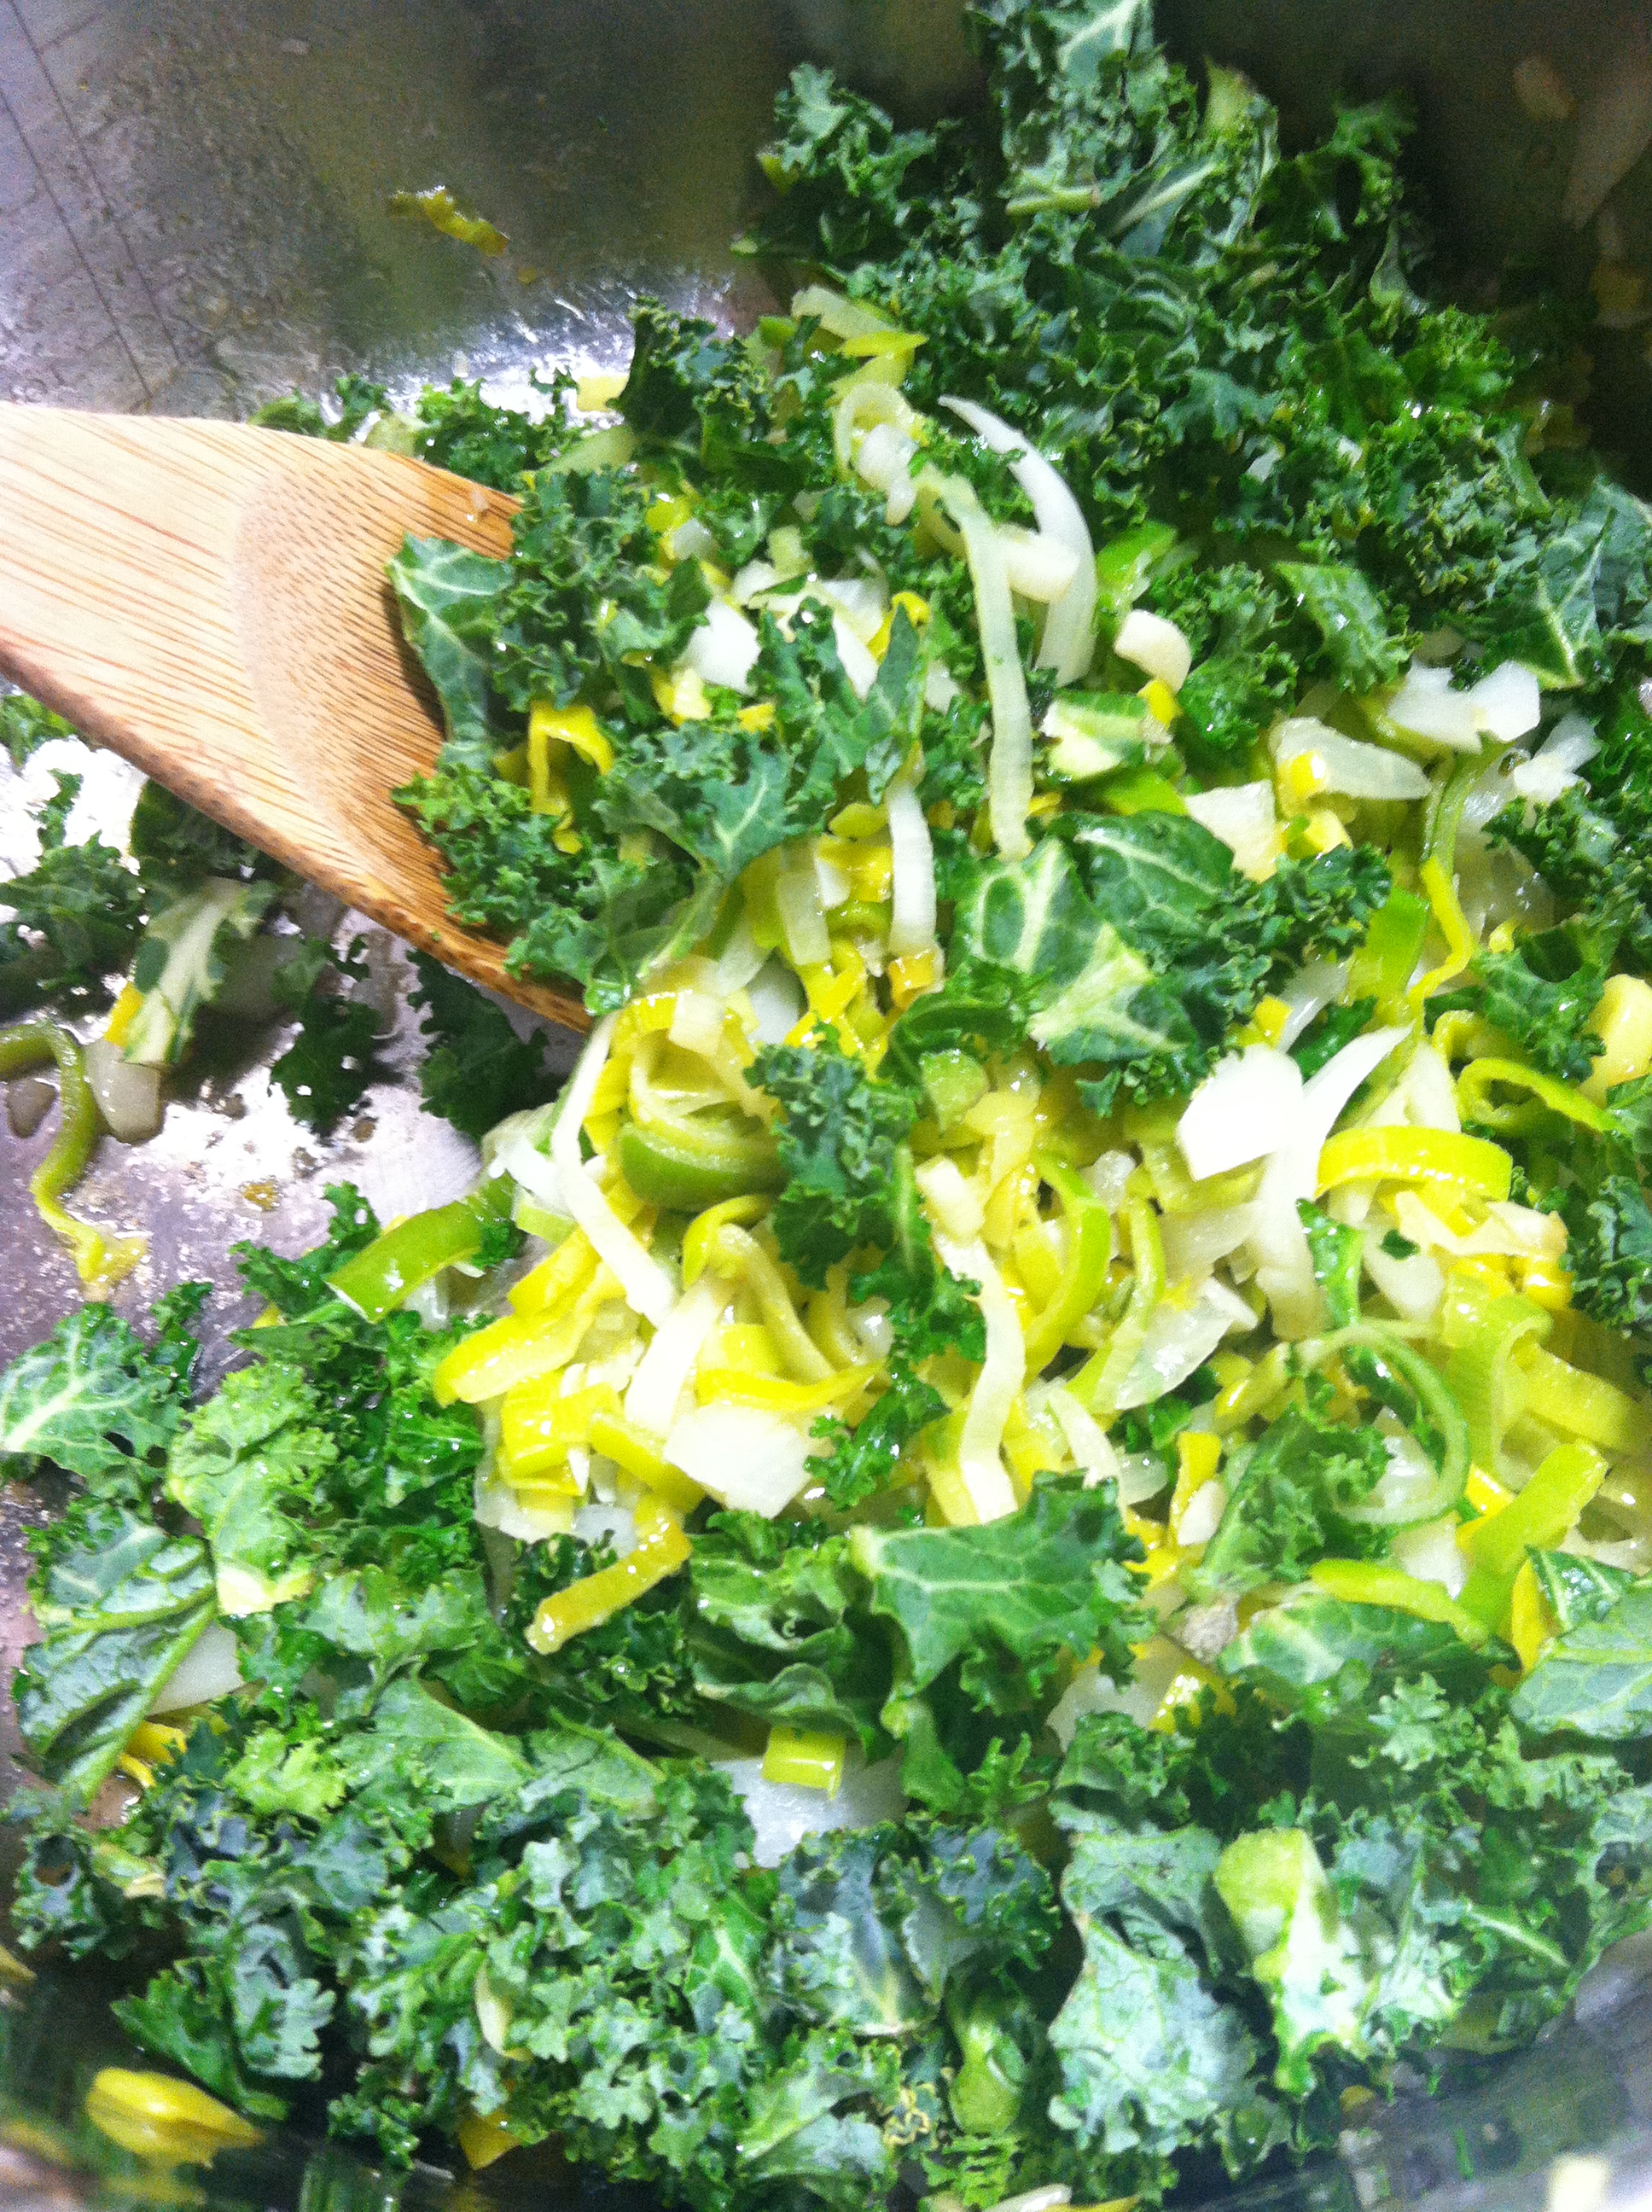
In the same saucepan, heat oil on medium. Add sliced l  leeks, chopped onion and chopped garlic and simmer for  about 20 minutes. Add the chopped kale about halfway  through (after about 10 minutes) and simmer all until soft  and kale has reduced.

Add the potatoes and stir. Then add the vegetable broth  and bring the mixture to a slow boil.

Add the black pepper and stir. Remove from heat.

Pour the mixture into a food processor. If you like your soup chunkier like I do, pulse  until just blended. If you want a smoother soup, blend for longer until creamy.

Add the soup back into the saucepan. Add the almond or soy milk (or any milk of your choice) and stir.

It’s ready to serve!

Leek Soup (10)


Pro Tip: Make this soup a little spicy (you know I did) by adding a hot pepper of your choice into the mixture, or simply sprinkling some crushed red pepper on the soup once it’s ready to serve.

Signs of Spring: The birth (literally) of my future vegetable garden

Like pretty much everyone who lives in the northeast, I’ve been whining and complaining about this never-ending winter, balking at the temperatures that have dropped hopelessly into the 30s and stubbornly remained there, and – on several occasions – wearing flats despite there being actual snow on the ground.

A girl can dream, even at the expense of freezing cold feet.

But today – a glimmer of hope! No matter how many springs come and pass, I will always be uplifted and captivated by a baby bud. It has to be one of the most hopeful things to witness in life. A teeny tiny seed, buried in dirt, GROWING into SOMETHING.

seeds2

I’m thrilled.

I grow vegetables every year, and since Mike and I now own a house and I have FREE REIGN over this great yard, I am rolling with it. I’m also trying something new – planting flowers! I was inspired by my best friend Kate, who is amazing at gardening and has turned her rental property into a really amazing landscape. Just to clarify – she rents the property, so she truly does this out of a love of gardening. It’s awesome. (I will have to share photos once her flowers bloom. She has a planting plan diagrammed out like the White House).

seeds3


I started with peppers, lettuce, tomatoes, radishes, beets, spaghetti squash, cucumber, and two kinds of peas. This week I’ll move on to hot peppers and some awesome looking flowers to really beautify the yard. It’s all so exciting!!

Even if it doesn’t FEEL like spring around here yet, I am enjoying my own personal spring beginnings in my home. I can’t wait to see how they all progress!

seeds1

Jasmine Rice and Cooked Vegetables = Super Fast Lunch Recipe

I made this dish during my lunch break when I was supposed to be walking Madison. So it teaches us two things:

  1. It is a super fast and easy dish
  2. I chose food over my dog this week

(To be fair, she did get to sit outside the entire time and never fear – I did walk her after work).

chutney (2)

I made the decision to turn my lunch break in a small cooking adventure because when I opened the fridge to forage for scraps in my frantic state of mid-work-day hunger, I found myself face to face with this:

chutney4

I do not know what it is about this mango chutney from our local Hannaford supermarket that I love so much, but I do love it. It’s sweet and fruity with a little spice, and goes so perfectly with rice that sometimes I forget there is more to a meal than rice and a heaping dollop of chutney.

So, between 12:15 and 1pm I made this super simple dish using Jasmine Rice (my personal fav type of rice) as the base and then literally any veggie that happened to be available in my fridge.

What You Need:

  • 1 cup Jasmine Rice
  • 1 1/2 cup water
  • A bunch of random vegetables, chopped (this is completely at your discretion – anything goes! I used sweet potato that I put through the food processor, onions, red and green bell peppers and one jalapeno for some zing)
  • Any kind of chutney (although as you know I highly recommend mango)

What You Do:

Chop the veggies, and heat, covered, in an oiled pan slowly over low-medium heat.

While the veggies are cooking, make the rice. If you are not using Jasmine rice, follow the directions for whatever rice you’re using. If you choose Jasmine rice, boil the water and rice together, then lower the temperature to simmer, covered, until the water has cooked off.

Plop the rice on a plate, and cover with a heaping portion of veggies. Add some chutney on the side for dipping (also your choice – any sauce or spices will also suffice) and enjoy!

chutney (3)

Pro Tip: Add a protein like tofu or chicken to make it a complete dish!

Spaghetti Squash with Homemade Tomato Sauce

IMG_3613

You will never need to eat pasta again. Ever.

I’m serious. And I’m Italian. So this goes against everything my people believe but I’m sticking to it.

IMG_3615

When I would see recipes for spaghetti squash, I tossed them aside, figuring it was just a weird stringy food that could never take the place of my beloved whole wheat spaghetti. But I came across a large spaghetti squash at a farmer’s market this winter and talked to the farmer about it. He couldn’t believe I’d never made one before.

When people who grow food for a living tell me that I “have to try” something, I don’t take it lightly. I took that sucker home, and cooked it up following his (suspiciously simple) directions.

Well first of all, I felt like a food genius. I brought Mike in to see the cooked squash in action.

“Check this out!” I told him, gently plying away the spaghetti-like layers of sweet smelling squash with a fork. I know he was impressed. Who wouldn’t be?

IMG_3594

And second of all, it isn’t some weird stringy food. It’s great. Drenched in homemade tomato sauce, it’s almost like eating actual spaghetti, except with fewer calories and carbs. And one spaghetti squash makes quite a bit of food, and is one of those leftovers that makes the early part of my workday a time where I am simply waiting to eat.

Preheat oven to 450F

What You Need:

  • A spaghetti squash (1-2 pounds)
  • Tomato sauce. For a great homemade recipe that you can make simultaneously with the squash (efficiency!!!!) use this recipe.

What You Do:

Halve the spaghetti squash lengthwise from the stem to the bottom. Scoop out the seeds and extra stuff.

Place the halves insides down on a baking sheet (you can put foil under them if you want to make the cleanup easier).

**You do not need to use any oil! The squash produces liquid while it bakes and will not stick.**

Bake for about 40 minutes or until the skin starts to pucker and brown. You will also see liquid start to seep out around the base of the squash. You may also see the juices start to caramelize around the base of the squash – this is totally ok and really enhances the flavor. But that also means it’s time to take it out of the oven.

With a fork, gently separate the stringy squash layers from the skin and scoop onto your plate or into a bowl.

Cover in tomato sauce and freshly shredded Parmesan and enjoy!

IMG_3615

Pro Tip: You can save the skins and reuse them for in a homemade vegetable broth! Simply freeze them in a large bag with other vegetable cooking scraps until you need to make your broth!

Ready for Anything Homemade Vegetable Broth

Do you ever feel a little bad about all the vegetable scraps that pile up while you’re preparing a meal? Onion peels (are they called peels?), the tops/stems of peppers, tomatoes, eggplants, broccoli and squashes – it’s a crazy amount of food in the end that you aren’t using in the actual recipe!

I did eventually start a vermicycle compost bin, which is a HUGE help, but one thing I love to do with these veggie scraps is use them again for my own personal mealtime gain before feeding them to the compost worms.

This vegetable broth recipe is a super simple solution to that problem that basically produces an entirely new meal AND will help you feel less wasteful. A win-win!

photo 1 (3)

Store all of your vegetable scraps in the freezer in a gallon-size bag and simply continue adding to it each time you cook. Then, whenever you need vegetable broth for cooking, all you need to do is follow these easy steps and you’ll have at-the-ready homemade broth.

                photo 2 (3)                                                    photo 3 (1)

What You Do:

  1. Boil a large pot of water
  2. Put a good amount of the frozen veggies directly into the boiling water
  3. Boil down until the veggies are soft and the water is visibly broth-like. Add salt or pepper if desired.
  4. Drain the water through a strainer directly into another large pot and it’s ready!

Pro Tip: Eliminate a step and make your dinner prep easier by making the broth ahead of time and freezing it. Then you can just defrost and use! (This photo is not great but this is a half-gallon container and I filled two with just one pot. Win!)

photo 4 (1)