I’ve mentioned before that I use my food scraps to feed squirmy little worms that live in a plastic bin in my backyard.

I have a special little affinity for these guys. I talk to them, and I care about their diet. If I feel like I’m giving them too many onion-heavy feedings, I change up dinner for a few weeks to try out some new foods. (I do like onions, and although the worms don’t really have brains, I feel like they know it).
Anyways, you too can have little worm friends in your backyard! Or wherever you want to keep them. Here’s how you make a worm bin, or vermicycle compost bin for yourself!
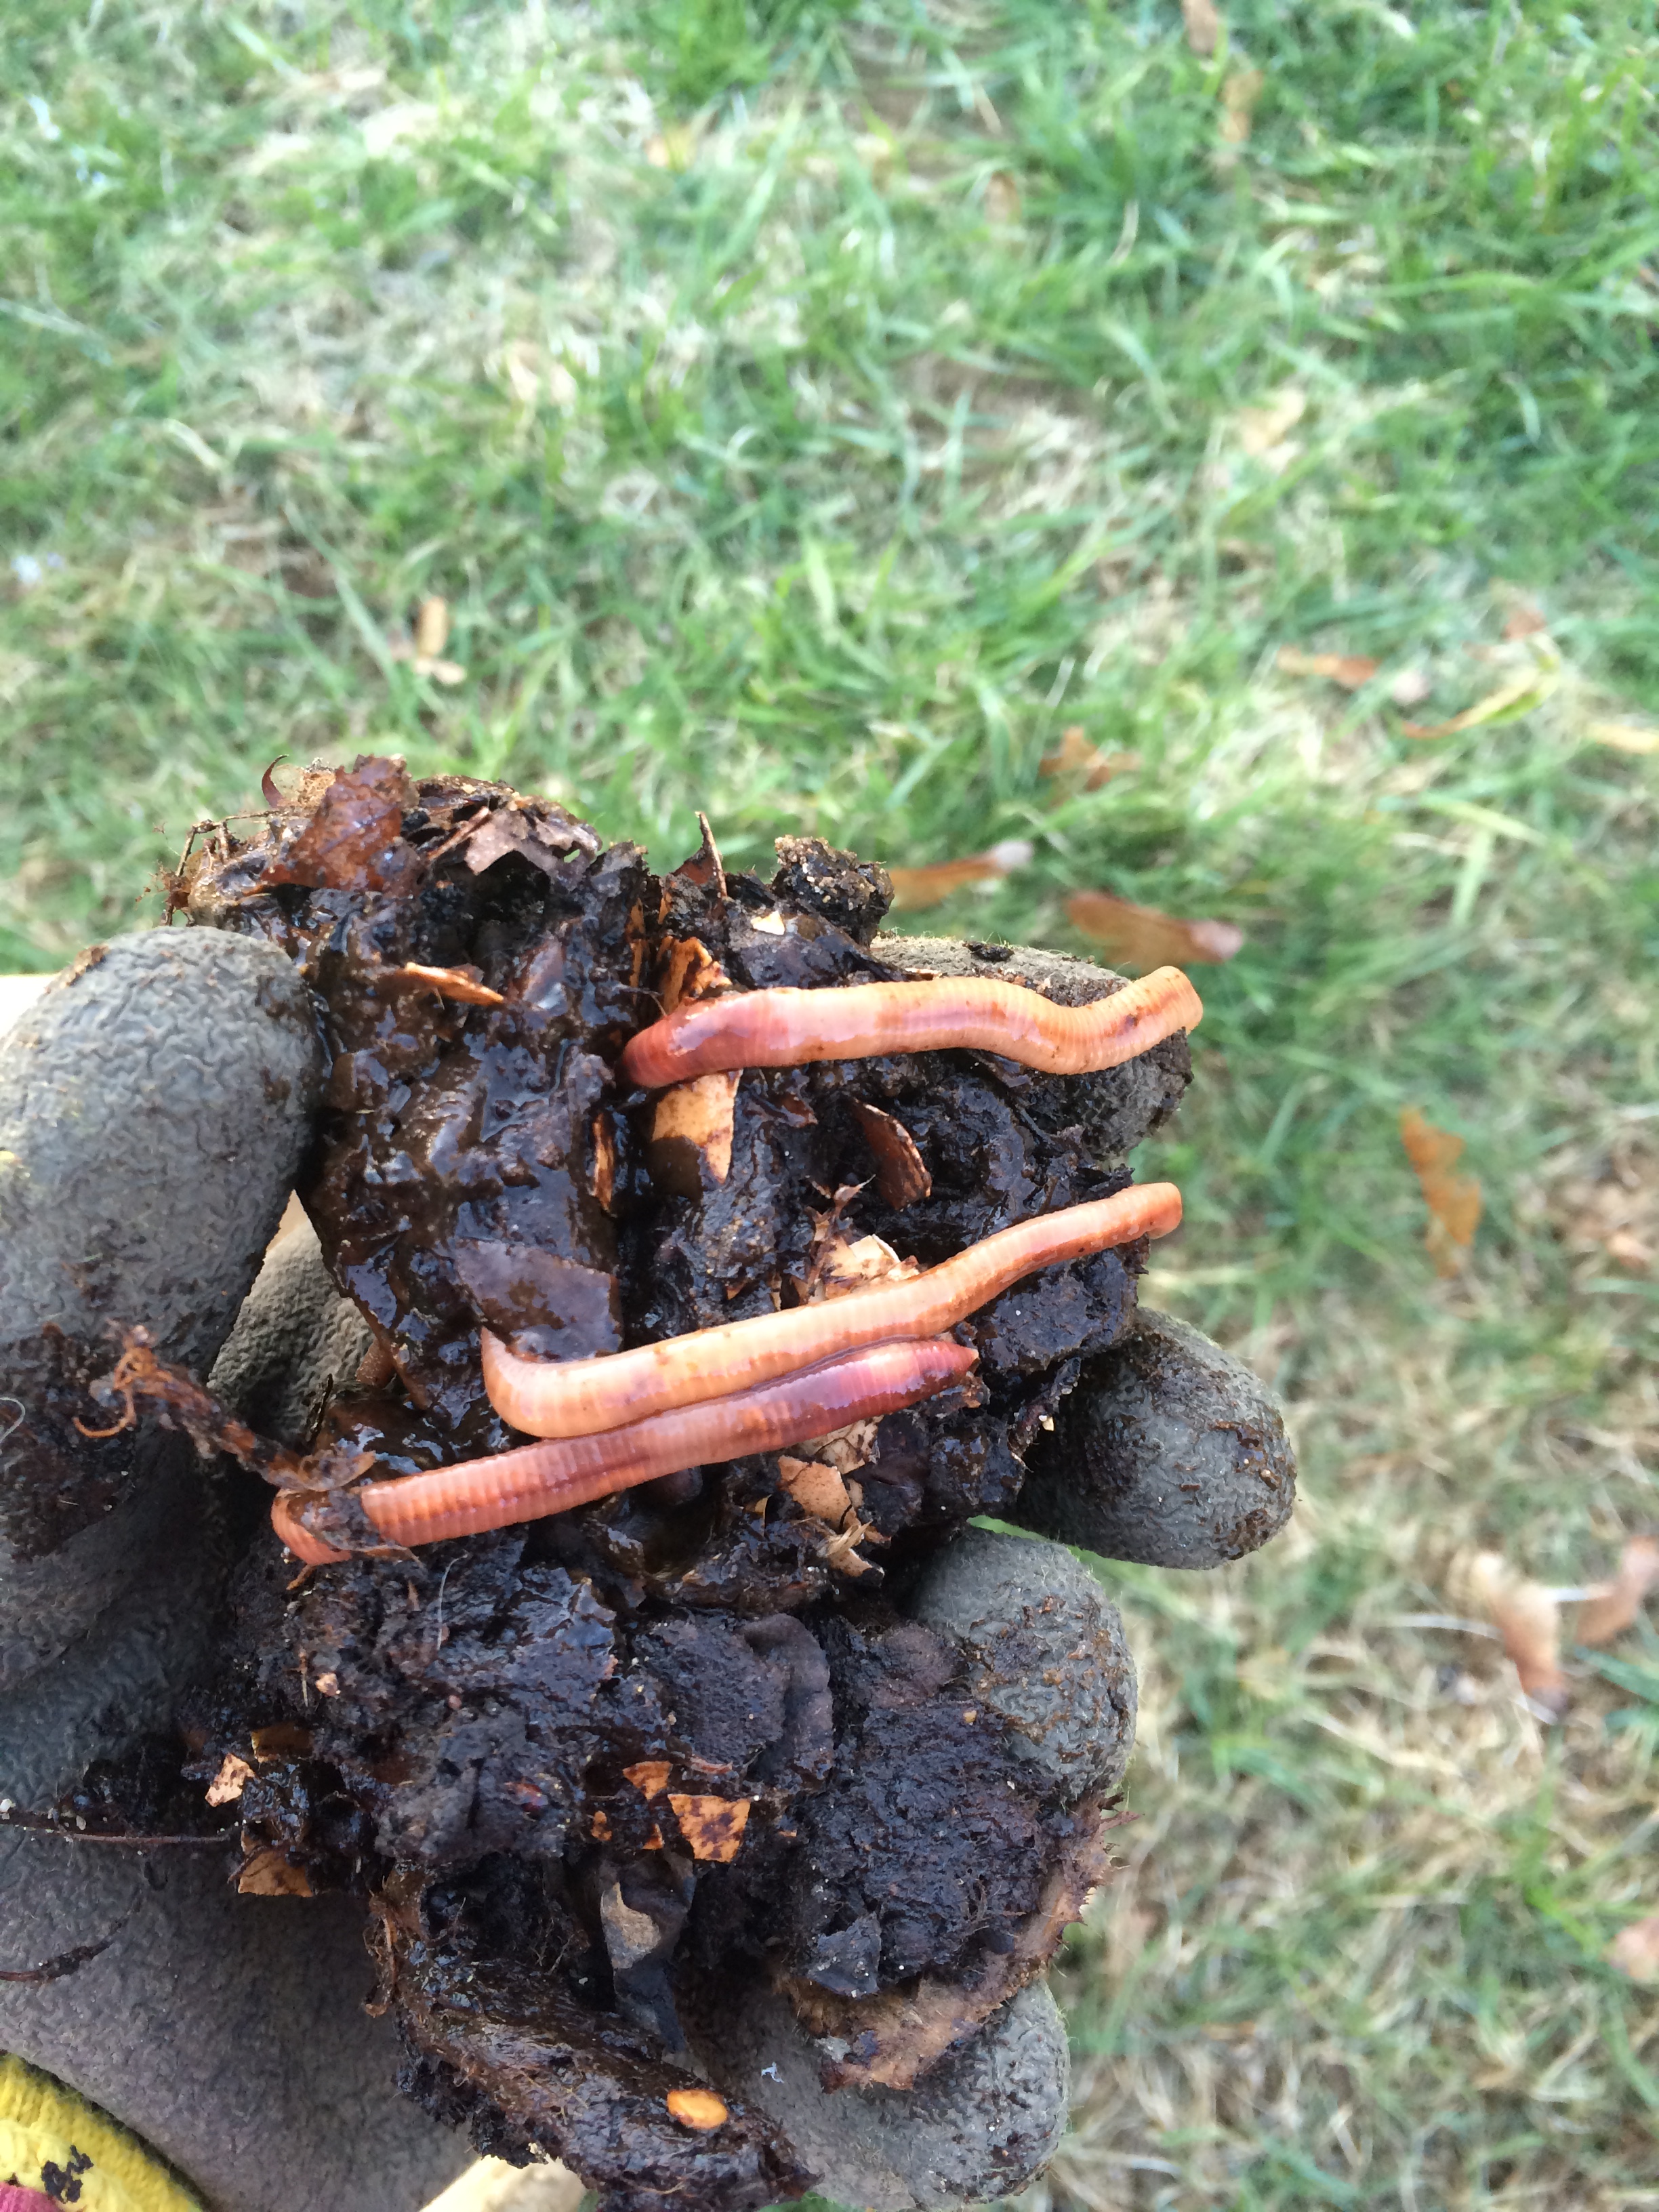
Step 1: Get yourself some red worms. It’s SO important you don’t try to start a worm bin by using regular worms you might dig up while gardening. Red worms, or “red wigglers”, are earthworms that thrive in decomposing organic matter like the stuff you’ll be giving them.

Step 2: Find a large Rubbermaid-type bin with a secure lid. This one’s from Wal-Mart. Drill four to six large holes on the underside of the bin, and additional holes around the top as shown below. This is to allow air flow and drainage because as the worms consume the food and create waste, liquid will also be created and need to drain out to keep the bin environment healthy.

Step 3: Find a second, larger bin that can house the compost bin. You’ll need to fit the compost bin inside this larger bin, and elevate the compost bin so the liquid created and drain out and collect in the bottom of the larger bin. I used upside-down plastic flower pots to support my compost bin.

Step 4: Now it’s time to start filling your compost bin to make a home for the worms! First, collect newspapers and tear them into strips. Be careful not to use any colored images – just use black and white prints because the color print can be toxic to the worms. Once you have strips of black and white newsprint, dampen them and line the bottom of the compost bin.

Step 5: Sprinkle a layer of coffee grounds over the damp newsprint. Coffee grounds are an amazing addition to your compost bin because they are high in nitrogen and considered “green” material. In a compost bin, it’s critical to balance the amount of “green” nitrogen-rich material (food scraps) and “brown” carbon-rich material (paper).
I pickup up a bucket of used coffee grounds from my local coffee shop, which they filled to capacity in under an hour. It’s a great way to recycle and do some good for the environment! Plus, it lasts forEVER.

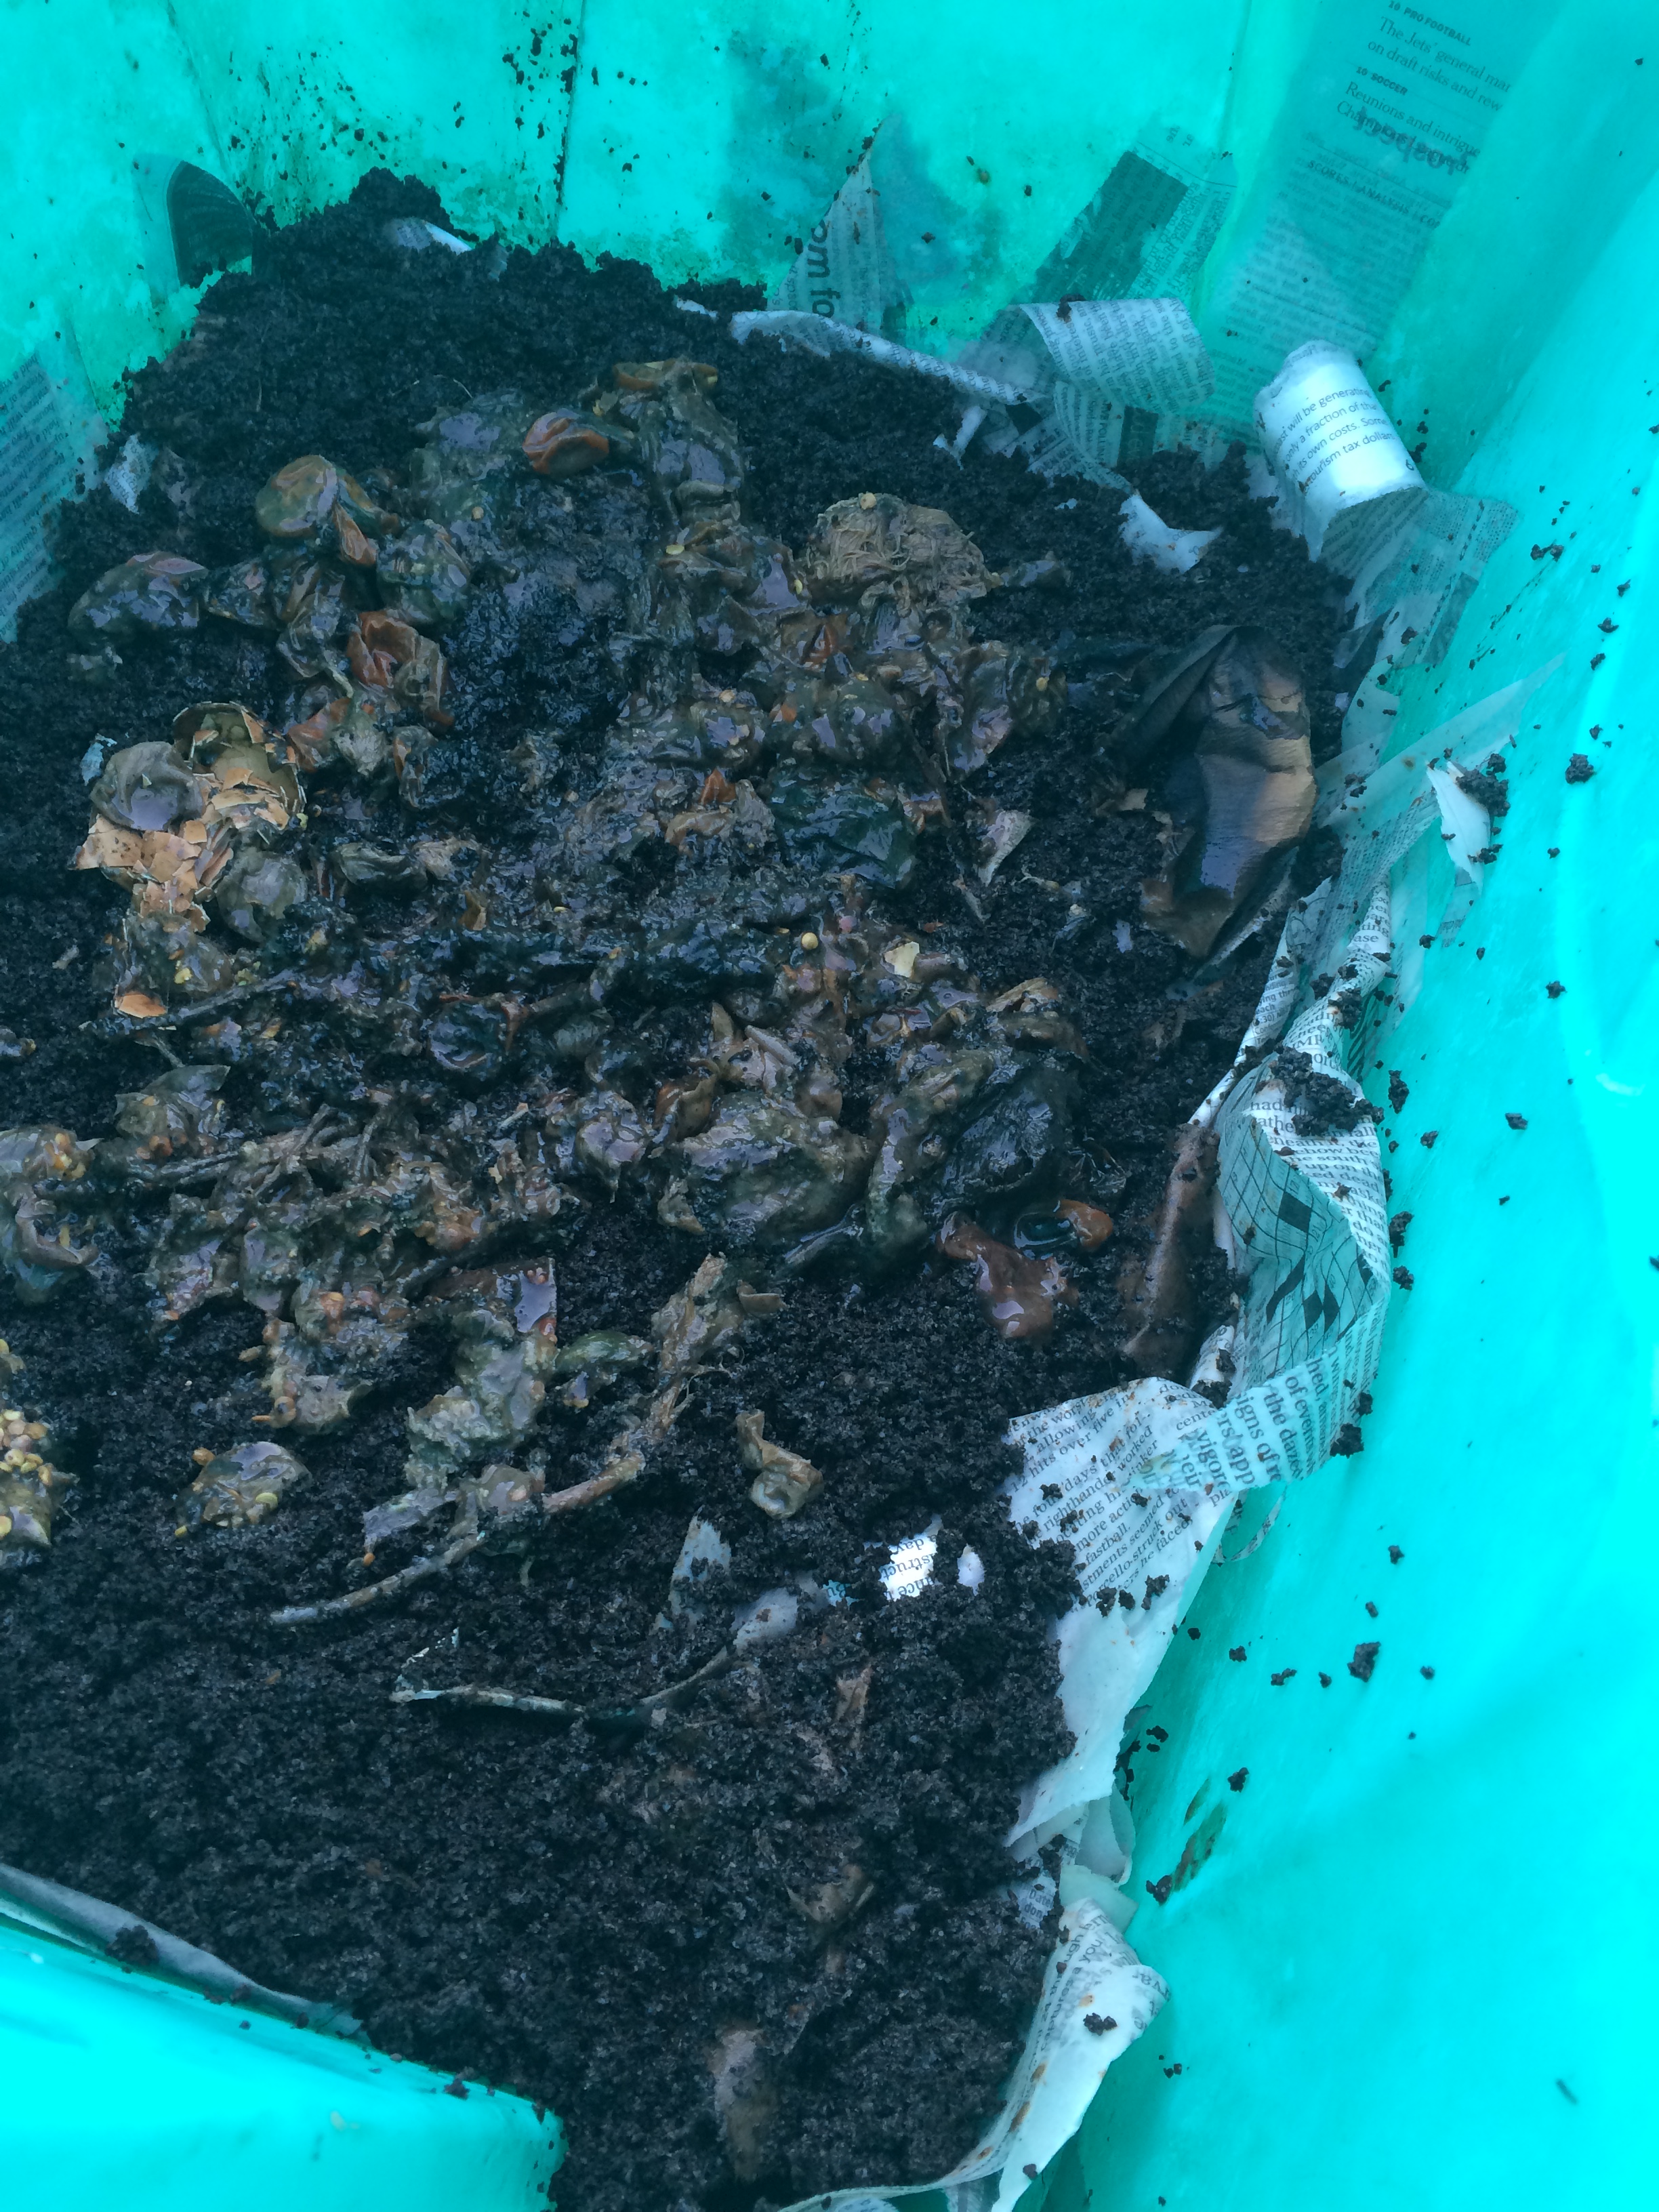
Step 6: Add the food scraps. First of all, NEVER feed your worms citrus, dairy (although egg shells are OK), meat, candy, or alcoholic beverages (that one I feel is a given).
I like to grind everything up in a food processor first because that makes it so much easier for the worms to consume and digest. Since I cook a lot, it’s nice that they can go through the scraps so quickly so I avoid having food scraps pile up while I wait to be able to feed them again.


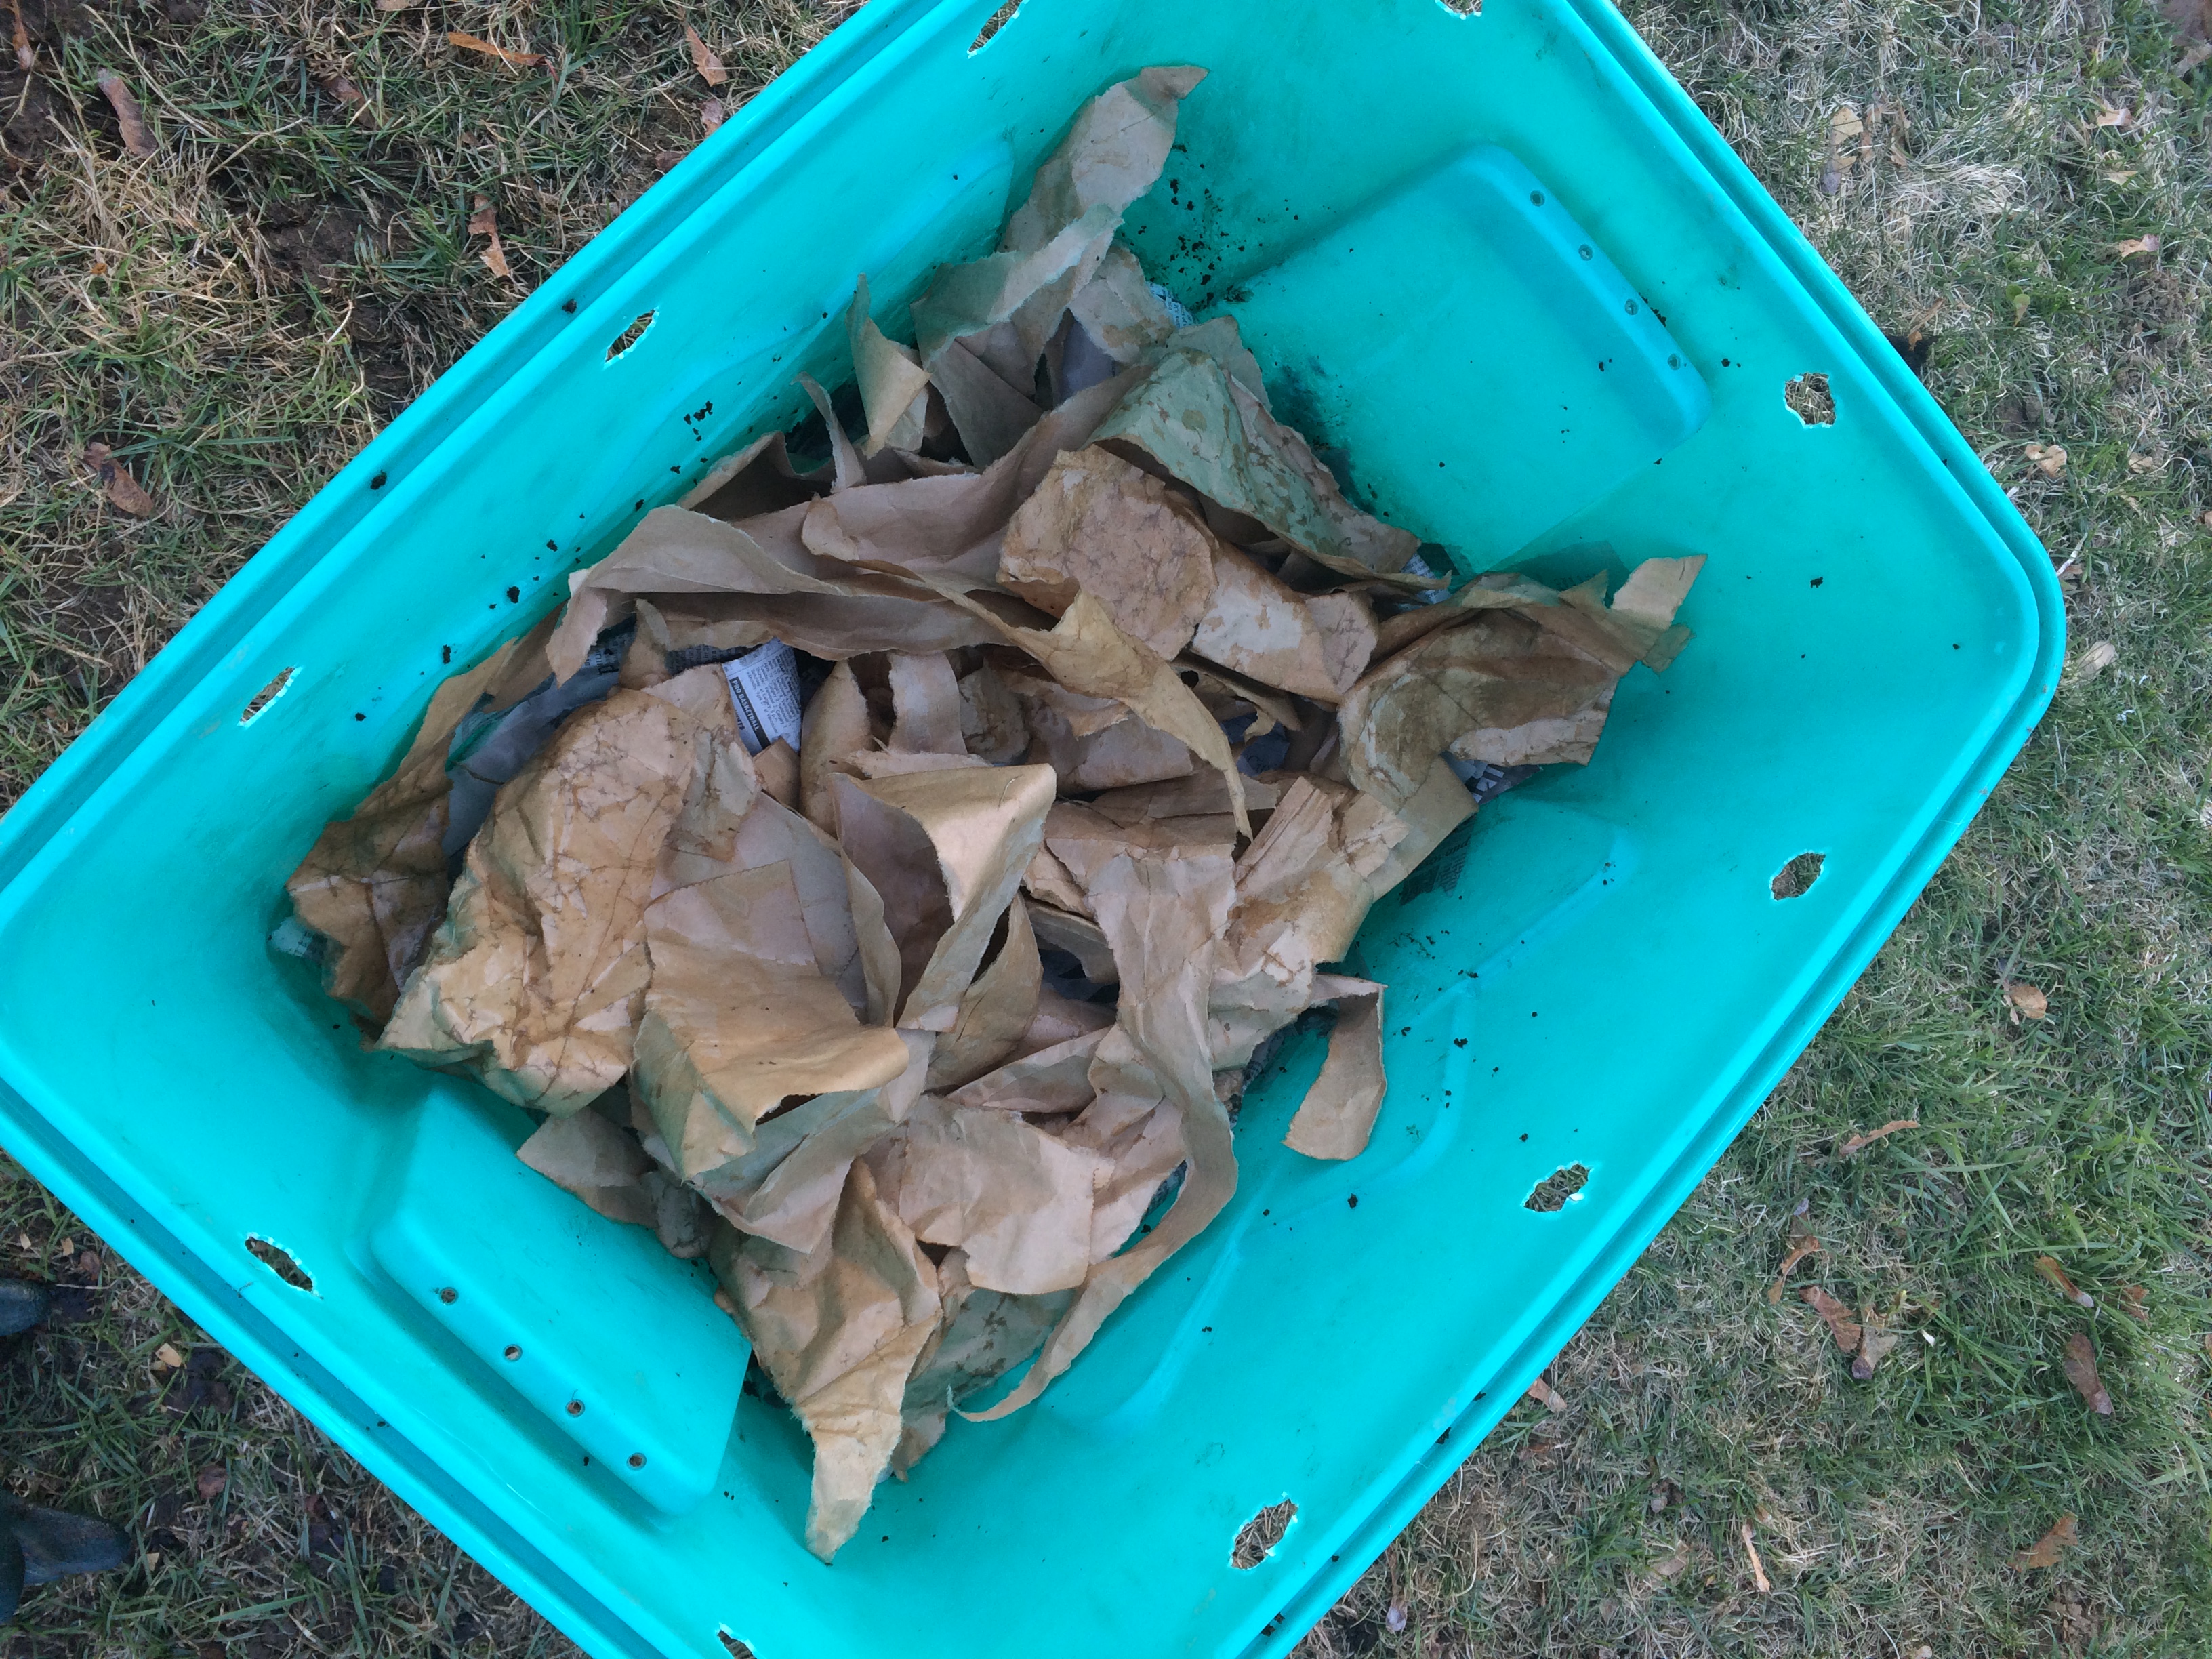
Step 7: Finally, on top of the food scraps you want to add a layer of damp brown paper strips. I just use the brown paper from grocery store bags or from that wine I bought at the liquor store. Like the newsprint, make sure the brown paper doesn’t have any colored writing or anything on it.
In the image below, I just laid the brown paper strips out on the ground and sprayed them with a hose to dampen.

The layer of brown paper gives the worms a “roof” for their home that they can nestle underneath to feel protected. These worms hate sunlight so they will burrow very quickly when exposed.
Step 8: Add the worms! Like I said, they’ll burrow right under the brown paper as soon as you put them in.

Cover the worms, place on top of the flower pots and keep in a cool, shaded area. I keep mine in my backyard, but you can also keep it in your garage, or mudroom, or wherever makes you happy (with exceptions of course. They’re not bed mates).
To keep these worms alive, you should check on them once each week. Here are some important bullet points to keep in mind:
- Always make sure the balance in the bin is even between “greens” and “browns”. It’s fairly easy to do this – just don’t overfeed them. Feed the worms about once each week, especially if you’re grinding up the food as they will go through that faster. Don’t add more food if there is still a substantial amount left in the bin. As they create more organic matter (soil) you’ll need to add additional strips of paper to keep the balance equal.
- If the bin appears dry, you’ll need to water the worms. Yes, like plants. You’ll have to poke around to judge the dryness or dampness of the bin, but the worms don’t bite and if you go so far as to have a worm bin in the first place, you probably don’t mind poking around inside one.
- It’s normal, if you keep your bin outside, for other bugs to join your worms. Especially flies. After all, you’re basically putting trash outside. But it’s ok – the bugs help stimulate the environment and won’t bother the worms. If you see anything out of whack, though, feel free to message me. I’ve seen a lot of weird things since I started this worm bin a few years back, so I can help!
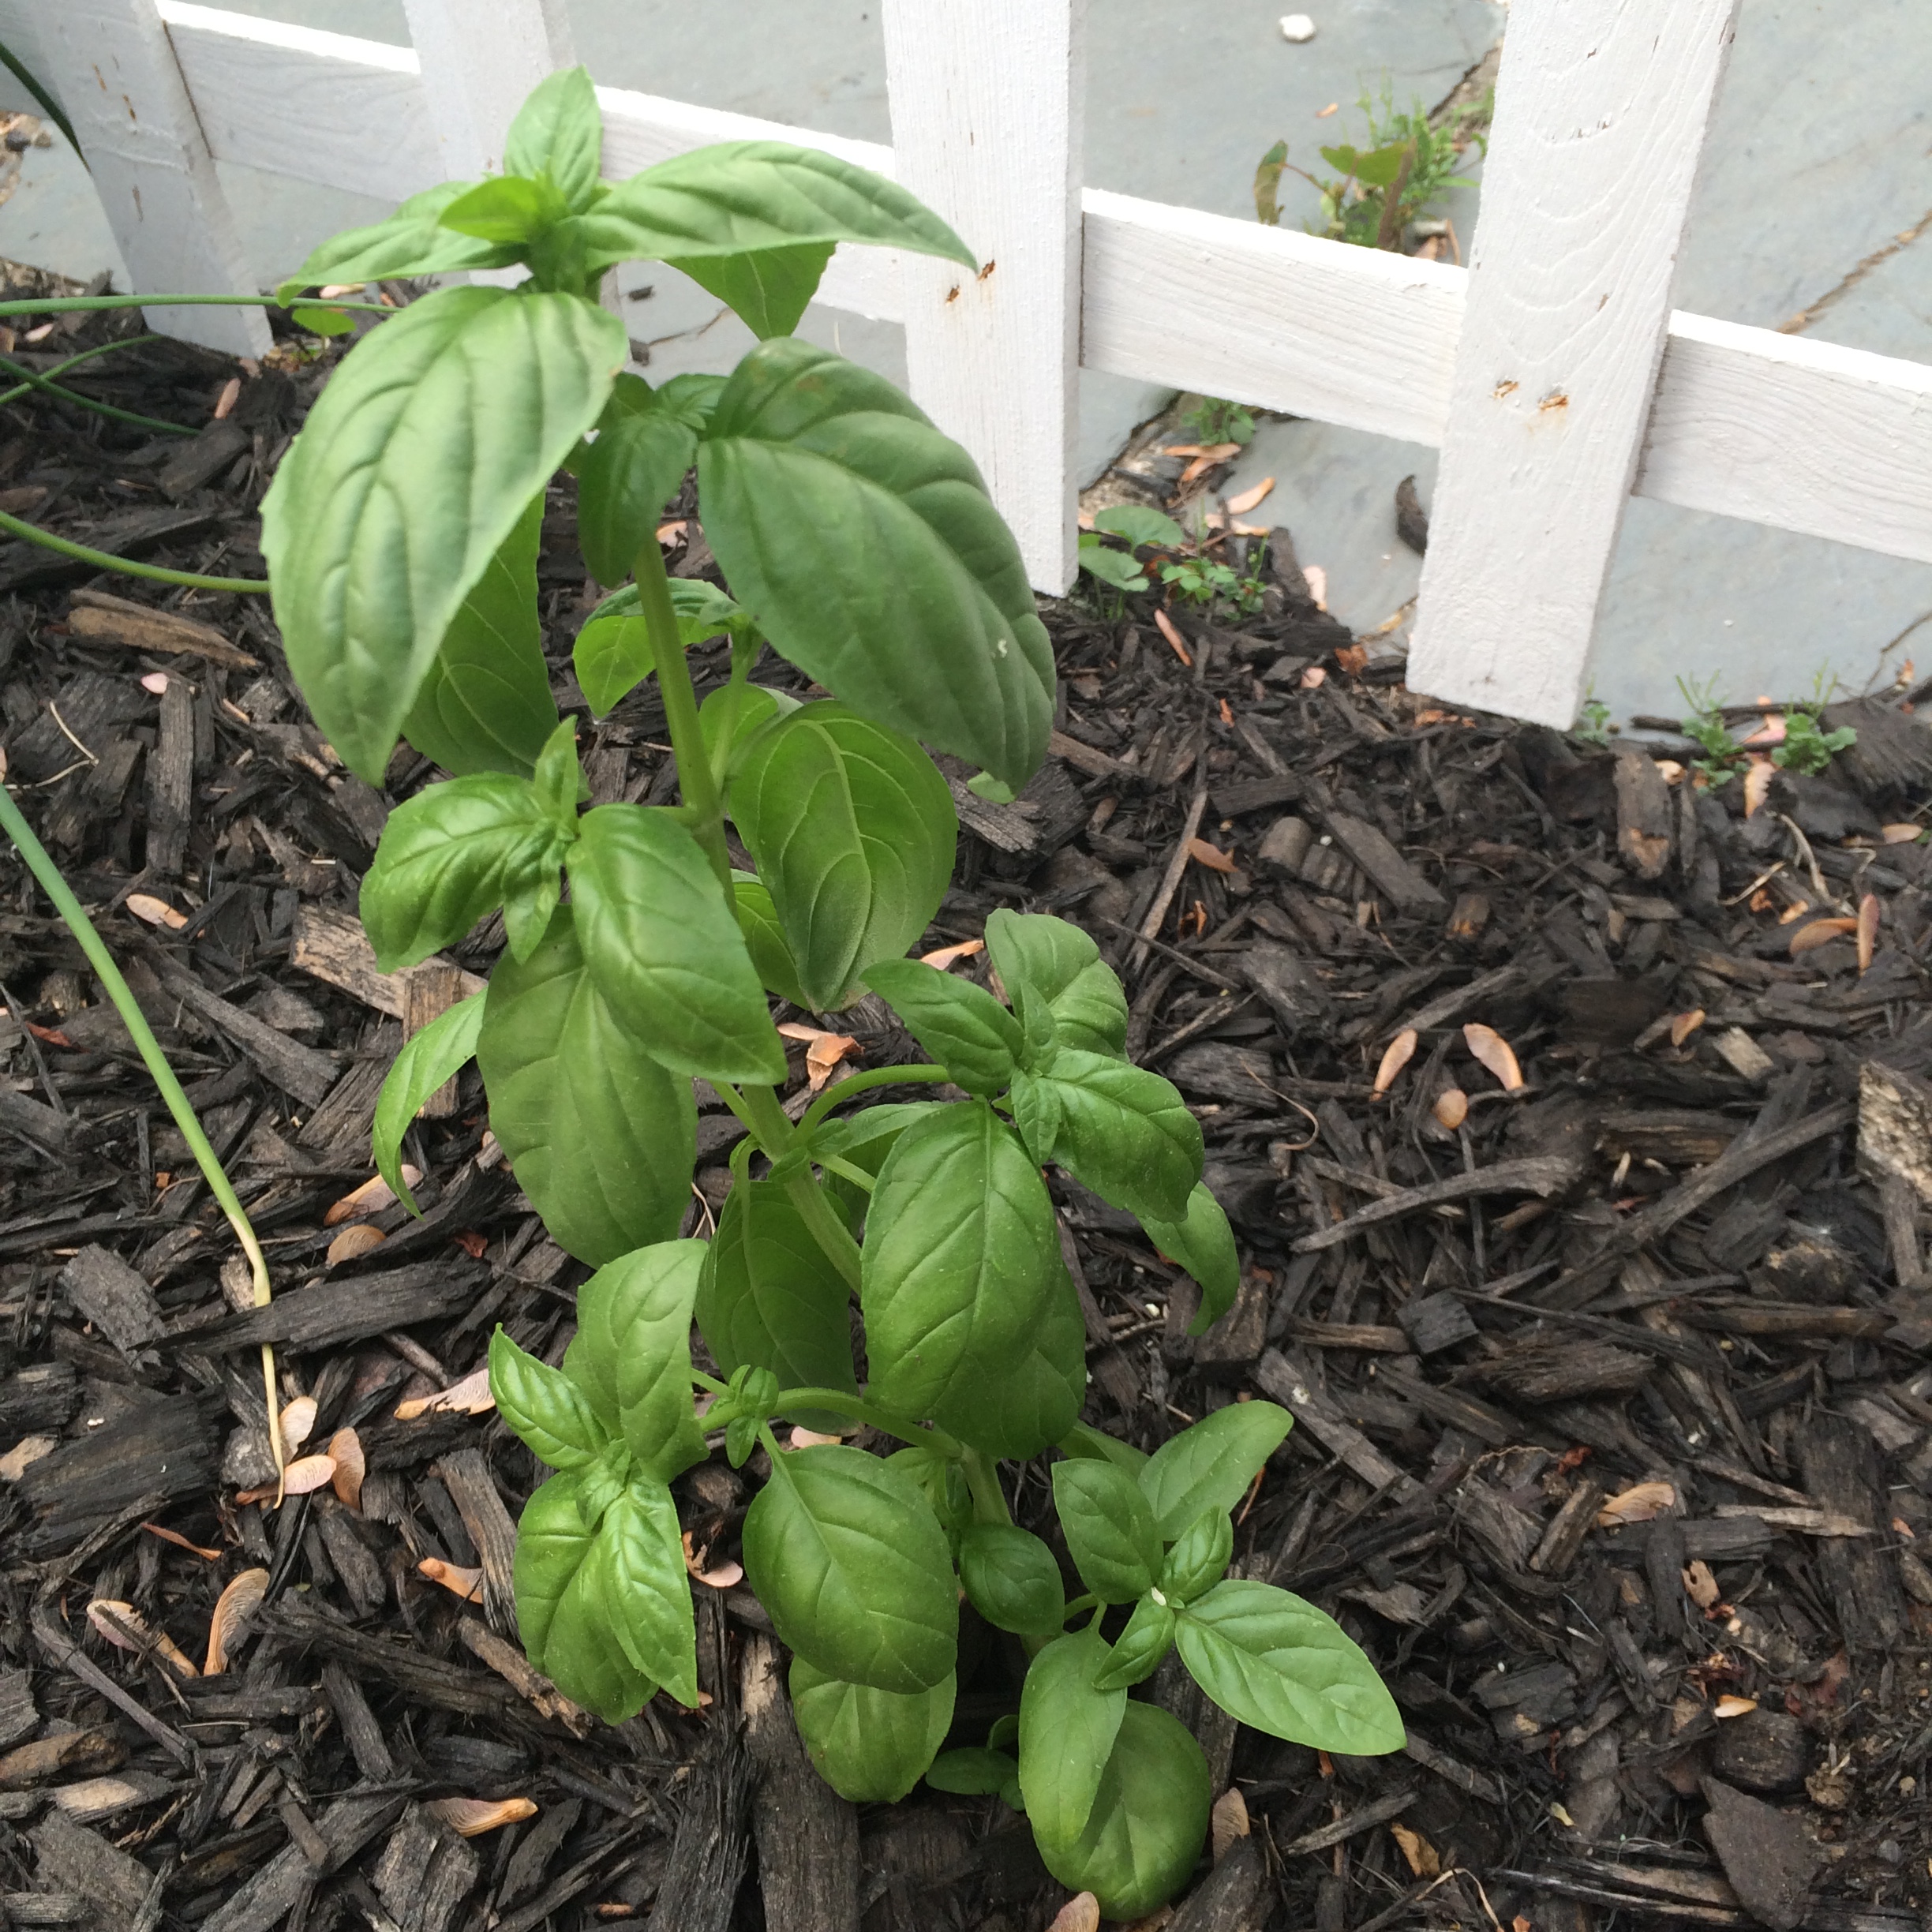
- Sometimes plants will grow in your worm bin! Seeds from vegetables will thrive in this nutrient-rich environment, so don’t be surprised if you see some growth.
- You can use the nutrient-rich liquid the worms create to water your garden or potted plants. It’s like a delicious meal for plants.
- It’s worth it to invest in an odor-free compost bucket. I keep mine under the kitchen sink and add to it every night when I cook. No smell, and super easy to collect your scraps before it’s time to feed the worms again.

Happy worm-binning!