Homemade Marshmallow Fluff

I want to put on the record that this recipe was a complete accident. My friend and I recently traveled to a trail race on probably one of the nicest days we’ve had since summer. After the race, we stuck around with some of the other runners and happened to meet two really nice people who were leaving shortly to have dinner with their family.

IMG_0315

Before they left, they told us about something called boiled frosting. I was pretty intrigued – I’d never made my own frosting before (because I do not often bake) so it seemed like a good thing to try in preparation for the holidays.

IMG_0307

So, it’s super easy to make this recipe. But the big disclaimer is that it’s not exactly frosting. What it is, is marshmallow fluff. I’m not sure whether this recipe was a success or a failure. What I do know is that it would go absolutely fabulously on top of a peanut butter or chocolate cake.

If you happen to be a fan of fluff, like my husband, you’ll appreciate a recipe that delivers the same exact completely unique, cavity-inducing taste without the weird ingredients in the store-bought kind. And it’s super-simple to make – it literally takes 5 minutes.

What You Need: 

  • 1 cup white sugar
  • 1 unbeaten egg white
  • 1 teaspoon vanilla
  • 1/4 teaspoon cream of tartar
  • 1/2 cup boiling water

IMG_0308

What You Do:

Combine sugar through cream of tartar in a mixing bowl.

Add boiling water.

Using a hand mixer on high speed, blend for about 5 minutes or until the mixture becomes thick and creamy.

Give it a taste. Marshamallow fluff!

Advertisement

Spiced Mulled Wine

Mike and I have a Christmas tradition that is very near and dear to my heart.

IMG_0466

We always get our Christmas tree from Emery Farm, and pick up a few delectable food items from the farm store before we leave, like apple cider donuts and whoopie pies.

At Emery Farm, they also give everyone who purchases a Christmas tree a free, hand-decorated ornament. We’ve amassed a collection of these over the last few years.

Ornaments

Then, we head home, pull out all the Christmas decorations that have been in storage for the year, put on a fun Christmas carol station on Pandora, and brew up a festive pot of spiced mulled wine.

I look forward to this day almost all year. Or at least as soon as Thanksgiving comes to a close. It’s even better now that we have a real mantle to decorate over a real pellet stove that keeps us warm and toasty while we sip mulled wine and hang ornaments.

Decor

Mulled wine is just such a fantastic invention for the holidays. It tastes good, it smells wonderful, and it’s easy to make in large batches for parties. We’ve varied the recipe over the years but this is the one we always go back to.

IMG_0449

What You Need:

  • One 1.5 Liter bottle red wine of your choice (I used Little Penguin Shiraz)
  • 1 orange, partially skinned for garnish and then sliced
  • 1/4 cup + 1 tbsp brandy
  • 1/4 cup agave (can substitute with honey if you don’t have agave)
  • 10 whole cloves
  • 2 cinnamon sticks + extra for garnish

What You Do: 

Put all ingredients into a large pot and bring to a light simmer.

Simmer for about 15 minutes and then serve with orange skin and cinnamon sticks for garnish.

IMG_0464


Cauliflower Cous Cous and Vegetables

Lightly adapted from the Nutritionista

I love making one food out of another, healthier food. Like making pasta out of vegetables, a pie crust out of quinoa or cous cous out of cauliflower.

Curry (6)

I actually hardly ever cook using cous cous. I’d rather use quinoa since it’s gluten free and healthier, but there is definitely something about the texture of cous cous that makes it pretty ideal for meals. That’s why I was thrilled to discover a cous cous recipe that didn’t call for cous cous at all. You can easily use cauliflower instead for an all-vegetarian and gluten free dish that is just. so. good.

Curry (1)

What You Need:

  • 1 head of cauliflower
  • 1 orange pepper, chopped
  • 3/4 cup cherry tomatoes, halved
  • 1 stalk celery, chopped (about 1/2 cup)
  • 2 tbsp fresh parsley, chopped
  • 2 tbsp lemon juice
  • 2 tbsp olive oil
  • 1 tsp black pepper
  • 1 tsp salt

What You Do:

Curry (4)

Gently pulse cauliflower in a food processor until it resembles a cous cous-like texture. If you don’t have a food processor, just finely chop the cauliflower with a sharp knife until it becomes very small pieces.

In a large bowl, mix the cauliflower with the remaining ingredients. Stir well and serve!

This makes a great side dish, and while it screams summer BBQ, it really works just fine any time of year with your favorite meat, as a filling for stuffed peppers (stay tuned for that recipe), or just mixed in with a salad. The lemon juice and oil make a nice dressing so you don’t have to add the extra calories. Put some avocado in with it and you’ve got yourself a fantastic meal!

Pro Tip: This is a great dish to play with as far as adding your favorite herbs. Add freshly chopped basil, oregano, mint or cilantro or even chopped walnuts or dates to give it some different flavor and texture!

Curry (7)

Spicy Jerk Chicken Corn Tortilla Tacos

Jerk chicken is such a summertime food. It reminds me of being in Jamaica (almost a year ago now – crazy!) and the spicy bite of the seasoning is unlike any other.

IMG_0462

The weather in New Hampshire right now is a far cry from Jamaica – it’s cold, mostly icy because for some reason it keeps raining instead of snowing, and windy. So windy. I went on a chilly trail run with my two favorite partners in adventure, and while it was snowy and gorgeous and not actually too cold, I was ready for something warm and filling when I got home and settled in for the night.

IMG_0412

This recipe is 100% gluten free and makes a LOT of tortilla tacos. And even if the freezing rain and wind are whipping around outside the window, you might feel a tiny bit of Jamaican warmth if you focus really, really hard. If not, you at least will have eaten a filling and healthy dinner so, there’s that 🙂

IMG_0442

What You Need

  • Either 4 cooked chicken thighs or 1 whole crock pot chicken, (without the BBQ sauce) pulled with bones removed
  • 1/2 red onion, diced
  • 1/2 tsp ground cinnamon
  • 1 1/2 tsp dried thyme
  • 1/2 tsp nutmeg
  • 1 tsp ground allspice
  • 1/4 tsp salt
  • 1/2 tsp ground black pepper
  • 1 jalapeno
  • 1 4oz can diced green chilies, drained as much as possible
  • 1 tsp olive oil
  • Splash of your favorite rum
  • 1/4 cup sliced green onions, for garnish
  • 1/2 avocado, sliced for garnish
  • Plain Greek yogurt, for topping
  • Salsa of your choice for topping
  • 1 package of Mission gluten free corn tortillas (or corn tortillas of your choice)

IMG_0438          IMG_0443

What You Do:

If you cooked chicken thighs, cut them into strips and dice with a sharp knife until it’s shredded, like the consistency of chicken salad. If you followed the recipe for crock pot pulled chicken, you’re ready to go with slow-cooked pulled chicken right off the bone.

Set the chicken aside in a large bowl.

IMG_0446

Make the jerk rub by loading all remaining ingredients (diced onion through splash of rum) into a food processor and blending well. You should have about 1 1/2 cups of rub once blended.

Mix with chicken.

In an ungreased skillet over low-medium heat, place one corn tortilla for just 10 seconds or so. Then flip and repeat on the other side.

Each side of the tortilla should be just slightly toasted.

Place a generous spoonful of jerk chicken on each tortilla, topping with a dollop of plain Greek yogurt, 2 avocado slices and a sprinkling of green onions.

Pro Tip: While the tortillas are very tasty, the rub can be used just on whole chicken to save you some time. Spread on your raw chicken before baking for a deliciously seasoned dish.

IMG_0461

Coconut Vegetable Curry

We had a little bit of a water disaster at our house the other night. Two windowsills that need replacing decided they just couldn’t hold on anymore, and they made that decision during one of the longest and most torrential rainstorms the Seacoast has seen in a while.

Curry (11)

It turns out water had been dripping through the walls and into our basement all day, but Mike heroically made this discovery in the middle of my dinner prep/first glass of hard cider.

Needless to say, my goal of enjoying warm curry and rice in front of the fire while binging on nightime television was not realized. Instead, I held sheets of plastic through the open windows while Mike stood outside, bundled in rain gear, staple-gunning the plastic to our house with frozen fingers. Winter is fun.

So the photos for this dish aren’t great, and I let the whole pan burn at one point because I simply forgot I was cooking. But as long as you don’t discover a hole in your house during a rainstorm while you’re making this dish, you’ll be fine. And it still came out great for us, even if we wolfed it down at the table with zero regard to the actual taste. I’m looking forward to rediscovering it with the leftovers already.

Curry (13)

Also barring any major extraneous complications, this is a really easy dish to make. It looks like a lot of ingredients, but it’s mostly just spices.

What You Need:

  • 1 1/2 cups Basmati rice
  • 1 tbsp coconut oil
  • 1 medium sweet, yellow or red onion, sliced
  • 1 clove garlic, minced
  • 3 carrots, peeled and sliced into rounds
  • 1/4 cup white wine
  • 1 green bell pepper, chopped
  • 1 yellow bell pepper, chopped
  • 1/3 cup green onions, chopped
  • 3/4 cup vegetable broth
  • 1 can coconut milk (13.5oz)
  • 1 tsp freshly grated ginger
  • 1 tsp ground turmeric
  • 1 tsp ground cumin
  • 1 tsp dried basil leaves
  • 1/2 tsp freshly chopped sage
  • 2 tbsp curry powder

What You Do:

Cook the rice according to package directions and set aside, keeping warm.

While rice is cooking, heat coconut oil in a large skillet over medium heat.

Curry (9)

When oil is hot, add sliced onions and stir, sauteing for about 2 minutes or until they become soft and translucent.

Add the garlic, carrots and white wine, and cover, simmering until wine is evaporated.

Add the peppers and green onions and vegetable broth, mixing until well combined and cover, simmering, until vegetable broth has evaporated.

Add the coconut milk. Stir well for about a minute.

Add all spices and stir until well combined.

Serve the vegetable curry over a bed of warm Basmati rice.

Pro Tip: Don’t walk away from the dish while it’s simmering in white wine and/or vegetable broth for more than a couple minutes. It’s not afraid to burn.

Curry (10)

Easy Herbed Roasted Whole Chicken

I know, it wasn’t too long ago that most of us gorged ourselves on turkey. But I was perusing this lovely farm store near my house and came across the most fantastic meat counter ever. I’m talking all local, grass-fed meats, at shockingly reasonable prices.
Roasted Chix (13)
Because of the recent success of our BBQ pulled chicken dinner, I couldn’t resist picking up a whole chicken to cook in a different way. I also learned something really important about roasting meat. Since I’m apparently super lame and don’t own a roasting pan, I had to come up with a quick alternative way to cook it without lighting my oven on fire or ruining the entire chicken.
The trick is to cook the chicken over a bed of sliced onions and potatoes. Doing so gives it a nice lift off the bottom of the pan, plus you get to enjoy a delicious chicken-infused side dish with dinner.
Roasted Chix (12)
The best thing about roasting a whole chicken is how much food you get out of it that will last for days. Kind of like…the turkey from Thanksgiving. But let’s not focus on that.
Roasted Chix (5)
What You Need: 
  • 1 whole chicken (about 3-4 pounds)
  • 4  medium red or yellow potatoes, sliced
  • 1 medium red or yellow onion, sliced
  • 2 tablespoons extra-virgin olive oil
  • 1 teaspoon rosemary
  • 1 teaspoon paprika
  • 1 teaspoon ground coriander
  • 3/4 teaspoon salt
  • 1/4 teaspoon freshly ground black pepper
  • 2 garlic cloves, minced
  • 1 tsp lemon juice
  • 3 bay leaves

What You Do:

Preheat oven to 450F

In a large oven-safe pot (preferably round with high sides), line the bottom with the potatoes and onions.

In a small bowl, combine the olive oil through lemon juice and mix well.

Roasted Chix (6)

Generously slather the olive oil rub over the entire chicken, making sure to spread it over the bottom as well. I also lifted up the skin in places and applied the rub underneath and directly on the chicken meat. This will really infuse the flavor of the rub during the roasting process.

Place the chicken bottom-side-down in the pot.

Place the bay leaves on the potatoes and onions around the chicken.

Cook the chicken covered on 450F for about 10-15 minutes. Then lower the temperature to 350F and cook the chicken for about 20 minutes per pound. If you aren’t sure exactly how heavy your chicken is, roast it for 30 minutes and then check the temperature with a meat thermometer – your chicken is ready when it reads 180F. (Since all ovens vary, you should always check the temp even if you do know the weight just to be sure it’s done).

Pro Tip: You can make a rub for this chicken out of some various ingredients depending on what you like. Substitute the rosemary for fresh chopped sage or thyme, and use 2 tablespoons of melted butter instead of the olive oil.

Roasted Chix (16)

Whole Wheat Holiday Rum Spice Cake

Adapted from the Applesauce Spice Cake recipe on Epicurious

Every time the holidays roll around, I kind of assume I’m going to be amazing at life and have my gifts bought, wrapped and under the tree by December 15. Needless to say, that absolutely never, ever happens.

IMG_0330

And I was really scrambling this year when my equally lofty dreams of baking and cooking in preparation for our visits to various family over Thanksgiving took a backseat to other life events (normal things like work and sleeping – where do the days go?!?). That’s why I was thrilled to come across this fabulous recipe for a Thanksgiving dessert that is not a pie and didn’t require me to quit my job in order to prepare it. Mike and I were even able to go on an impromptu date at our favorite restaurant the night I baked this and I still got to bed at a reasonable hour (before midnight, just to clarify what constitutes “reasonable”).

IMG_0314

This recipe will be great to offer up for the Christmas holiday too, and I plan on making it again.

What was your favorite dessert for the Thanksgiving holiday? I’d love to hear some different treats you baked up for the celebration. Baking isn’t really my forte but I like doing it every once in awhile, especially when I get a really good idea that will taste great without traumatizing my body with sugar.

IMG_0328

What You Need: 

  • 1 1/4 cup plus 1 tablespoon whole wheat flour
  • 1 teaspoon baking soda
  • 2 teaspoons ground cinnamon
  • 1 teaspoon freshly grated nutmeg
  • 1/4 teaspoon ground cloves
  • 1/2 teaspoon ground ginger
  • 1/4 teaspoon salt
  • 1 cup turbinado sugar such as Sugar in the Raw
  • 1/2 cup unsalted butter, softened
  • 2 teaspoons light rum
  • 1 egg
  • 1 cup plus 1 tablespoon unsweetened applesauce

What You Do:

Preheat oven to 350F

In a small bowl, combine the flour, baking soda, spices, and salt.

IMG_0301

In a separate, larger bowl, combine the sugar, butter and rum. Beat with an electric mixer at medium-high speed until a nice batter has formed.

Add the egg and beat again at a medium-high speed until light and fluffy in texture. Reduce blender speed to low and slowly add the dry ingredients, continuing to blend until combined well.

Fold in applesauce and blend on low until combined.

In an 8-inch square non-stick baking dish, spread the batter evenly.

Bake for about 30 minutes or until lightly browned and a toothpick in the middle comes out clean.

Pro Tip: Make ahead by wrapping the cooled cake in plastic wrap and freezing until ready to use. It will thaw really quickly and can be warmed in the oven on low before serving. This is a great strategy if you’re traveling.

IMG_0329

Tofu Honey Chili with Gluten Free Jalapeno Cornbread

So back in the day when I was a budding foodie, I had a food blog on Blogger called Two Peas in a Pot. I was pretty excited about it and posted quite a few recipes. Then I stopped keeping up with it as life got busier, and I let it fall into the great Internet abyss.

IMG_0400

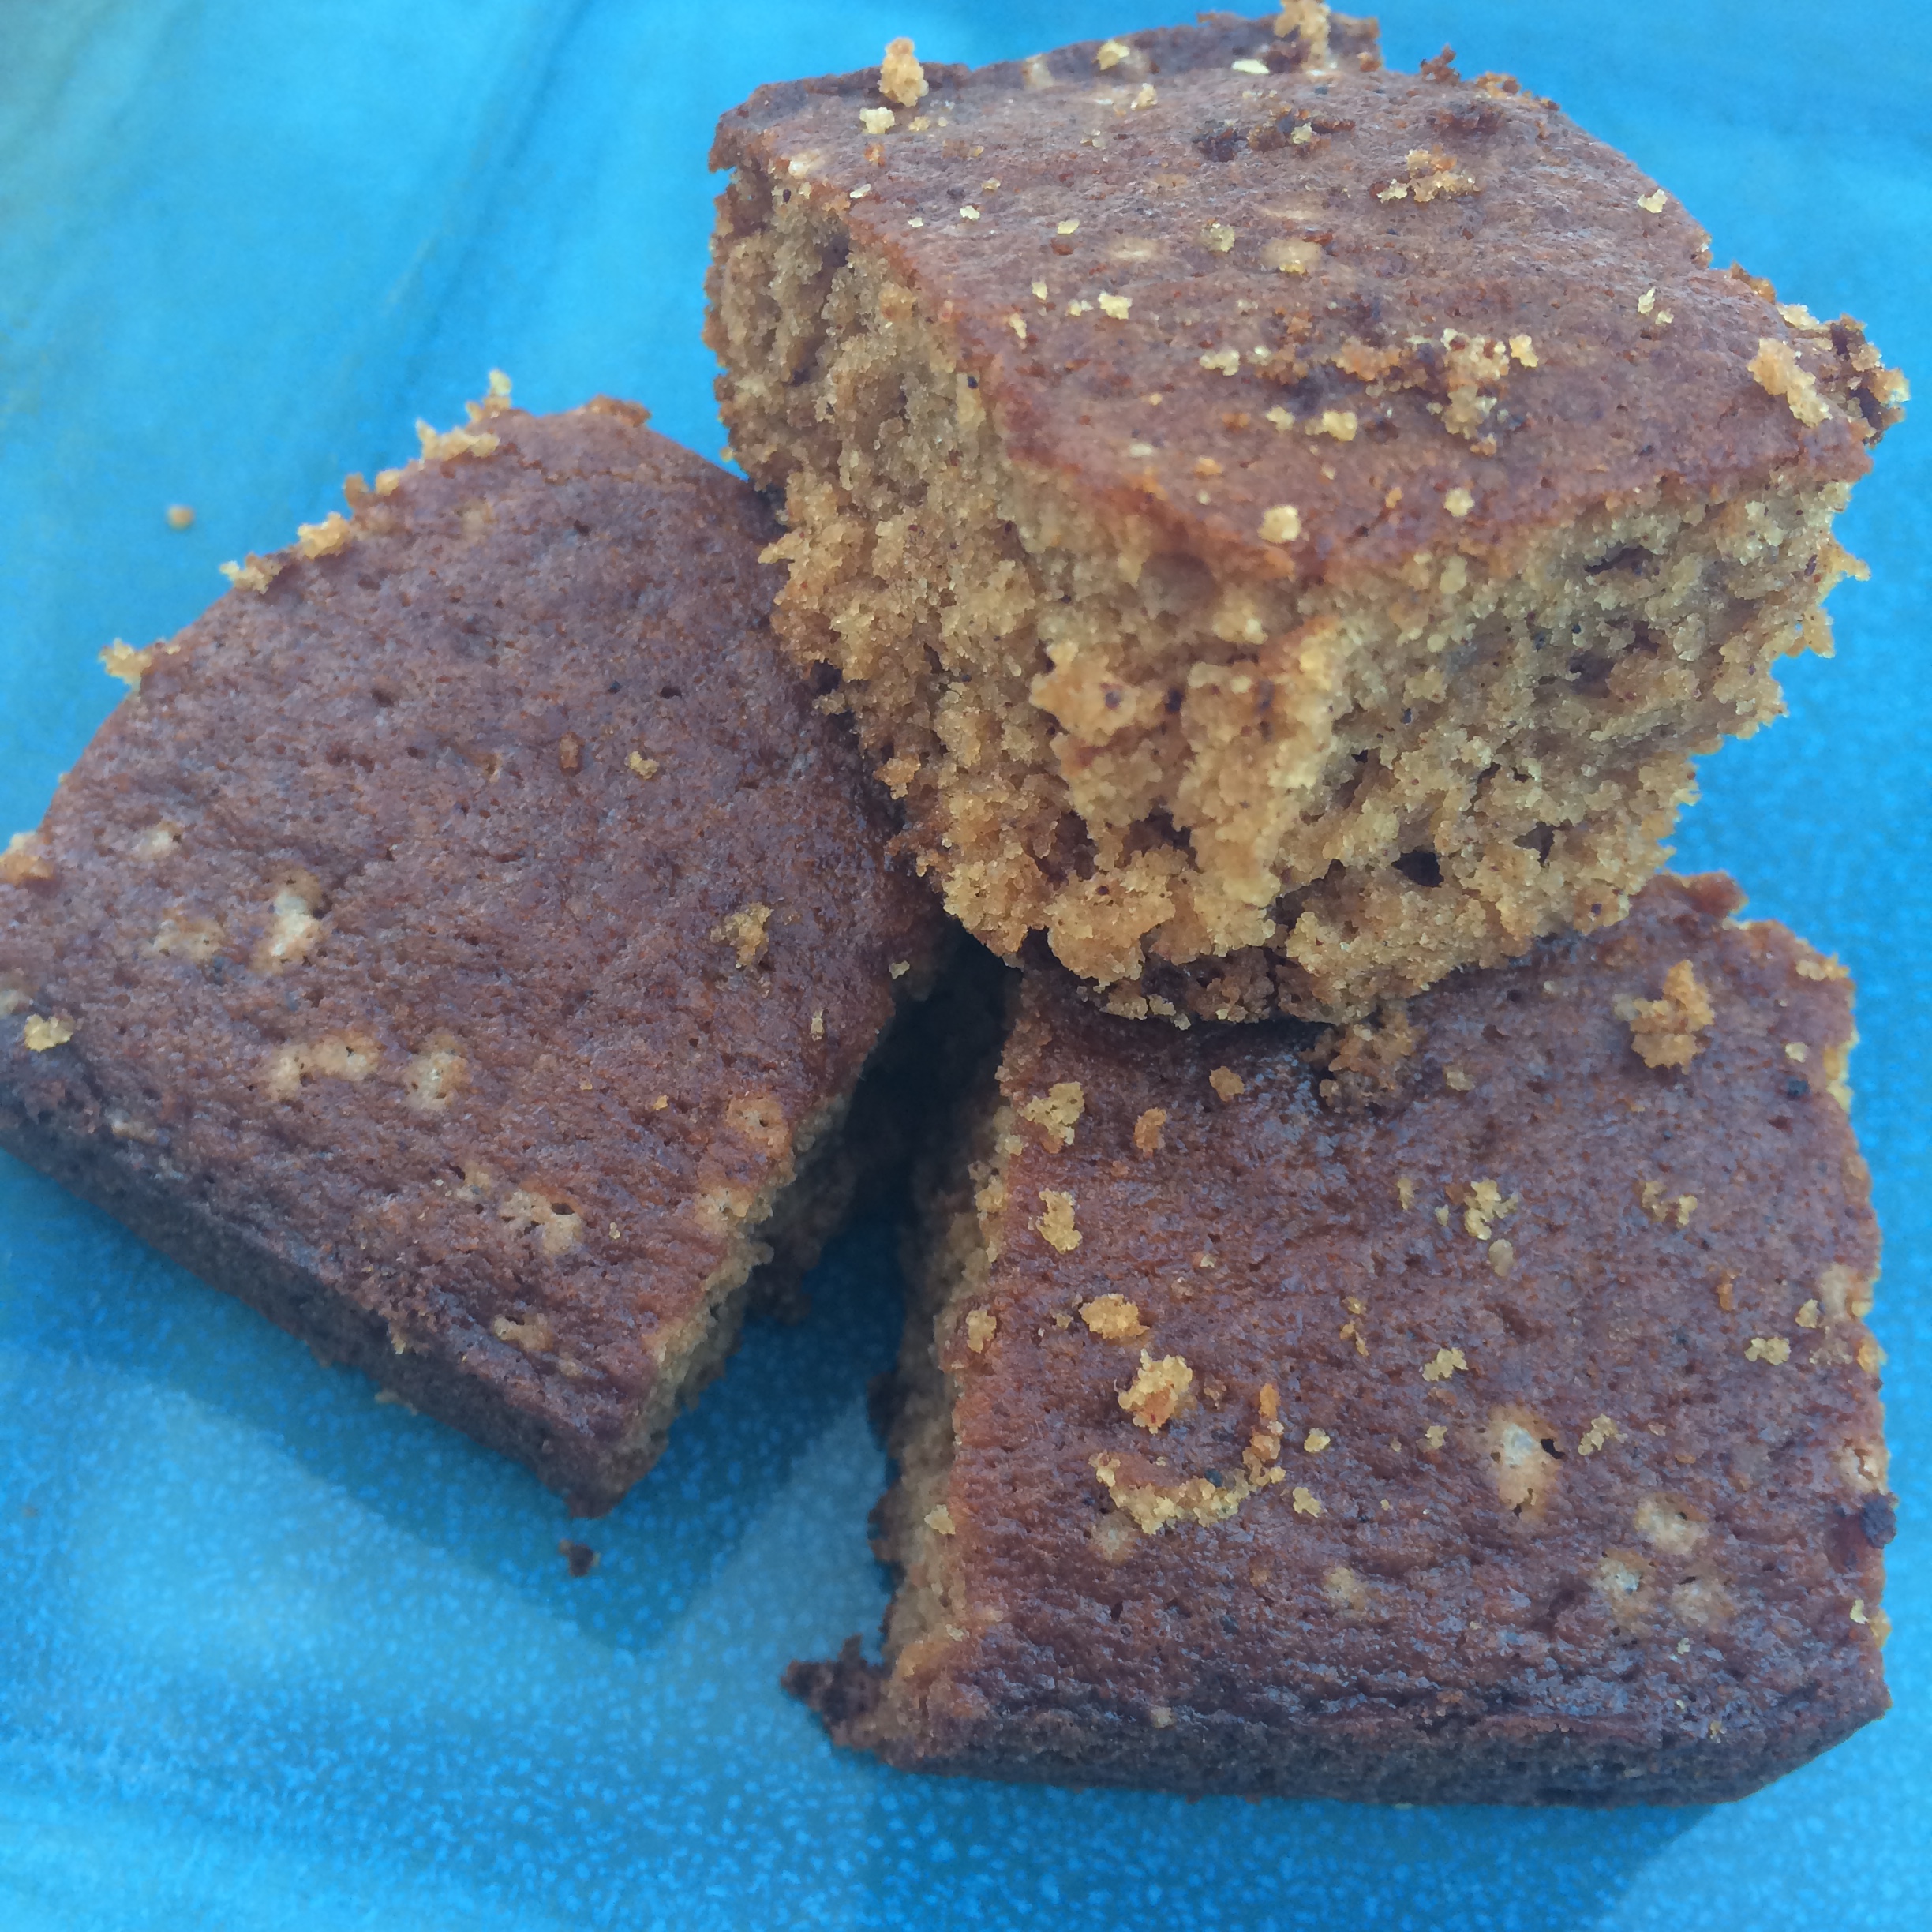
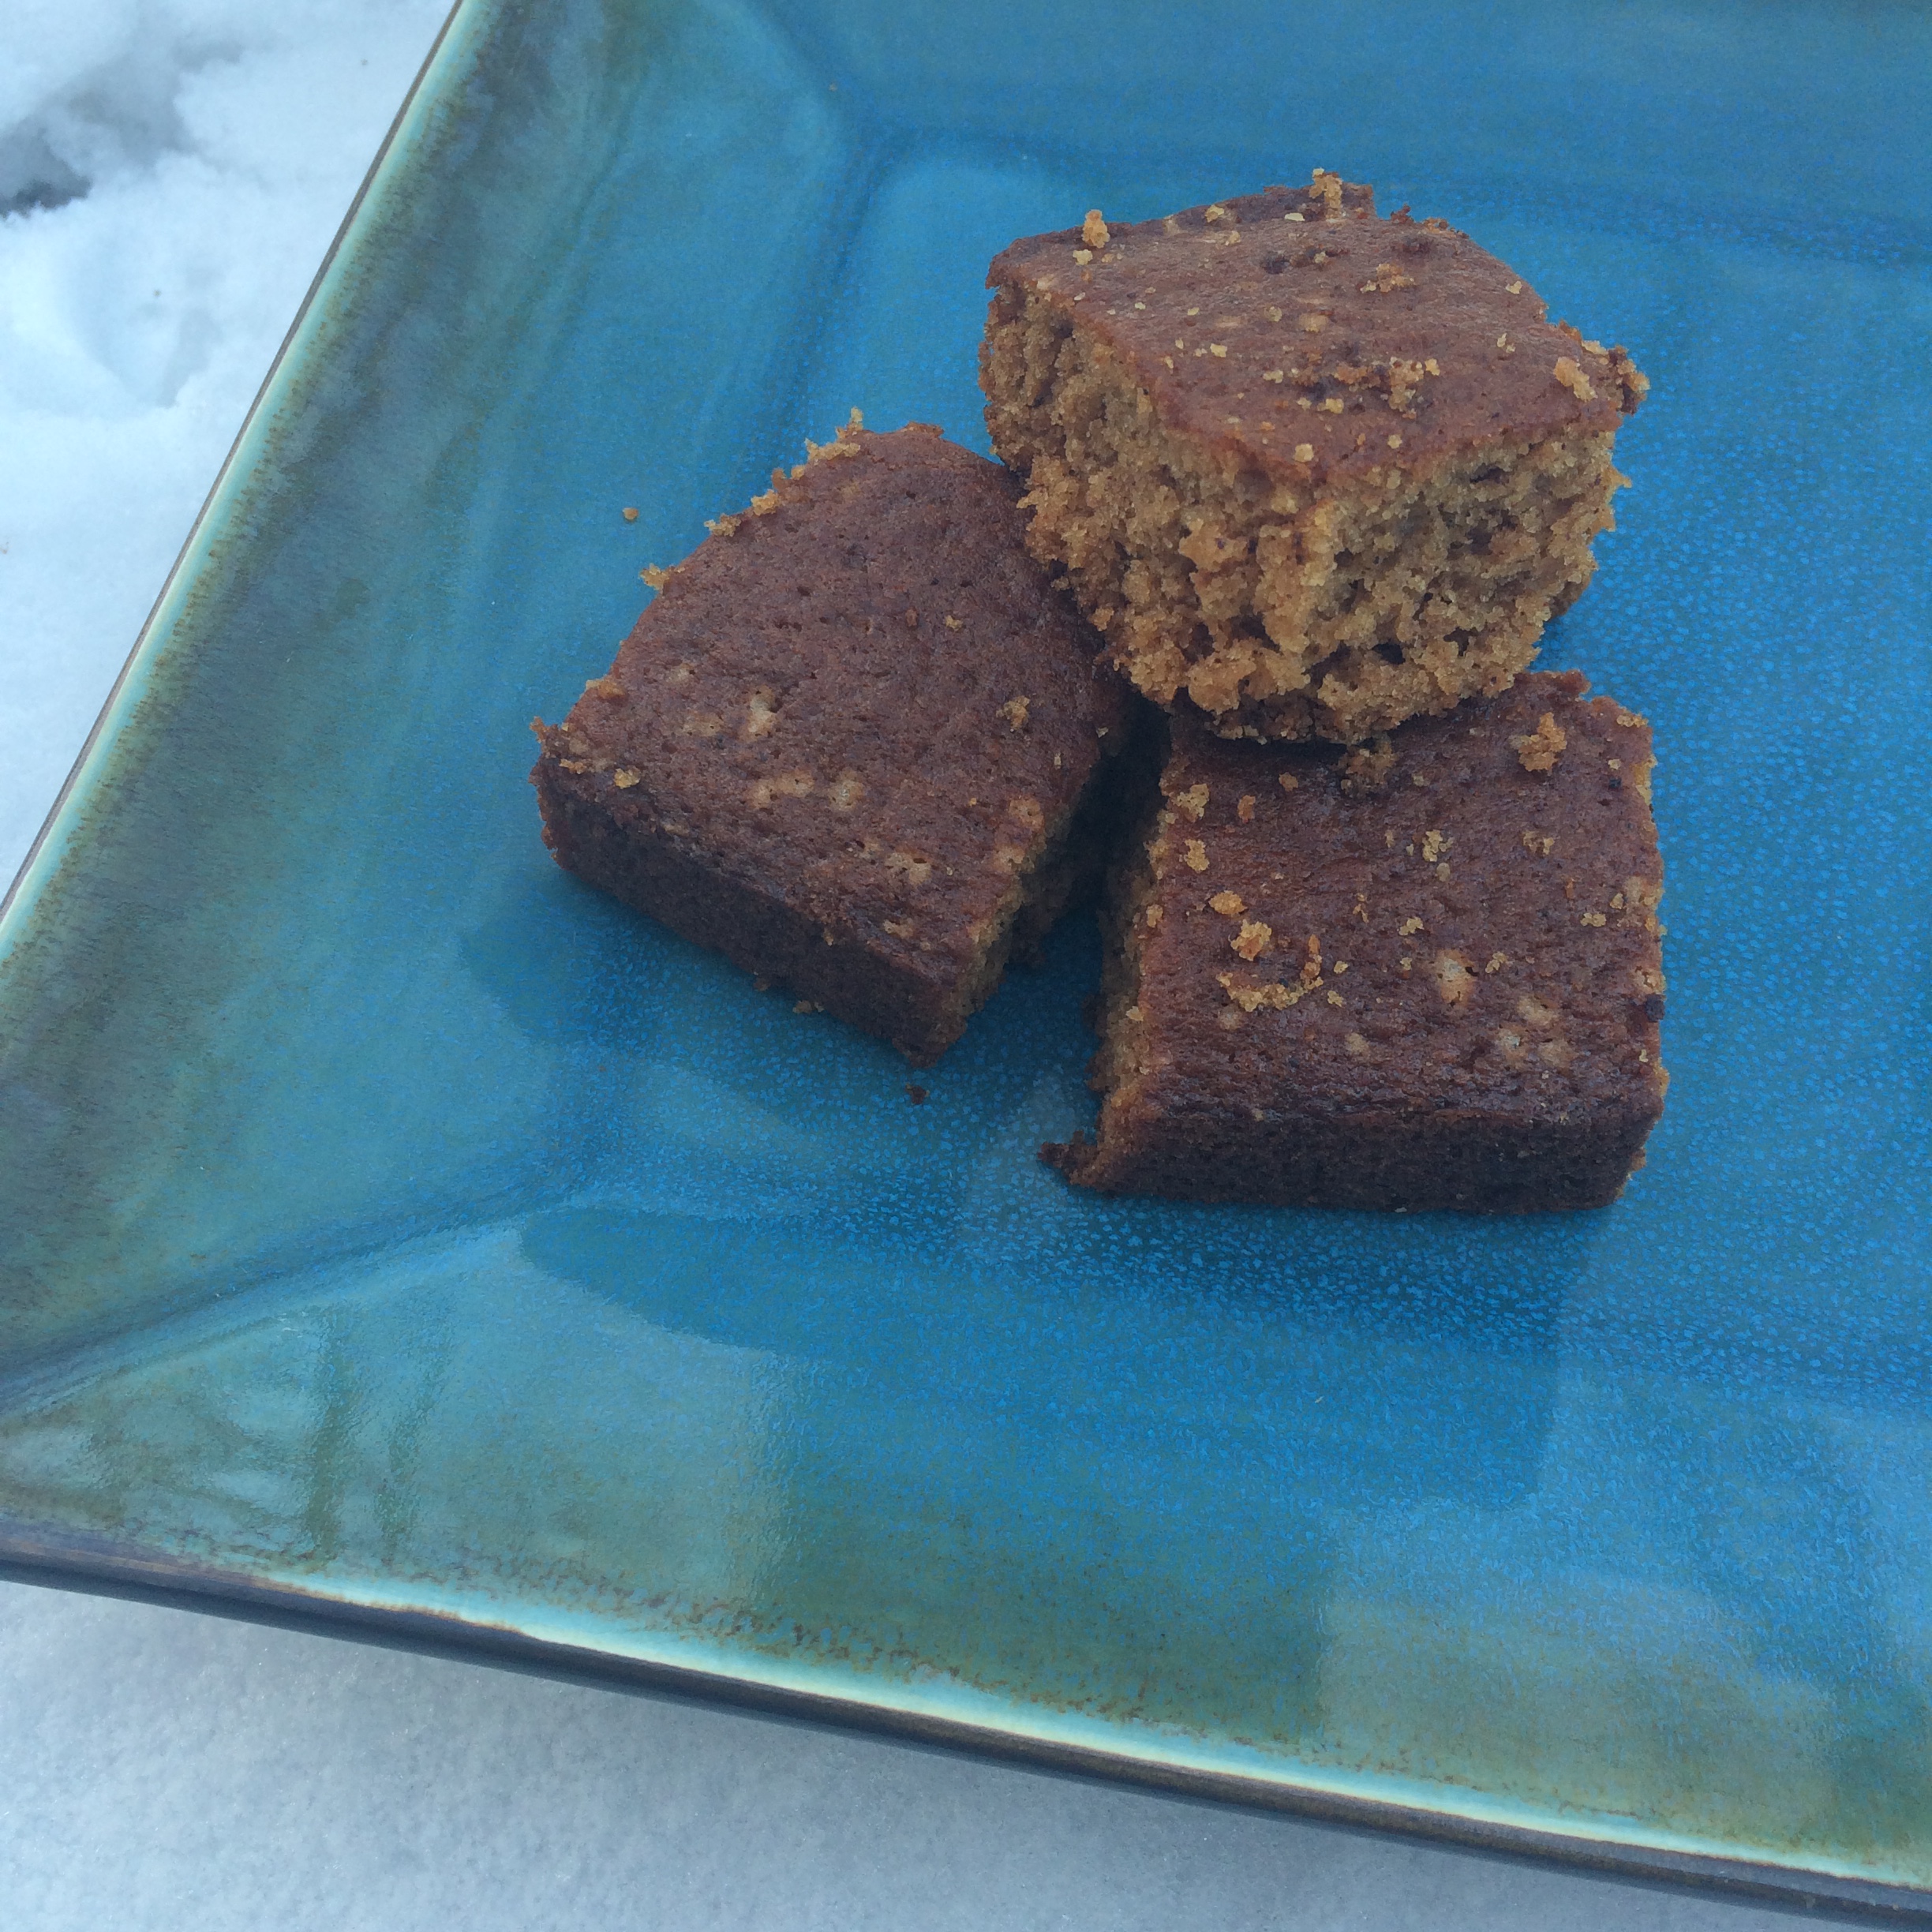
However, I uncovered it recently thanks to Facebook alerting me to the fact that I hadn’t posted in awhile (5 years – thanks Facebook). Having advanced somewhat in the food blogging world at this point in my life, I got a good laugh about the amateurish quality of the food photos I had been posting with my recipes. The whole blog left a lot to be desired, but we all have to start somewhere, right? And the recipes themselves aren’t bad. This honey chili and cornbread is an adaptation of a recipe I had posted on my old blog. However, for comparison’s sake, here’s the photo of this dish that I originally took:

Chili

Appetizing, right? It’s nice that my hand is in the shot, and I’m also pretty sure I had already taken a bite out of that cornbread before snapping this photo. Mike definitely chuckled when I showed him – thank goodness I’ve improved my food photography at least marginally since my old blogging days.

IMG_0399

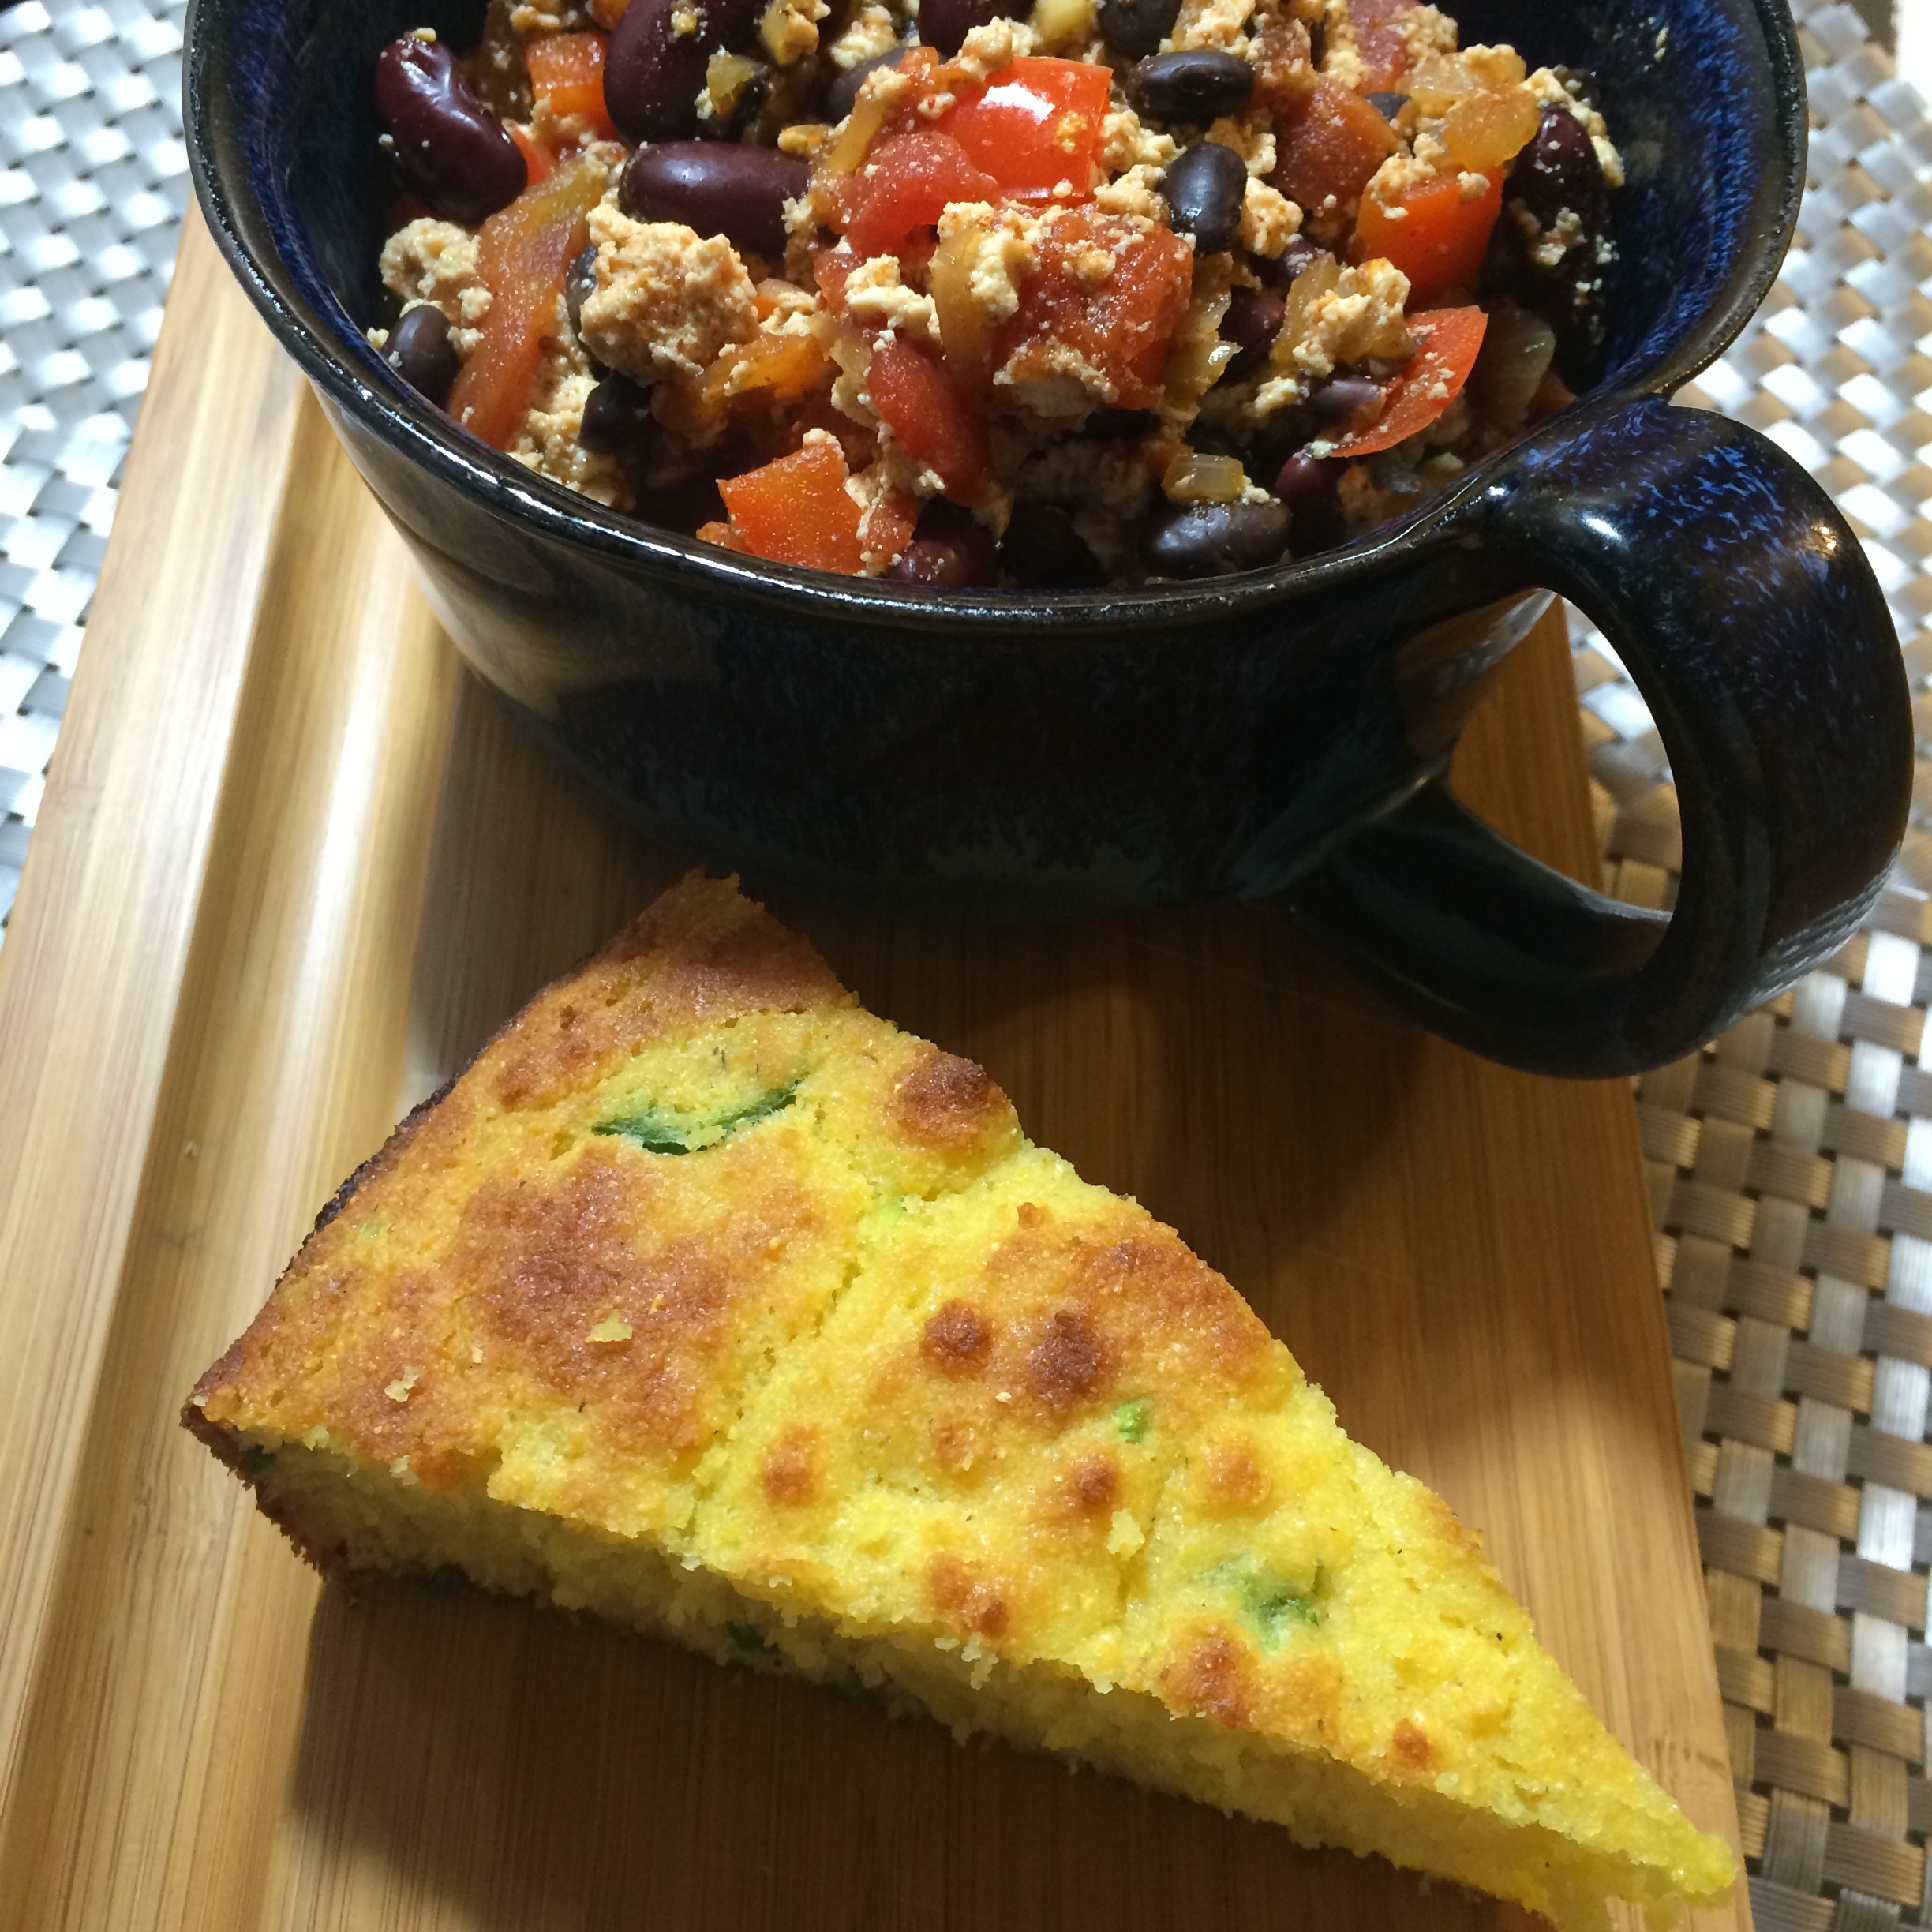
But like I said, the recipes aren’t bad. As soon as I came across the honey chili and jalapeno cornbread, I wanted to make it again and see what I could do with it. And honey chili 2.0 has come out fabulously. I love making dinners like this because of the leftovers and because they’re basically just super easy but pack a healthy and filling punch. Plus, this entire meal is 100% gluten free. Even the cornbread. (Honestly for something made primarily of corn you would think it would always be gluten free, but it’s not).

IMG_0394

What You Need for the Chili:

  • 1-14oz package firm tofu
  • 1 tbsp coconut or olive oil
  • 1 cup chopped onion
  • 3/4 cup chopped bell pepper
  • 2 cloves garlic, finely chopped
  • 12 oz can diced tomatoes (or chop 1 1/2 cup fresh tomatoes)
  • 12 oz can black beans, drained and rinsed
  • 12 oz can kidney beans, drained and rinsed
  • 2 tbsp chili powder
  • 1 tsp. ground cumin
  • 1/2 tsp. salt
  • 1 tsp. dried oregano
  • 1 tsp. crushed red pepper flakes
  • 2 tbsp honey
  • 2 tbsp. red wine vinegar
  • 1/4 cup freshly grated cheddar cheese

IMG_0382

What You Need for the Cornbread (adapted from GlutenFreeOnAShoestring):

  • 2 cups coarsely ground yellow cornmeal
  • 1 teaspoon kosher salt
  • 1 teaspoon baking soda
  • 2 teaspoons baking powder
  • 1 egg
  • 4 tablespoons unsalted butter, melted
  • 1 1/2 cups plain Greek yogurt*
  • 4 tablespoons honey
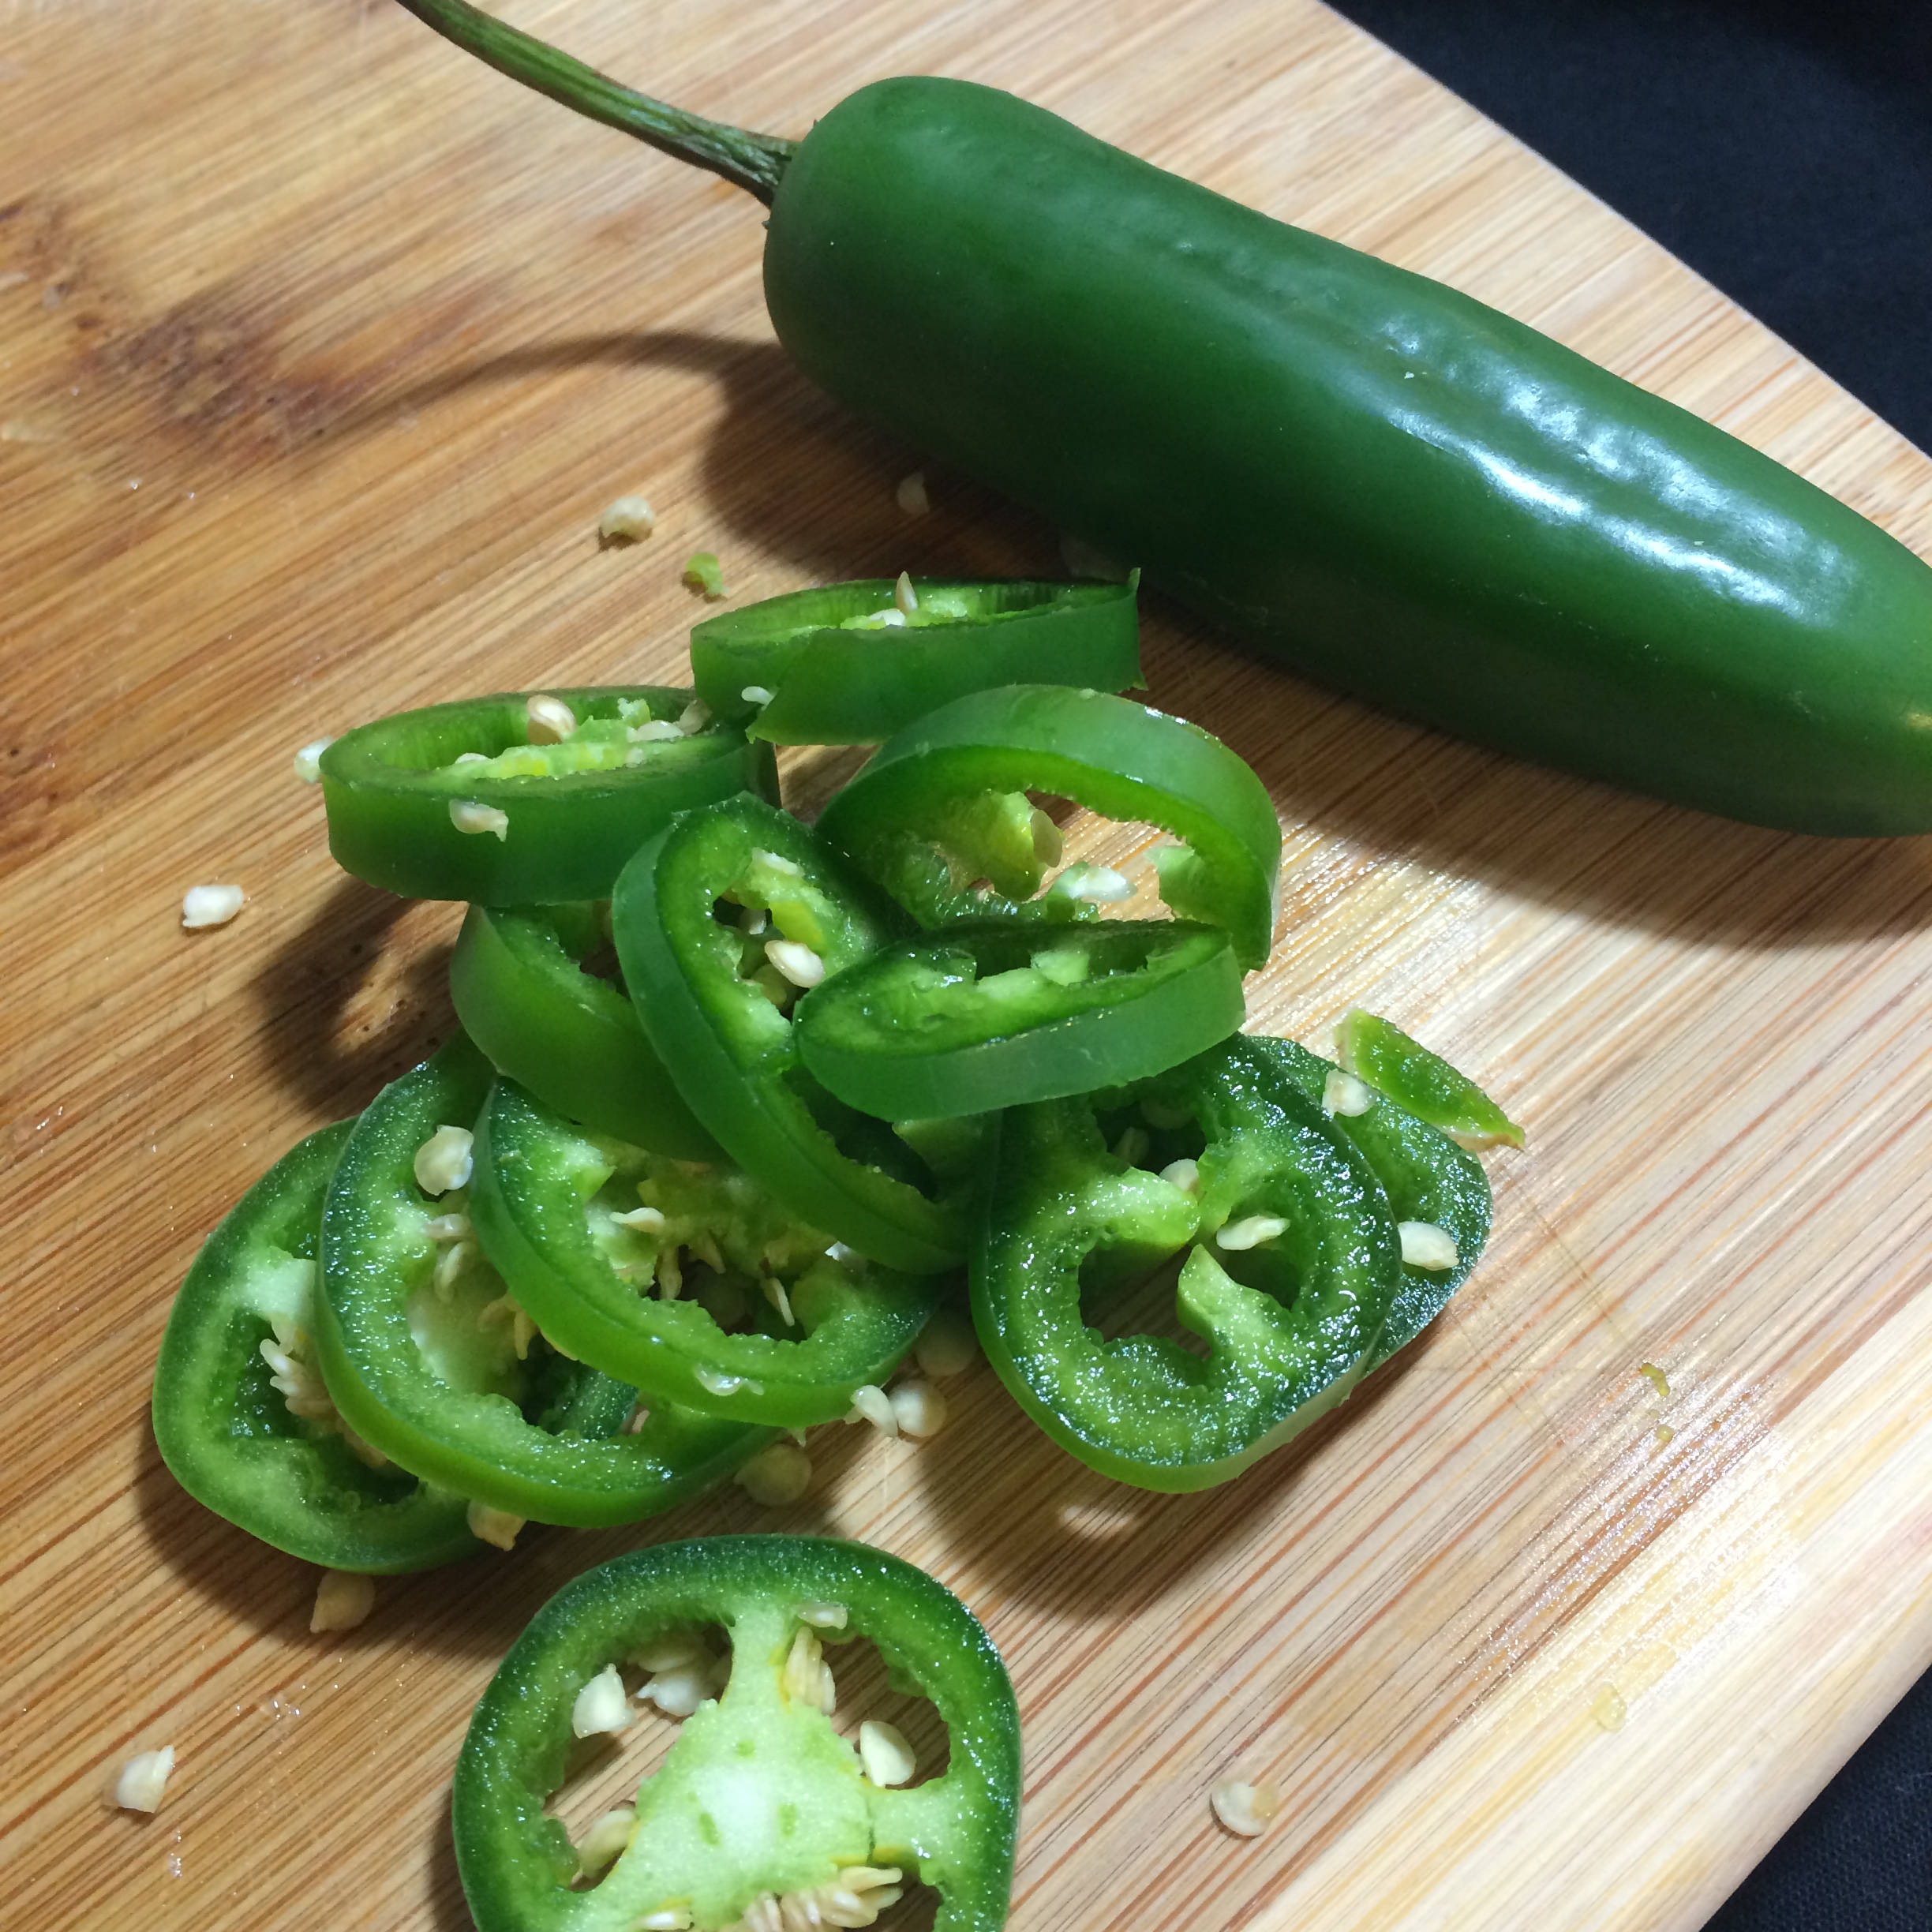
  • 2 jalapenos, finely chopped (seeded if desired)

What You Do:

Preheat oven to 400F

IMG_0375

Before doing anything, shred the tofu into a strainer using a cheese grater. This will help remove excess water from the tofu and you can set it aside to drain while you cook.

Make the cornbread first, as you can make the rest of the dish while it bakes.

In a small bowl, whisk together the cornmeal through baking powder.

In a separate bowl, mix together the remaining ingredients, including jalapenos.

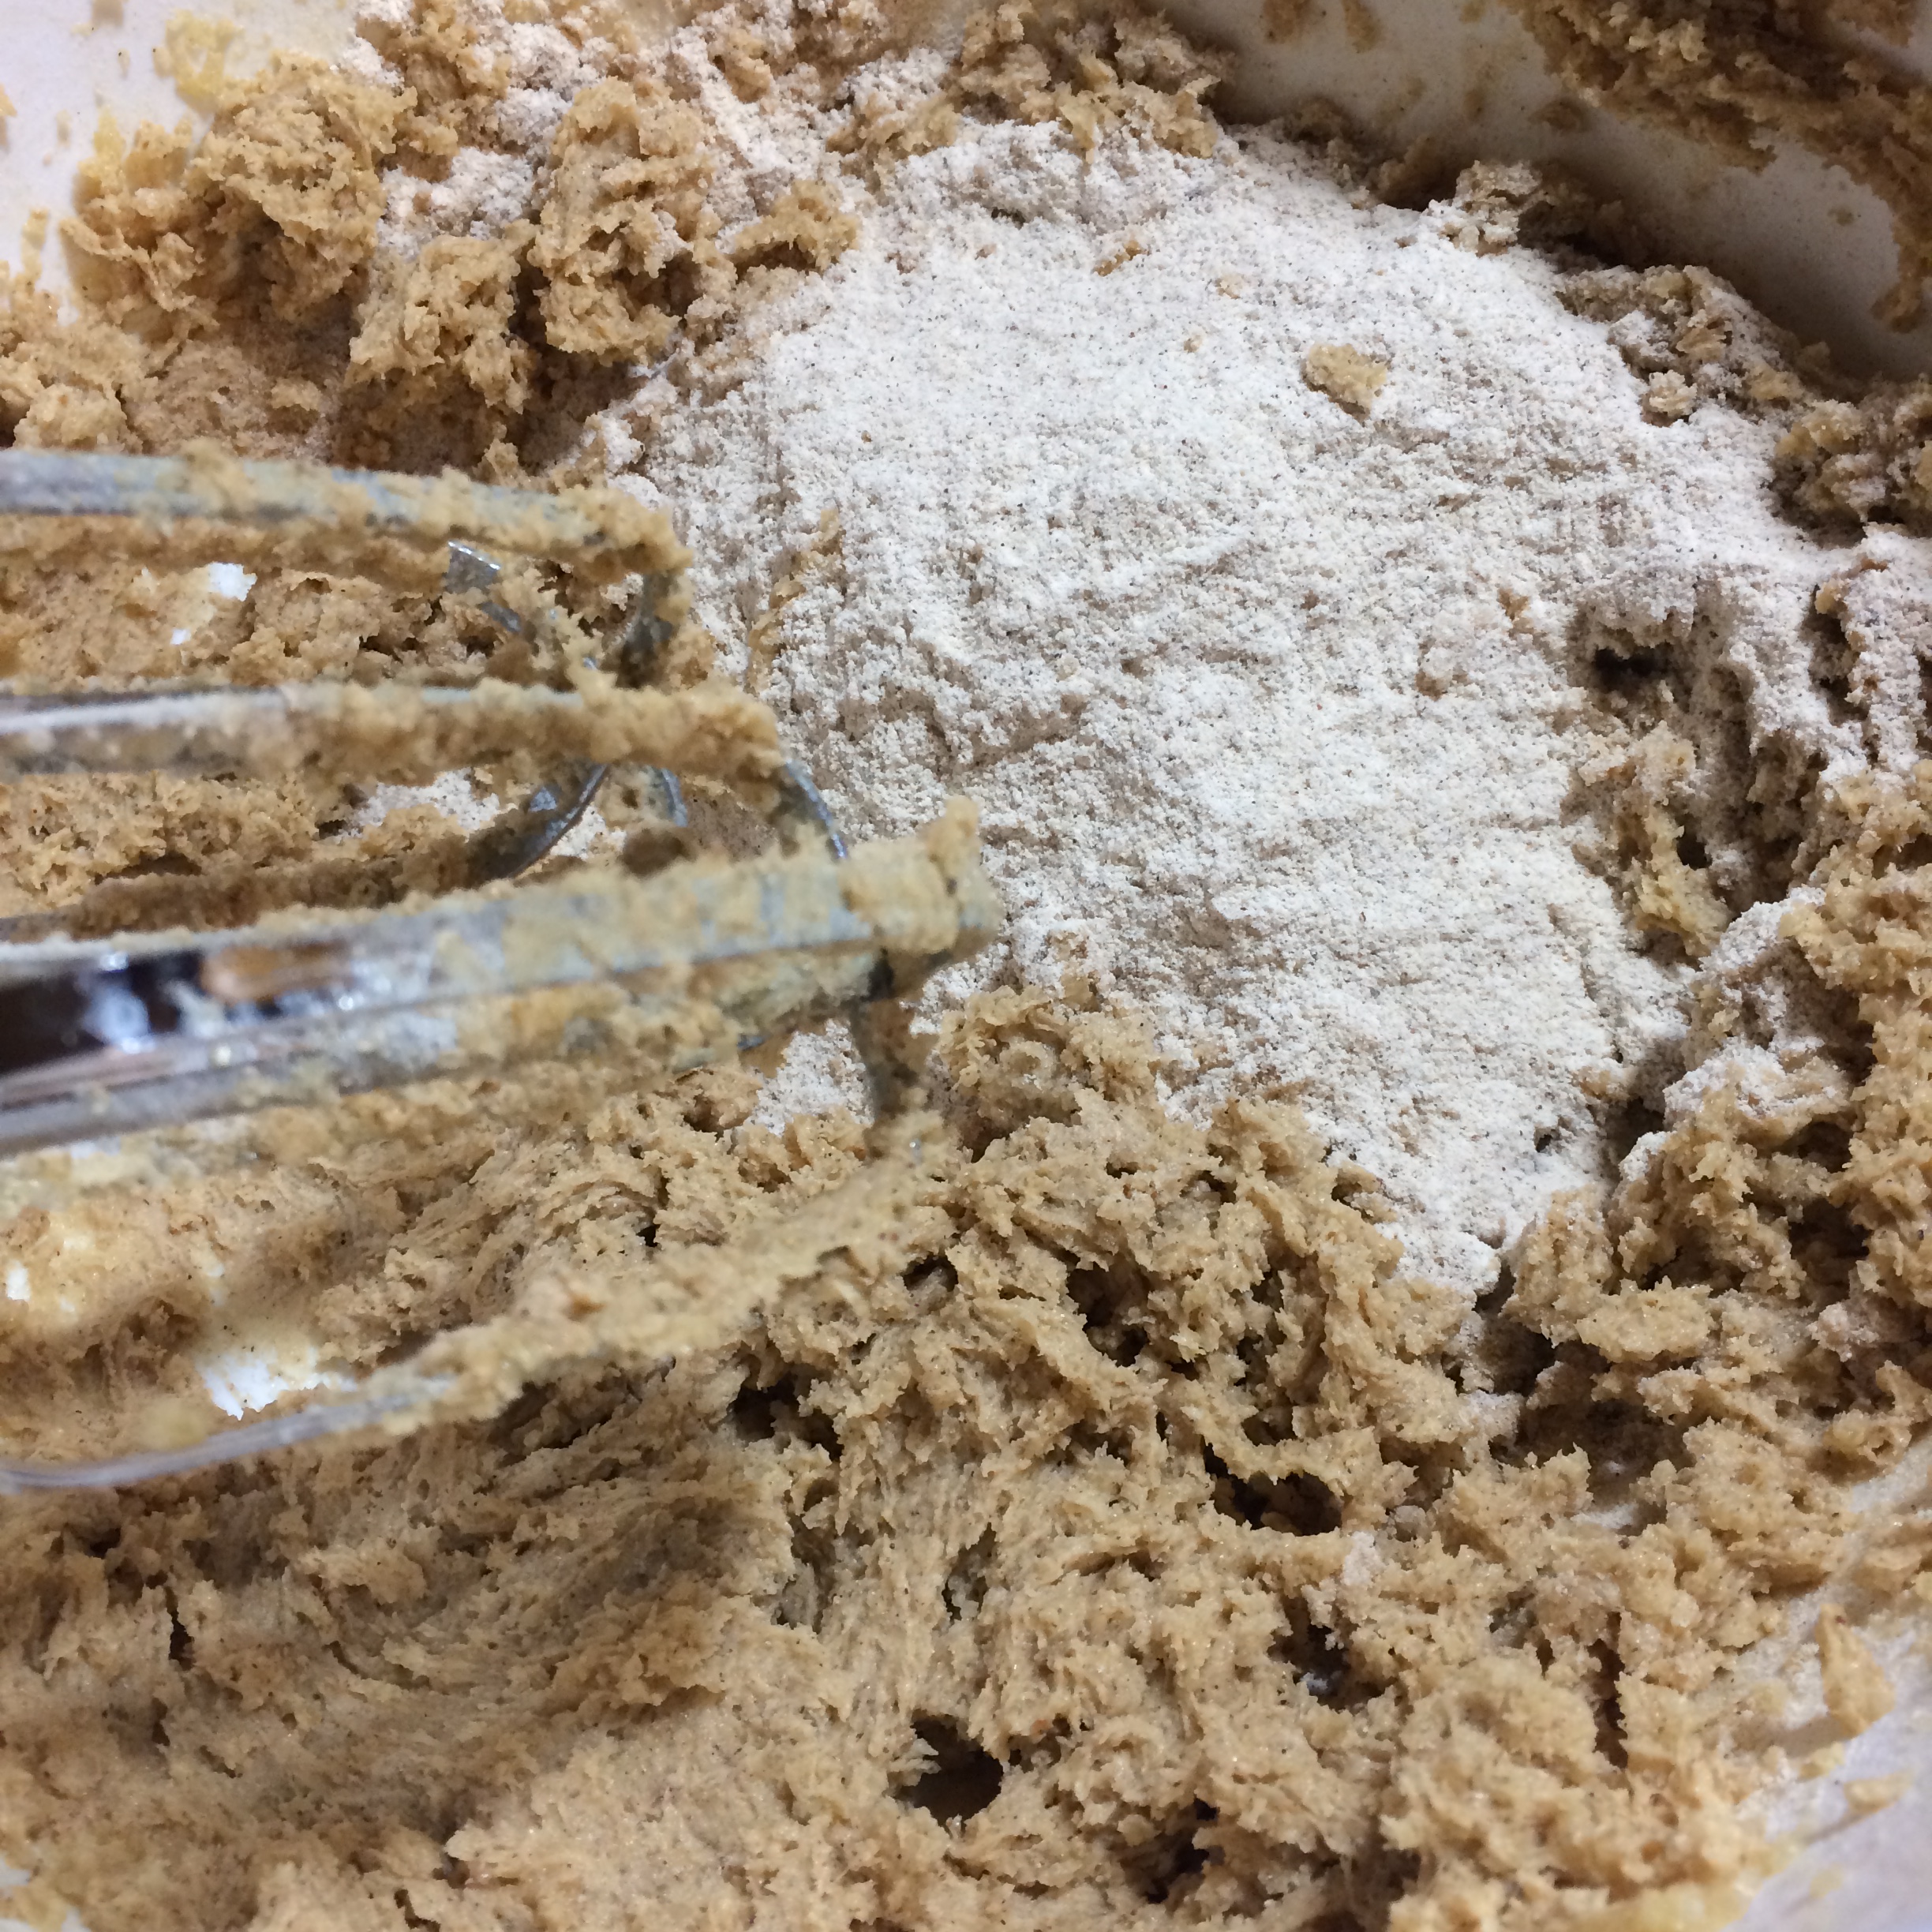
Add dry ingredients to the wet mixture and mix well. The batter will be fairly fluffy in texture.

IMG_0387

Scrape batter into a well-greased 8-or-9-inch baking pan. I used a round cake pan.

Bake for 20 minutes. The top of the cornbread will be a lovely golden brown and the bread is done when a toothpick inserted in the middle comes out clean.

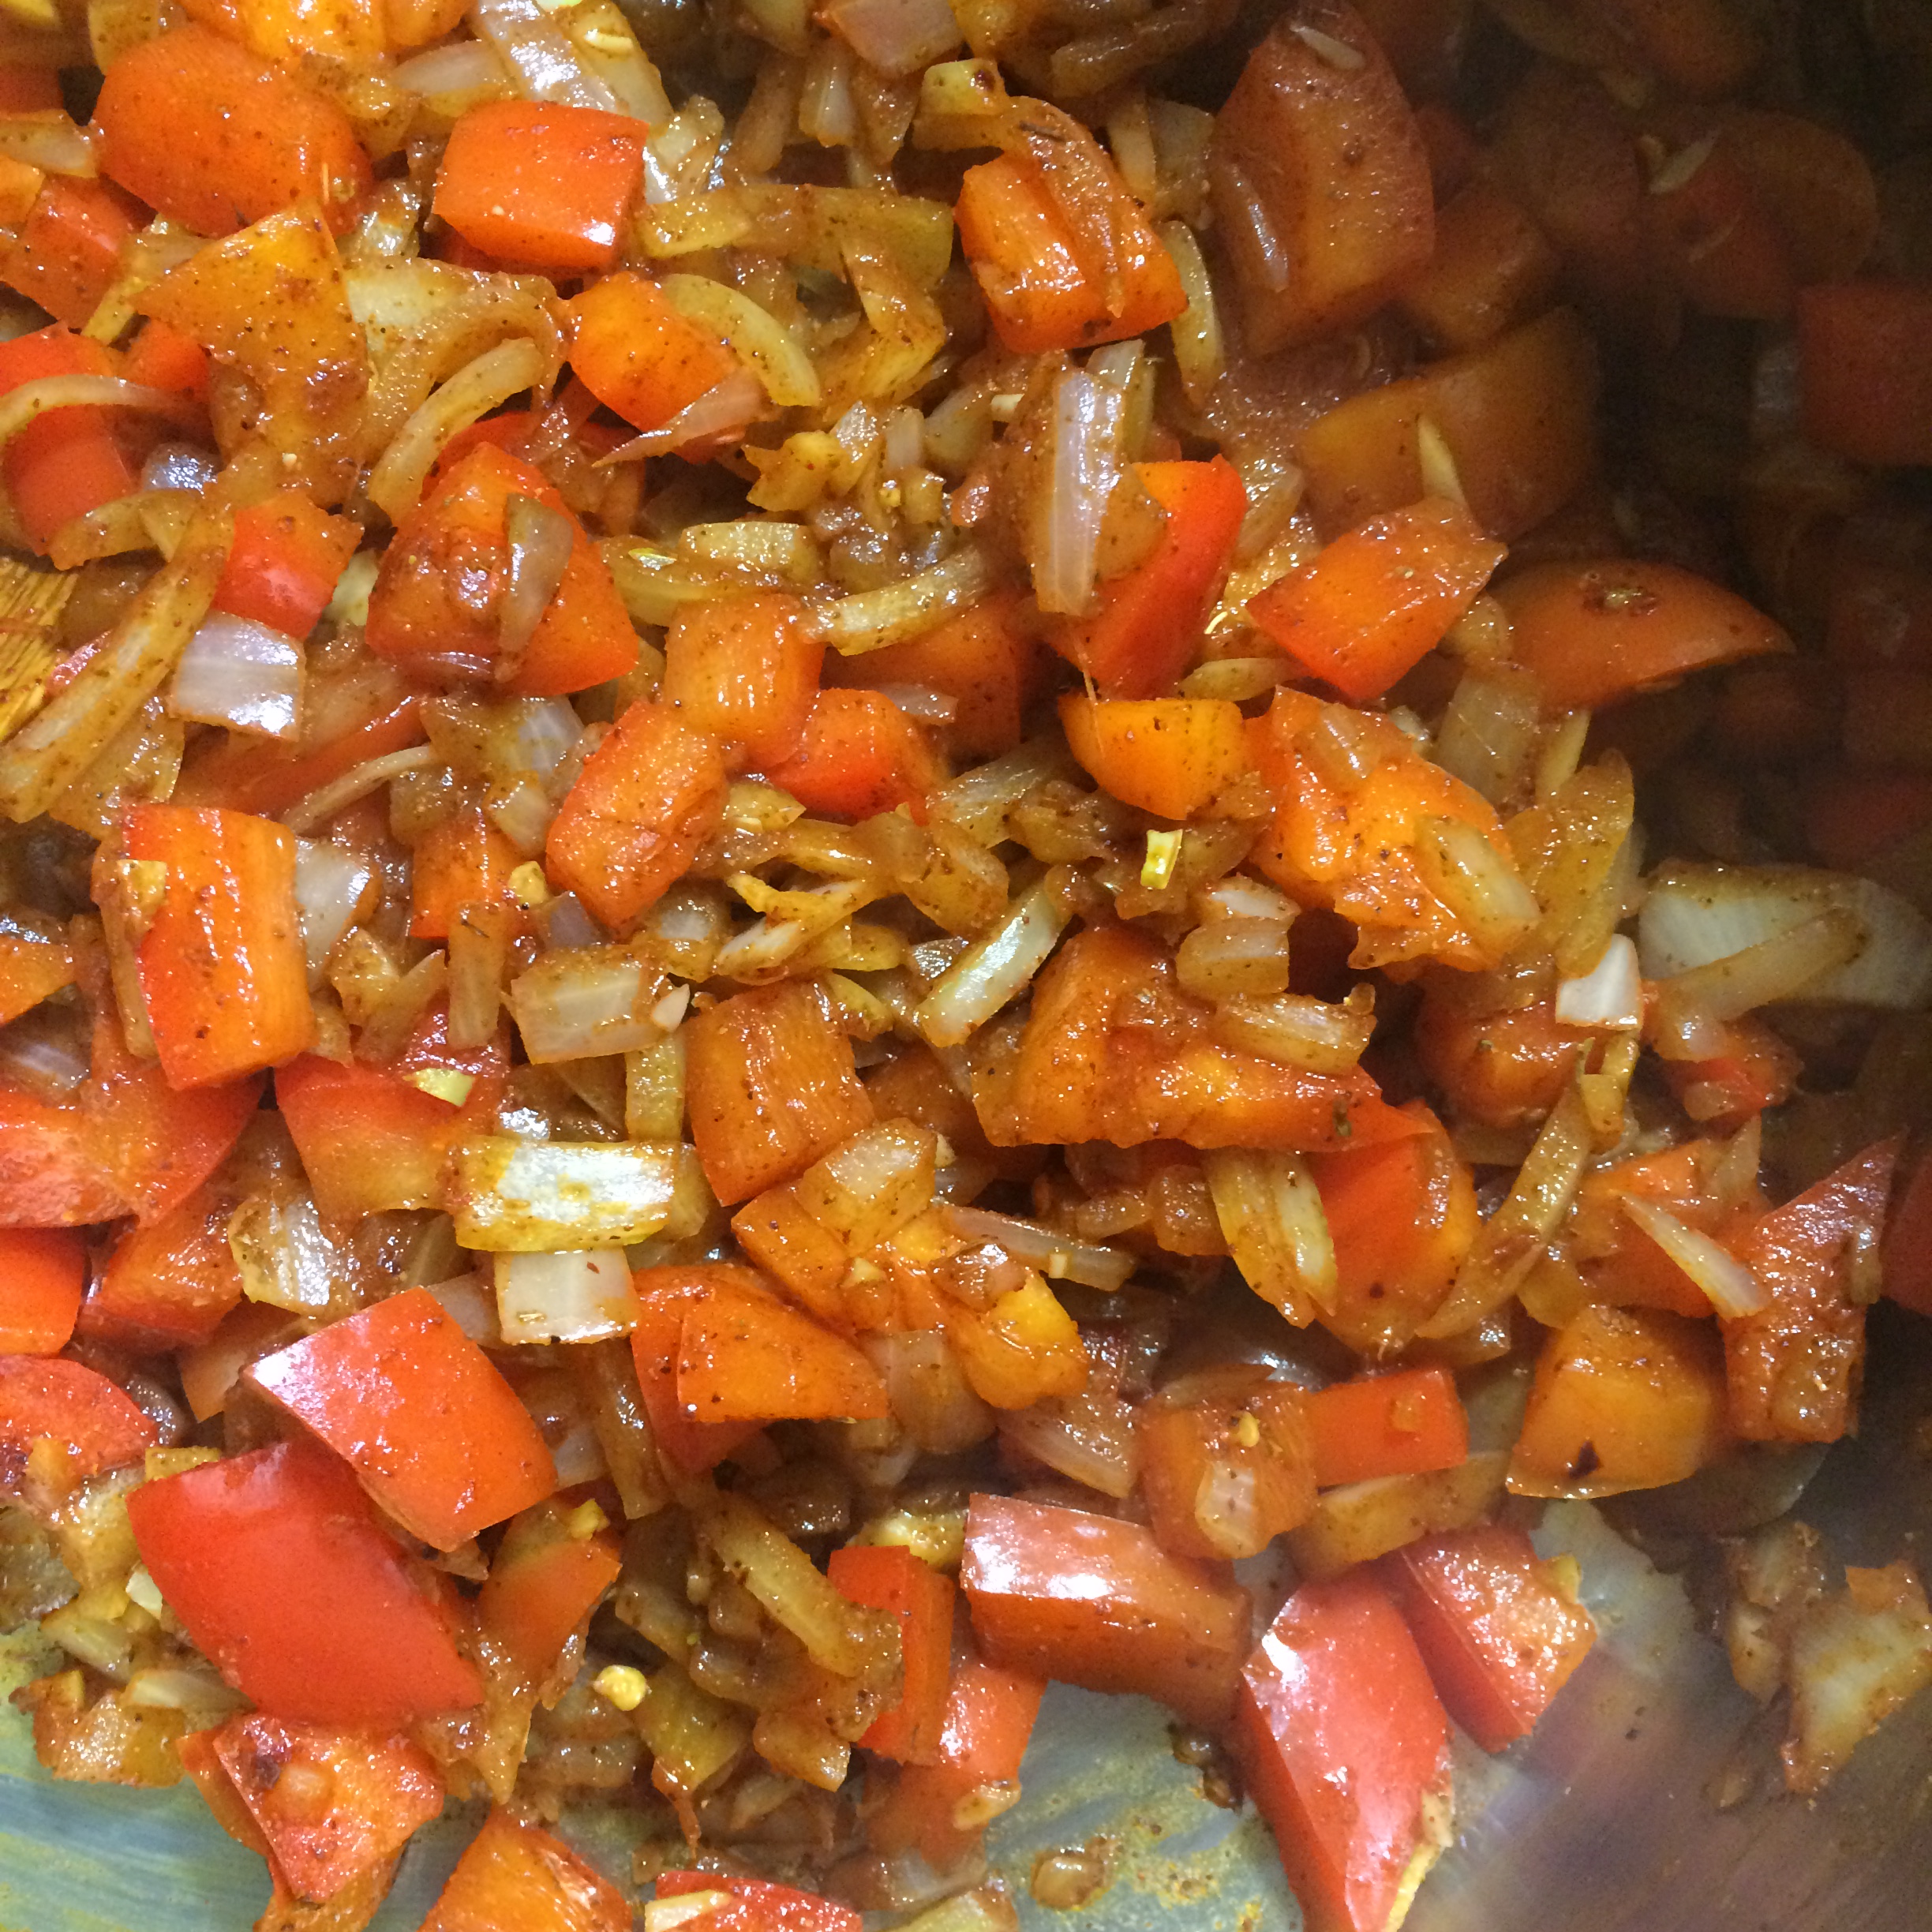
While the cornbread is baking, heat oil in a large skillet. Add the onion, bell pepper and garlic and saute until soft.

Add the tomatoes and beans and mix well, stirring occasionally until well heated. Then add the spices, honey and vinegar and mix well.

IMG_0391          IMG_0398

Finally, add in the shredded tofu and mix well. The cool thing about this dish is that the shredded tofu adds a hearty meat-like look and feel while keeping it 100% vegetarian.

Serve with a slice of cornbread and a sprinkling of cheddar cheese.

*Pro Tip: Don’t have plain Greek yogurt on hand for the cornbread? Substitute with an equal amount of sour cream or buttermilk.

IMG_0401

Baked Spaghetti Squash and Vegetables

Whenever Mike and I return from a holiday weekend, we inevitably feel totally stuffed (even if our last big meal was the day before) and guilty from all the treats and goodies we tossed freely into our mouths. And yet somehow we still manage to cram leftovers down our throats.

IMG_0367

When we returned on Sunday from our whirlwind Thanksgiving holiday in Connecticut and New York, I gave myself one last hurrah meal. I indulged with a bagel pizza I made using a New York bagel we heisted from Mike’s aunt’s house before heading out. There is just something so special about these bagels. It’s rumored to be the water used in the dough, which is apparently unique to the Empire State. Whatever it is, I had no choice but to say a tearful farewell to these bagels and what had been turning into a dangerous daily breakfast habit.

IMG_0370

Enter the spaghetti squash. Low in calories and sugar but high in nutrition and taste, there is no better way to reverse the holiday binge than with spaghetti squash. I typically prefer to prepare these as though it is actual pasta, and slather it with homemade tomato sauce and cheese, but given the circumstances I thought a lighter meal would be better. And this dish certainly is light. It really helped start our week off on the right foot.

IMG_0373

What You Need:

  • 1 spaghetti squash (about 5 cups cooked)
  • 1 tbsp coconut oil
  • 1 yellow onion, diced
  • 2 cloves garlic, minced
  • 1 jalapeno (seeded if desired)
  • 4 or 5 large white button mushrooms, chopped (about 1 cup)
  • 1 1/2 cups vegetable broth, divided*
  • 1 tbsp fresh sage, finely chopped
  • 6-10 Campari Tomatoes, cut into quarters (juices should be kept and added to dish)
  • 2 cups fresh baby spinach, uncooked
  • 1/4 cup freshly grated Parmesan cheese

What You Do:

Preheat oven to 400F

*Because this recipe calls for vegetable broth, you have the option to simply make your own. Boil 2 1/2 cups water in a pasta pot and add any parts of the vegetables from this recipe that you’re discarding. (Onion and garlic skin, mushroom stems, a few springs of sage, jalapeno stem and any unused parts of the tomatoes). Once you have boiled down the vegetables, strain the broth into a separate pot and set aside.

IMG_0357

Halve the spaghetti squash with a sharp knife. Dig out the seeds with a spoon and place squash face-down on a foil-lined baking sheet.

Bake for 30-45 minutes or until the squash skin becomes darkened and the squash begins to caramelize around the edges. If you can easily stick a fork through the skin and squash meat, you’re good to go.

While the squash is baking, heat coconut oil in a large skillet on medium heat. Add onions and garlic and saute until translucent and soft. Add chopped mushrooms and jalapenos, heating continuously until the mushrooms are brown, soft and fragrant. The mushrooms will emit some water, so let the entire dish simmer for about 10 minutes, stirring frequently.

IMG_0360

Once the water begins burning off, add one cup vegetable broth and stir. The heat should still be on medium and the broth simmering. Once it has simmered down to less liquid, add the sage and tomatoes with their juices. Continue to simmer.

Using a fork, remove the strands of spaghetti squash from the shell. You should have about 5 cups. Add it to the vegetable mixture and mix everything up well.

Add the remaining 1/2 cup vegetable broth (if you made your own, simply freeze any leftover broth for another dish).

Add the spinach and mix until it becomes limp and blends into the dish.

Top each serving with a sprinkling of Parmesan cheese.

IMG_0354     IMG_0355     IMG_0351

Pro Tip: If you have extra time, pile the whole deal into a baking dish, sprinkle with the cheese and bake on 350F for about 10 minutes or until cheese is melted.