How to Plant Garlic (And a Cute Doggie Photo Shoot!)

Planting Garlic (8)

This past weekend, I had the luxury of – for once – having very few plans. Aside from my usual exercise commitments in the mornings, and a late-afternoon coffee date with a friend, I was left to my own devices (Mike was working both days).

This can usually go one of two ways: I’m either uber-productive, or I basically do nothing. But the weather was perfect, and I was feeling motivated, so I decided to get my garlic bulbs in the ground while I still can. It’s a pretty good bet the earth will be frozen in no time – all I hear on the weather now is about the Arctic Chill sweeping through the country.

Planting Garlic (4)

There is no reason not to plant garlic – it takes hardly any time, they take care of themselves all winter and then, like magic, they start growing when spring arrives. You can plant them in the spring, but overwintering them means bigger and more flavorful bulbs.

The Internet advises planting your garlic before the first hard frost of the season, so for my little part of the world that means mid-October to early November. I waited this year because we’ve had unseasonably warm fall temps, and when I planted in October last year, some of the garlic sprouted and didn’t make it through the winter. Lesson learned!

Planting Garlic (2)

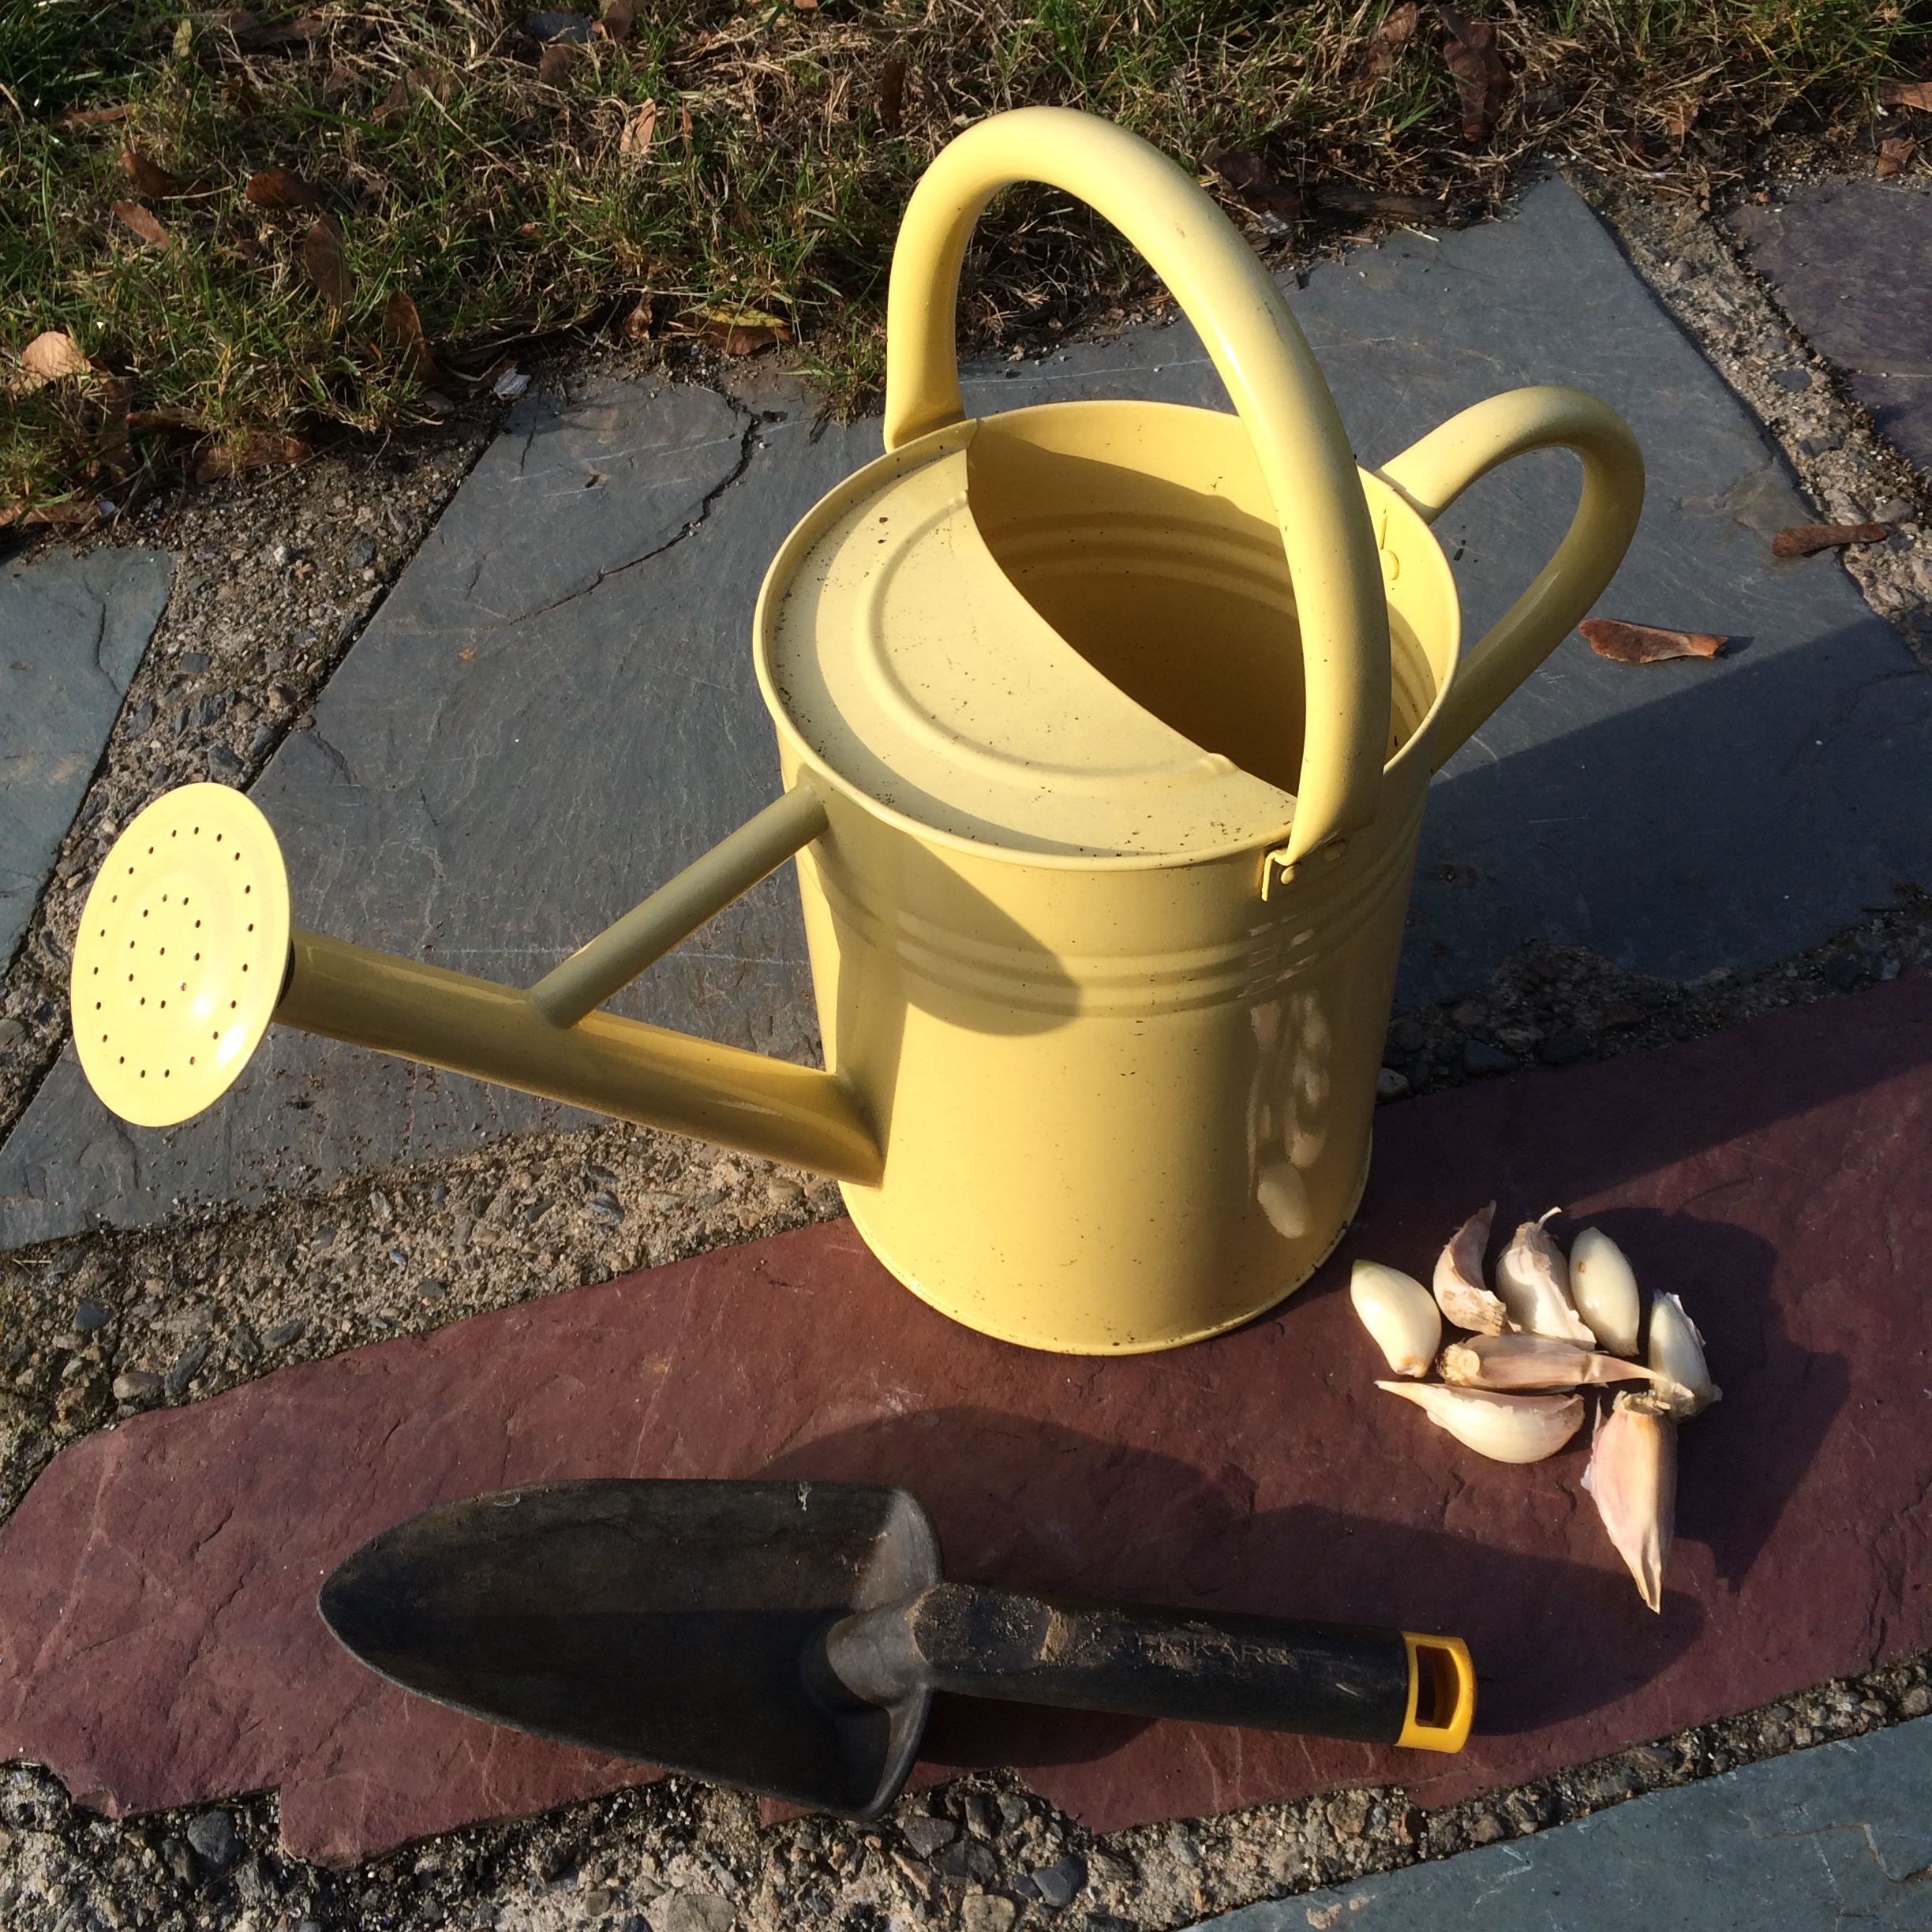
Simply get one or two full garlic bulbs from a local farm stand or order from a seed supplier. Don’t plant garlic from the grocery store because it might not be suitable for the climate where you live.

Separate each clove from each other and from the center stalk. Leave the papery skin casing on, but it’s OK if it tears off in places.

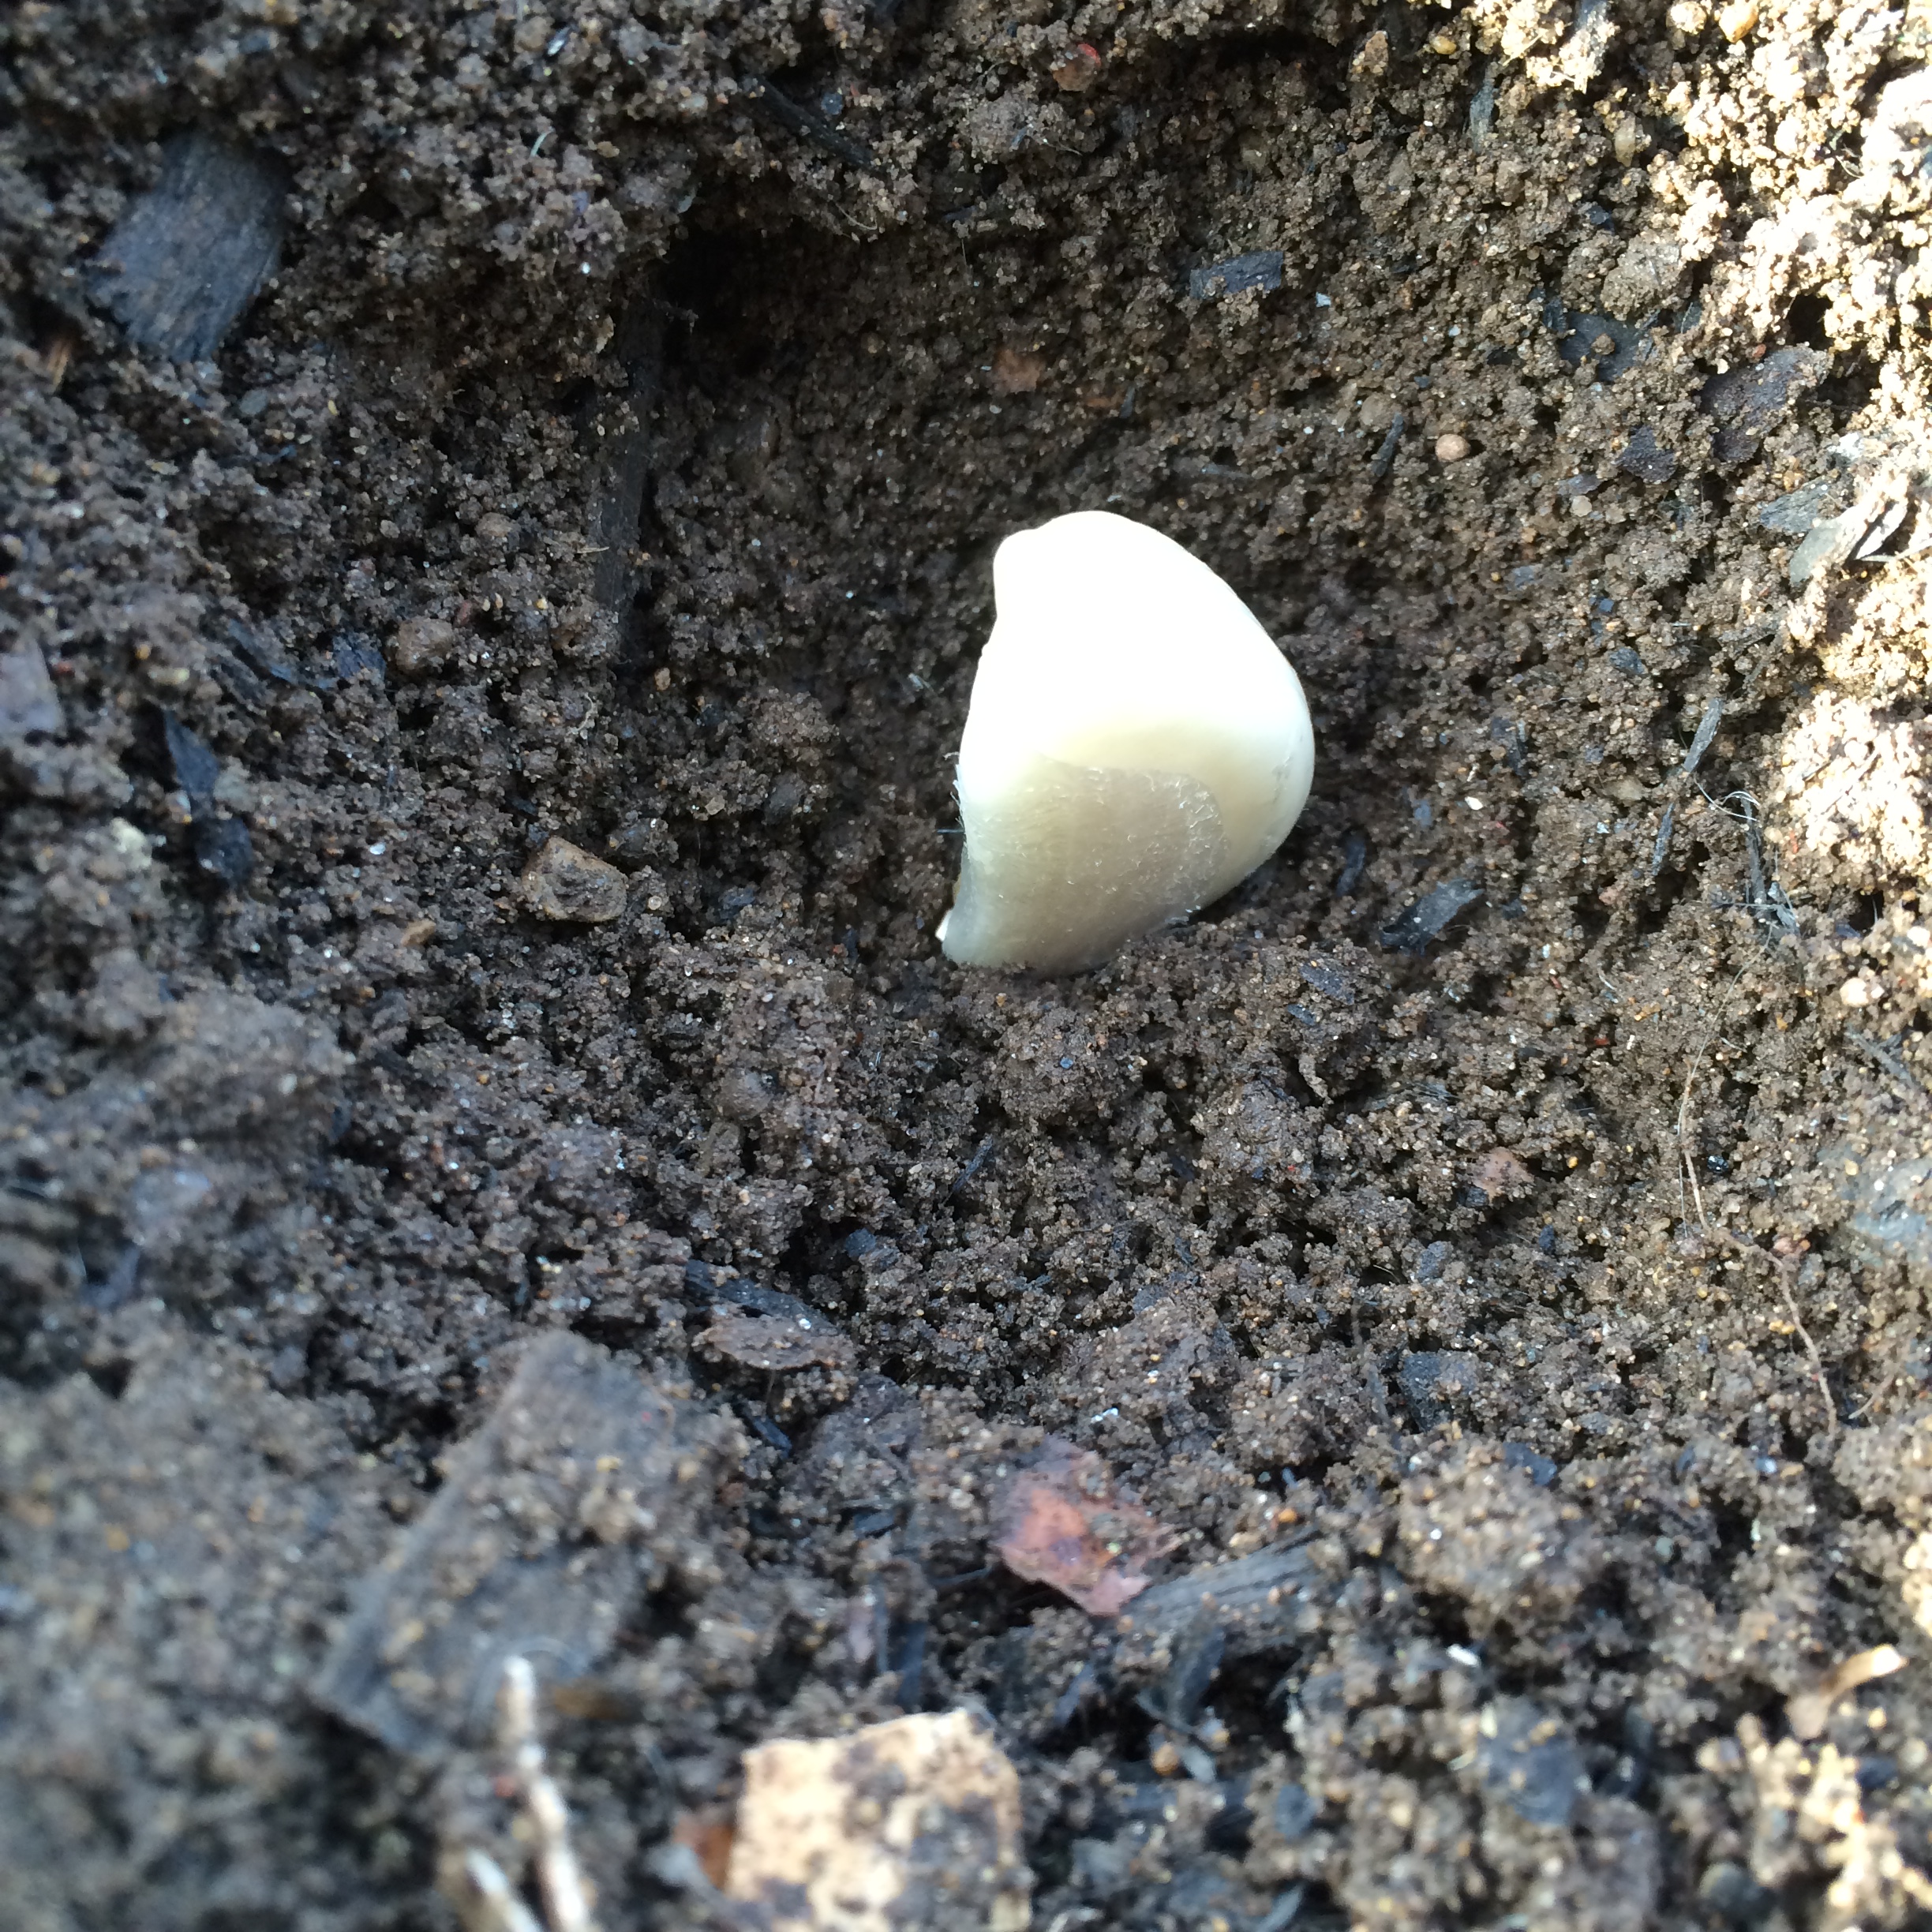
One end of the clove is pointed and smooth, and the other, fatter end is flat and has root tips. This is the end you want in the ground, because it will take root from the bottom and sprout out the other end.

Garlic

Plant each clove about 2 inches below the surface of the soil, and about 4 inches apart from each other. I mixed some fertilizer in with the soil before planting.

Because you’re overwintering the garlic, you want to insulate them well by placing a layer of straw, mulch, or seaweed on top. I’ve used seaweed the past couple of years and it has worked very well.

Planting Garlic (16)

Madison was a good sport for garlic planting day. I think she got into it. I planted 8 cloves in this garden spot (above) in rows of 2. (That green mound in the middle is a chive plant that’s on its last legs from the summer.)

Planting Garlic (22)

What’s going on?

Water the garlic once or twice per week, depending on rainfall, following the initial planting.

I’d love to hear from you if you have any tips, or want to share your garlic planting experiences!

Advertisement

Healthy and Easy Crustless Summer Vegetable Quiche

Quiche (2)

I have never been so determined to make a dinner from scratch as I was when I forged ahead and baked this quiche, even though I didn’t start it until 8pm on a work night, knowing full well it wouldn’t be ready to eat until at least 9:30pm; and that’s if everything went smoothly. (It did).

Perhaps a saner person would have looked at the clock and resigned themselves to leftover Annie’s Mac and Cheese, or even a fresh salad, but I would not give up the dream of quiche. It came out of the oven so late that Mike didn’t even eat it (he had already eaten the mac and cheese and a fresh salad with toast on the side, like a smart thinker).

Quiche (5)

But I made sure to ooo and ahhh over this quiche as I helped myself to not one but THREE (small) servings, trying to savor it as the clocked ticked rapidly toward 10pm and my bedtime loomed near. I try not to eat close to going to bed, but quiche night was an exception.

It’s good. Good enough to wait well into the night for, and good enough to risk going to bed with a quiche hangover. I also need to note that the reason it didn’t maintain it’s pie-slice shape in the photos was because I insisted on eating it within a few seconds of taking it out of the oven. Let this thing cool – it’s worth it!

What You Need:

Quiche (6)

  • 1/2 of a large yellow onion, roughly chopped
  • 2 small garlic cloves, finely chopped
  • 1/2 of a green bell pepper, chopped
  • 1/2 jalapeno or habenero pepper, chopped
  • 1/4 cup chives, chopped
  • 1 1/2 cup broccoli florets
  • 1/2 cup very finely chopped kale (spinach would work well too!)
  • 3 eggs, lightly beaten
  • 1 cup almond milk (or any other milk of your choosing)
  • 1 cup shredded muenster cheese
  • 1 cup shredded cheddar cheese
  • 2 tsp dijon mustard
  • 2 tsp fresh black pepper
  • 1 tsp salt
  • 6-8 very thin slices of zucchini
  • 6-8 very thin slices of tomato

Quiche (4)What You Do:

Preheat your oven to 375F.

In a lightly oiled medium skillet, heat the garlic and onion on medium heat until the onion becomes soft and translucent.

Add the jalapeno or habenero, and bell pepper, and chives, and stir.

Add the broccoli florets and stir well to combine with the onion mixture. Add a tablespoon of water if necessary to keep the pan moist, and cover, cooking on low-medium until the broccoli has reduced, about 7 minutes.

Quiche (3)

While the broccoli mixture is cooking up, grab a small mixing bowl and combine the eggs, milk, cheeses, mustard, black pepper and salt, stirring well.

Set aside.

Before taking the broccoli mixture off the heat, add the kale and stir well.

Pack the broccoli mixture into a well-greased pie dish.

Pour the egg mixture over the broccoli filling, using a fork to gently nudge the broccoli around to let the egg mixture seep through to the sides and bottom of the pie dish. (There should still be a healthy amount of egg mixture over the top of the dish.)

In any pattern you like, place the zucchini and tomato slices around the top of the quiche. Make a happy face if you want!

Place the pie dish in the oven for about 40 minutes (check after 20-30 though – you want the egg cooked through and the top to be slightly browned and crispy but not burned, obviously).

Let cool for a few minutes before delving in, if for no other reason than to keep it in pie-slice shape 🙂

Enjoy!

Pro Tip: Have it for breakfast! Experiment with different cheeses too – I think Parmesan or feta would be absolutely delish.

Quiche (1)

Spanish Rice Baked Stuffed Heirloom Tomatoes

Stuffed Tomatoes (6)

Do you KNOW how many recipes there are in the world for stuffed tomatoes where the stuffing is nothing more than breadcrumbs and some salt and pepper? I’m sure it’s delicious, really. You could put bread product in basically any food and I’d eat it for days. But I feel like I couldn’t quite get away with serving mostly breadcrumbs to Mike for dinner.

Stuffed Tomatoes (13)

Besides – there are so many awesome ways to stuff a tomato, right? I was going to do quinoa and kale for this recipe, but got to thinking about other grains and other dishes and remembered suddenly how much I loved Spanish Rice when my mother would make it when I was a kid. (If my mother is reading this, I want to be candid that I do realize I could be remembering this incorrectly and perhaps I did not love it as a kid, but I certainly consider it a food that I recall eating as a kid and enjoy eating today. So same thing, right?)

I also wanted to share this adorable farm stand that I discovered while running to work one day. (These are the perks of not driving – I tend to pay more attention to what’s going on around me). Check this out:


Stuffed Tomatoes (14)

This person keeps a little bucket near the veggies for your money and it’s completely an honors-system operation. I love it. So I got a few of the tomatoes for this meal from this little stop on my way home.

Stuffed Tomatoes (18)

This dish is super yummy and has the added benefit of providing probably all the lycopenes a person needs for a successful week! The rice you use is completely up to you. I used Jasmine because as I have mentioned it is by far my favorite type of rice, but I imagine a wild or brown rice would also be spectacular in this dish.

What You Need:

  • 5-7 medium red tomatoes or heirloom tomatoes if you can get your hands on them
  • 1 small onion, chopped OR 1/2 of a medium-large onion, chopped
  • 2 small garlic cloves, chopped
  • 1 jalapeno pepper, chopped (optional)
  • 1 small or 1/2 of a large red or green bell pepper, chopped
  • 2 cups vegetable broth
  • 1 cup rice
  • 1-8oz can diced tomatoes in their juices
  • 1/2 tsp salt
  • 1 tsp ground pepper
  • 1 tsp cilantro (finely chopped fresh or ground)
  • 1/4 cup panko breadcrumbs
  • 1/8 cup shredded Parmesan cheese

What You Do:

Preheat your oven to 350F.

Bring the vegetable broth to boiling in a medium saucepan. Reduce heat to a simmer and add the rice. Cover and let simmer for 10-15 minutes or until liquid is gone and rice is cooked.

While the rice is cooking, heat a 2 tsp olive oil in a medium skillet and add the chopped onion, garlic, jalapeno (if using) and bell peppers. Stuffed Tomatoes (2)

Let simmer, stirring frequently, until softened and cooked through. Remove from heat and set aside.

Take your tomatoes and using a small paring knife, slice off just the very top to remove the stem area.

Cut in a circle around the perimeter of the inside of the tomato, basically hulling out the middle stem part and goopy insides, being careful not to slice into the body of the tomato or through the bottom.

Using a spoon, scoop out the insides and carefully clean around the inside to open up a nice space for filling, still being careful not to cut into or damage the body of the tomato.

Arrange the hollowed-out tomatoes in a large baking dish with a small amount (1/4 cup) of water in the bottom.

        Stuffed Tomatoes (3)          Stuffed Tomatoes (9)

Combine the onion mixture with the rice mixture, and add the diced tomatoes and chopped cilantro, and stir up well to make the stuffing. Add salt and pepper and mix again.

Using a tablespoon, scoop the stuffing into the hollowed-out insides of each tomato, packing it down and letting extra stuffing flow out the top of the tomatoes.

Combing the panko breadcrumbs and shredded Parmesan cheese and sprinkle over each tomato.

Bake for about 45 minutes or until the tomatoes are pinched and the breadcrumbs begin to brown.

Add more water to the bottom of the baking dish if necessary after about 20 minutes.

Enjoy!!

Stuffed Tomatoes (12)

Pro Tip: As noted above, I think this would be marvelous with another rice such as wild or brown! Also, in a pinch you can use salsa instead of diced tomatoes and just add less garlic and probably nix the cilantro.

Signs of Spring: The birth (literally) of my future vegetable garden

Like pretty much everyone who lives in the northeast, I’ve been whining and complaining about this never-ending winter, balking at the temperatures that have dropped hopelessly into the 30s and stubbornly remained there, and – on several occasions – wearing flats despite there being actual snow on the ground.

A girl can dream, even at the expense of freezing cold feet.

But today – a glimmer of hope! No matter how many springs come and pass, I will always be uplifted and captivated by a baby bud. It has to be one of the most hopeful things to witness in life. A teeny tiny seed, buried in dirt, GROWING into SOMETHING.

seeds2

I’m thrilled.

I grow vegetables every year, and since Mike and I now own a house and I have FREE REIGN over this great yard, I am rolling with it. I’m also trying something new – planting flowers! I was inspired by my best friend Kate, who is amazing at gardening and has turned her rental property into a really amazing landscape. Just to clarify – she rents the property, so she truly does this out of a love of gardening. It’s awesome. (I will have to share photos once her flowers bloom. She has a planting plan diagrammed out like the White House).

seeds3


I started with peppers, lettuce, tomatoes, radishes, beets, spaghetti squash, cucumber, and two kinds of peas. This week I’ll move on to hot peppers and some awesome looking flowers to really beautify the yard. It’s all so exciting!!

Even if it doesn’t FEEL like spring around here yet, I am enjoying my own personal spring beginnings in my home. I can’t wait to see how they all progress!

seeds1