Coconut Curry Chicken with Basil Rice

For an English/Journalism major, I have a staggering number of classics I still need to read.

IMG_2065

Right now, I’m fully engrossed in One Hundred Years of Solitude by Gabriel Garcia Marquez. It is a wonderfully compelling book with such rich, beautiful language it almost inspires me to try and write my own Spanish novel. Almost.

IMG_2063

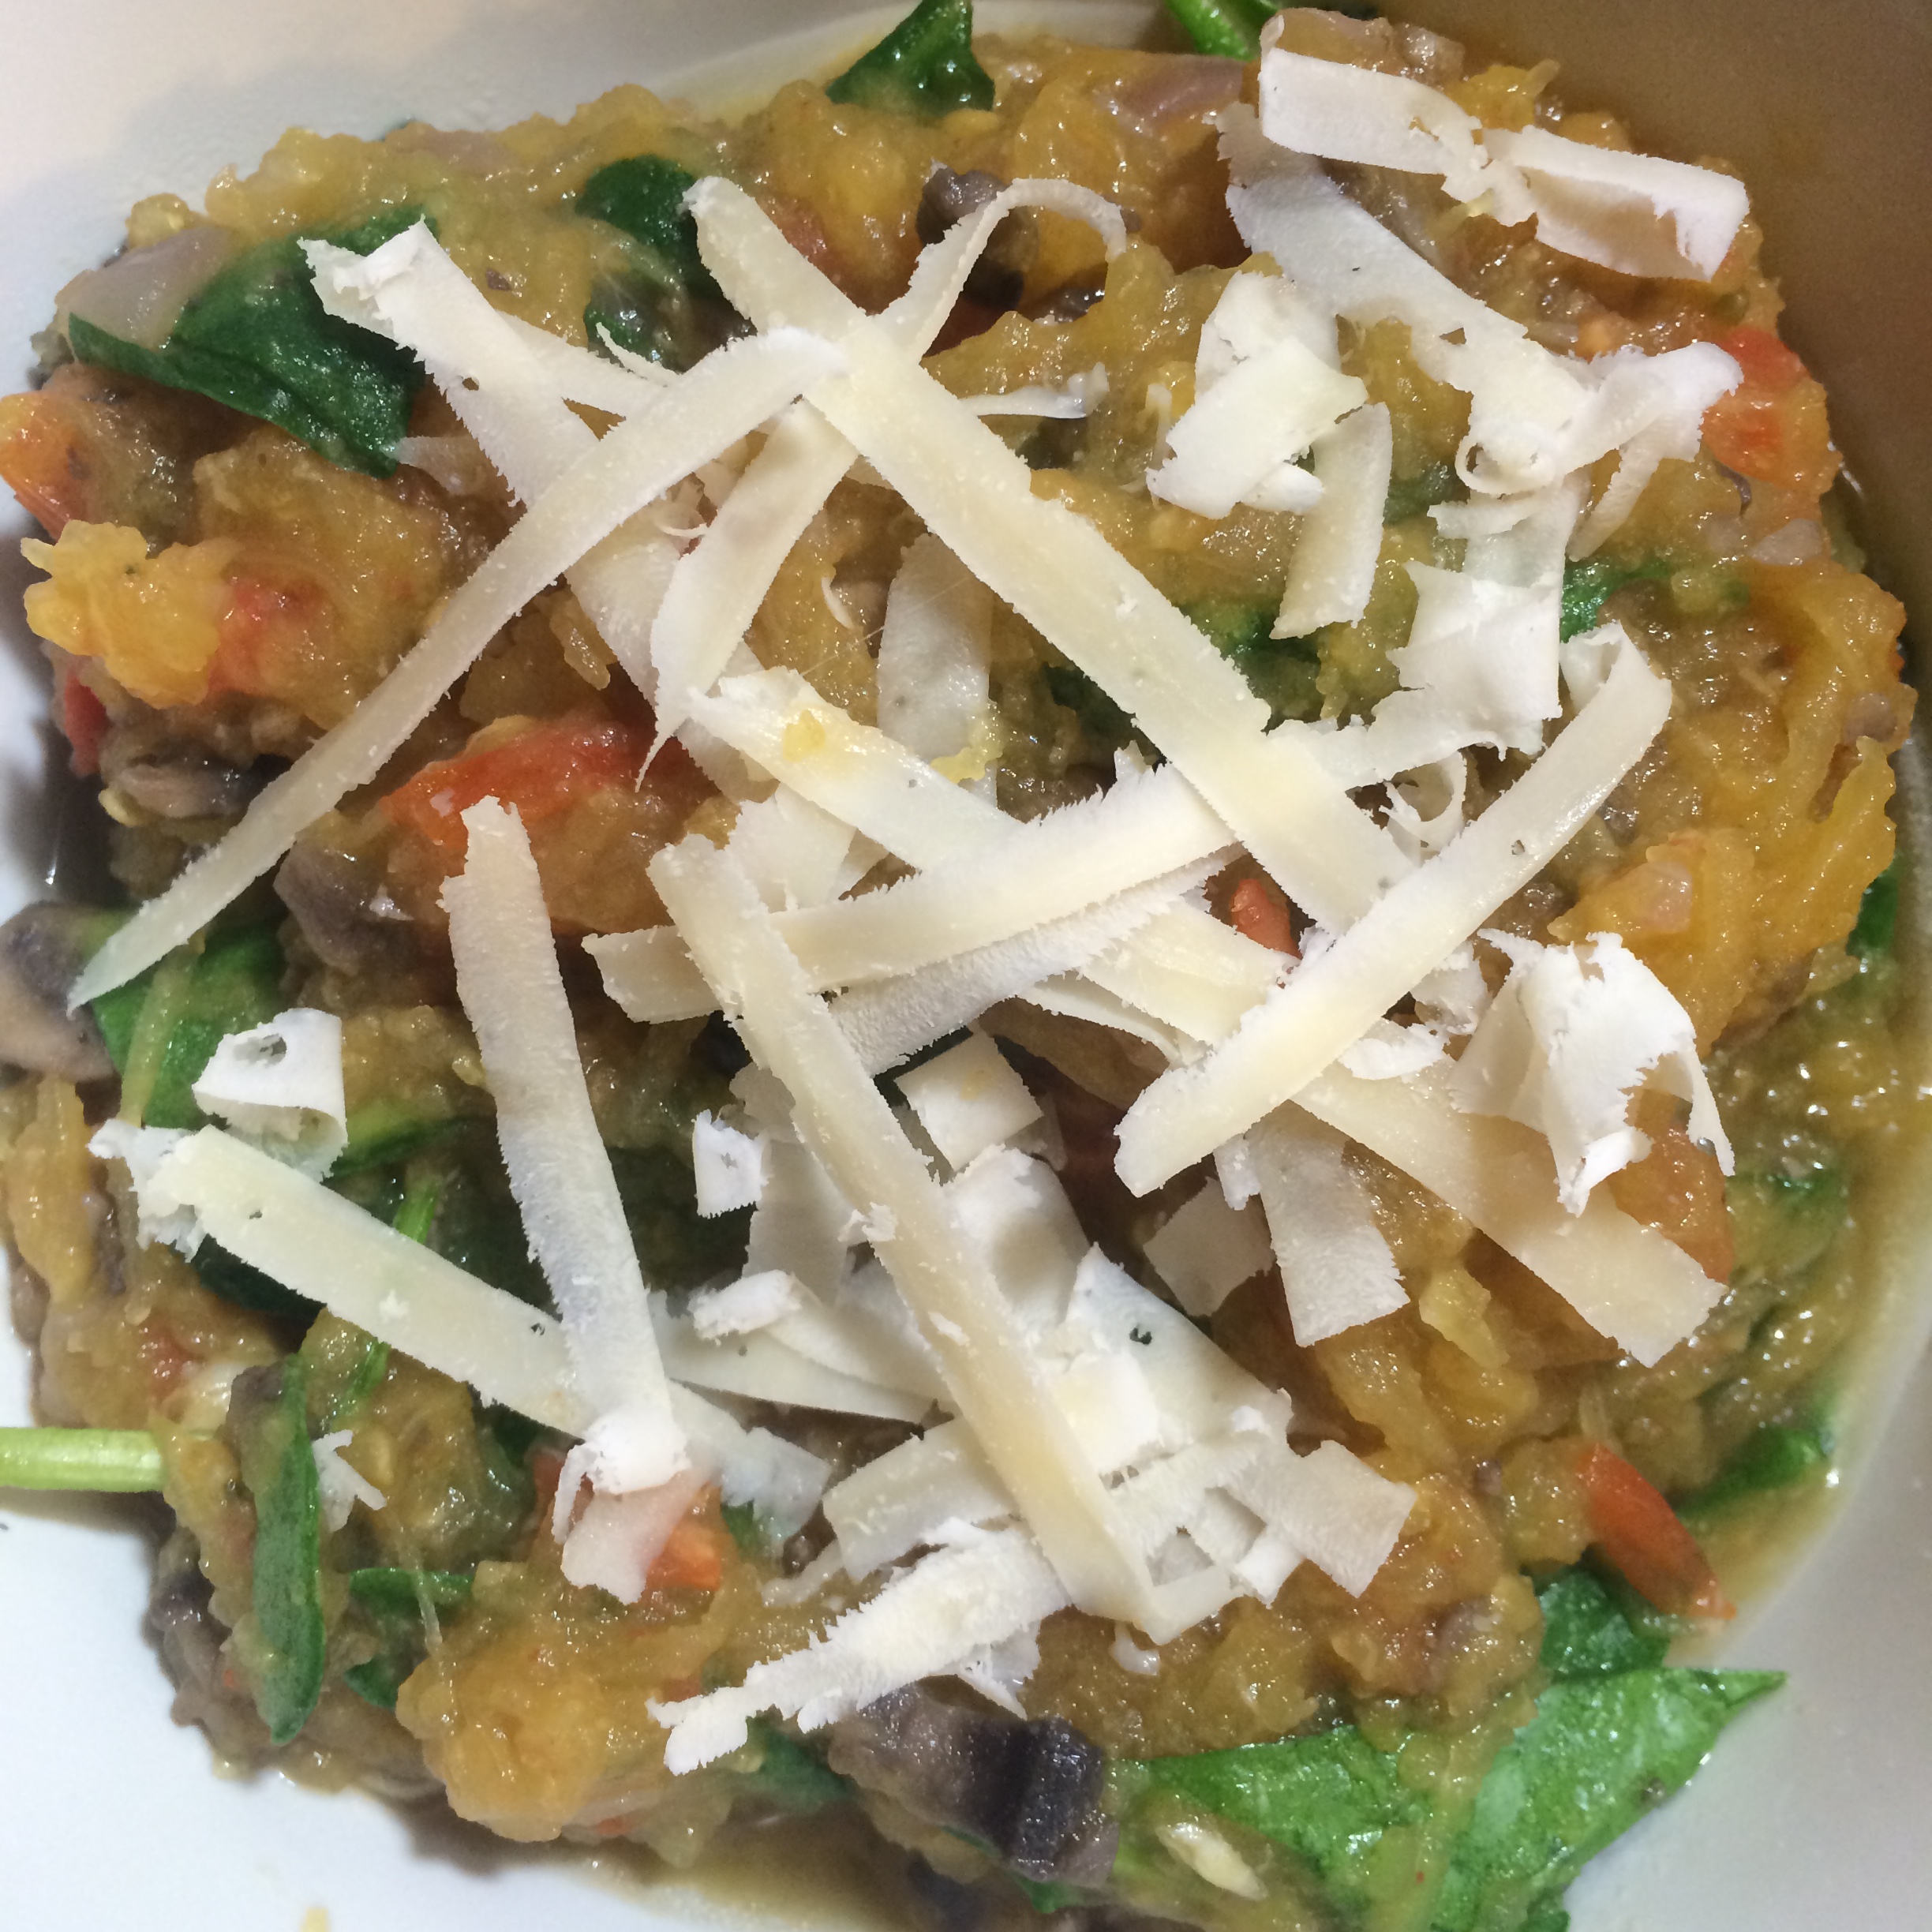
Obviously it didn’t inspire my cooking, because this dish is clearly not Spanish, but regardless of that, if you haven’t read this book I highly recommend it. And if you have any suggestions for classics I need to read, please send them forth.

IMG_2060

What You Need:

  • 2 cups dry Jasmine rice
  • 3 cups water
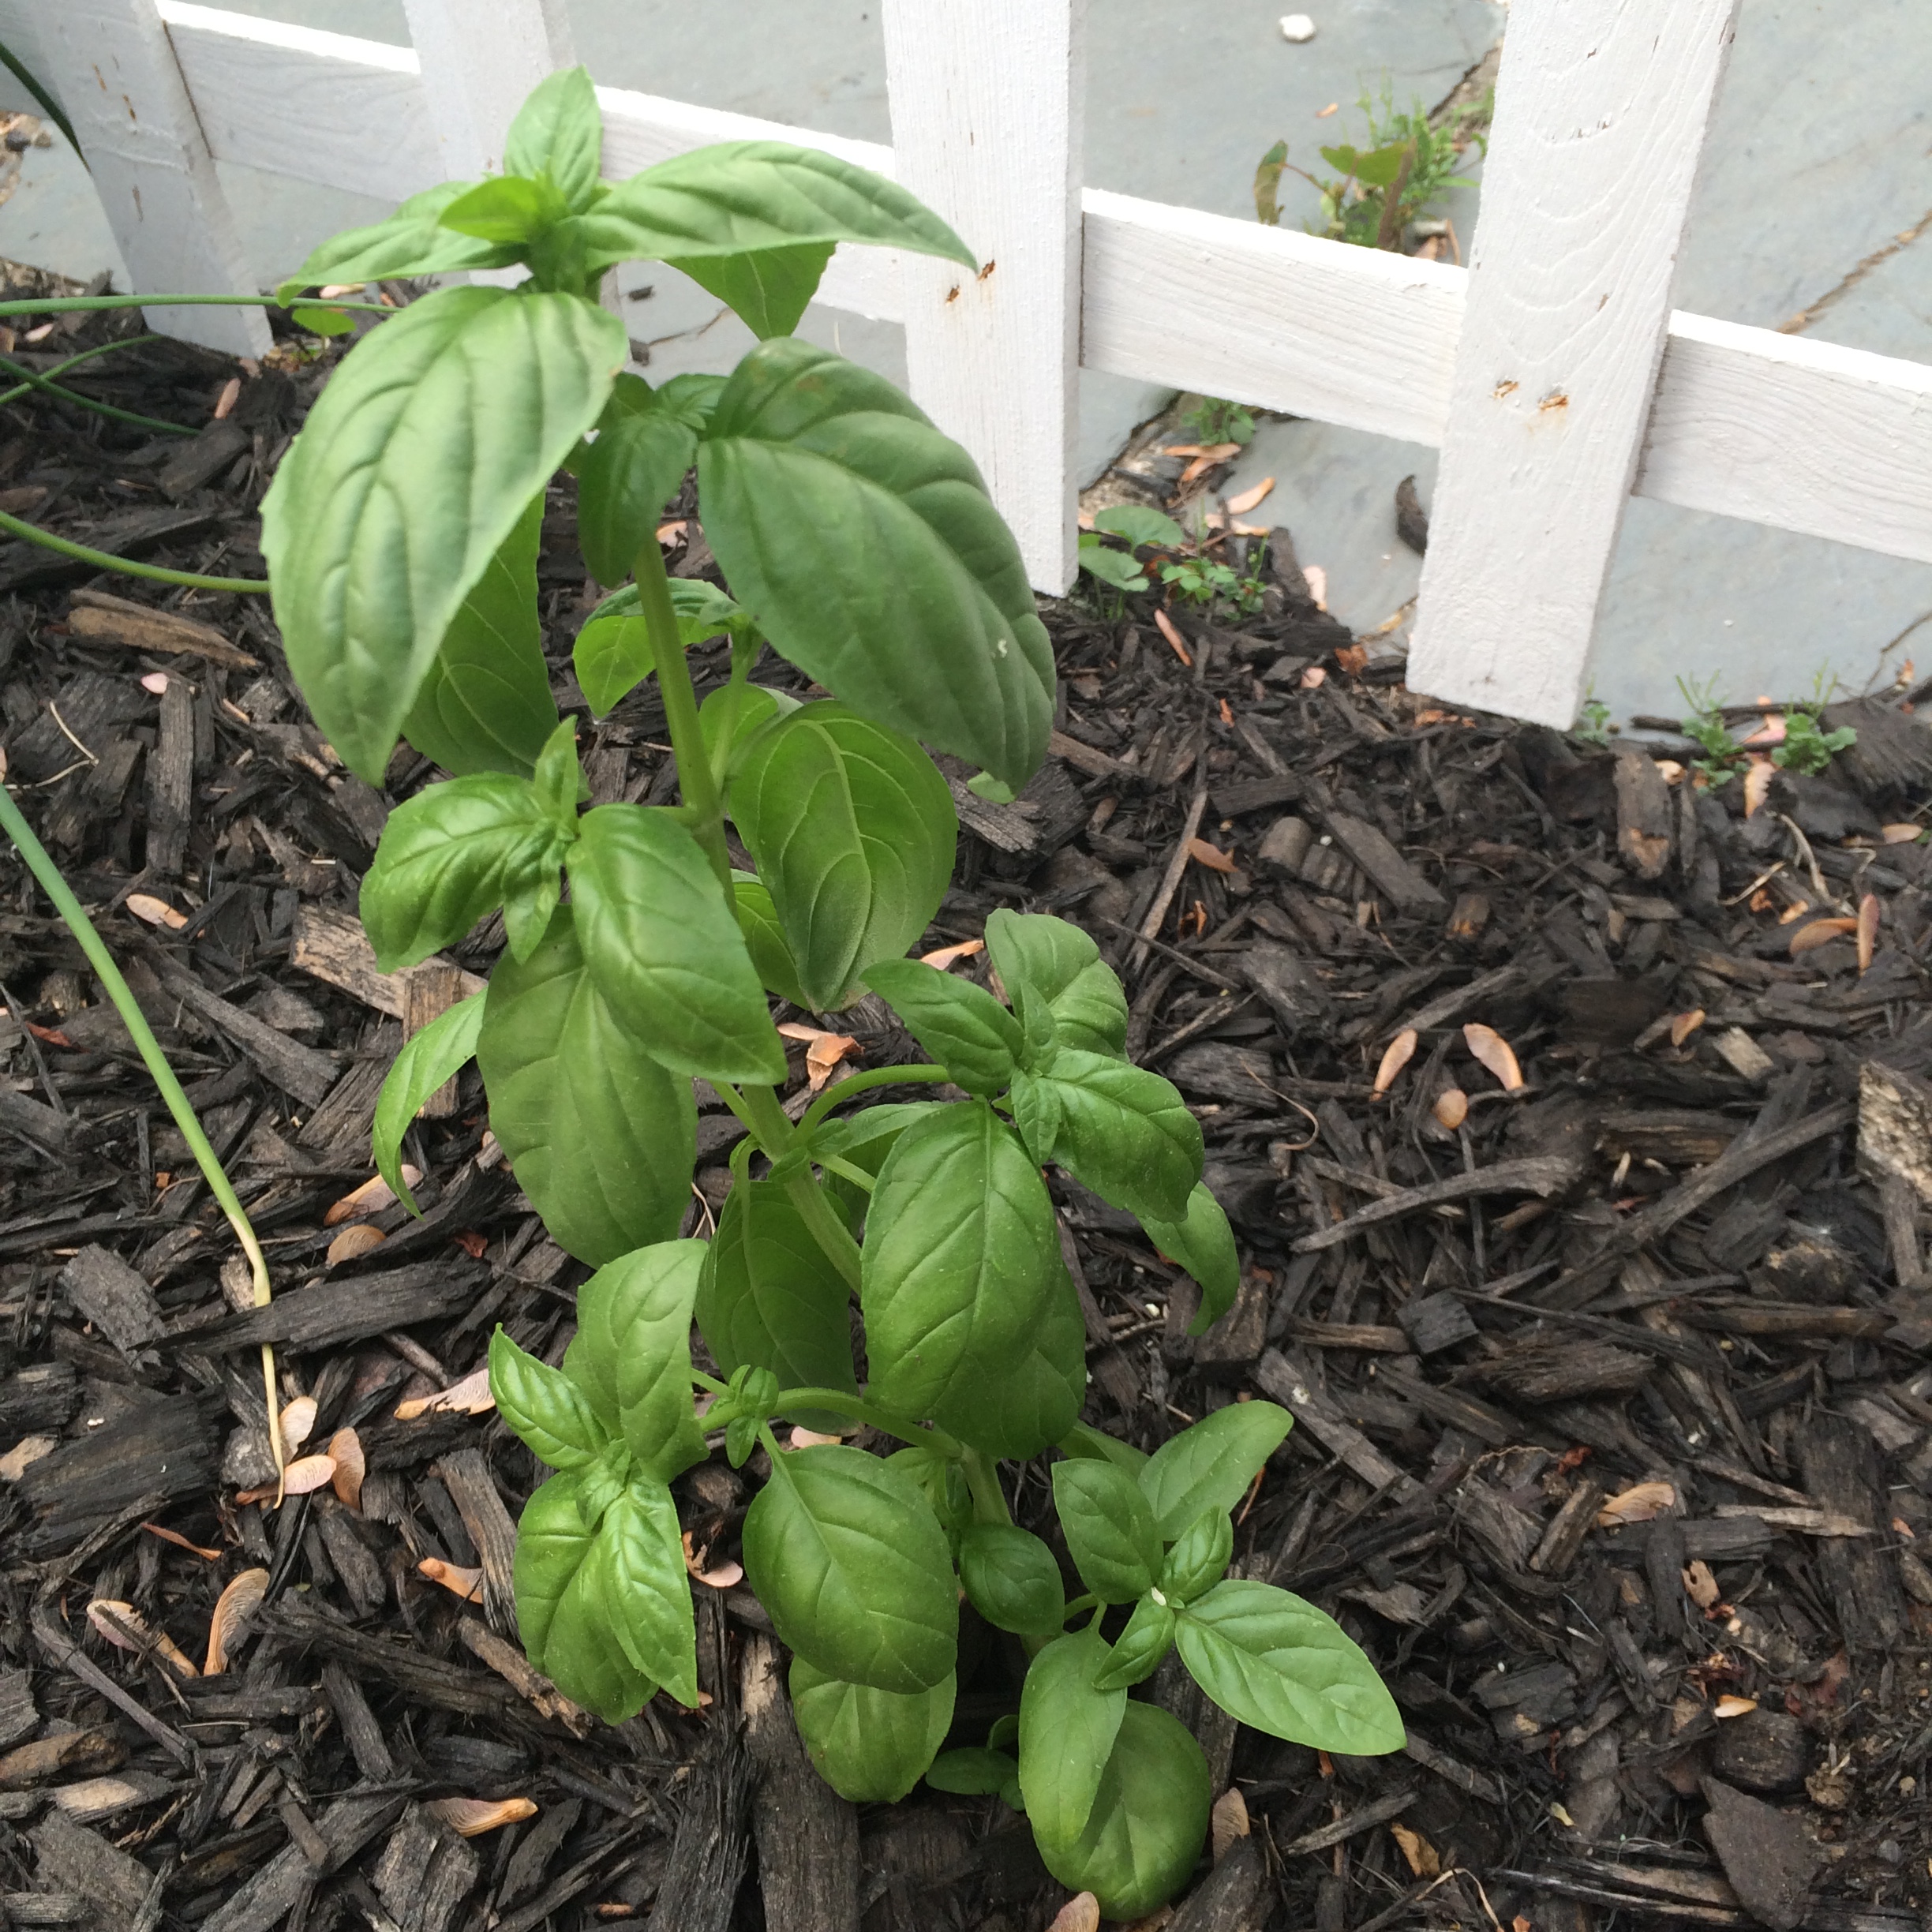
  • 1/2 cup fresh basil leaves, finely chopped
  • 2 tbsp coconut oil (or regular EVOO) divided
  • 1 tbsp minced garlic
  • 3/4 cup sweet onion, finely chopped
  • 1 can (13.5 oz) coconut milk
  • 4 cups baby spinach leaves
  • 3 large chicken breasts (about 1 pound)
  • 2 heaping tablespoons ground curry spice
  • 1/2 tsp. salt
  • 1/2 tsp. ground black pepper

IMG_2056

What You Do:

IMG_2061

In a medium sauce pot, bring the 3 cups water to a boil, add the 2 cups rice and the basil, cover, and turn down to a simmer for about 10 minutes or until the water is gone. Set aside.

In a large skillet, heat 1 tbsp of the oil on medium until warm. Add minced garlic and sautee for about 30 seconds or until just softened.

Add onion and sautee, stirring continuously, until soft and translucent.

Add the spinach and coconut milk and turn heat to low. Cover and let steam to reduce spinach. The coconut milk will steam off and absorb so keep an eye on the dish to ensure it stays moist and doesn’t burn.

While the spinach is cooking, place chicken breasts in a large skillet with remaining tablespoon of oil and slowly cook on low-medium heat, turning sides every few minutes to cook thoroughly through.

IMG_2057

Once chicken is done, remove from pan and place on a cutting board. Slice the breasts into 1-inch pieces and place into skillet with spinach.

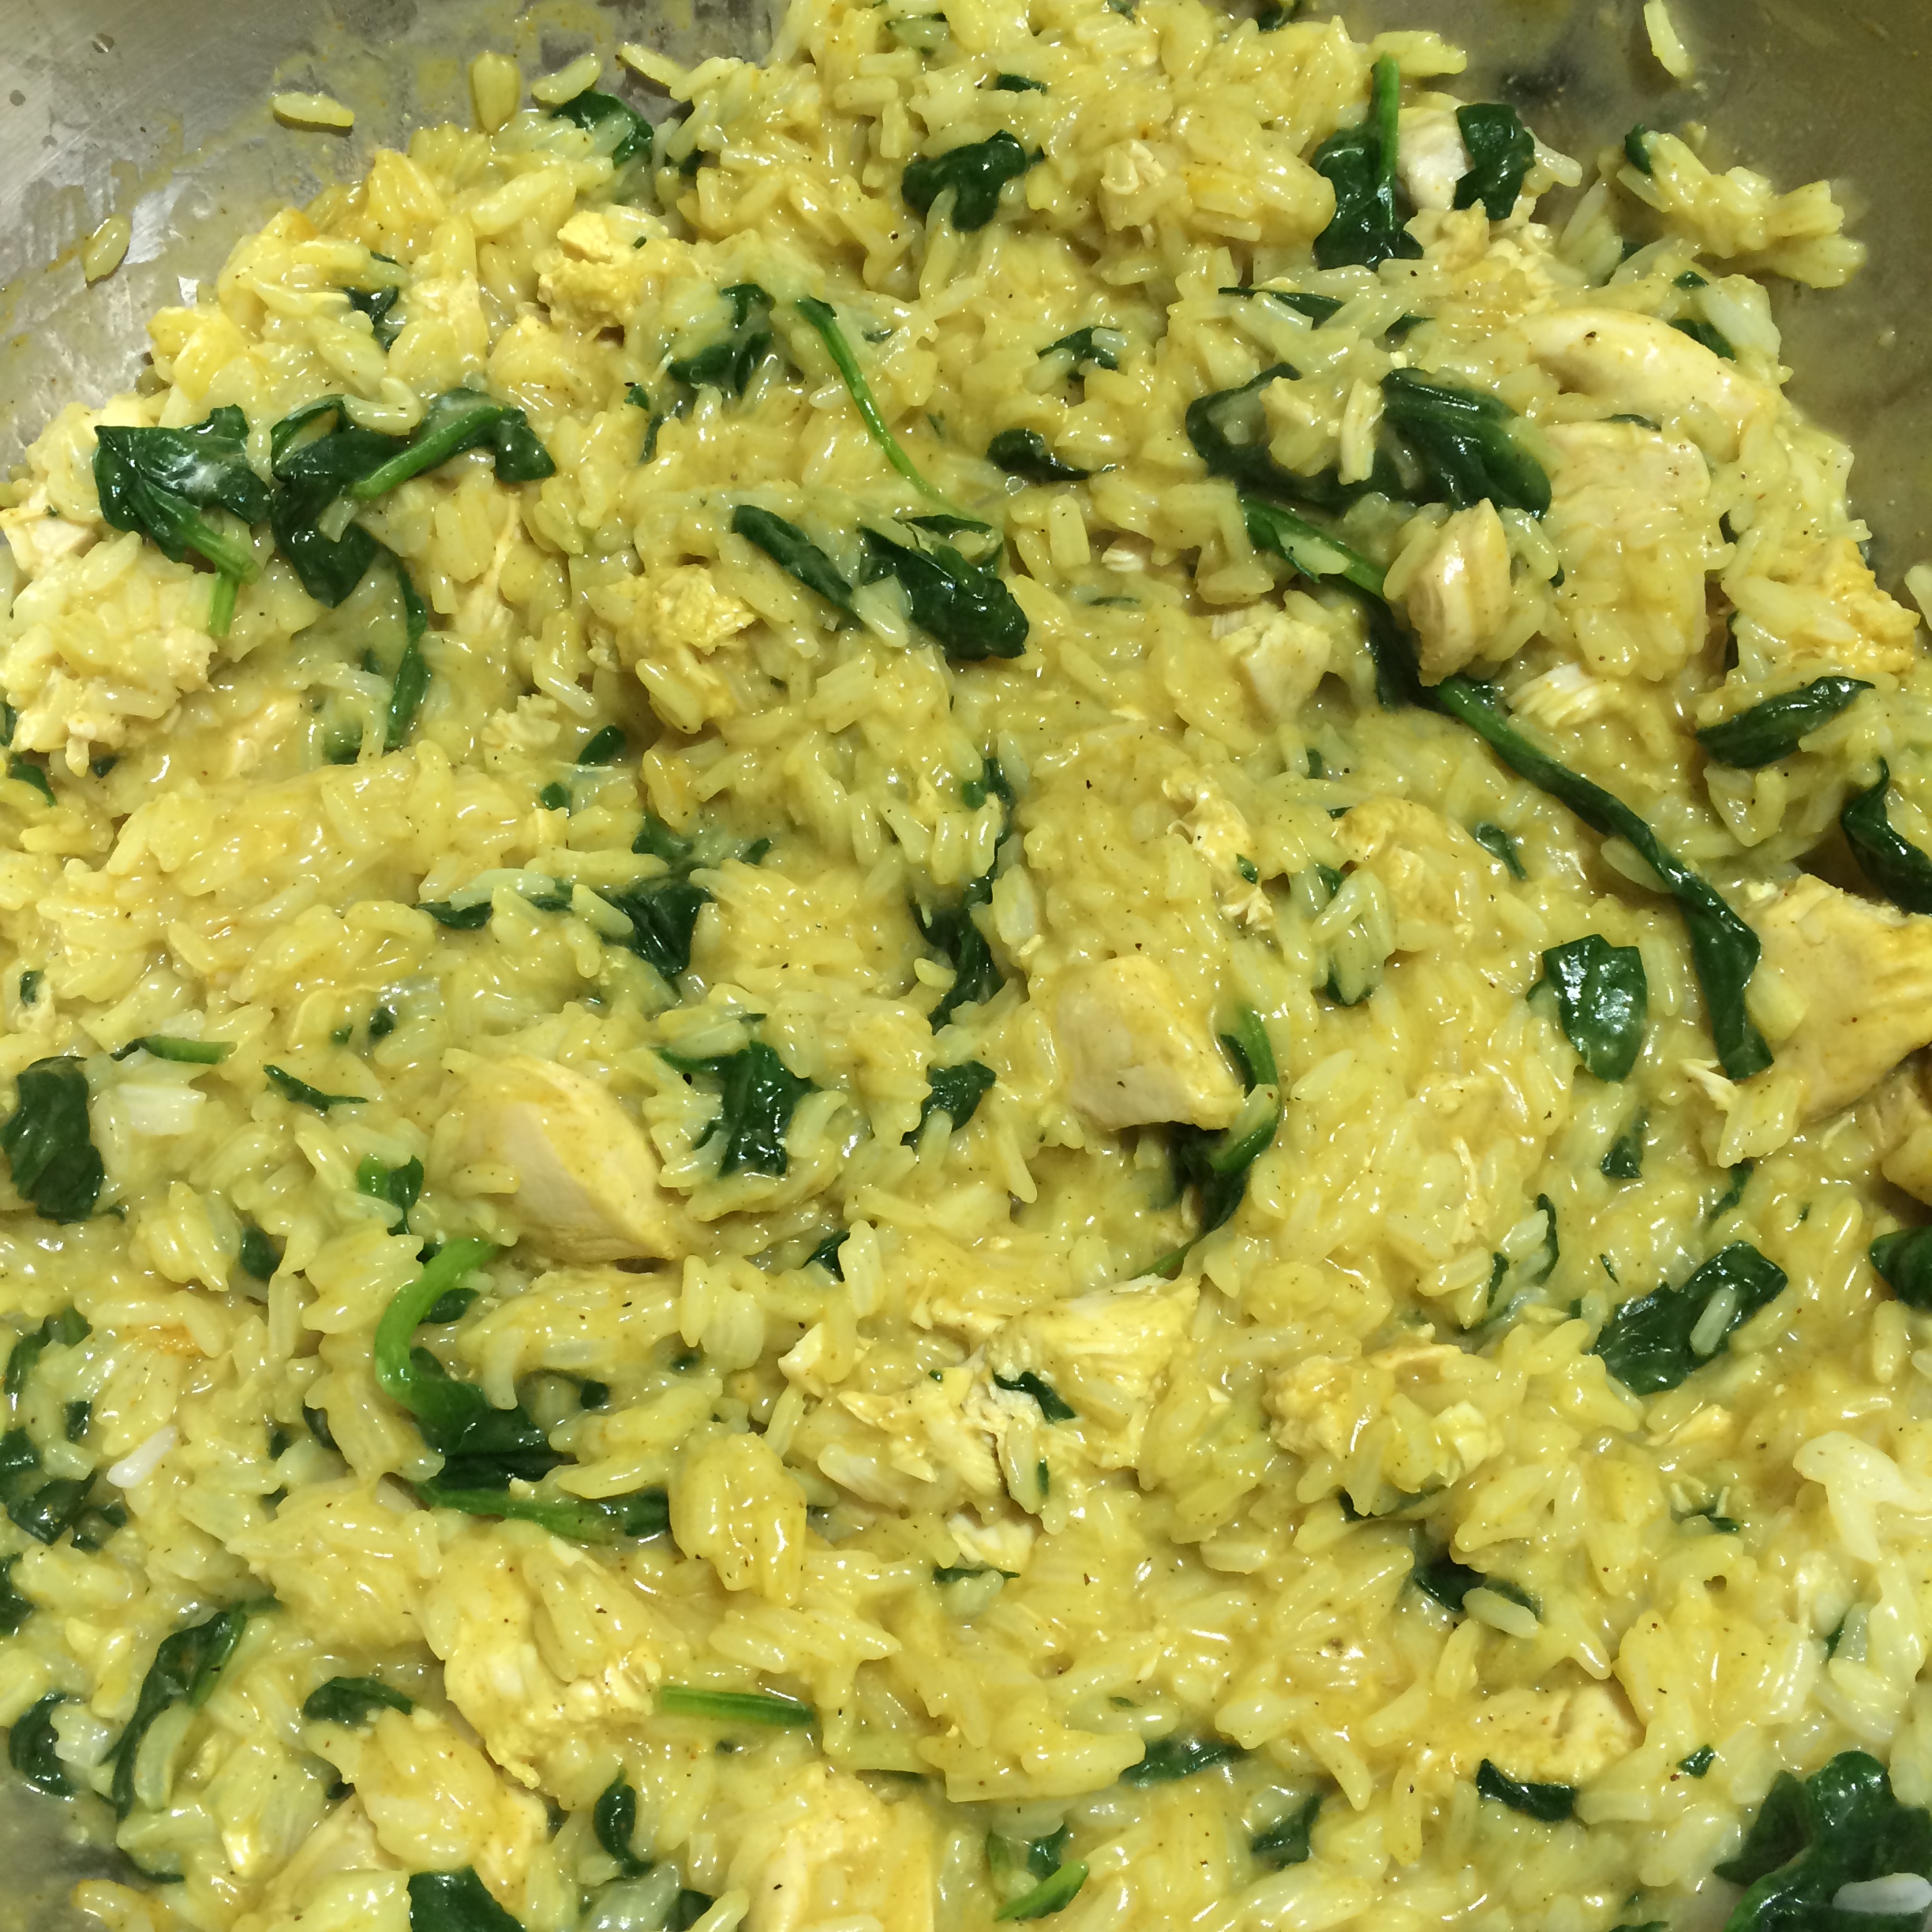
Add the rice to the chicken and spinach and stir well.

Add the curry spice, salt and pepper and stir well.

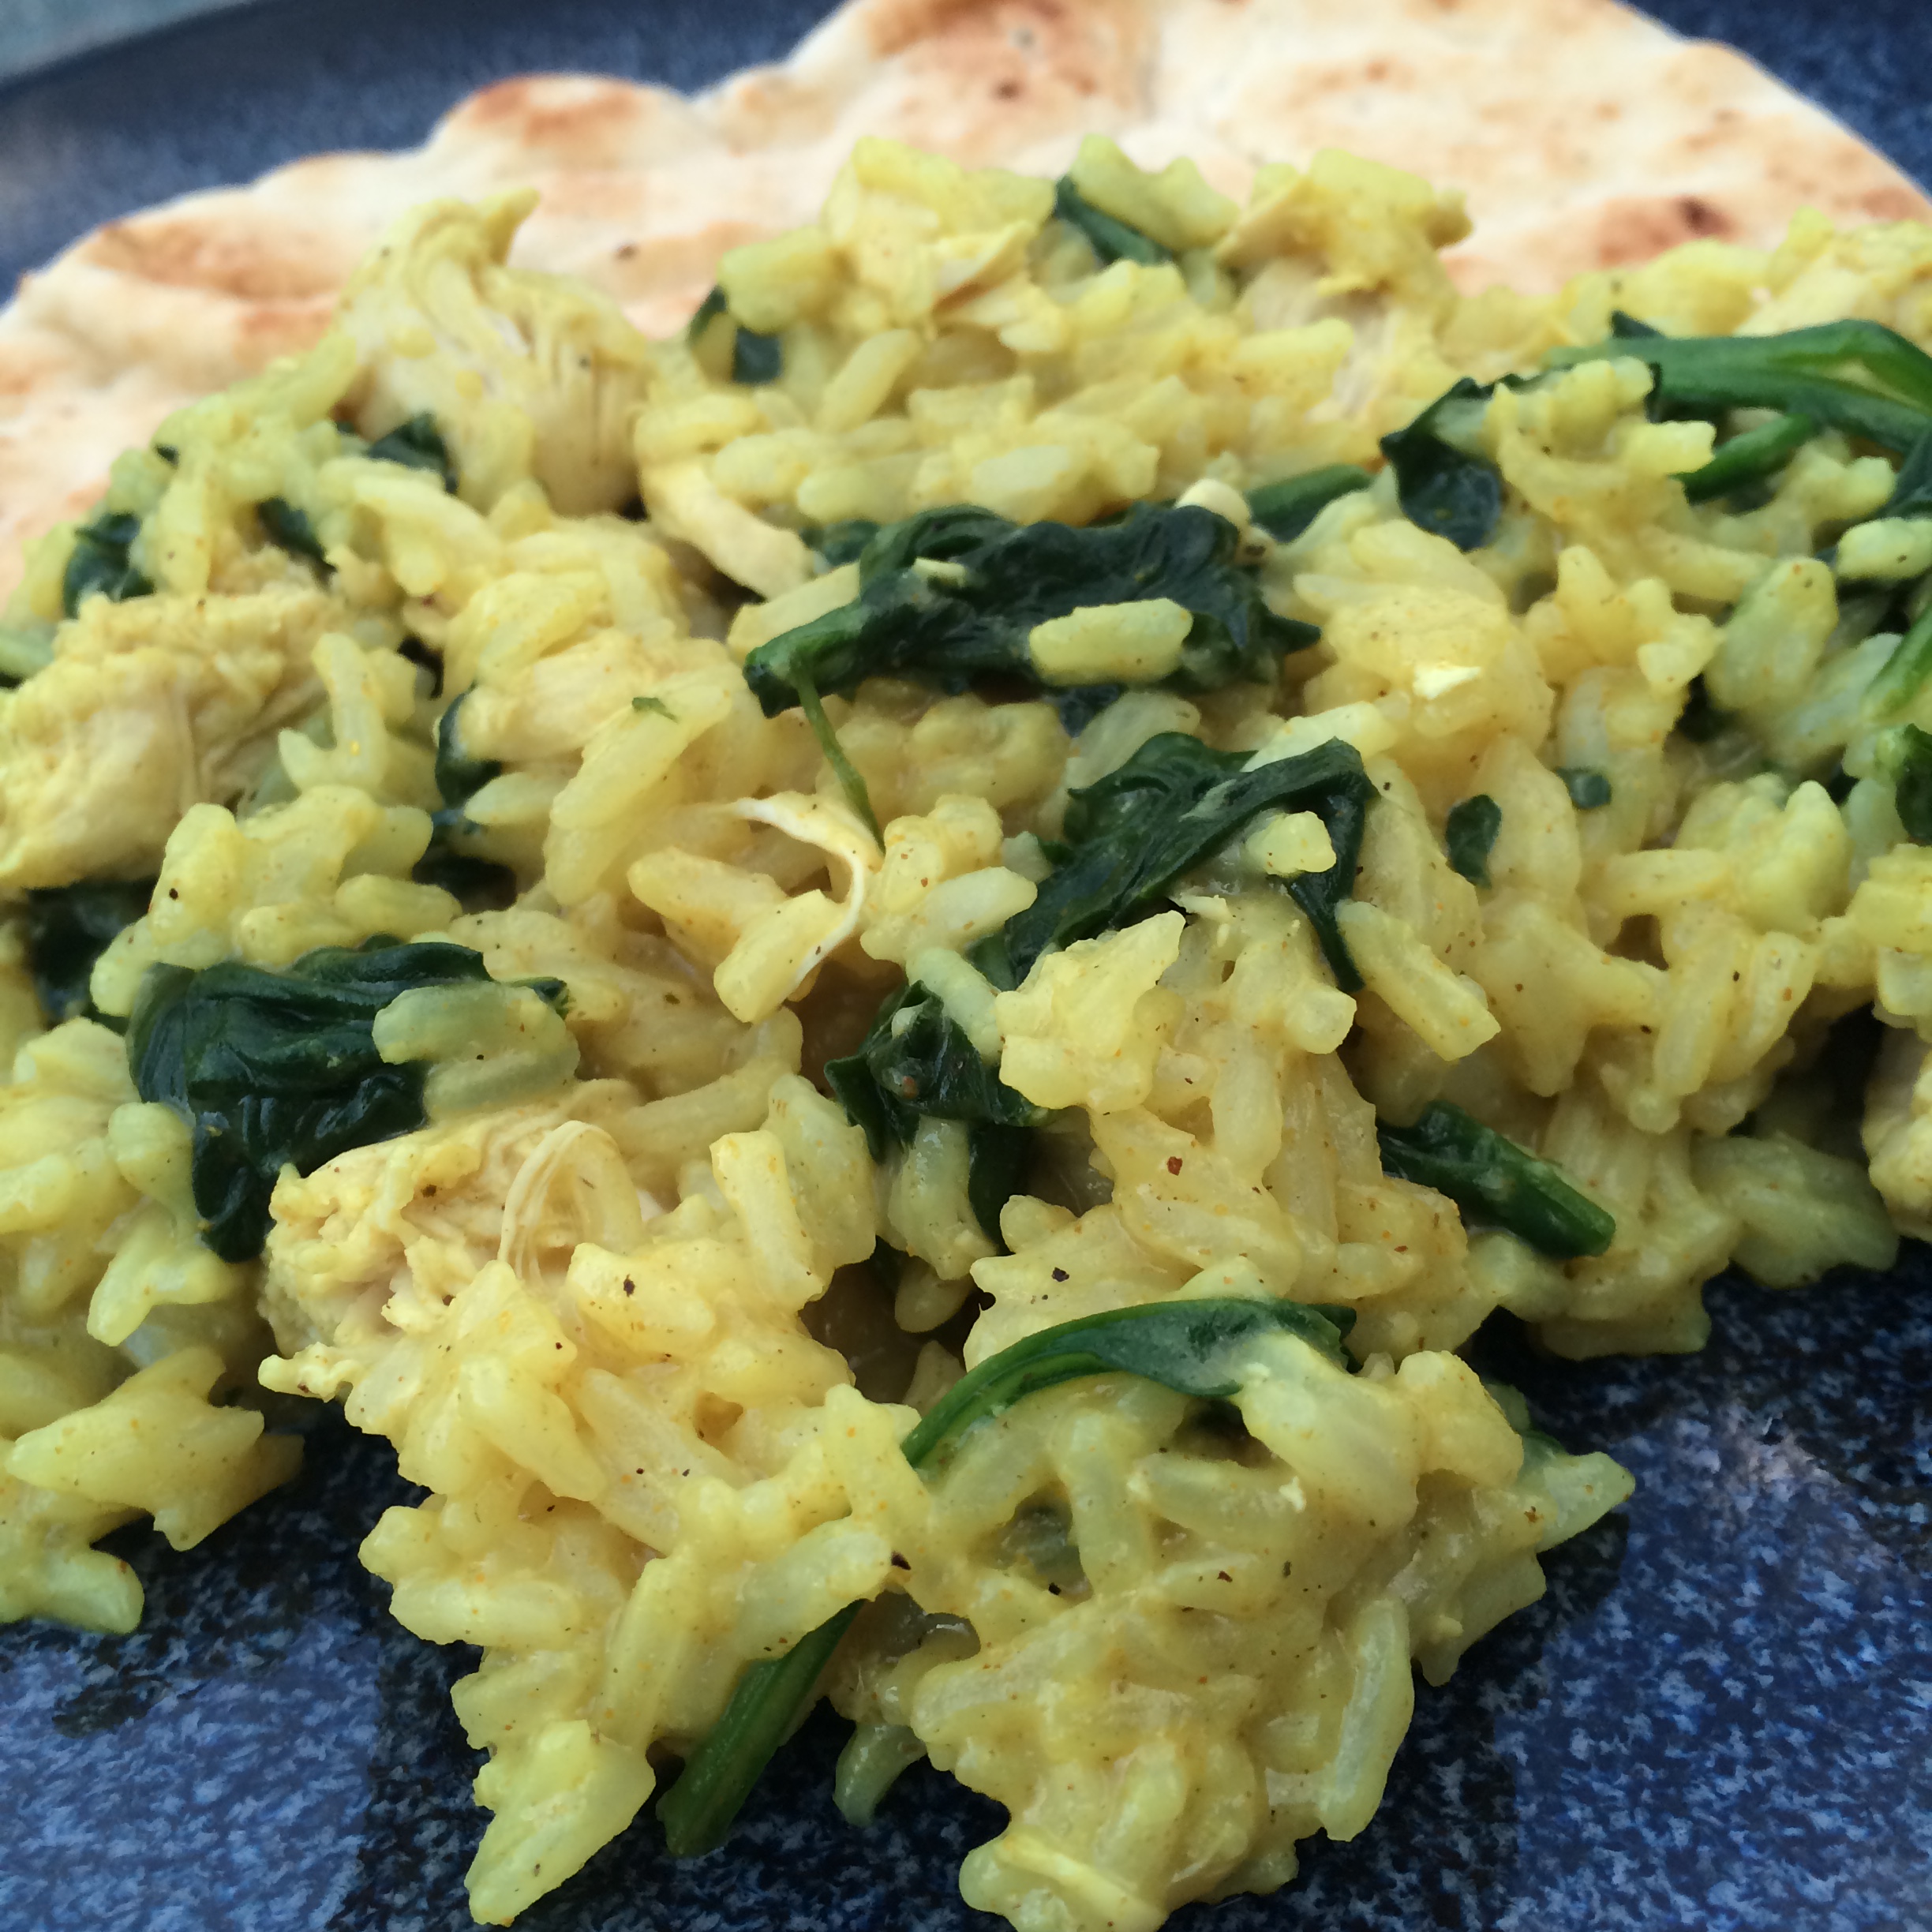
I served this with a hearty slice of garlic Naan bread (which is amazing). Enjoy!

IMG_2067

Advertisement

Baked Spaghetti Squash and Vegetables

Whenever Mike and I return from a holiday weekend, we inevitably feel totally stuffed (even if our last big meal was the day before) and guilty from all the treats and goodies we tossed freely into our mouths. And yet somehow we still manage to cram leftovers down our throats.

IMG_0367

When we returned on Sunday from our whirlwind Thanksgiving holiday in Connecticut and New York, I gave myself one last hurrah meal. I indulged with a bagel pizza I made using a New York bagel we heisted from Mike’s aunt’s house before heading out. There is just something so special about these bagels. It’s rumored to be the water used in the dough, which is apparently unique to the Empire State. Whatever it is, I had no choice but to say a tearful farewell to these bagels and what had been turning into a dangerous daily breakfast habit.

IMG_0370

Enter the spaghetti squash. Low in calories and sugar but high in nutrition and taste, there is no better way to reverse the holiday binge than with spaghetti squash. I typically prefer to prepare these as though it is actual pasta, and slather it with homemade tomato sauce and cheese, but given the circumstances I thought a lighter meal would be better. And this dish certainly is light. It really helped start our week off on the right foot.

IMG_0373

What You Need:

  • 1 spaghetti squash (about 5 cups cooked)
  • 1 tbsp coconut oil
  • 1 yellow onion, diced
  • 2 cloves garlic, minced
  • 1 jalapeno (seeded if desired)
  • 4 or 5 large white button mushrooms, chopped (about 1 cup)
  • 1 1/2 cups vegetable broth, divided*
  • 1 tbsp fresh sage, finely chopped
  • 6-10 Campari Tomatoes, cut into quarters (juices should be kept and added to dish)
  • 2 cups fresh baby spinach, uncooked
  • 1/4 cup freshly grated Parmesan cheese

What You Do:

Preheat oven to 400F

*Because this recipe calls for vegetable broth, you have the option to simply make your own. Boil 2 1/2 cups water in a pasta pot and add any parts of the vegetables from this recipe that you’re discarding. (Onion and garlic skin, mushroom stems, a few springs of sage, jalapeno stem and any unused parts of the tomatoes). Once you have boiled down the vegetables, strain the broth into a separate pot and set aside.

IMG_0357

Halve the spaghetti squash with a sharp knife. Dig out the seeds with a spoon and place squash face-down on a foil-lined baking sheet.

Bake for 30-45 minutes or until the squash skin becomes darkened and the squash begins to caramelize around the edges. If you can easily stick a fork through the skin and squash meat, you’re good to go.

While the squash is baking, heat coconut oil in a large skillet on medium heat. Add onions and garlic and saute until translucent and soft. Add chopped mushrooms and jalapenos, heating continuously until the mushrooms are brown, soft and fragrant. The mushrooms will emit some water, so let the entire dish simmer for about 10 minutes, stirring frequently.

IMG_0360

Once the water begins burning off, add one cup vegetable broth and stir. The heat should still be on medium and the broth simmering. Once it has simmered down to less liquid, add the sage and tomatoes with their juices. Continue to simmer.

Using a fork, remove the strands of spaghetti squash from the shell. You should have about 5 cups. Add it to the vegetable mixture and mix everything up well.

Add the remaining 1/2 cup vegetable broth (if you made your own, simply freeze any leftover broth for another dish).

Add the spinach and mix until it becomes limp and blends into the dish.

Top each serving with a sprinkling of Parmesan cheese.

IMG_0354     IMG_0355     IMG_0351

Pro Tip: If you have extra time, pile the whole deal into a baking dish, sprinkle with the cheese and bake on 350F for about 10 minutes or until cheese is melted.

How to Plant Garlic (And a Cute Doggie Photo Shoot!)

Planting Garlic (8)

This past weekend, I had the luxury of – for once – having very few plans. Aside from my usual exercise commitments in the mornings, and a late-afternoon coffee date with a friend, I was left to my own devices (Mike was working both days).

This can usually go one of two ways: I’m either uber-productive, or I basically do nothing. But the weather was perfect, and I was feeling motivated, so I decided to get my garlic bulbs in the ground while I still can. It’s a pretty good bet the earth will be frozen in no time – all I hear on the weather now is about the Arctic Chill sweeping through the country.

Planting Garlic (4)

There is no reason not to plant garlic – it takes hardly any time, they take care of themselves all winter and then, like magic, they start growing when spring arrives. You can plant them in the spring, but overwintering them means bigger and more flavorful bulbs.

The Internet advises planting your garlic before the first hard frost of the season, so for my little part of the world that means mid-October to early November. I waited this year because we’ve had unseasonably warm fall temps, and when I planted in October last year, some of the garlic sprouted and didn’t make it through the winter. Lesson learned!

Planting Garlic (2)

Simply get one or two full garlic bulbs from a local farm stand or order from a seed supplier. Don’t plant garlic from the grocery store because it might not be suitable for the climate where you live.

Separate each clove from each other and from the center stalk. Leave the papery skin casing on, but it’s OK if it tears off in places.

One end of the clove is pointed and smooth, and the other, fatter end is flat and has root tips. This is the end you want in the ground, because it will take root from the bottom and sprout out the other end.

Garlic

Plant each clove about 2 inches below the surface of the soil, and about 4 inches apart from each other. I mixed some fertilizer in with the soil before planting.

Because you’re overwintering the garlic, you want to insulate them well by placing a layer of straw, mulch, or seaweed on top. I’ve used seaweed the past couple of years and it has worked very well.

Planting Garlic (16)

Madison was a good sport for garlic planting day. I think she got into it. I planted 8 cloves in this garden spot (above) in rows of 2. (That green mound in the middle is a chive plant that’s on its last legs from the summer.)

Planting Garlic (22)

What’s going on?

Water the garlic once or twice per week, depending on rainfall, following the initial planting.

I’d love to hear from you if you have any tips, or want to share your garlic planting experiences!

Carnival Squash Stuffed with Quinoa and Sugar-Baked Apples

Ok. I know I have some explaining to do.

Squash (10)

I’m making a somewhat sheepish return to this blog with my tail between my legs; this newest post clouded by the undeniable fact that it has been LITERALLY MONTHS since my last post, which is not only unfair to those who actually read and like my blog (thank you!) but is also really sad because I’m letting the entire fall season virtually pass by without posting any of the great fall vegetable recipes that make this time of year a true delight.

I’m sorry. I have no excuse. You should know that I have still been cooking, so you will finally get to take part in that experience. I hope these next recipes will be at least marginally useful to you, even though fall is half over.

Some exciting news though! It was my birthday the other day, which means I’ve been blogging steadily (don’t say it) for about a year! I find this to be among my top accomplishments as a person, and to celebrate, I bestow upon you this quintessentially fall dish, which I owe to the wonderful people at Barker’s Farm in Stratham, NH for hooking me up with some of the coolest must-have squashes of the season (You know how I feel about squashes – **swoon**)

Squash (11)     Squash (13)

What You Need:

  • Two medium or large carnival squashes (or four smaller ones if you’re feeding several people or prefer smaller portions) If you don’t have or can’t find a carnival squash, acorn squash is the most similar, and delicata would also be delicious.
  • 2 medium or large apples, any type (I used Cortland) peeled and cut into apple pie-type chunks
  • 1 tbsp butter, very soft or melted
  • 1 tbsp olive oil
  • 2 tbsp brown sugar
  • 1 cup diced red onion
  • 2 cloves garlic, finely chopped
  • 1 habanero or hot pepper of choice, finely chopped (optional)
  • 1 tsp chili powder
  • 1 cup dry quinoa, cooked according to package directions
  • salt and pepper to taste
  • 1/2 cup shredded cheese of your choice (I used goat cheese because that is what we had in the fridge)

Squash (18)

What You Do:

Preheat oven to 400F

Cut the squash lengthwise from stem to bottom and scoop out the seeded insides.

Lightly brush the squash’s insides with butter, lay skin-side-down on a foil-covered baking sheet, and place in the oven to bake for about 30-40 minutes, or until it appears to be caramelizing and easily lets a fork through.

While the squash is baking, cook the quinoa.

Squash (12)While the quinoa is cooking, place the garlic, onion and hot pepper in a frying pan over low-medium heat with 1 tbsp oil.

When they become soft and translucent, add the apple pieces and stir until well-mixed.

Add the brown sugar and chili powder, salt and pepper and continue stirring until the apples become warm and juicy (but still maintain their shape and don’t get mushy) and are well-mixed with the sugar and spices.

Once the quinoa is cooked, add it to the apple mixture in spoonfuls to gauge how much you need to make a nice balanced mix of quinoa and apple mixture. I found 2 cups of quinoa was enough to create a decent amount for stuffing the squash.

When the squash has cooked, place them skin-side-down in a baking dish.

Gently scoop the apple and quinoa mixture into each squash.

Sprinkle your cheese of choice over the top of each (optional) and place back in the oven for about 5 minutes or until the cheese is melted. (If you choose not to use cheese you can skip this step. It’s plenty hot at this point!)

Pro Tip: Add shredded chicken instead of or in addition to the quinoa to make it a non-vegetarian dish. If you’re a fan of raisins (I’m not), sprinkle some into the apple mixture while it’s cooking to add a new texture and flavor.

Squash (14)     Squash (16)


Spanish Rice Baked Stuffed Heirloom Tomatoes

Stuffed Tomatoes (6)

Do you KNOW how many recipes there are in the world for stuffed tomatoes where the stuffing is nothing more than breadcrumbs and some salt and pepper? I’m sure it’s delicious, really. You could put bread product in basically any food and I’d eat it for days. But I feel like I couldn’t quite get away with serving mostly breadcrumbs to Mike for dinner.

Stuffed Tomatoes (13)

Besides – there are so many awesome ways to stuff a tomato, right? I was going to do quinoa and kale for this recipe, but got to thinking about other grains and other dishes and remembered suddenly how much I loved Spanish Rice when my mother would make it when I was a kid. (If my mother is reading this, I want to be candid that I do realize I could be remembering this incorrectly and perhaps I did not love it as a kid, but I certainly consider it a food that I recall eating as a kid and enjoy eating today. So same thing, right?)

I also wanted to share this adorable farm stand that I discovered while running to work one day. (These are the perks of not driving – I tend to pay more attention to what’s going on around me). Check this out:


Stuffed Tomatoes (14)

This person keeps a little bucket near the veggies for your money and it’s completely an honors-system operation. I love it. So I got a few of the tomatoes for this meal from this little stop on my way home.

Stuffed Tomatoes (18)

This dish is super yummy and has the added benefit of providing probably all the lycopenes a person needs for a successful week! The rice you use is completely up to you. I used Jasmine because as I have mentioned it is by far my favorite type of rice, but I imagine a wild or brown rice would also be spectacular in this dish.

What You Need:

  • 5-7 medium red tomatoes or heirloom tomatoes if you can get your hands on them
  • 1 small onion, chopped OR 1/2 of a medium-large onion, chopped
  • 2 small garlic cloves, chopped
  • 1 jalapeno pepper, chopped (optional)
  • 1 small or 1/2 of a large red or green bell pepper, chopped
  • 2 cups vegetable broth
  • 1 cup rice
  • 1-8oz can diced tomatoes in their juices
  • 1/2 tsp salt
  • 1 tsp ground pepper
  • 1 tsp cilantro (finely chopped fresh or ground)
  • 1/4 cup panko breadcrumbs
  • 1/8 cup shredded Parmesan cheese

What You Do:

Preheat your oven to 350F.

Bring the vegetable broth to boiling in a medium saucepan. Reduce heat to a simmer and add the rice. Cover and let simmer for 10-15 minutes or until liquid is gone and rice is cooked.

While the rice is cooking, heat a 2 tsp olive oil in a medium skillet and add the chopped onion, garlic, jalapeno (if using) and bell peppers. Stuffed Tomatoes (2)

Let simmer, stirring frequently, until softened and cooked through. Remove from heat and set aside.

Take your tomatoes and using a small paring knife, slice off just the very top to remove the stem area.

Cut in a circle around the perimeter of the inside of the tomato, basically hulling out the middle stem part and goopy insides, being careful not to slice into the body of the tomato or through the bottom.

Using a spoon, scoop out the insides and carefully clean around the inside to open up a nice space for filling, still being careful not to cut into or damage the body of the tomato.

Arrange the hollowed-out tomatoes in a large baking dish with a small amount (1/4 cup) of water in the bottom.

        Stuffed Tomatoes (3)          Stuffed Tomatoes (9)

Combine the onion mixture with the rice mixture, and add the diced tomatoes and chopped cilantro, and stir up well to make the stuffing. Add salt and pepper and mix again.

Using a tablespoon, scoop the stuffing into the hollowed-out insides of each tomato, packing it down and letting extra stuffing flow out the top of the tomatoes.

Combing the panko breadcrumbs and shredded Parmesan cheese and sprinkle over each tomato.

Bake for about 45 minutes or until the tomatoes are pinched and the breadcrumbs begin to brown.

Add more water to the bottom of the baking dish if necessary after about 20 minutes.

Enjoy!!

Stuffed Tomatoes (12)

Pro Tip: As noted above, I think this would be marvelous with another rice such as wild or brown! Also, in a pinch you can use salsa instead of diced tomatoes and just add less garlic and probably nix the cilantro.

Zucchini, Tomato and Corn Gratin

Zukes (20)

Ah zucchini.

I like squash a lot. I really do. But I’m at that point in the summer when, to be honest, the level of squash present in my life is getting to be slightly overwhelming. Not only am I harvesting a small bumper crop in my backyard, but I for some reason keep thinking that purchasing additional summer squash at the farmer’s market is a good idea.

Zukes (12)

One of my zucchini plants, going strong.

So the chain of events is as follows: Buy fresh squash at the FM –> feel compelled to use said fresh squash before it goes bad  –> neglect picking the actively-growing squash in my garden –> end up with giant backyard squash.

Zukes (13)


This isn’t even the biggest one. My latest monster creation is at LEAST 3 Hershey’s bars long, and probably half of one in width.

So Mike has been subjected to an onslaught of zucchini recipes lately, which have included zucchini bread, zucchini pizza boats, and zucchini-topped pizza, and this is basically fine as he doesn’t mind squash. (But he might after this summer!) I’m still fine with it too, but the ongoing challenge is cooking it in different ways so we don’t get sick of it.

You don’t have to love squash to like this dish, though. It is really very good. This recipe post reflects a few changes that I would most certainly employ if I cook this again, which I will, so don’t lose faith in me if you feel the photos don’t quite do it justice.

The farmer’s market/my garden ingredients used in this meal are:

  • Zucchini and Summer Squash
  • Corn on the cob
  • Onion
  • Tomatoes
  • Garlic

What You Need:

Zukes (14)

  • About a pound of zucchini and summer squash sliced into thin rounds (I used a mandolin for this)
  • 1 1/2 cups panko or your favorite bread ground up to make breadcrumbs
  • 1 small yellow onion, sliced
  • 2 corn on the cob, with corn sliced off the cob
  • 1 cup Parmesan or Romano cheese, grated
  • 2 large tomatoes, sliced thin (I also used a mandolin for this)
  • Salt
  • Olive or coconut oil
  • 1 tsp black pepper
  • 2 tbsp butter, melted
  • 2 cloves garlic, minced


What You Do:

The Squash

Preheat oven to 350F

Here’s an important step you should never, ever ignore when cooking squash, but I always do anyways. Salt your squash to help remove moisture. This will help it cook better and faster, and overall just taste better.

So, toss your squash rounds with 1-2 tsp salt and set aside in a colander to let it drain (about 10 minutes).

After, lay the slices out on a VERY LIGHTLY oiled baking sheet, and place in the oven for about 5-7 minutes, or until the slices look slightly translucent and soft.

Leave the oven on since the whole dish needs about 10 minutes in there at the end.

The Filling

Warm a tbsp of olive or coconut oil in a medium frying pan over medium heat. When hot, place onion slices in and cover, letting the onions caramelize. Remove them when they smell sweet and look translucent with just a touch of brown.

Gently toss your corn with a tiny bit of salt, black pepper and olive or coconut oil, and mix with the caramelized onions.

The Topping

Melt the 2 tbsp of butter over low heat.

In a small bowl, mix your grated cheese and panko, adding a sprinkle of salt and black pepper.

Pour the melted butter into the panko mixture, add the minced garlic and stir it up.

The Finale

Line a baking dish with the cooked squash and raw tomato slices, alternating as you go. After you have one layer down, sprinkle some of your onion and corn mixture over it.

Zukes (17)     Zukes (16)

Add more squash and tomato slices, covering them with onions and corn each time you have a new layer, until both toppings are gone.

Top the entire dish with the panko mix.

Place in the oven for 10 minutes or until the topping starts to brown and the tomato juices are bubbling. Then – enjoy!

Zukes (19)


Pro-Tip: I would recommend making this a wild rice gratin to replace the panko and make it a gluten-free meal. Cook up some wild rice, mix it with an egg and the onions and corn and cheese. Put it on the bottom of the pan and line the tomato and squash on top. Sprinkle with some additional cheese. There ya go!

Healthy and Easy Quinoa Stuffed Poblano Peppers

Peppers4

Well, life got in the way of cooking for awhile but I’m back! I’ve been training pretty hard for my 20 mile race (which was May 29), so our dinners were mostly pasta, pizza, tacos or pb&j, and about as simplified as possible so I could go to bed at a reasonable hour. But I’m happy to report I beat my 2013 finish by 12 minutes and ran it 40 seconds faster per mile. It was such a good feeling when I finished, especially because the weather was terrible all day – just super rainy and cold. What a relief to be done!

1606281_10101050435251241_747843892_o

Approaching the finish line!

I feel like I owe some of my success to a massive carbo-load the night before the race. I inhaled more bread and pretzel in one sitting than ever before and it was really fun! But I was craving a real, home-cooked and healthy meal by the time my body was done recovering from the race, so I made the best recipe I could think of to deliver on all those cravings with as minimal time on my feet in the kitchen as possible.

That’s how we ended up with quinoa stuffed poblano peppers. I love this dish because it’s really easy and always delicious, and poblanos have a great taste – sweet with a little spicy kick.


Peppers3

I used 4 medium-sized poblano peppers. One stuffed pepper is more than enough for a single serving meal – even for Mike – and the leftovers are just as tasty reheated a day (or two or three!) after.

Preheat oven to 375F

Peppers2

What You Need

  • Poblano peppers (any number you want/need)
  • 1 cup quinoa
  • 1 sweet onion, chopped
  • 1 jalapeno, chopped (optional)
  • 2 cloves garlic, minced
  • 1 jar sun-dried tomatoes, drained of oil and chopped
  • 1 jar tomato sauce (I made my own tomato sauce using this recipe)
  • About 1 cup Parmesan cheese

What You Do

Slice off the stem end of the poblanos, being careful not to take off too much of the pepper itself. Empty out the insides and seeds using your fingers.

Place the poblanos on a sheetpan lined with parchment paper and bake them in the oven for about 15 minutes or until the skin starts to pinch. (Leave the oven on when the peppers are done – you need to bake them again at the same temperature once they’re stuffed)

While the peppers are baking, cook your quinoa according to package directions. I boiled 2 cups of water and added one cup of quinoa, and simmered, covered, until the water was gone. Obviously if you’re stuffing more than 4 peppers, you might want to make more quinoa.

While the quinoa is cooking, put a tablespoon of olive oil in a pan and heat the onions, jalapeno and garlic for about 5 minutes or until the onions become translucent and soft.

Stir the onion mixture into the quinoa until combined. Peppers

In a large bowl, mix the sun-dried tomatoes with the tomato sauce.

Stuff your slightly baked peppers with the quinoa mixture. Lay extra quinoa on the bottom of the baking dish like a bed for the peppers. Place the stuffed peppers on their bed and cover with tomato sauce. Sprinkle with parmesan cheese.

Bake at 375F for about 20 minutes.

Serve with additional cheese on top if you want. I love my cheese!


Pro Tip: You can really stuff quite a bit of the quinoa mixture into these peppers! Gently tap the bottom end of the pepper on the palm of your hand or a dish to pack down the quinoa. Once you near the top of the pepper with stuffing, push the quinoa down with your spoon for more room.

Peppers5


Slow Cooker Pulled Pork with Sweet Potato and Beer

On Sunday I received a text that spoke directly to my heart.

photo

The text came from my friend Mary, and to be fair, we had finished a 17 mile run just hours earlier. But if I’m going to be honest here, I will admit that I usually feel like I want to eat everything, regardless of how far I’ve run or even whether I’ve run at all.

I have a lot of cravings that tend to dictate what Mike and I eat for dinner.

IMG_3699

As you probably guessed, On Sunday like my friend Mary, I too felt like eating everything. To handle this feeling in the most mature and self-controlled way possible, I ate a handful of sour jelly beans and drove to the supermarket to buy ingredients for one of my favorite comfort food meals – slow cooker pulled pork. I felt like I needed comfort food – who doesn’t?!?

Knowing Mike and I couldn’t eat it until Monday night practically drove me insane, but it was well worth the wait. Absolutely delish! And I got kudos for making pork (Mike’s all-time fav meat dish that I rarely make).

IMG_3667

Seasoned Pork ready to start slow cooking.

IMG_3661

Spice Rub!

What You Need:

  • A boneless pork shoulder (also commonly called pork butt) between 3 and 5 pounds
  • One large sweet potato, grated or shredded (I used my food processor)
  • One large yellow onion, thinly sliced
  • 3 garlic cloves, minced
  • 3-4 scallions, chopped
  • 1 1/4 cup beer (I used a brown ale. If you don’t want to use beer, the same amount of vegetable or chicken broth works too)
  • 1 tbsp brown sugar
  • 1 tbsp chili powder
  • 1 tbsp salt
  • 1 tbsp ground red pepper (cayenne)
  • 1/2 tsp ground cumin
  • 1/4 tsp ground cinnamon
  • 2 cups of your favorite BBQ sauce (I used Thicker Style Hot Bone Suckin’ Sauce)

IMG_3645What You Do:

Line the bottom of the crock pot dish with the graded or shredded sweet potato, the thinly sliced onion, minced garlic and chopped scallions.

Pour the beer over the mixture. Drink the rest!

In a small bowl, mix together the brown sugar, chili powder, salt, cayenne, cumin and cinnamon.

Prepare your pork. I sliced it into large chunks and cut off as much fat as I could.

Rub the spice mixture over the pork pieces and place the pork over the onion mixture in the crock pot dish.

Set the crock pot on High for 6-8 hours OR on Low for 8-10 hours.

When it’s ready, spoon the pork out of the crock pot onto a separate plate.

Drain the liquid left in the crock pot through a strainer and INTO A POT so it doesn’t go down the drain. (This is only important to do if you do not wish to use BBQ sauce. If that’s the case, see below for the Pro Tip).

Return the onion mixture that was captured in the strainer to the crock pot. Return the pork to the crock pot and with a fork, begin pulling it apart until it is all looking like goodness.

Add your BBQ sauce and it’s ready to serve!

Pro Tip: If you do not wish to use BBQ sauce, pour the strained liquid back into the pulled pork mixture slowly until the pork is moistened (you may not need all of it!)

Pro Tip #2: Select a gluten-free BBQ sauce for a totally GF meal!

Pro Tip #3: Take advantage of the fact that this recipe allows you to say “pork butt” multiple times in conversation.

Smuttynose Old Brown Dog

Smuttynose Old Brown Dog – a perfect beer for this recipe!

A Lovely and Filling Kale Risotto

There are a few things I am sure of in this life: A good meal in a pinch does not have to require a trip to the grocery store; a Sunday-night meal plan will invariably improve your week; and sometimes you just NEED chocolate cake.

IMG_3616

One important fact about me is that I like to run (like actually LIKE  it), and one of the biggest reasons aside from the obvious health benefit is that it makes me feel more comfortable about eating all of the foods I love in quantities that might scare average people.

335077_961440997481_1251305287_o

2-pound lobstah

But with winter in New Hampshire being a stubborn thorn in my side, it was easy to fall into a rut of not running as much, and instead eating the chocolate/cookies/leftover pie ruthlessly decorating our office kitchen table.

BUT I have a 20 mile race coming up at the end of March, so I’ve been making a much larger effort to make a healthy dinner every night and bring the leftovers for lunch so I don’t have an excuse to buy food out. Saves money and calories!

IMG_3605 IMG_3606 IMG_3610

Last night’s dinner needed to produce enough food to make two lunches, and since I didn’t get to start cooking until 8pm (ugh) it needed to be fairly quick. By 8:30pm we had this kale risotto, which was indeed both lovely and filling.

What You Need:

  • 1 cup uncooked Arborio (Risotto) rice
  • 2 garlic cloves, minced
  • 1/2 of a large, red onion OR a large shallot (I don’t always have a shallot on hand)
  • 5 cups vegetable broth (need some in a pinch? check out this post)
  • 1 tbsp olive oil
  • 3 cups chopped kale (no stems – unless you like them!)

What You Do:

Heat a large wok or skillet at Medium to Medium-High and add the oil.

Add the chopped garlic and onion, and stir to coat evenly in oil.

Add the cup of Arborio rice and stir to mix.

One cup at a time, add the vegetable broth, stirring continuously between adding each cup. You want the broth to be at a low simmer in the skillet.

Once you’ve added the last cup of broth, add the kale. Stir to combine and lower the heat. Stir and cook until the kale reduces and cooks fully. Taste tests are always helpful! 🙂

Pro Tip: If you actually stir the Risotto the entire time, it will come out AMAZING. I don’t care if you have to hire someone to stand there and do it – I have made this dish so many times and when I finally ignored the mess and dishes and actually stirred it continuously, the end result was SO worth it.

Delicious Homemade Tomato Sauce

I have a teeny tiny obsession right now with making tomato sauce. For a long time, homemade sauce fell victim to a list of foods I was simply too intimidated to try and make. This list has been whittled down substantially in recent years, but once included homemade sushi, balsamic reduction, kale chips, homemade croutons, and roasted garlic (I know, I know. The directions are in the name. I still couldn’t do it).

IMG_3600

Ready for oven baking!

But tomato sauce has officially been not only removed from that list, but is a new all time favorite. What I love about homemade sauce is that it can be a different kind each time, depending on what’s in the fridge, or what I’m in the mood for. Absolutely anything can go in sauce – or nothing at all! I love pouring fresh, homemade sauce over spaghetti squash or pasta with freshly grated Parmesan cheese, risotto or a timeless favorite – English muffin pizzas 🙂

This is the basic recipe. Obviously the more sauce you want, the more tomatoes you have to use. Below the recipe are a bunch of other ingredient options, but they’re all just suggestions so go nuts with your vegetable drawer and experiment! This is one dish you cannot mess up.

photo 1 (1)

photo 2 (2)

Preheat your oven to 400F

What You Need:

  • 10-15 large plum tomatoes
  • Half a sweet onion, sliced
  • 3 small cloves of garlic or 2 large ones
  • 1 tbsp olive oil

What You Do:

Halve all the plum tomatoes, slice the onion (can be done roughly, it’s all getting blended up at the end), mince the garlic.

Pour the olive oil into the bottom of a ceramic or glass baking dish and use the facedown half of one plum tomato to spread it around. The bottom of the dish should be very thinly coated with oil. You don’t need a lot because the tomatoes produce a lot of juice as they’re baking.

Line the bottom of the baking dish with the plum tomatoes, face down. On each layer, sprinkle the garlic and onions so they are intermixed.

Bake for 40 minutes or until the tomatoes are pinched and soft when poked.

Load everything into a food processor and blend until well mixed and there are no visible chunks. Use desired amount on your food, and freeze leftover sauce for easy defrosting and use with your  next meal!

Pro Tip: Add any of the following ingredients, singularly or in combination, to the baking dish to make different and tasty sauces. I have tried all of these, so I can testify they are all delicious.

  • Basil (goes great in all sauces regardless of ingredients)
  • Mushrooms
  • Eggplant
  • Sun-dried tomatoes
  • Zucchini squash
  • Hot peppers or sweet peppers (or both! or, if you’re obsessed with spicy foods like me, add hot peppers to every homemade sauce dish for a little ziing!)
  • Shallots
  • Sausage (add cooked sausage when the sauce is ready to serve, or blend it into the sauce in the food processor)
  • Scallions
  • Artichokes