Zesty Honey-Lime Cauliflower Rice

Admittedly, I’m still on a not-so-silent crusade to get a cat.

IMG_2106

A large part of my job is to poke around the Internet for cat and dog videos, memes and stories, and occasionally I come across the right cat video to make me swoon. Then I promptly text Mike to once again ask if we can get a cat, at which time he promptly says absolutely not.

IMG_2103

I’m wearing him down slowly, I can feel it. Madison will be a whole other story, because she has no love for cats and thinks they’re all squirrels she can torture. That would certainly make for some good videos though.

#catsmakeeverythingbetter.

I may not have a cat, but I have this cauliflower rice dish, which is going to be just enough, for now.

IMG_2096

What You Need:

  • 1 medium head cauliflower, florets and stems chopped off
  • 1 tbsp olive oil
  • 2 small garlic cloves, minced
  • 1/4 cup scallions, chopped
  • 2 tbsp lime juice
  • 1/4 cup freshly chopped cilantro
  • 1/4 cup very finely chopped pistachios
  • 1/2 tbsp honey
  • 2 scallions, whole

What You Do:

IMG_2101

Put the cauliflower into a food processor and pulse until the cauliflower becomes a rice-like texture.

In a large bowl, combine the rice, olive oil, minced garlic, scallions, lime juice, cilantro and pistachios, stirring well to fully combine.

Chill in the refrigerator or heat in an oven or microwave depending on your desired temperature for serving. I served mine warm with a piece of seasoned chicken.

Drizzle very lightly with the honey.

Top with the scallions for garnish, and a lime wedge on the side if desired! Delish!

IMG_2105

Advertisement

Brown Sugar Glazed Pistachio Baked Carrots

I like getting my nails done.

Pistacio Carrots (1)

Mind you, this is not an activity I nor anyone who knows me would have guessed I would enjoy. I have always been a tomboy-type – an outdoor-loving, dirt-under-the-fingernails kind of girl. I don’t wear makeup and don’t plan on starting anytime soon, and I own exactly two pairs of heels that gather dust until a specific social event forces me to put them on.

Pistacio Carrots (9)

Somehow, though, my nails have always been the exception. I like to take one night each month and labor over all 20 of them, filing and buffering, gently brushing on smooth coats of deep reds, purples and bright pinks. And then, because I can’t just stop there, I apply some pretty little stickers to my thumbs and big toes and seal them over with a clear topcoat.

Pistacio Carrots (5)

What do manicures have to do with cooking, you ask? Nothing. Except that eating carrots is supposed to make your nails grow stronger and look better, so that is what I was hoping for when I devoured this dish.

What You Need:

  • 3 lbs carrots, washed and peeled with greens cut off about 1 inch above carrot tops
  • 3 cups water
  • 1/2 cup shelled pistachios
  • 1/2 cup melted butter
  • 1/3 cup brown sugar

Pistacio Carrots (2)

What You Do:

Preheat oven to 350F

In a large pot, bring the 3 cups water to a boil.

Add the carrots and reduce heat to a simmer and cover. Let simmer for about 10 minutes or until carrots are tender and easily punctured with a fork.

While carrots are cooking, mix butter and brown sugar together until they form a glaze.

Place pistachios in a single layer on a baking sheet and bake for 5-8 minutes or until just toasted.

Drain carrots and move to a serving dish, fanning them out to open space between carrots for the glaze to seep through.

Pour the glaze over the carrots.

Top with toasted pistachios and serve!

Pistacio Carrots (6)

Lemony Shredded Raw Brussels Sprouts

I love Brussels sprouts so much. Just so much. They’re probably the most delicious vegetable out there. I had previously sung their praises in the midst of my Thanksgiving cooking frenzy when I coated them with white wine and honey (right?!?) but this dish is similarly delish and doesn’t require actually cooking the Brussels sprouts, so that’s a win now that we’re off vacation and back at work (read: less time, bigger appetites).

Haddock (6)

It’s so easy and works as a light and healthy side dish to almost any meal.

Beet Burgers (22)

What You Need: 

  • 3 cups Brussels sprouts, with stems chopped off, and halved
  • 2 tbsp olive oil
  • 3 tbsp fresh lemon juice (or lemon juice from the convenient lemon juice container you can buy in the produce aisle…)
  • About 1 tsp salt and 1 tsp pepper

What You Do:

Haddock (10)

Place the Brussels sprouts in a food processor and pulse gently until they are roughly chopped, similar to cabbage in cole slaw.

Place chopped up Brussels sprouts in a large bowl and add oil, lemon juice, salt and pepper, stirring well to mix

Now it’s ready to serve! Enjoy alongside basically any main dish.

Pro Tip: As seen on the right, this light and lemony dish is especially great served alongside any white fish – like haddock, for instance! Need inspiration? Get my recipe for haddock baked in spicy Cajun tomato sauce here.

Cauliflower Cous Cous and Vegetables

Lightly adapted from the Nutritionista

I love making one food out of another, healthier food. Like making pasta out of vegetables, a pie crust out of quinoa or cous cous out of cauliflower.

Curry (6)

I actually hardly ever cook using cous cous. I’d rather use quinoa since it’s gluten free and healthier, but there is definitely something about the texture of cous cous that makes it pretty ideal for meals. That’s why I was thrilled to discover a cous cous recipe that didn’t call for cous cous at all. You can easily use cauliflower instead for an all-vegetarian and gluten free dish that is just. so. good.

Curry (1)

What You Need:

  • 1 head of cauliflower
  • 1 orange pepper, chopped
  • 3/4 cup cherry tomatoes, halved
  • 1 stalk celery, chopped (about 1/2 cup)
  • 2 tbsp fresh parsley, chopped
  • 2 tbsp lemon juice
  • 2 tbsp olive oil
  • 1 tsp black pepper
  • 1 tsp salt

What You Do:

Curry (4)

Gently pulse cauliflower in a food processor until it resembles a cous cous-like texture. If you don’t have a food processor, just finely chop the cauliflower with a sharp knife until it becomes very small pieces.

In a large bowl, mix the cauliflower with the remaining ingredients. Stir well and serve!

This makes a great side dish, and while it screams summer BBQ, it really works just fine any time of year with your favorite meat, as a filling for stuffed peppers (stay tuned for that recipe), or just mixed in with a salad. The lemon juice and oil make a nice dressing so you don’t have to add the extra calories. Put some avocado in with it and you’ve got yourself a fantastic meal!

Pro Tip: This is a great dish to play with as far as adding your favorite herbs. Add freshly chopped basil, oregano, mint or cilantro or even chopped walnuts or dates to give it some different flavor and texture!

Curry (7)

Tofu Honey Chili with Gluten Free Jalapeno Cornbread

So back in the day when I was a budding foodie, I had a food blog on Blogger called Two Peas in a Pot. I was pretty excited about it and posted quite a few recipes. Then I stopped keeping up with it as life got busier, and I let it fall into the great Internet abyss.

IMG_0400

However, I uncovered it recently thanks to Facebook alerting me to the fact that I hadn’t posted in awhile (5 years – thanks Facebook). Having advanced somewhat in the food blogging world at this point in my life, I got a good laugh about the amateurish quality of the food photos I had been posting with my recipes. The whole blog left a lot to be desired, but we all have to start somewhere, right? And the recipes themselves aren’t bad. This honey chili and cornbread is an adaptation of a recipe I had posted on my old blog. However, for comparison’s sake, here’s the photo of this dish that I originally took:

Chili

Appetizing, right? It’s nice that my hand is in the shot, and I’m also pretty sure I had already taken a bite out of that cornbread before snapping this photo. Mike definitely chuckled when I showed him – thank goodness I’ve improved my food photography at least marginally since my old blogging days.

IMG_0399

But like I said, the recipes aren’t bad. As soon as I came across the honey chili and jalapeno cornbread, I wanted to make it again and see what I could do with it. And honey chili 2.0 has come out fabulously. I love making dinners like this because of the leftovers and because they’re basically just super easy but pack a healthy and filling punch. Plus, this entire meal is 100% gluten free. Even the cornbread. (Honestly for something made primarily of corn you would think it would always be gluten free, but it’s not).

IMG_0394

What You Need for the Chili:

  • 1-14oz package firm tofu
  • 1 tbsp coconut or olive oil
  • 1 cup chopped onion
  • 3/4 cup chopped bell pepper
  • 2 cloves garlic, finely chopped
  • 12 oz can diced tomatoes (or chop 1 1/2 cup fresh tomatoes)
  • 12 oz can black beans, drained and rinsed
  • 12 oz can kidney beans, drained and rinsed
  • 2 tbsp chili powder
  • 1 tsp. ground cumin
  • 1/2 tsp. salt
  • 1 tsp. dried oregano
  • 1 tsp. crushed red pepper flakes
  • 2 tbsp honey
  • 2 tbsp. red wine vinegar
  • 1/4 cup freshly grated cheddar cheese

IMG_0382

What You Need for the Cornbread (adapted from GlutenFreeOnAShoestring):

  • 2 cups coarsely ground yellow cornmeal
  • 1 teaspoon kosher salt
  • 1 teaspoon baking soda
  • 2 teaspoons baking powder
  • 1 egg
  • 4 tablespoons unsalted butter, melted
  • 1 1/2 cups plain Greek yogurt*
  • 4 tablespoons honey
  • 2 jalapenos, finely chopped (seeded if desired)

What You Do:

Preheat oven to 400F

IMG_0375

Before doing anything, shred the tofu into a strainer using a cheese grater. This will help remove excess water from the tofu and you can set it aside to drain while you cook.

Make the cornbread first, as you can make the rest of the dish while it bakes.

In a small bowl, whisk together the cornmeal through baking powder.

In a separate bowl, mix together the remaining ingredients, including jalapenos.

Add dry ingredients to the wet mixture and mix well. The batter will be fairly fluffy in texture.

IMG_0387

Scrape batter into a well-greased 8-or-9-inch baking pan. I used a round cake pan.

Bake for 20 minutes. The top of the cornbread will be a lovely golden brown and the bread is done when a toothpick inserted in the middle comes out clean.

While the cornbread is baking, heat oil in a large skillet. Add the onion, bell pepper and garlic and saute until soft.

Add the tomatoes and beans and mix well, stirring occasionally until well heated. Then add the spices, honey and vinegar and mix well.

IMG_0391          IMG_0398

Finally, add in the shredded tofu and mix well. The cool thing about this dish is that the shredded tofu adds a hearty meat-like look and feel while keeping it 100% vegetarian.

Serve with a slice of cornbread and a sprinkling of cheddar cheese.

*Pro Tip: Don’t have plain Greek yogurt on hand for the cornbread? Substitute with an equal amount of sour cream or buttermilk.

IMG_0401

Thanksgiving Day 5: Creamy Butternut Squash, Potato and Pear Soup

Nothing beats two foods that “pear” together well (har har), and Butternut Squash and Pears are no exception.

Squash (3)

This is a delectable soup perfect for a cold day, and since there will be lots of those coming up, my suggestion is to stock up on Butternut Squash and pears now. Not kidding!

This dish is quick to prepare for your Thanksgiving feast, and makes enough for leftovers (depending on how large/hungry your family is) 🙂

Squash (20)

What You Need:

  • 1 large Butternut Squash, skinned, halved and seeded (about 3 cups mashed)
  • 2 small cloves garlic, minced
  • One large or two small white potatoes, diced
  • 1 onion, roughly sliced
  • 4 Bartlett (or other) pears skinned, pitted and diced (about 1 cup)
  • 1/2 tsp nutmeg
  • 1 tsp cinnamon
  • 1 tsp brown sugar
  • 1 tsp fresh ground black pepper
  • 1/2 tsp salt
  • 2 1/2 cups vegetable broth
  • A few pear slices for garnish

What You Do:

Preheat oven to 400F

Place the squash facedown on a foil-lined baking sheet and bake for about 20-30 minutes, or until the squash is soft enough to get a fork through.

While the squash is cooking, boil water in a large pot and boil the potatoes until soft and cooked through, about 15 minutes. Then drain and set aside.

Once the squash is done, pile it into a food processor along with the potato, onion, pears and spices, and give it a good whirl. It should still be fairly thick at this point.

Squash (22)                    Squash (23)

Scrape the whole mixture into a large 4 or 5 quart pasta pot and turn the heat up to medium.

Gradually add the vegetable broth, stirring constantly, until it is the consistency of, well, a creamy butternut squash and pear soup. (You might find you need more or less broth depending on how you like your soup, but 2 1/2 cups was perfect for mine).

Bring to a low boil and then reduce the heat. Pour into soup bowls and garnish with a few pear slices, and you’re good to go!

Also, I enjoyed this soup with a hearty slice of no-rise whole wheat stout bread. Highly recommend!

Pro Tip: You can cut your cooking time down if you cut the raw squash into chunks and boil them with the potato. Once they’re soft, drain, and blend with the remaining ingredients.

Squash (3)

Thanksgiving Day 4: Vegetarian Stuffing Stuffed Mushrooms

If a mushroom is stuffed with stuffing, is it redundant to call it a stuffing stuffed mushroom?

Stuffing (16)

Say that 5 times fast! Either way, the real point here is that stuffing is one of the greatest foods served at the Thanksgiving table. I know I have my whole affinity for squash thing going on, but it’s basically trumped by stuffing.  Stuffing is always flavorful and goes so well with all the other foods on your plate – especially the turkey. Even the name stuffing just makes me love it that much more.

Stuffing is mostly always served in a big bowl, but for the purpose of my 5-day Thanksgiving meal extravaganza (I’m calling it that now, by the way) I wanted to come up with something that would act as more of an appetizer, and be friendly to those traveling who want to bring something unique that can be easily heated up.

Stuffing (14)

This dish is a fun twist on the classic stuffing in a bowl. And it’s really easy to make. It may look like a staggering amount of ingredients but it’s actually very simple. It does include a homemade vegetable broth so you could always make things easier on yourself and use a store-bought kind. There’s 4 ingredients off the list right there!

And this recipe has some great vegetables in it that add amazing flavors so you don’t need to add spices outside of a pinch of salt and pepper.

Stuffing (1)

What You Need:

  • 2 leeks, one cut in half and one diced
  • 1 large yellow onion cut in half, one half left in tact (skins and all) and one peeled and diced
  • 1/2 a tomato
  • 1 jalapeno cut in half
  • 1 stick unsalted butter
  • 1 large parsnip, peeled and diced into cubes
  • 2 leeks, one cut in half and one diced
  • 1/2 large yellow onion, diced
  • 2 cloves garlic, minced
  • 1 medium eggplant, peeled and diced into cubes
  • 2 cups vegetable broth, divided
  • 1 medium sized load of French bread (about 3.5-4oz in weight) OR your favorite gluten free bread to make this a 100% GF dish
  • 1 tbsp fresh chopped sage
  • 1/2 tbsp fresh chopped rosemary
  • 5 large portobello mushrooms
  • 4 tbsp freshly grated Parmesan cheese
  • A pinch of salt and pepper

Stuffing (5)

What You Do:

Preheat oven to 350F

In a large saucepan, bring 6 cups of water to a boil. This is for your vegetable broth. Once the water is boiling, add the leek that is cut in half, the 1/2 tomato, the in-tact onion half and the jalapeno and boil until the vegetables are soft and the water is colored with vegetable leavings.

Strain the broth into a separate pot to separate out the vegetables. Discard the vegetables and set 2 cups of the broth aside. (Freeze the rest for future recipes).

In a very large skillet, melt the butter. Once melted, add the parsnips and let them simmer in the butter for about 2 minutes.

Then, add the leeks, onion, garlic, eggplant and a pinch of salt and pepper (no more than 1/4 tsp each) and cook, covered, on a low-medium heat for about 10 minutes or until all the vegetables are soft.

Add 1 cup of the vegetable broth, cover and simmer for 10 minutes or until the broth has been absorbed.

Slice the bread into 1-inch cubes and lay them in the bottom of a casserole dish.

Sprinkle the sage and rosemary over the bread.

Then, pour the vegetable mixture over the bread as well. Spread it out so it evenly covers the bread.

Stuffing (2)          Stuffing (3)

Pour the remaining cup of vegetable broth over everything, gently pushing aside the vegetable mixture to allow the broth to work through to the bread and the bottom of the casserole dish.

Bake, uncovered, for 40 minutes.

While the stuffing is baking, gently clean any dirt off your mushrooms.

Slice off the stems and gently dig out the gill-like material on the underside of the mushroom caps.

Stuffing (7)         Stuffing (11)

Place the hollowed-out mushrooms cap-side down in a baking dish and bake them in the oven (also at 350F) for about 10 minutes or until they begin to look slightly droopy or wilted. A small amount of liquid might appear inside the caps – this is a good way to know you need to remove them from the oven.

Once the stuffing is done, add a generous scoop of stuffing to each mushroom cap.

Top each with a tablespoon of cheese and place back in the oven for about 5 minutes or until the cheese is melted.

Stuffing (13)

These make for a gorgeous presentation lined up on a serving tray. I hope you enjoy them as much as Mike and I did!

Pro-Tip: Try to pick out portobello mushrooms that have high sides so they’re more cup-shaped instead of flat. These will maintain their shape a lot better after being heated up and make it easier to stuff them.

Stuffing (15)


Thanksgiving Dish Day 3: White Wine Honeyed Brussels Sprouts Over Quinoa

There are some things you’re confronted with as a child that, despite your small stature, are non-negotiable. You will gladly sit at the table all night long, relinquish dessert rights, resign yourself to missing your favorite cartoon, get sent to bed early – all in the name of avoiding eating a vegetable (usually green, usually slightly slimy and usually exuding a questionable odor).

Beet Burgers (22)

Did I ever think I would like – and look forward to – eating Brussels Sprouts? No way. Did my parents? That’s an even bigger “no way.”

I was always “a picky eater” (my mother’s words) – particular about my meals and mostly partial to sugar-laden foods and non-green stuff. But I was a kid. And I grew out of it – thank goodness too because honestly, green stuff is amazing.

Beet Burgers (28)

Brussels Sprouts are like tiny cabbages (but sweeter) that become packed full of the flavors they’re cooked with, and they develop a delicious crispiness when pan-fried that makes them almost more like (yes I’m going there) a snack.

It’s not surprising that kids don’t like these, but it’s probably based on appearance and, also, keeping up appearances, because you can’t just GIVE IN and admit to your parents that you like something right? I hope to raise a child who does, but it’s not likely considering how many times my mother wished that I would have a kid someday just as picky as myself.

I wish I could go back in time and see what my 9-year-old self would think of these bad boys, but definitely let me know how this recipe goes over! My 31-year-old self couldn’t get enough of them, and they’re a great addition to any Thanksgiving spread.

Beet Burgers (30)

What You Need:

  • 1 cup red quinoa, cooked according to package directions
  • 2 cups Brussels Sprouts with the hard stems sliced off and any bad outer leaves pulled off
  • 2 tbsp olive oil, divided
  • 2 tbsp honey, warmed so it’s loose and will mix easily
  • 1/2 tsp salt
  • 1 tsp freshly ground black pepper
  • 1/4 cup white wine

What You Do:

In a large bowl that has lots of extra room to stir the Brussels Sprouts without losing any over the side, mix the Brussels Sprouts with 1 tbsp olive oil, the honey, salt and pepper, until the Brussels are covered well.

Warm the remaining 1 tbsp olive oil in a large skillet on medium heat.

Beet Burgers (34)

Pour Brussels Sprouts into the skillet – they should sizzle in the heated oil.

Stir around, gently cooking all sides of the Brussels.

Once Brussels are warm and well-mixed in the pan, add the wine, and stir continuously until the liquid burns off.

Now they’re ready to serve! Pile over a bed of the quinoa and enjoy!

Pro Tip: For a fuller meal, add cooked sweet potato, squash or diced cooked chicken to the quinoa with some cooked onions and/or peppers.


Thanksgiving Dish Day 2: Creamy Herbed Buttercup Squash Risotto

Where oh where would Thanksgiving be without the squash? My love for these fibrous, flavorful and filling fruits begins in the summertime with zucchinis and summer squashes, but what I really spend my time looking forward to is the fall and winter squashes that each offer a different taste and application.

Risotto (15)

This fall, I committed myself to learning about unique squash varieties and how to best use them. I had always been a Butternut/Acorn/Spaghetti squash kind of girl, but now I’ve discovered Delicata, Sweet Dumpling, Sugar Pumpkin, Carnival and, of course, Buttercup squashes, and can’t get enough of them.

They’re sweet in different ways and each add something unique to dishes. They also all go well with butter. Mmmm butter.

Risotto (11)

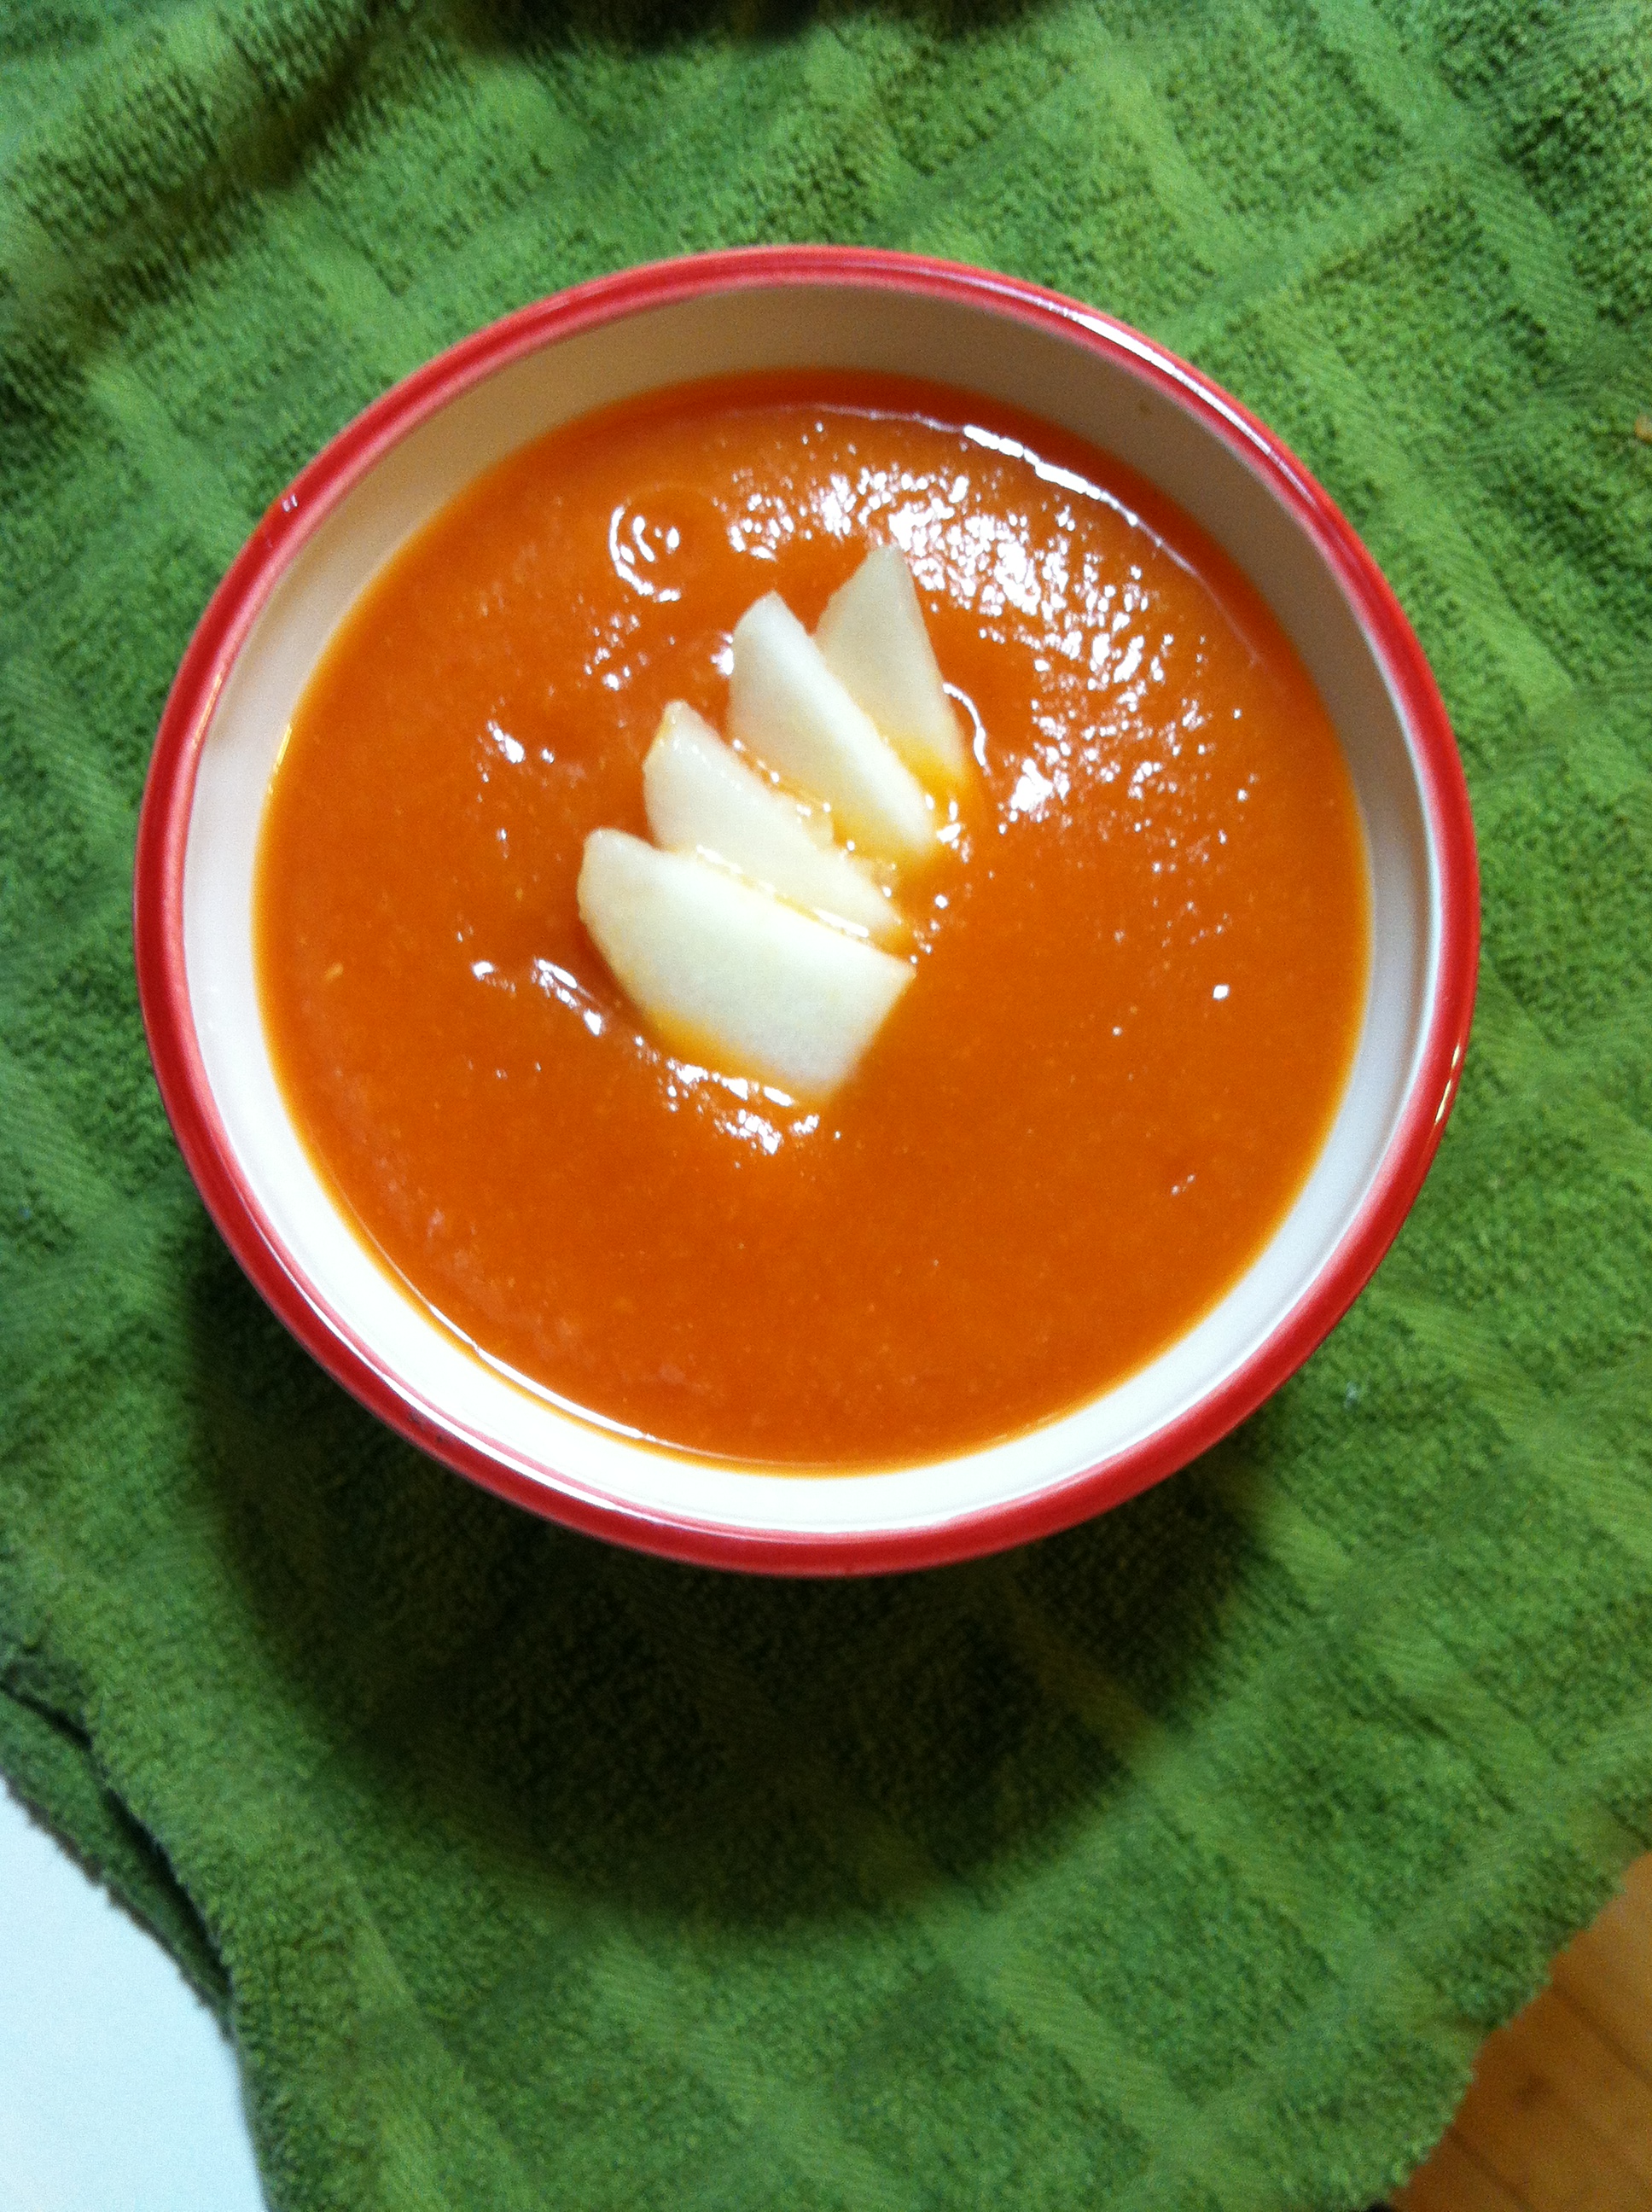
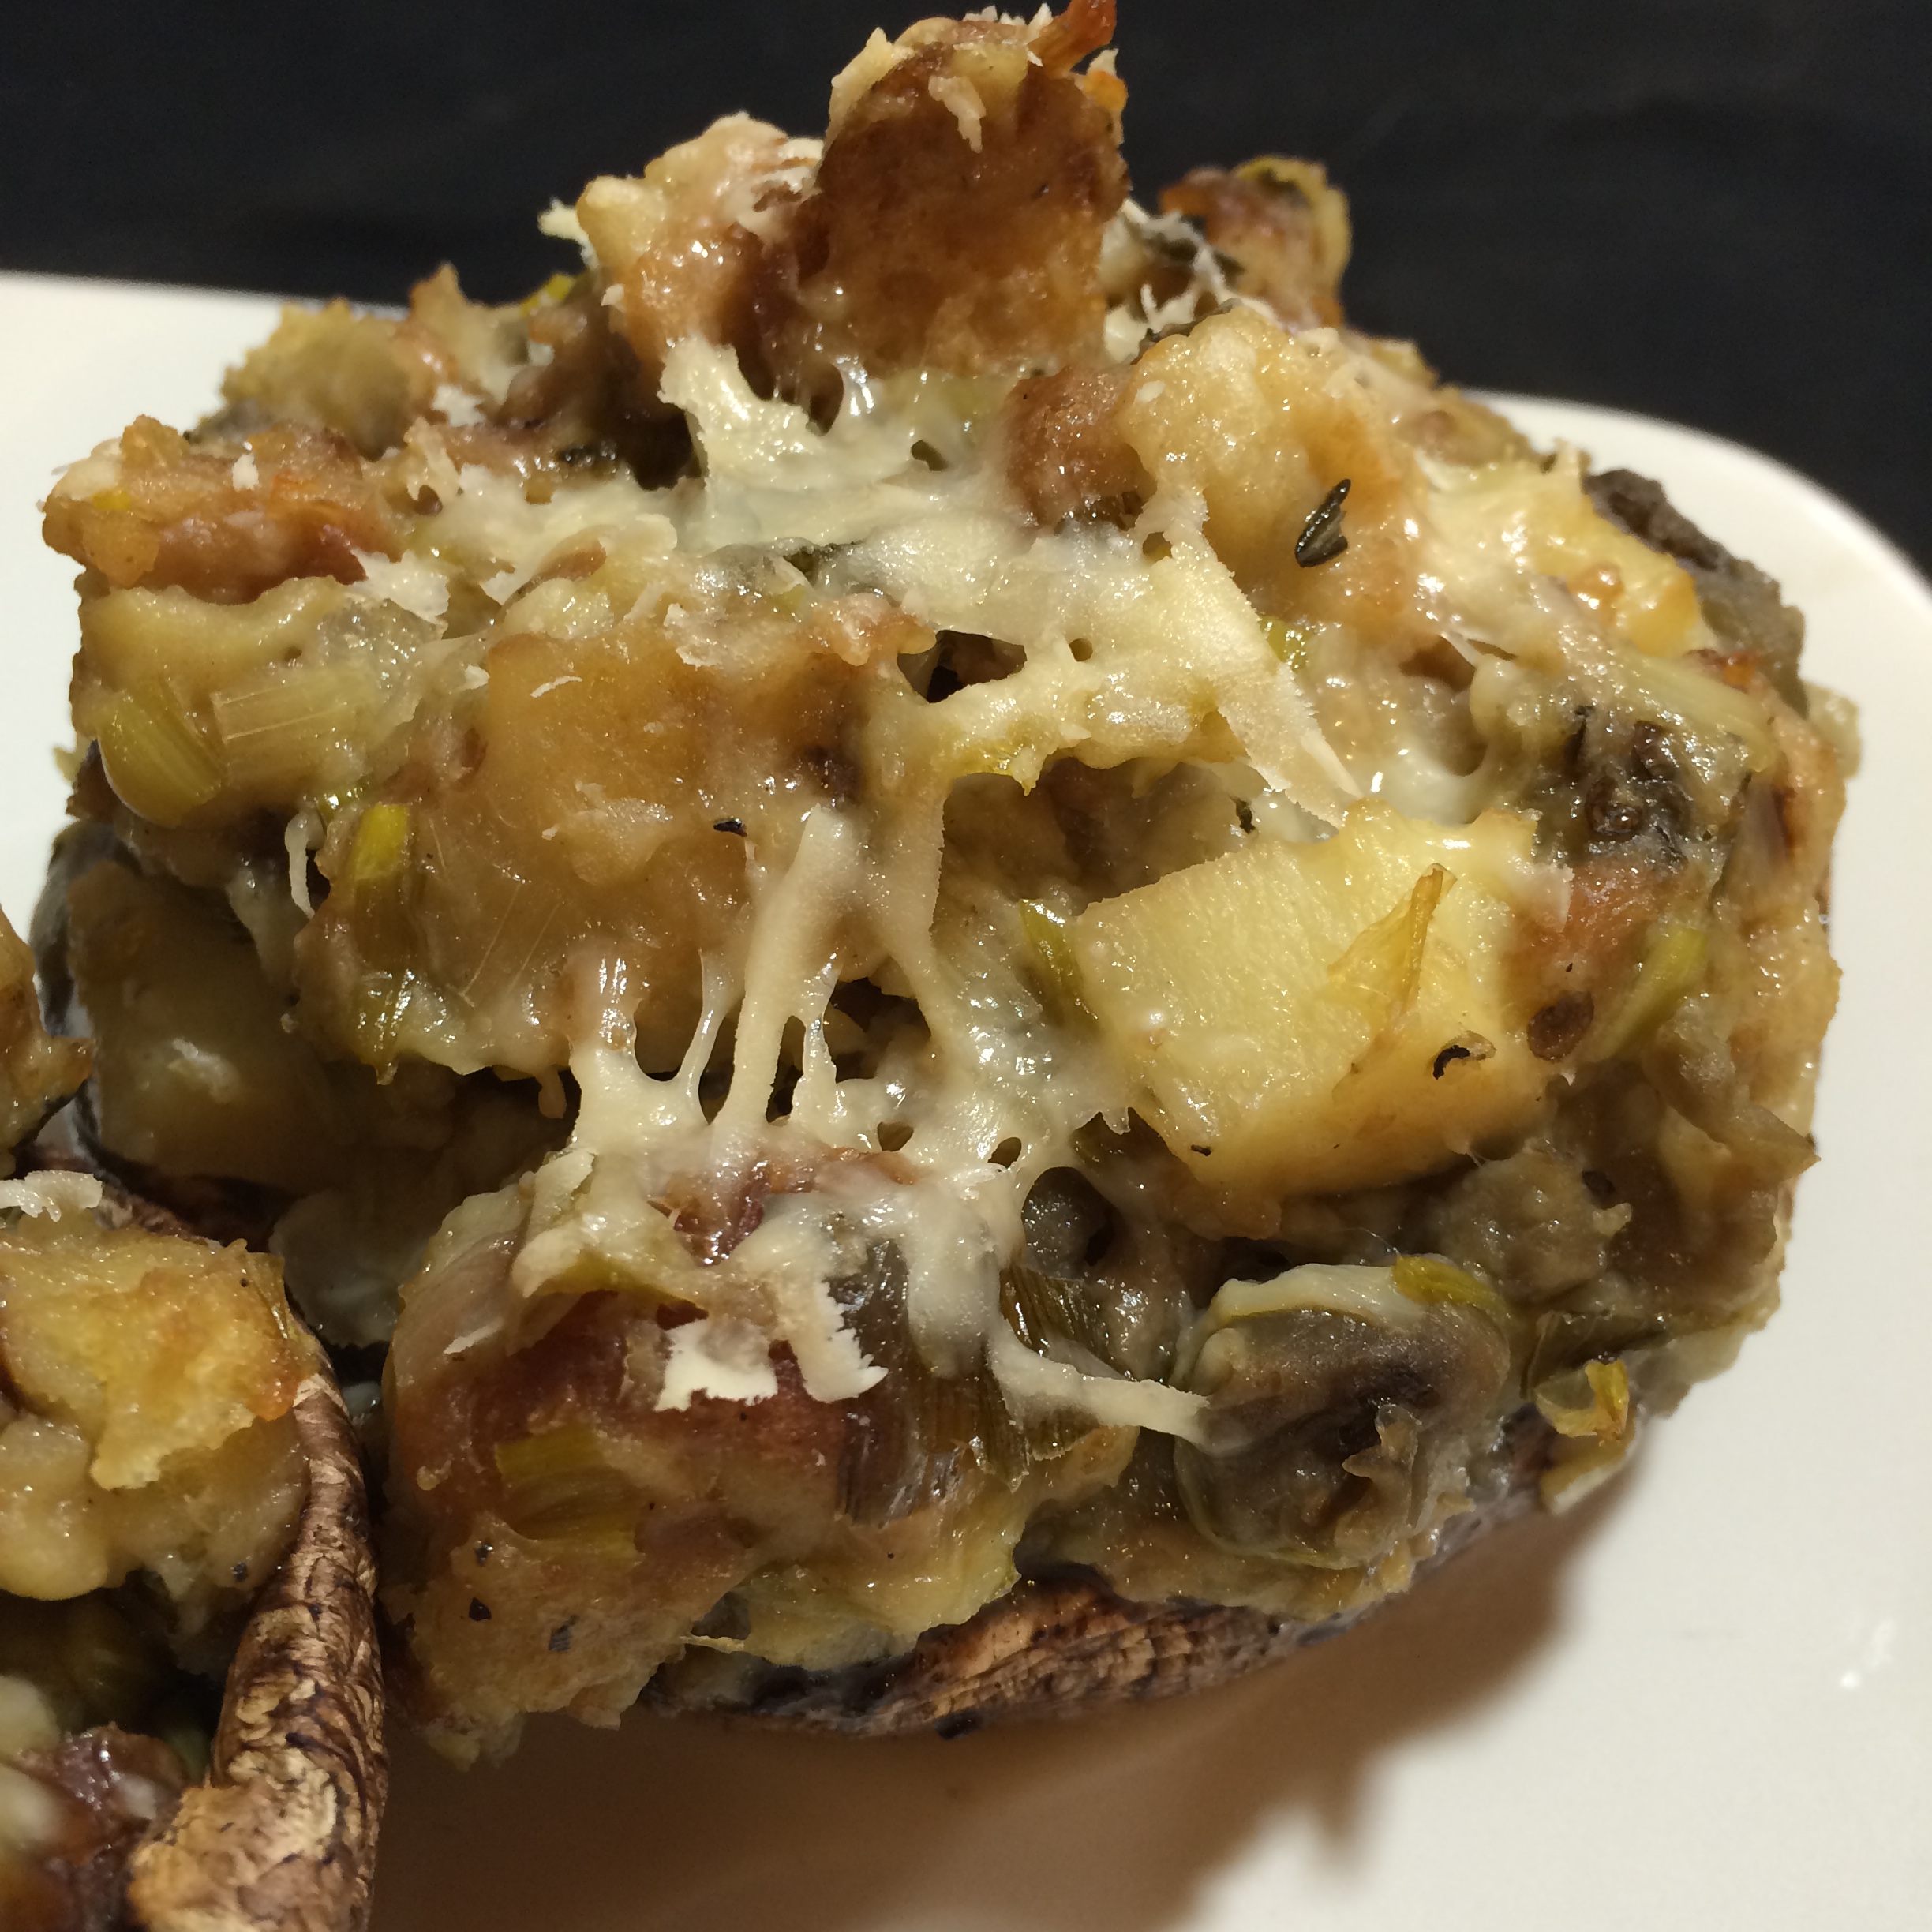
Bring this recipe to the Thanksgiving table and I assure you people won’t be able to get enough of it. Risotto is a delectable dish on its own, but infused with a flavorful homemade vegetable broth and creamy herbed squash, it really delivers. Plus, you can serve it right inside the large, hollowed-out shell of the buttercup squash – how cool is that?

Risotto (2)

What You Need:

  • 1 Leek, washed and cut into 2 pieces
  • 1 yellow onion, ends chopped off and cut in half with one half diced, and the other half still in tact with skins and papery shell
  • 1/2 of a whole tomato
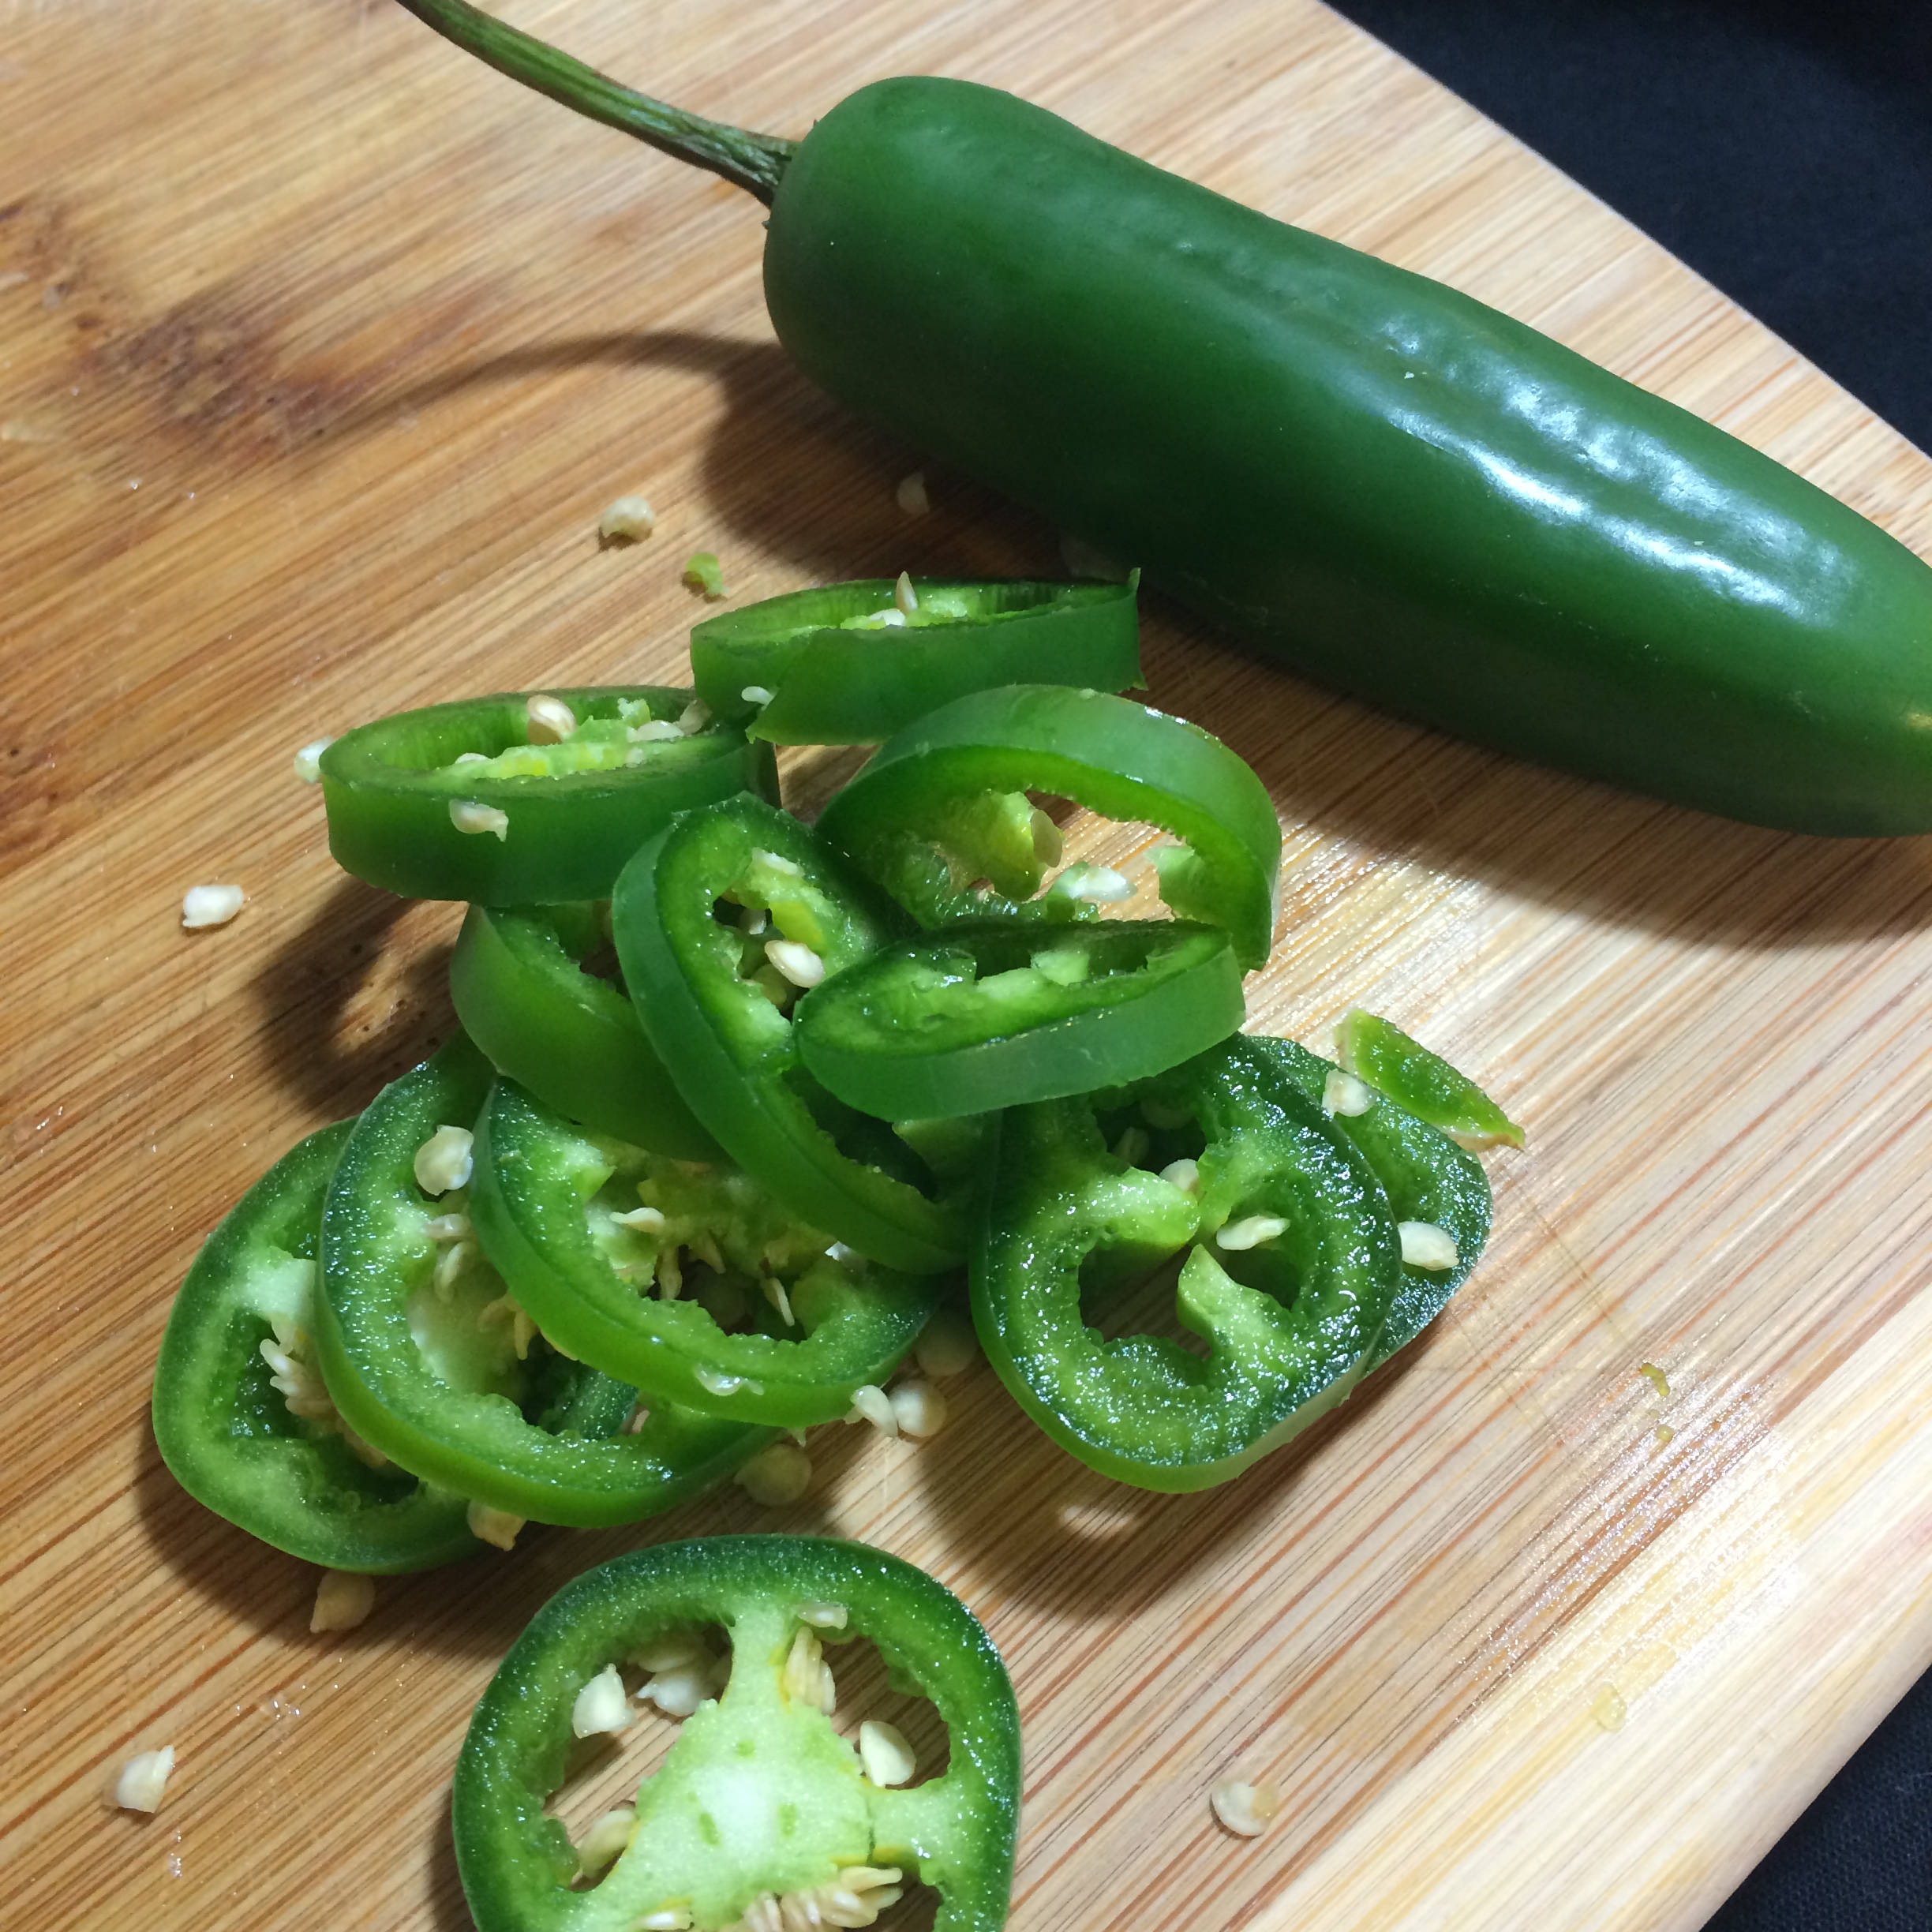
  • 1 jalapeno
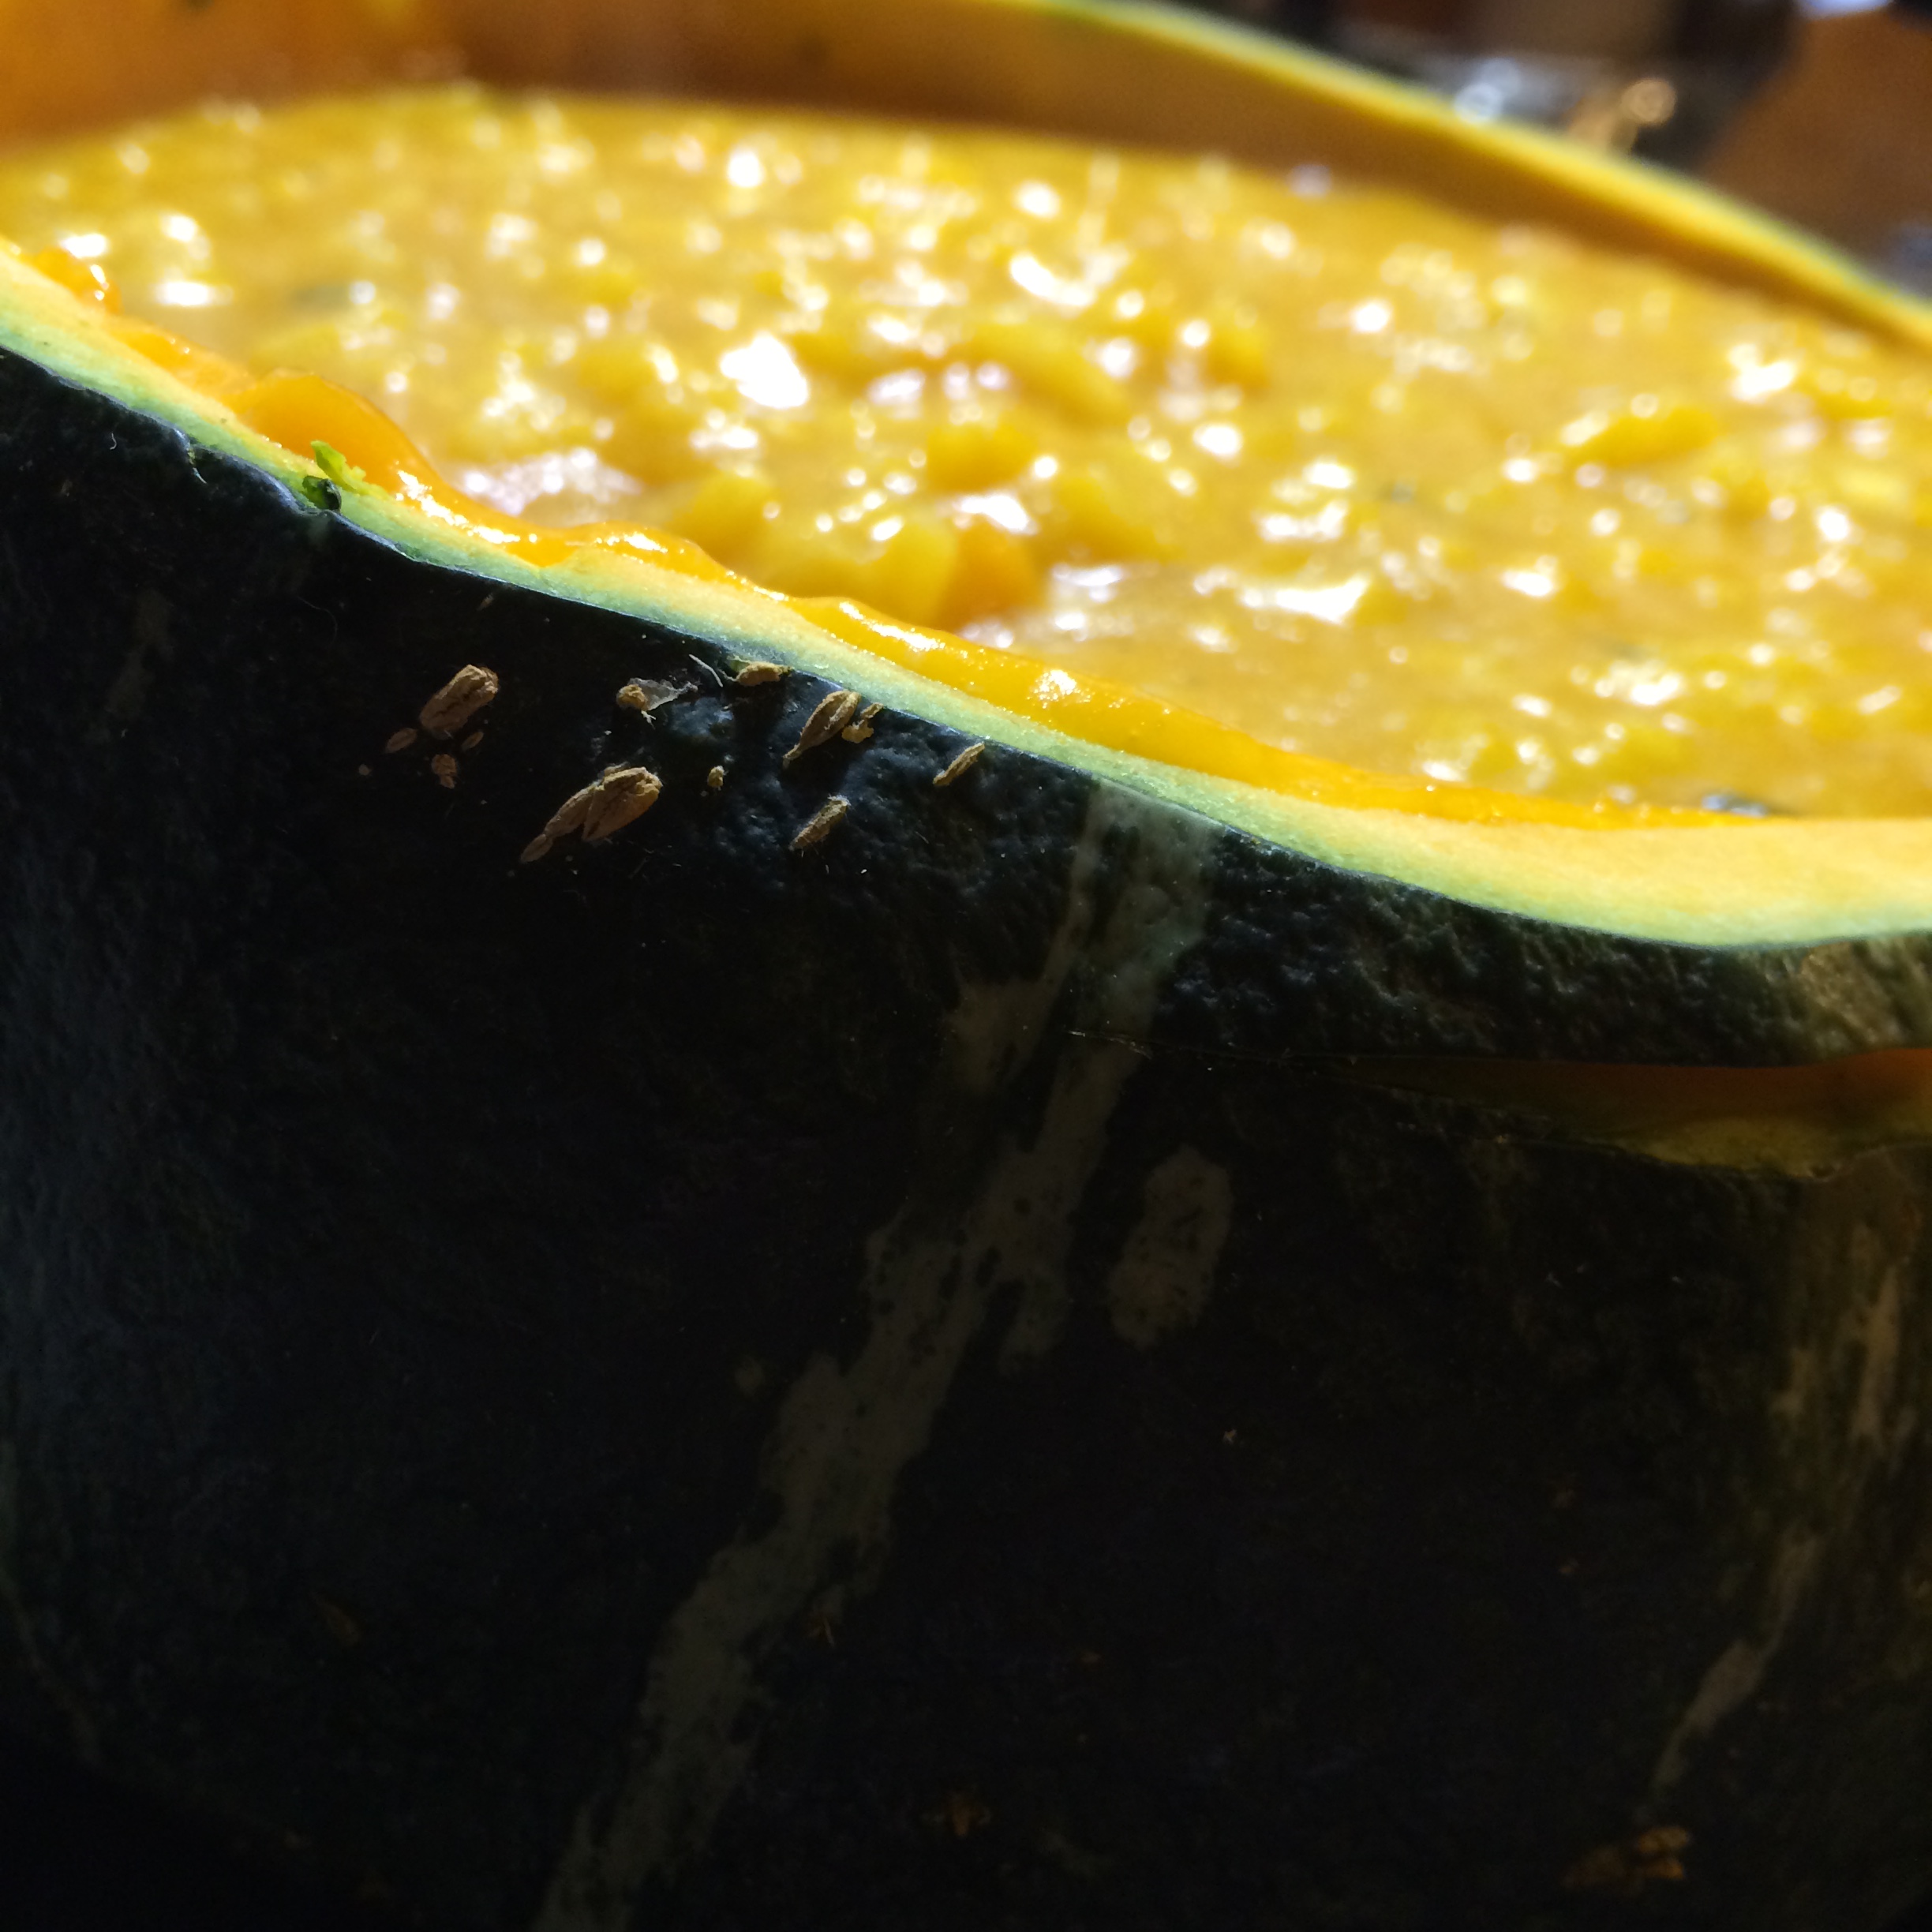
  • 1 large Buttercup Squash, top sliced off, seeds and loose filling removed and discarded

Risotto (6)

  • 2 tbsp butter
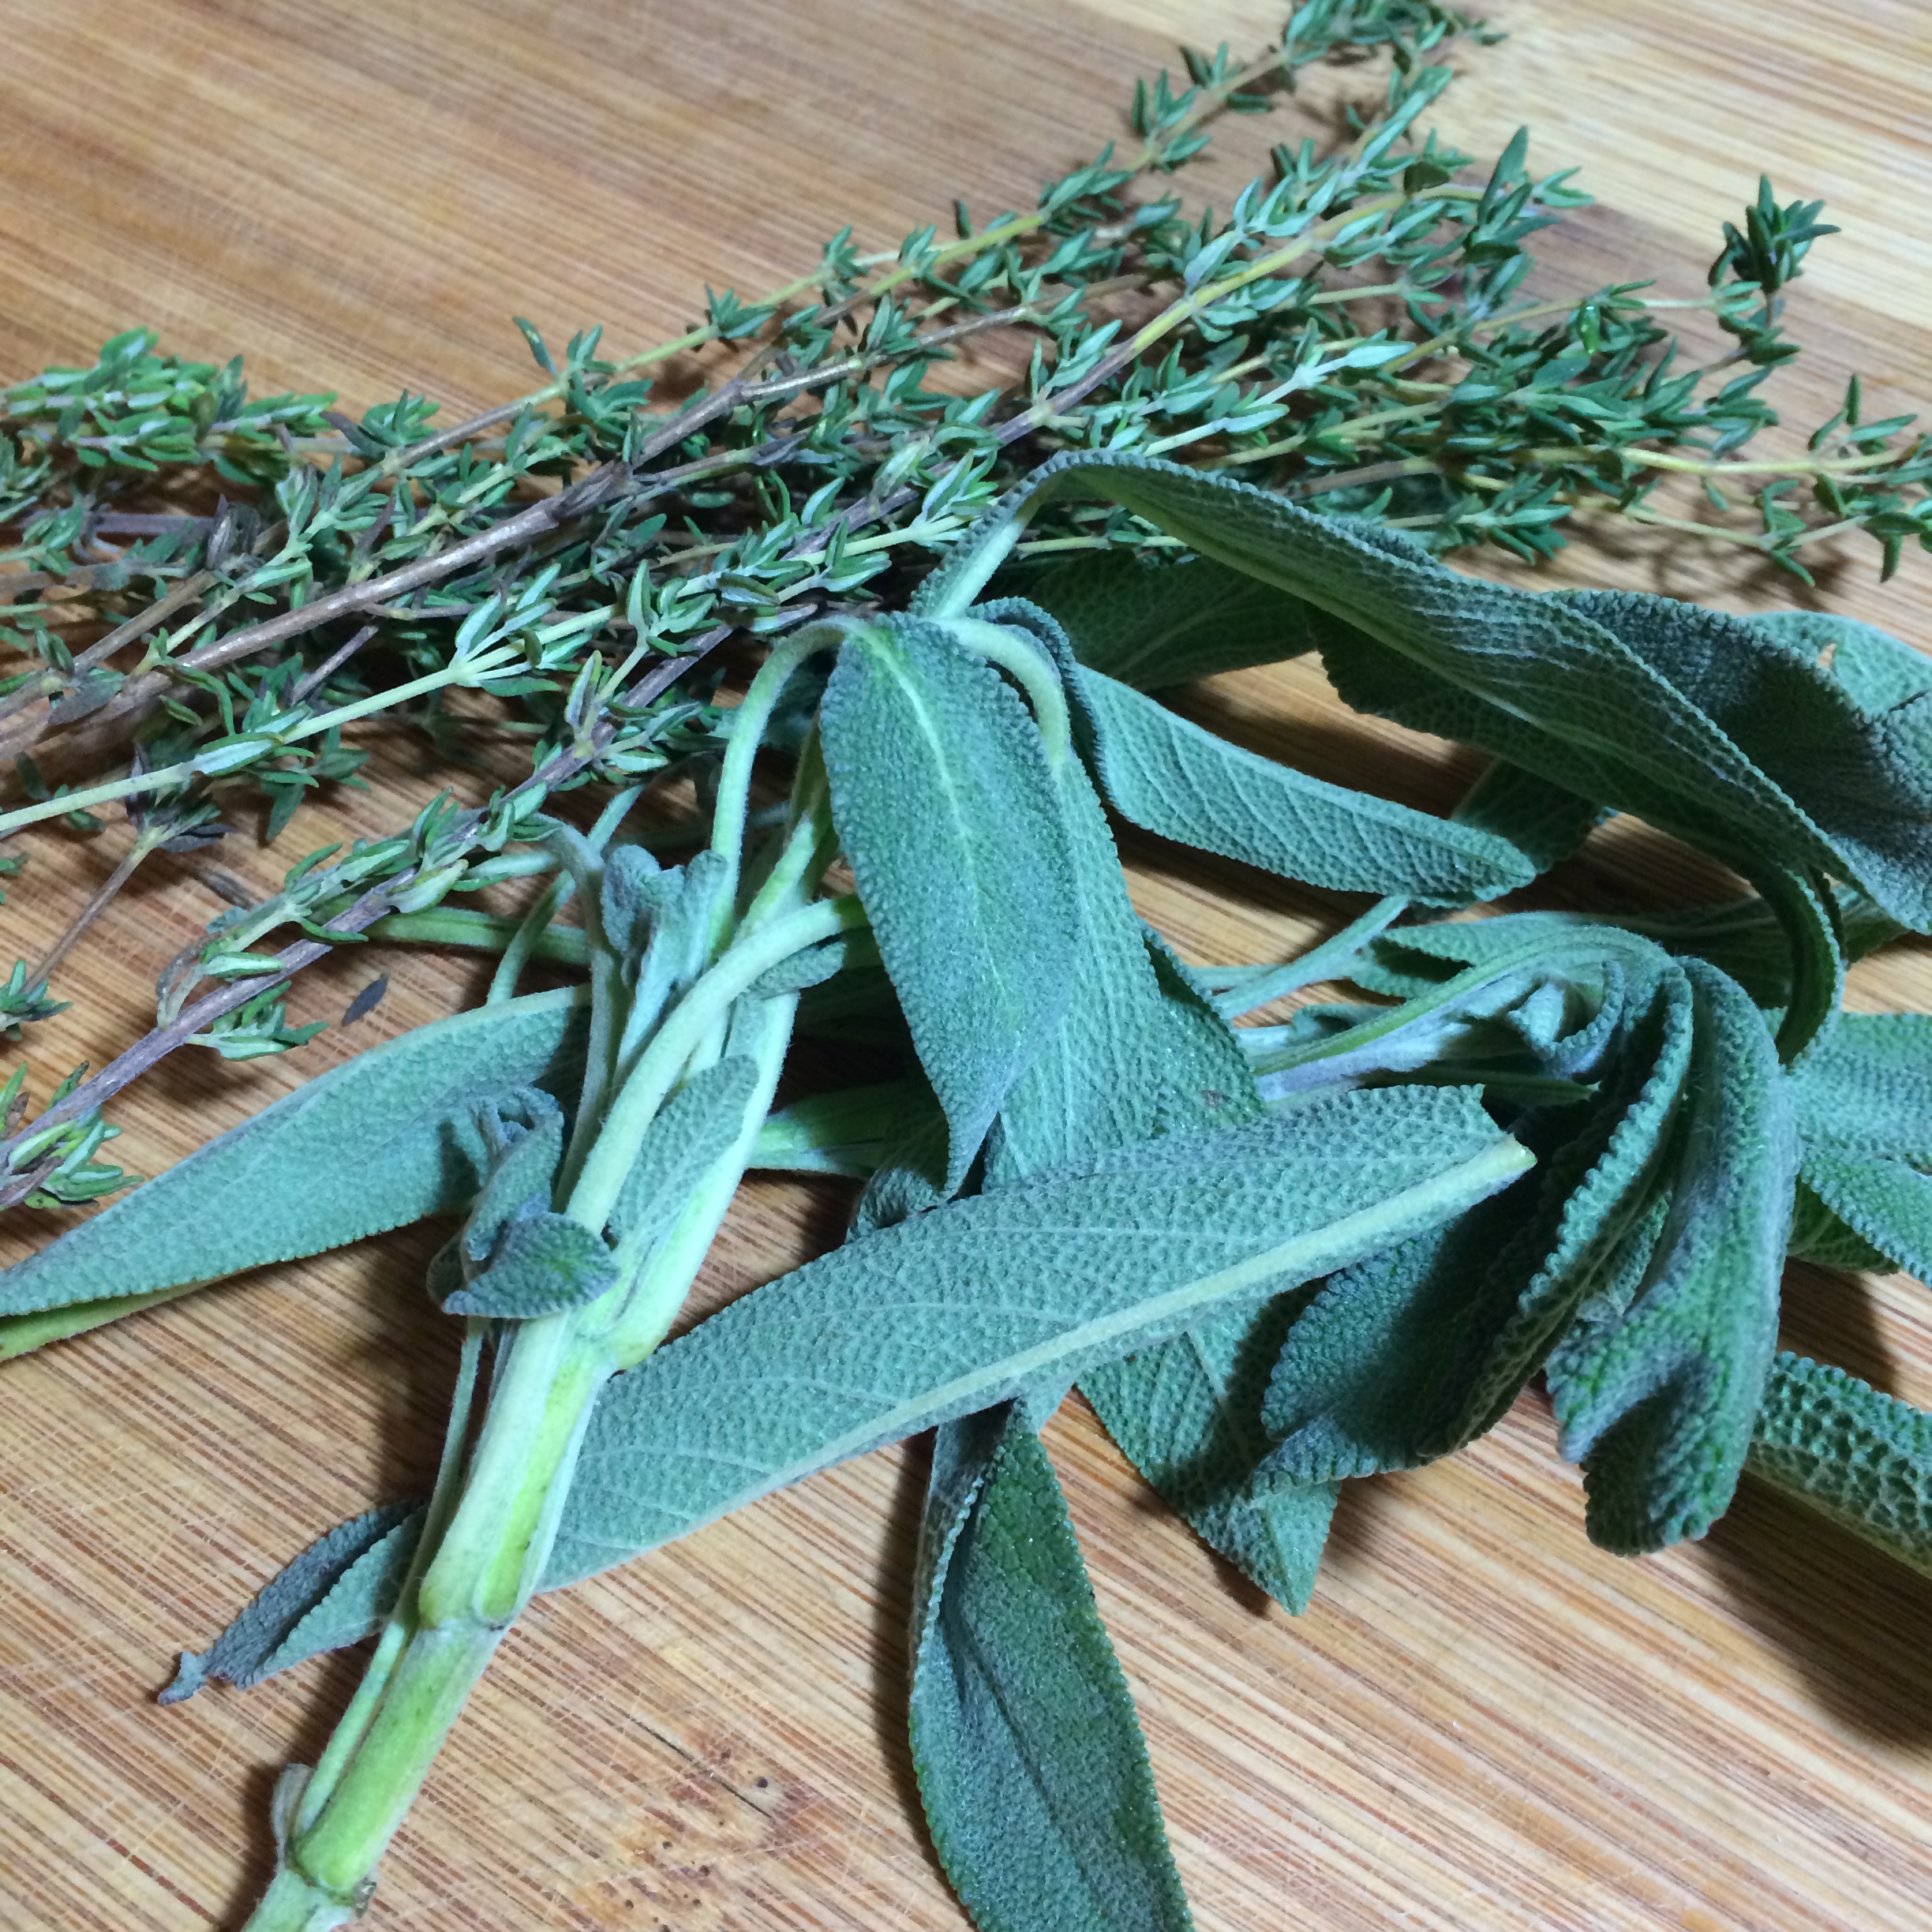
  • 1/4 tsp fresh chopped thyme
  • 1 tsp fresh chopped sage
  • 1/8 tsp salt
  • 1/4 tsp freshly ground black pepper
  • 1 tbsp olive oil
  • 1 medium shallot, diced (about 2 tbsp)
  • 2 garlic cloves, minced (about 1/2 tbsp)
  • 1 cup Arborio (risotto) rice
  • 1/3 cup white wine
  • 1/2 cup freshly grated Parmesan cheese

What You Do:

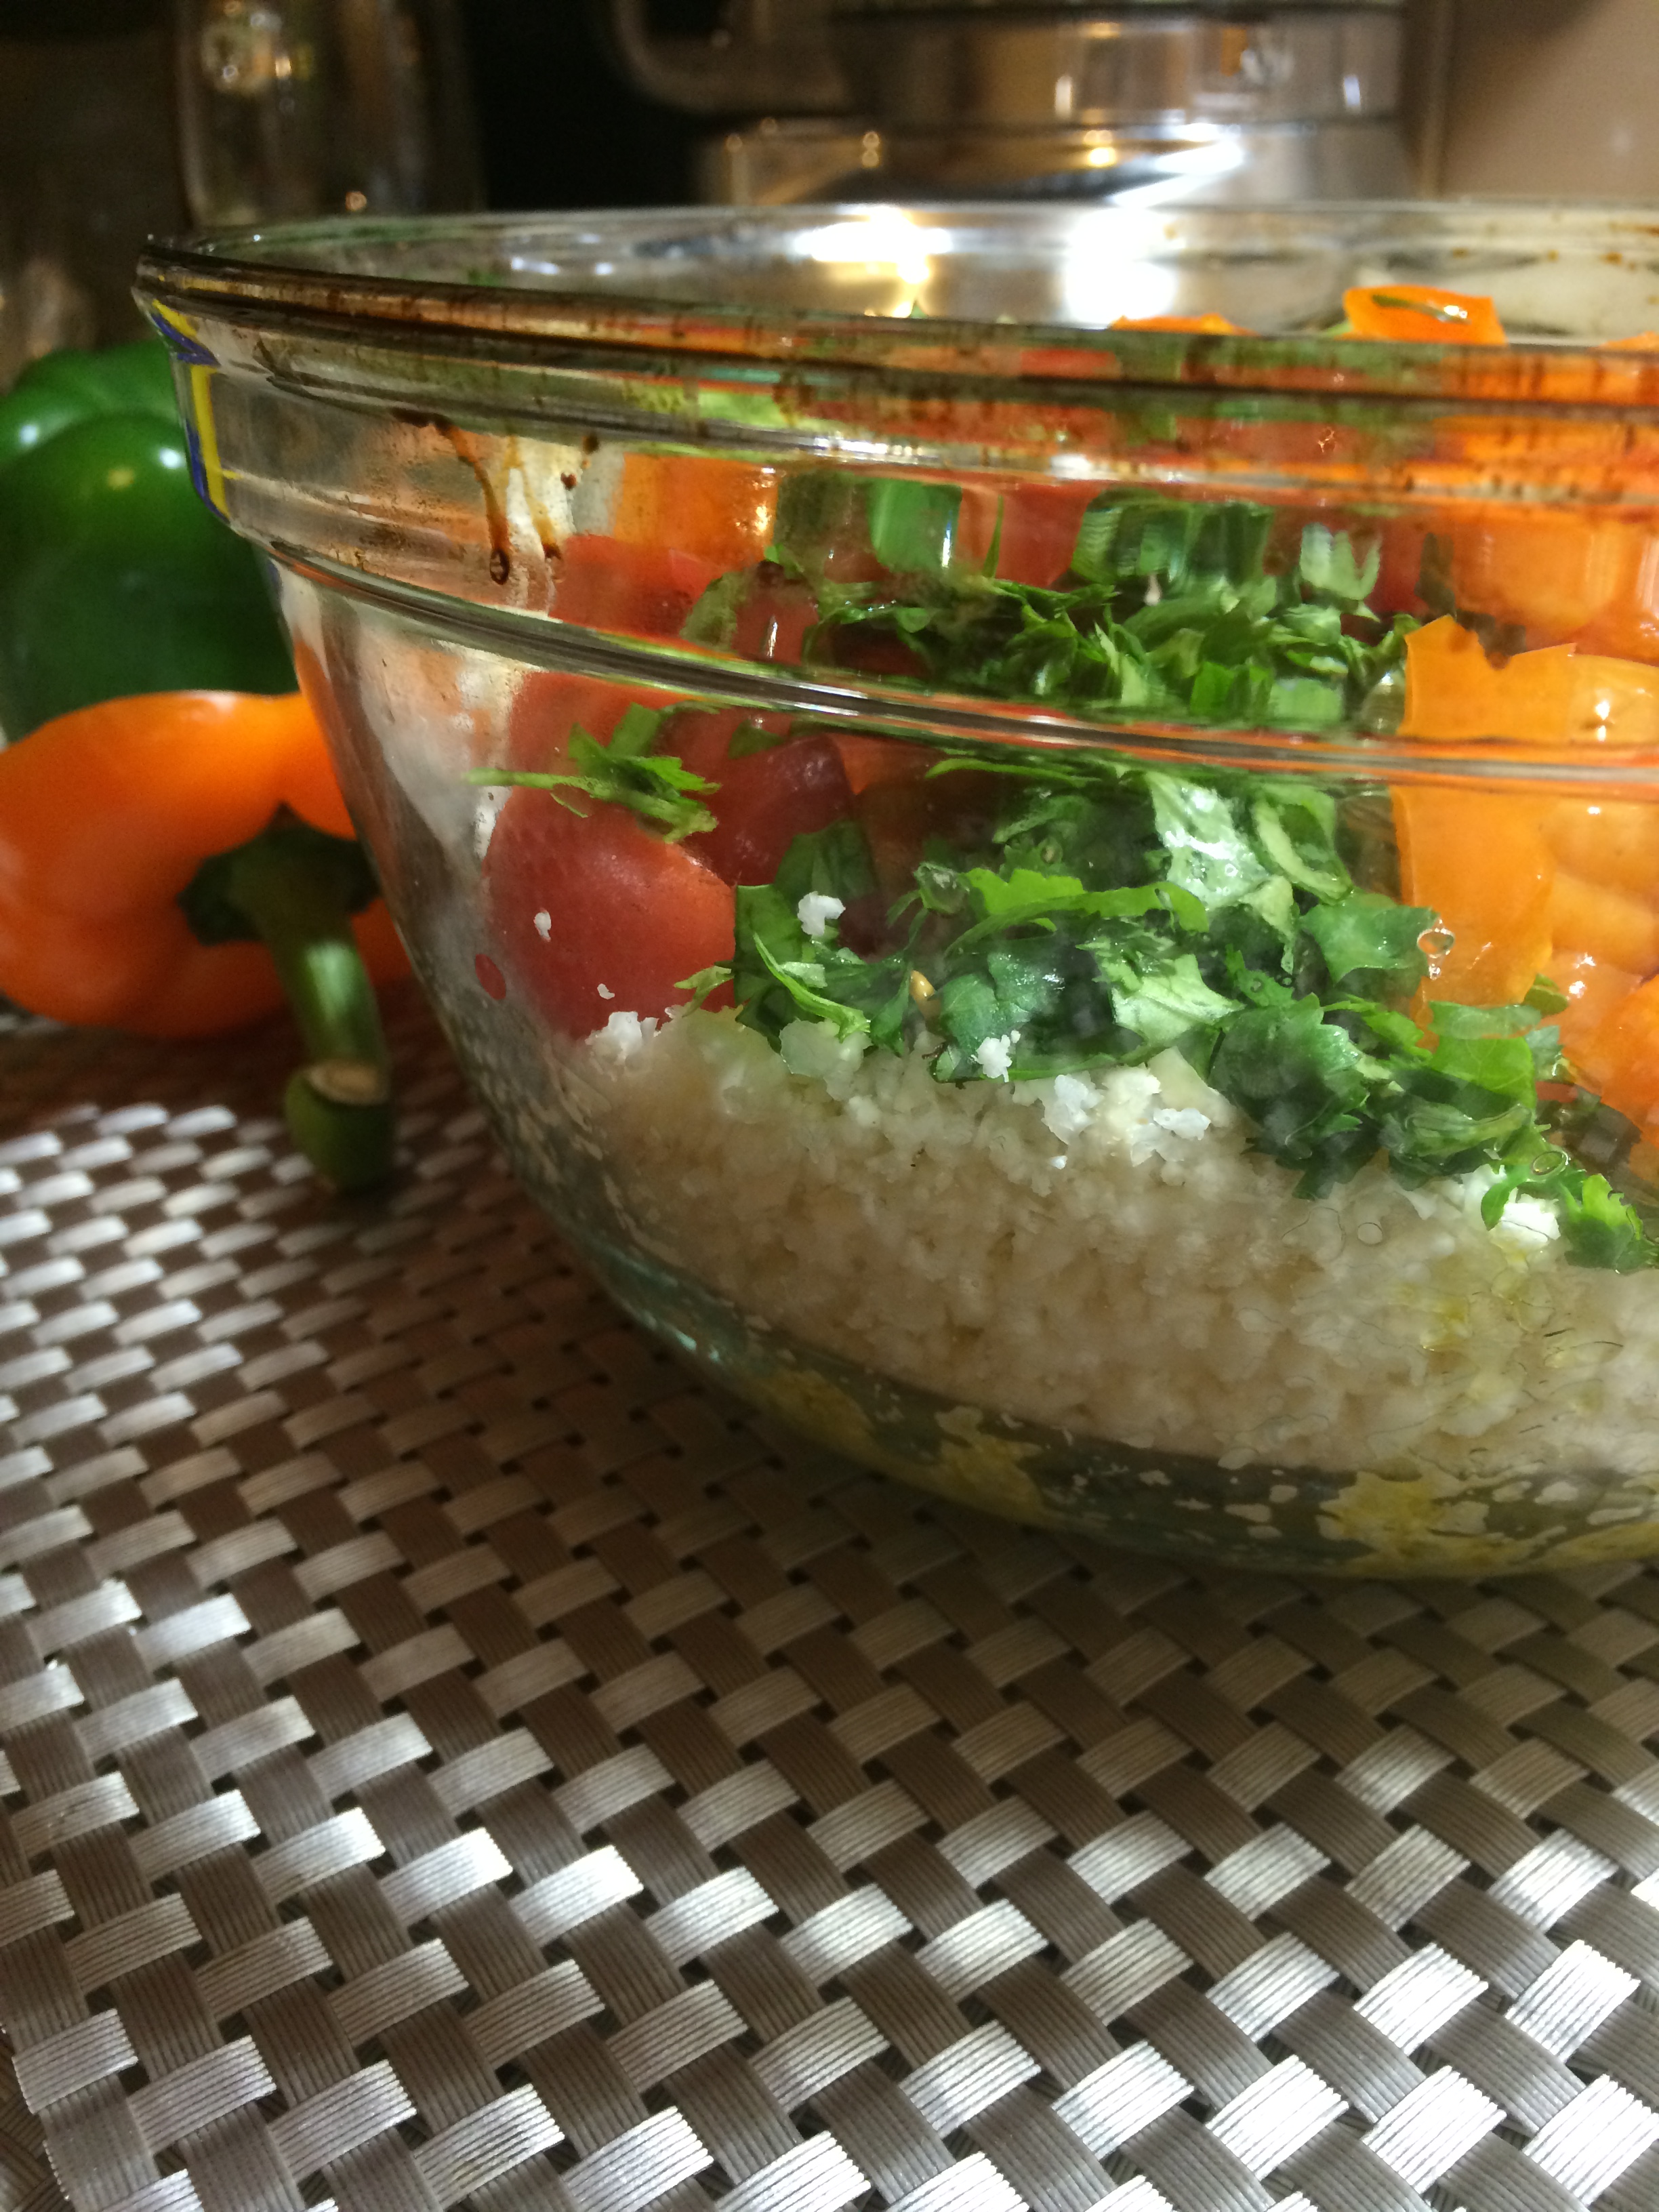
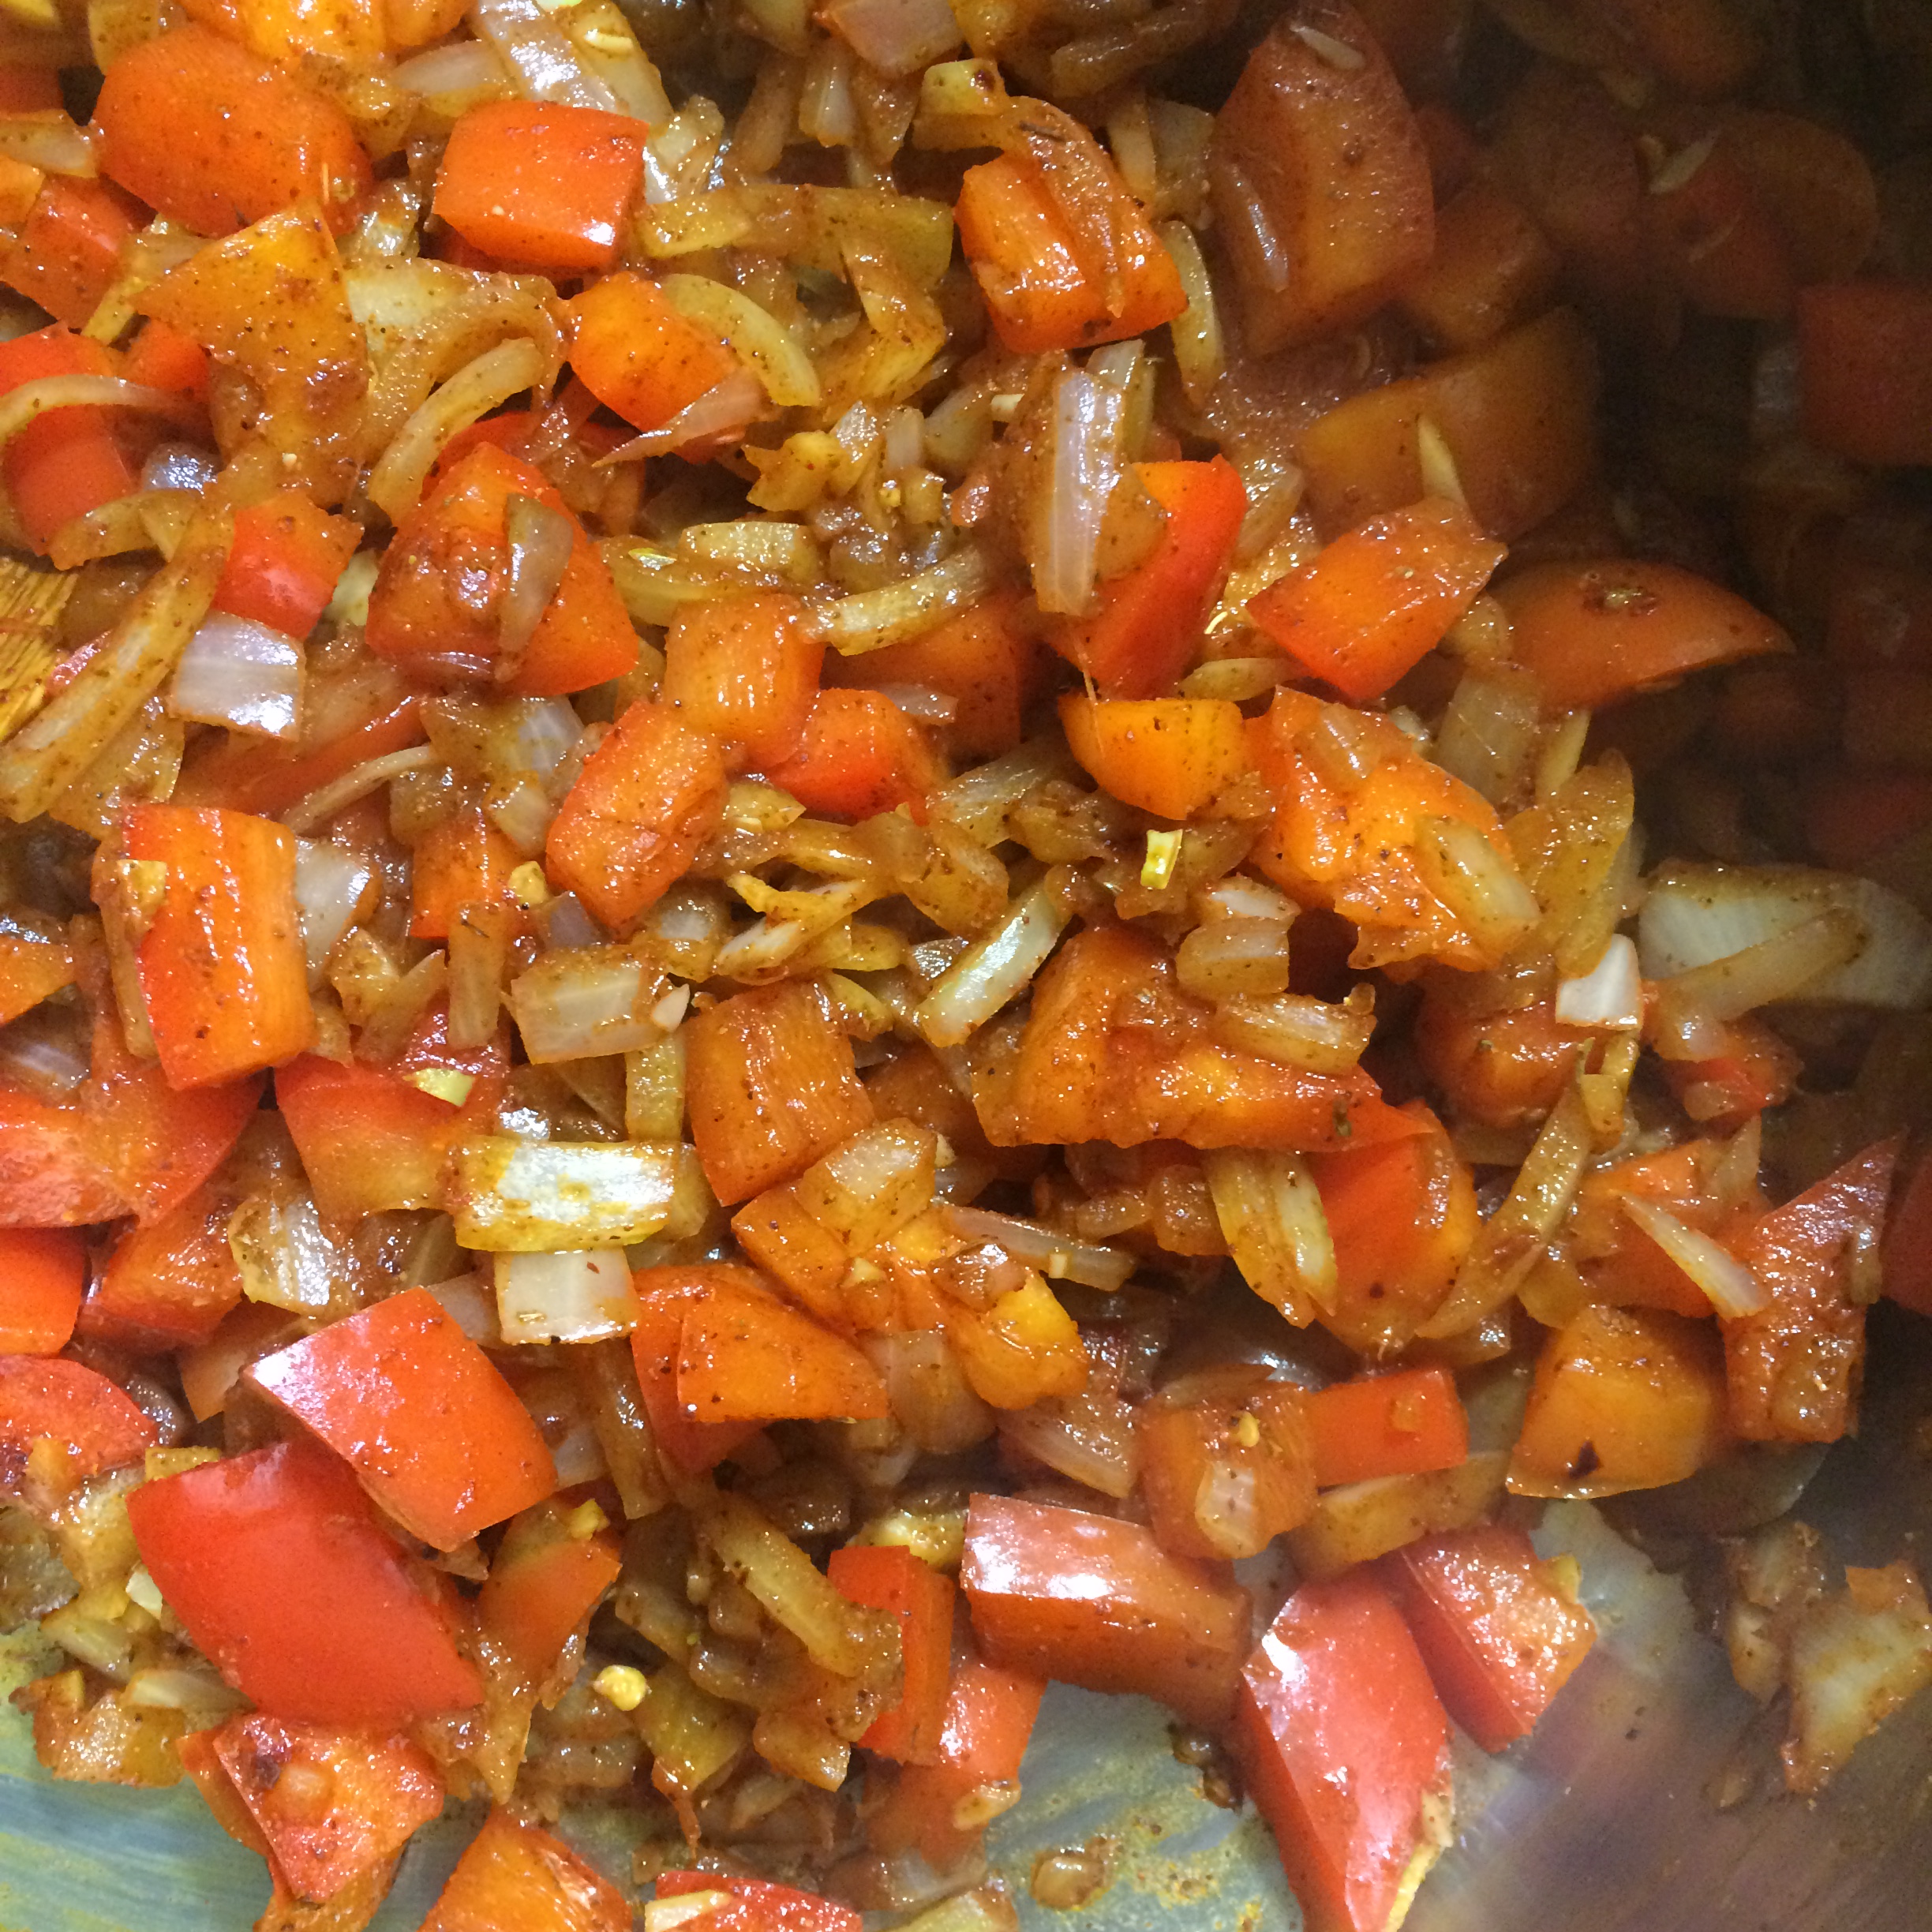
This dish is really great because you make your own vegetable broth in which to cook the risotto rice. I made a leek, onion, tomato and jalapeno broth – super easy and very flavorful.

Risotto (9)Simply fill a large, 5-6 quart sauce pot about 3/4 of the way with water, cover and bring to a boil. Once boiling, add the leek, 1/2 of the onion (leave on the skin and papery shell), tomato and jalapeno, and continue boiling until the veggies are flimsy-soft and the water is fragrant and colored with vegetable leavings.

Strain the broth over a separate, smaller pot to separate the vegetables from the broth. Discard the vegetables and set aside the finished broth.

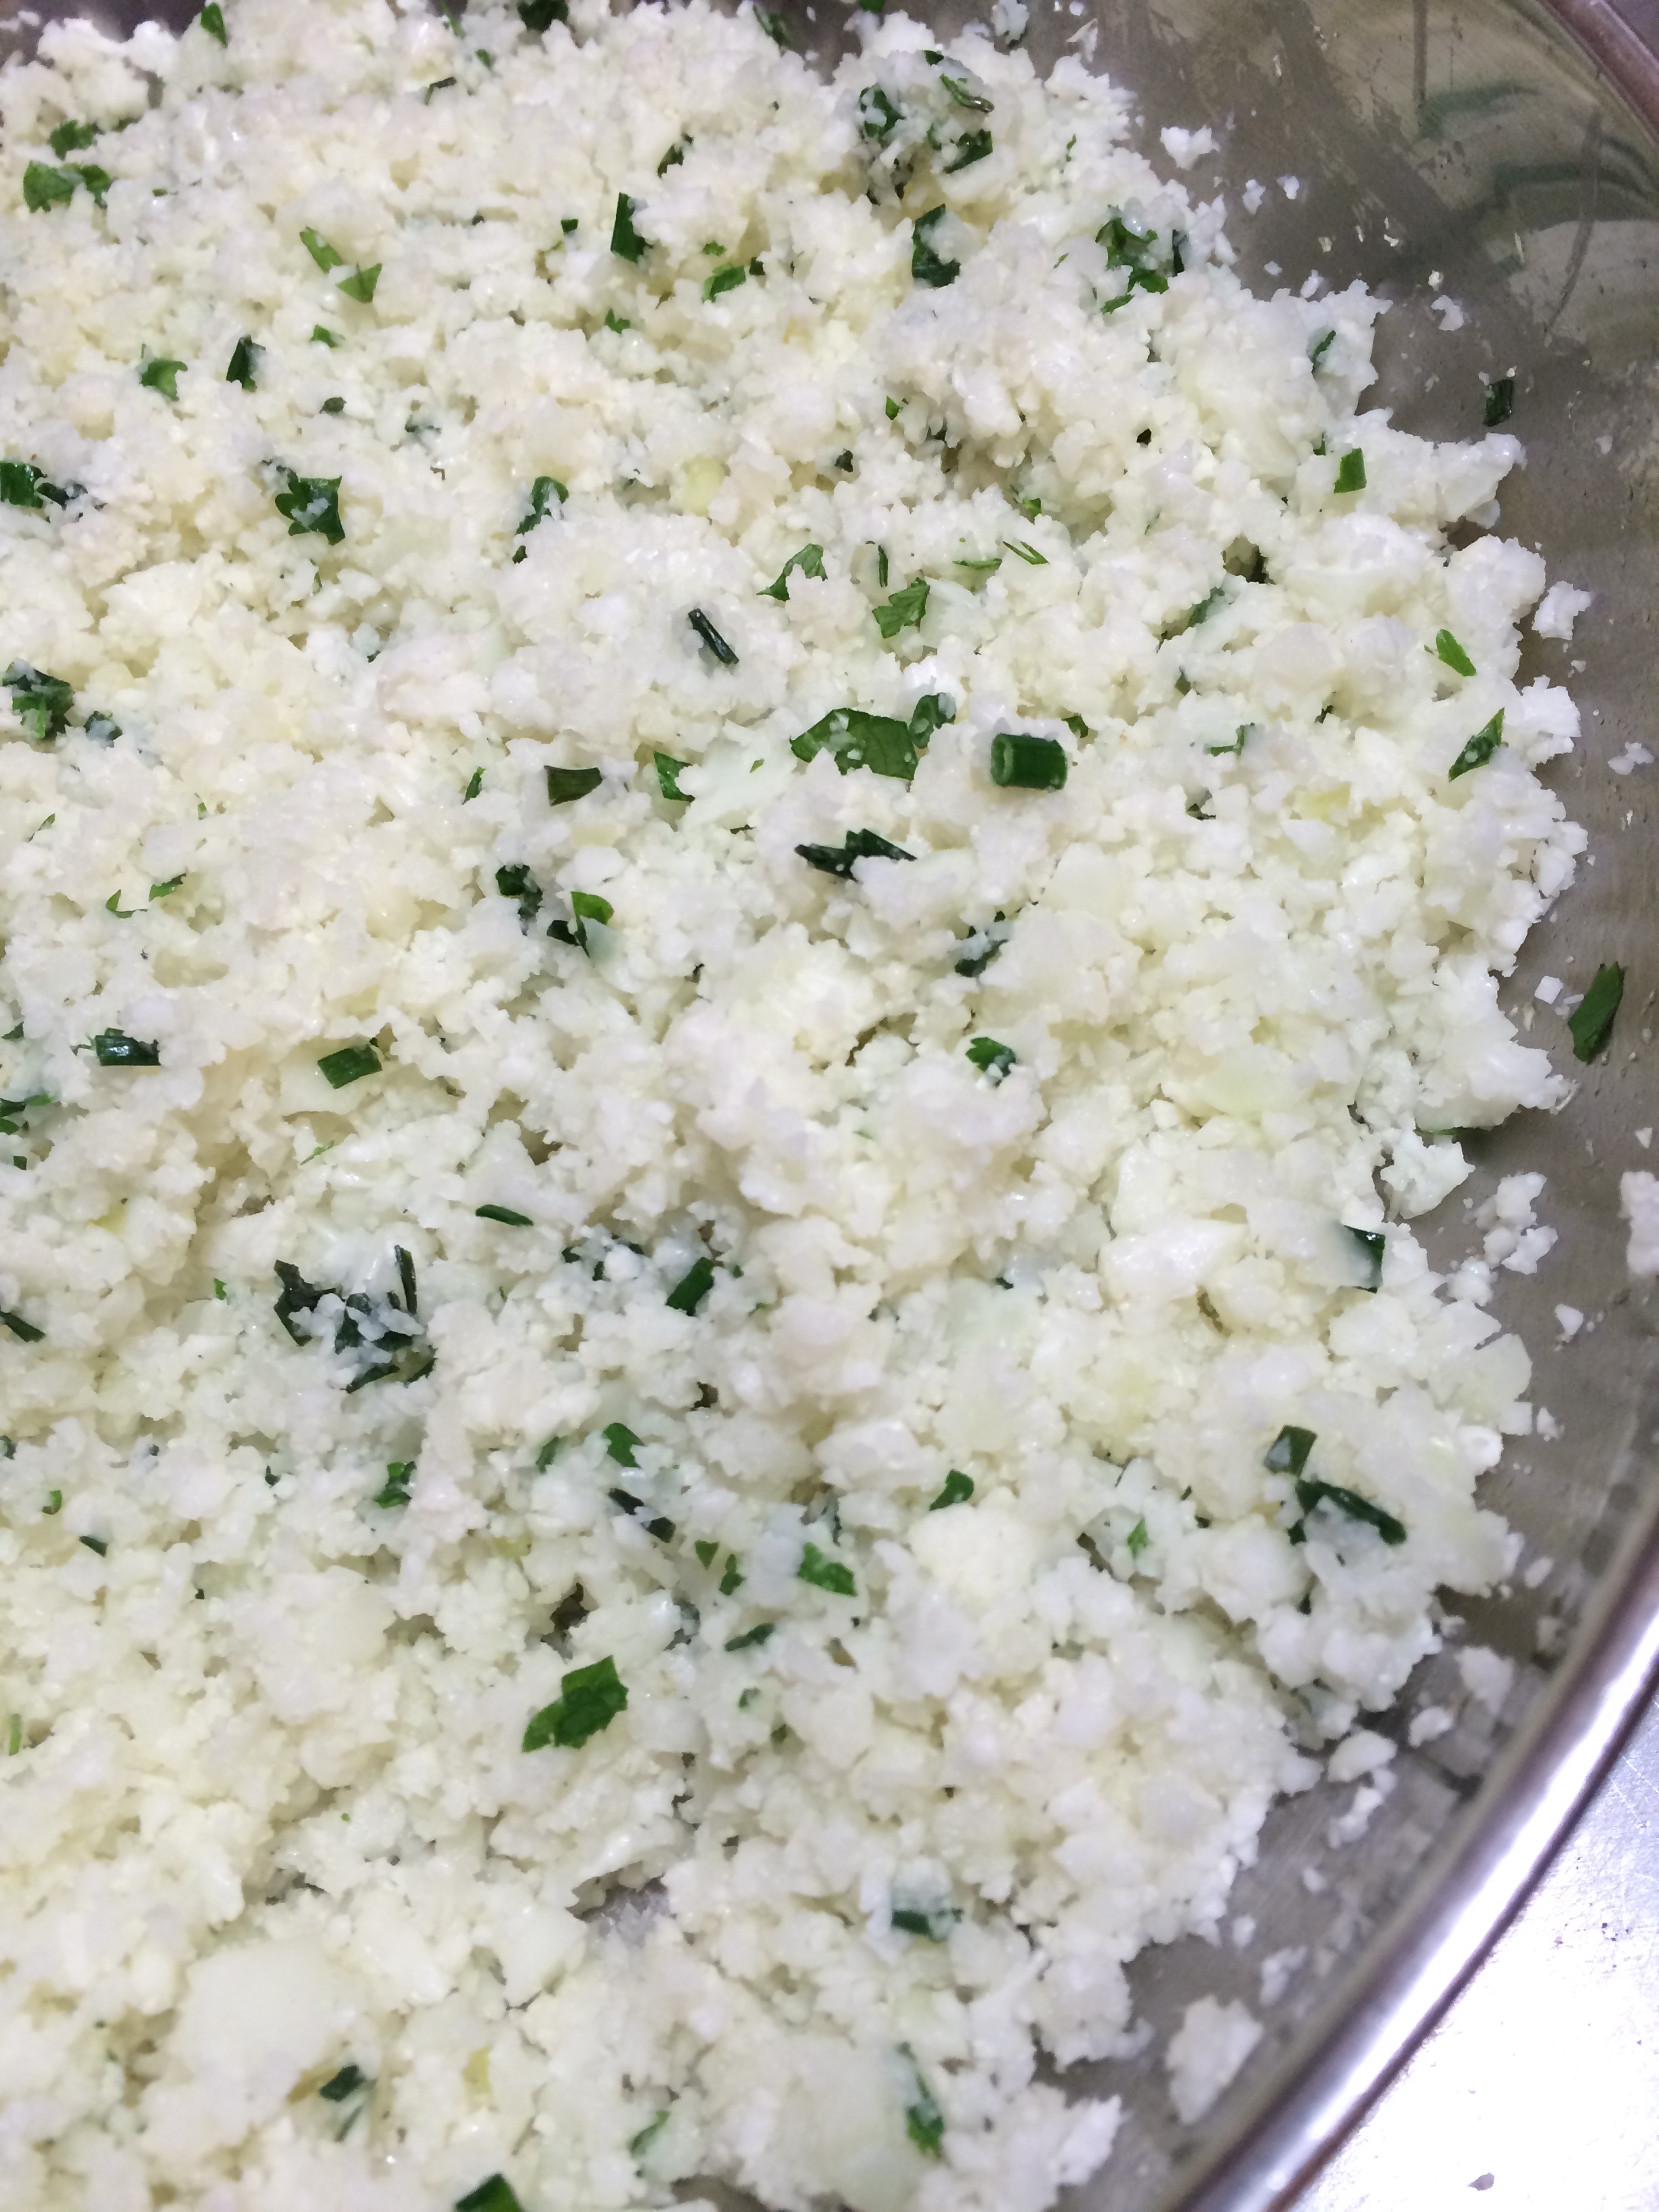
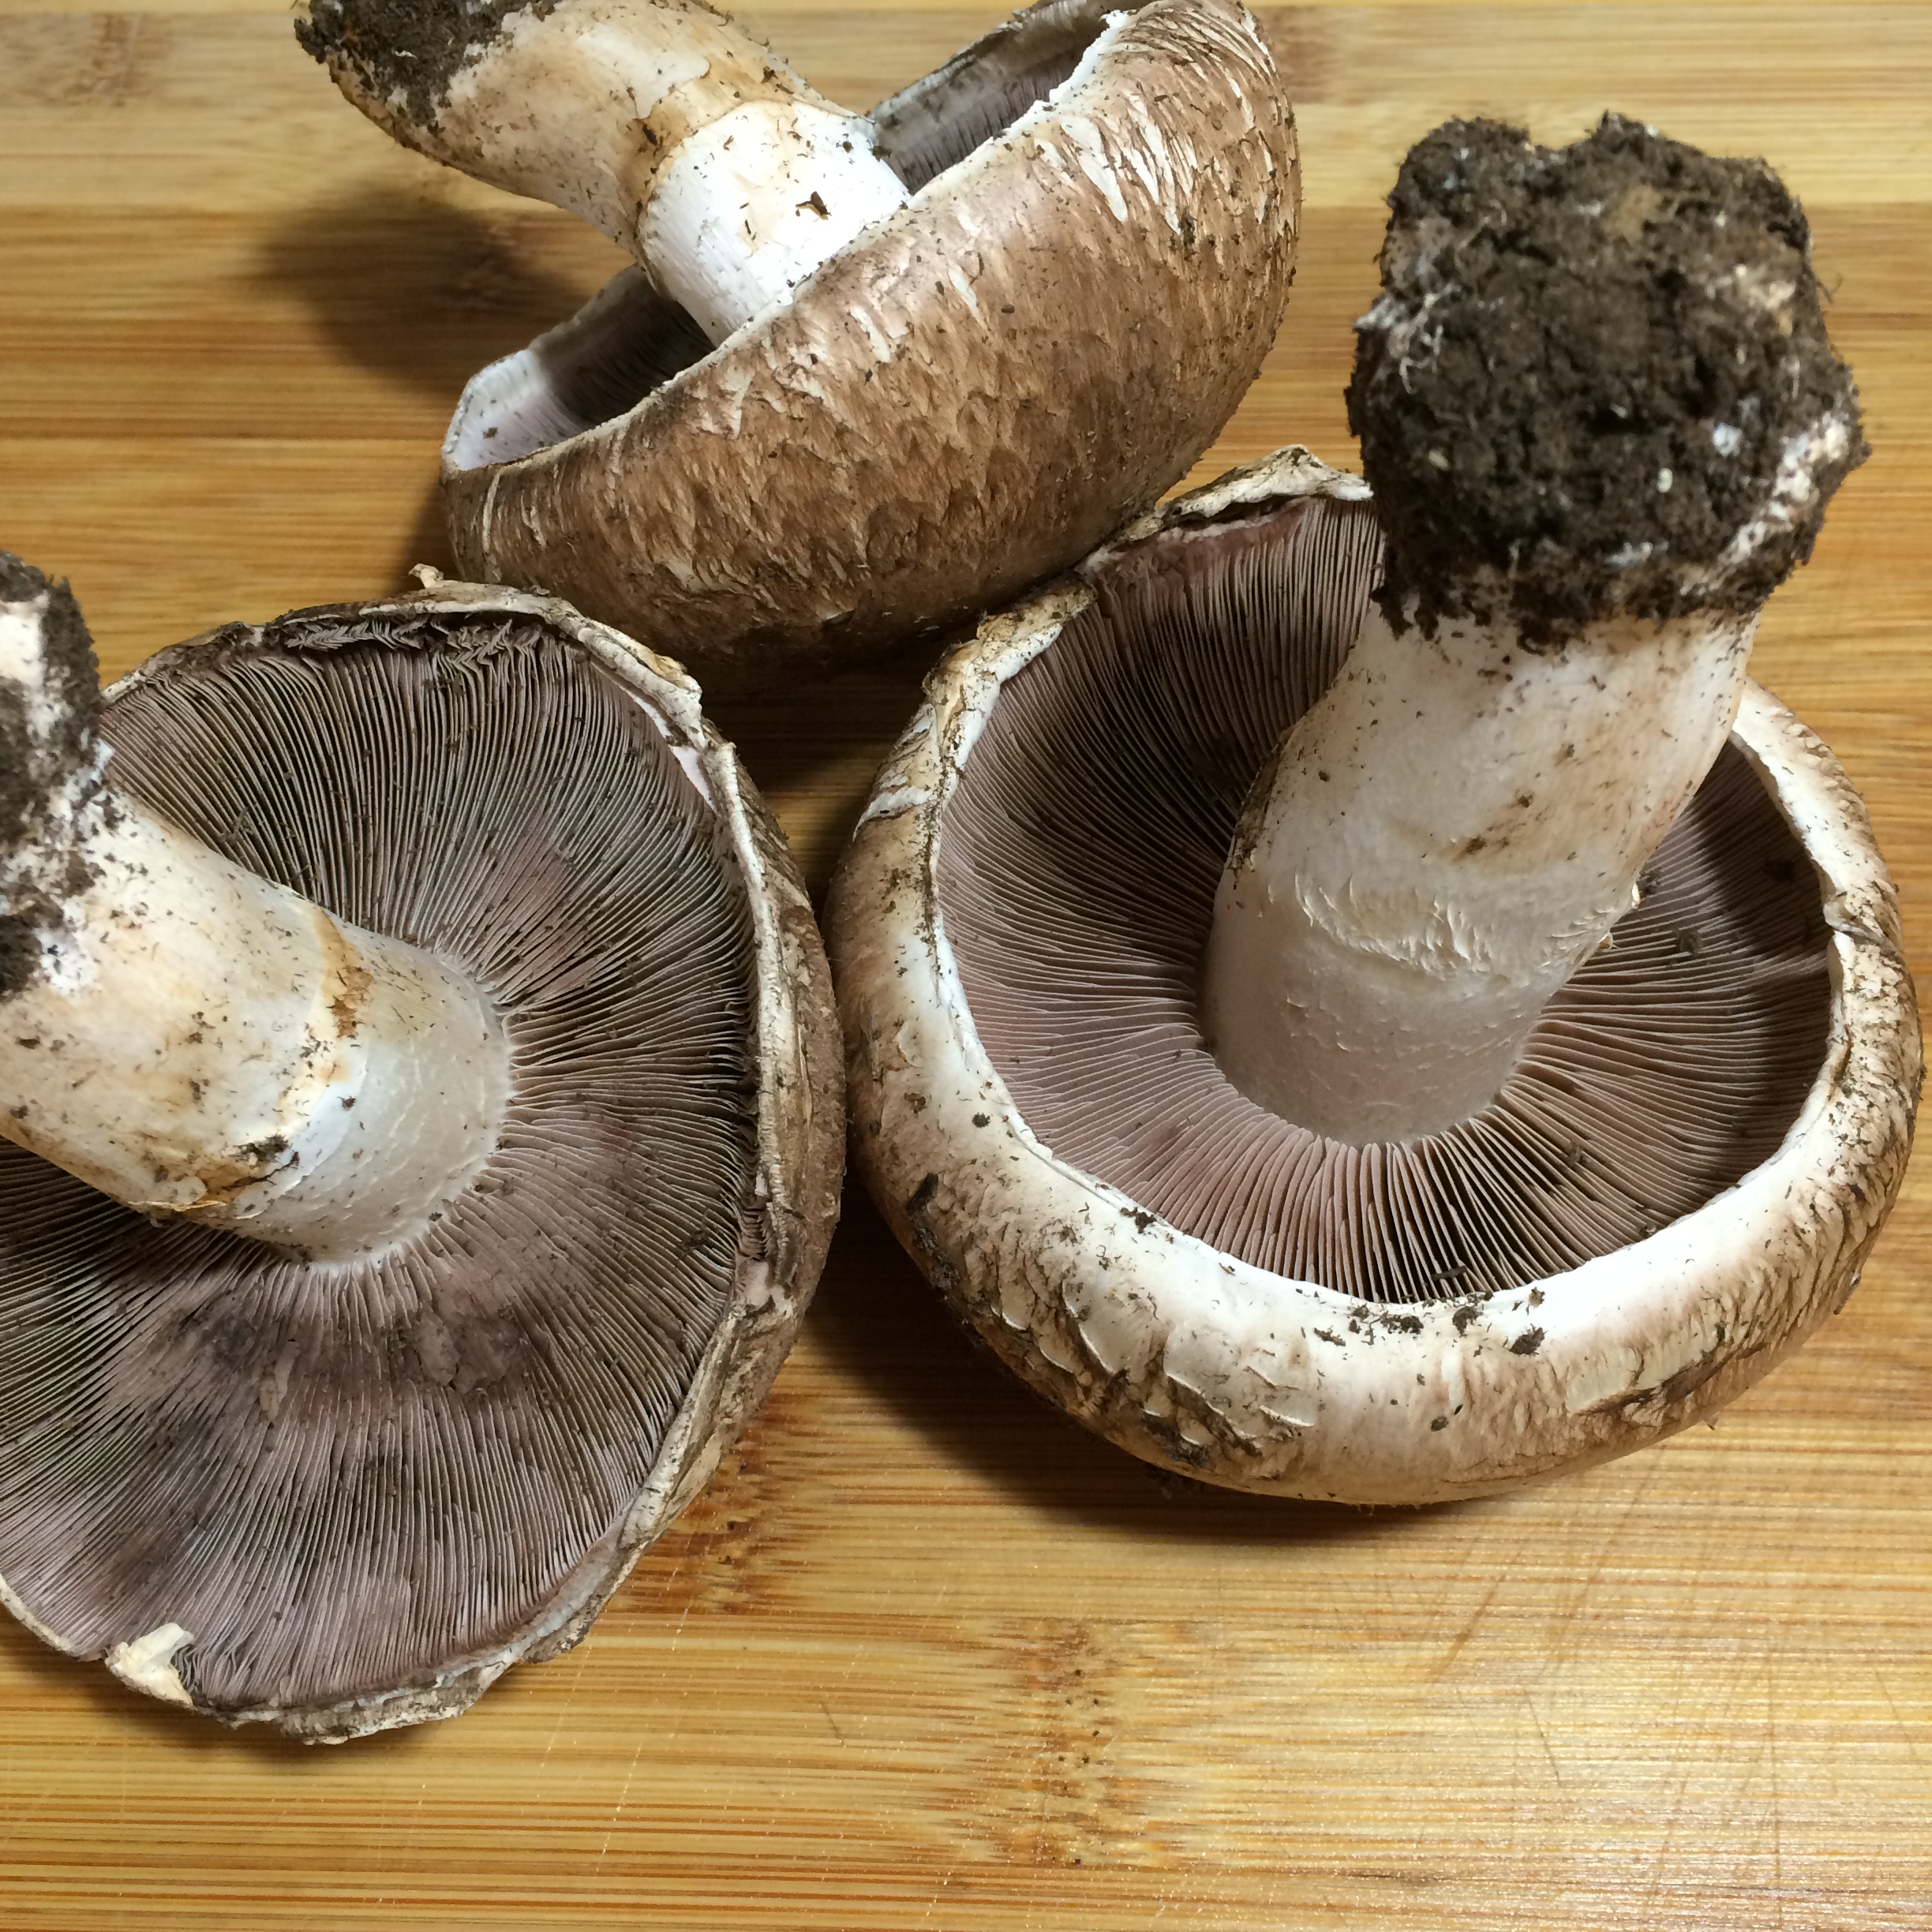
While the broth is boiling, take your seeded Buttercup Squash and begin scraping away the inside flesh of the squash to remove as much of the fruit as you can. I also sliced around the inside perimeter of the squash with a sharp knife to remove the flesh. Otherwise, a spoon and a strong arm will do the trick.

Risotto (3)

Dice up any large pieces of squash and place all the squash flesh (should be about 2 cups) into a medium sauce pot.

Risotto (7)

Add the butter, chopped herbs and salt and pepper, cover and heat on low, stirring occasionally to mix the melting butter and herbs.

Once the squash has cooked through and any large chunks have softened and can be easily mashed into the overall mixture, remove the squash from heat and set aside, leaving the cover on.

In a large stir fry pan, heat olive oil on medium and add the shallot, the diced other half of the onion, and the garlic, and simmer for about 30 seconds until the onion becomes translucent and soft.

Add the risotto rice and mix well.

Add the white wine and stir constantly until the liquid begins to burn off. Now, add the vegetable broth one cup at a time until you have added 6 cups. Only add a new cup once the liquid has begun to burn off. Stir constantly after adding each new cup. This slow-cooking method will infuse the rice with flavor and plump it up to create a very filling and flavorful dish.

Once you have stirred in the 6th cup of broth, add the squash mixture and the Parmesan cheese, stirring well to mix everything together evenly.

Then, pour the entire mixture into the hollowed-out squash, and serve!

Risotto (14)

Pro Tip: Cut your cooking time down by a lot by making a large batch of vegetable broth ahead of time and freezing it or just leaving it in the fridge if you’re going to use it in a short time. Pick your favorite veggies or use a combination of leftover trimmings from previous dinners and throw them into the boiling water!

Thanksgiving Dish Day 1: Hassleback Sweet Potatoes with Candied Apples

Discovering that such a thing as a hassleback potato exists kind of blew my mind. I’m not even joking. I had never heard of these before, but of course as soon as I did, it’s all I wanted to make.

Squash Chicken (29)

The best thing about sweet potatoes is how well they pair with both savory and sweet foods; for instance, goat cheese or marshmallow. This dish could go in a thousand different directions, but I chose to make it sweet because (since it’s not Thanksgiving yet) I served them with similar-themed foods: garlic and honey roasted chicken and these delish Sweet Dumpling Squash Fritters.

I highly recommend using larger-sized potatoes that are big in diameter. Length is much less important – and also try to stick with potato that’s a straighter shape – no curves or twists.

Squash Chicken (14)

What You Need:

  •  4-6 large sweet potatoes, peeled
  • 1 apple, peeled, cored, and diced into small pieces
  • 1/4 cup dried cranberries (like OceanSpray)
  • 1/4 cup chopped pecans or walnuts
  • 2 tbsp brown sugar
  • 1 tsp cinnamon
  • 1 tbsp butter, softened

What You Do:

Preheat oven to 425F

The trick to making hassleback potatoes is to cut thin slices in them without slicing completely through the potato. To do this, I laid two wooden spoons (that I don’t care too much about) against each side of the potato, with the potato nestled in the middle.

When you slice the potato, your knife will stop at the spoons, thus leaving the bottom of the potato in tact.

Squash Chicken (20)

Make slices from end to end on each of your potatoes.

Then, mix together your remaining ingredients (apple through butter).

Place the sliced potatoes in a lightly oiled baking dish and cover with the topping. You should be able to stuff some of the topping in-between the slices to inject the flavor, if you will, into the potatoes.

Place the whole shebang into the oven and bake for 20-30 minutes, or until you can easily get a fork through the potatoes. After 20 minutes, check to ensure the sugar isn’t burning. If it does, place on a lower rack and bring the heat down to 300F.

Pro Tip: As I said, because sweet potatoes are so versatile, this dish could be done a bunch of different ways. Try placing a small patty of butter on each potato and sprinkling salt and pepper over the dish. For a fun twist on a fairly traditional Thanksgiving dish, bake the hasslebacks for about 15 minutes or until soft, and then stuff a few small marshmallows in-between the slices and bake again until just browned.

Squash Chicken (26)