Acorn Squash and Brussels Sprouts Casserole

I’m a sucker for advertising.

IMG_1423

It’s funny to me because I work in marketing, so I’m not a stranger to the ways in which brands sell to consumers. But I’m still a sucker. Banana Republic, in particular, has really tapped into the best way to get me into their store. Just send me an email that says, “Hey, you haven’t been here in awhile and we miss you! Come back!”

IMG_1381

Well, ok! I’d love to! And suddenly I’m scrapping my plans for an afternoon run (wholesome, healthy, FREE) and driving to the store. They miss me! I have to go!

IMG_1385

Everyone wins though, because I’ll stop off at the grocery store too, and get food for our dinner. Along with something I saw a commercial for that I now most definitely need to have.

What You Need:

IMG_1386

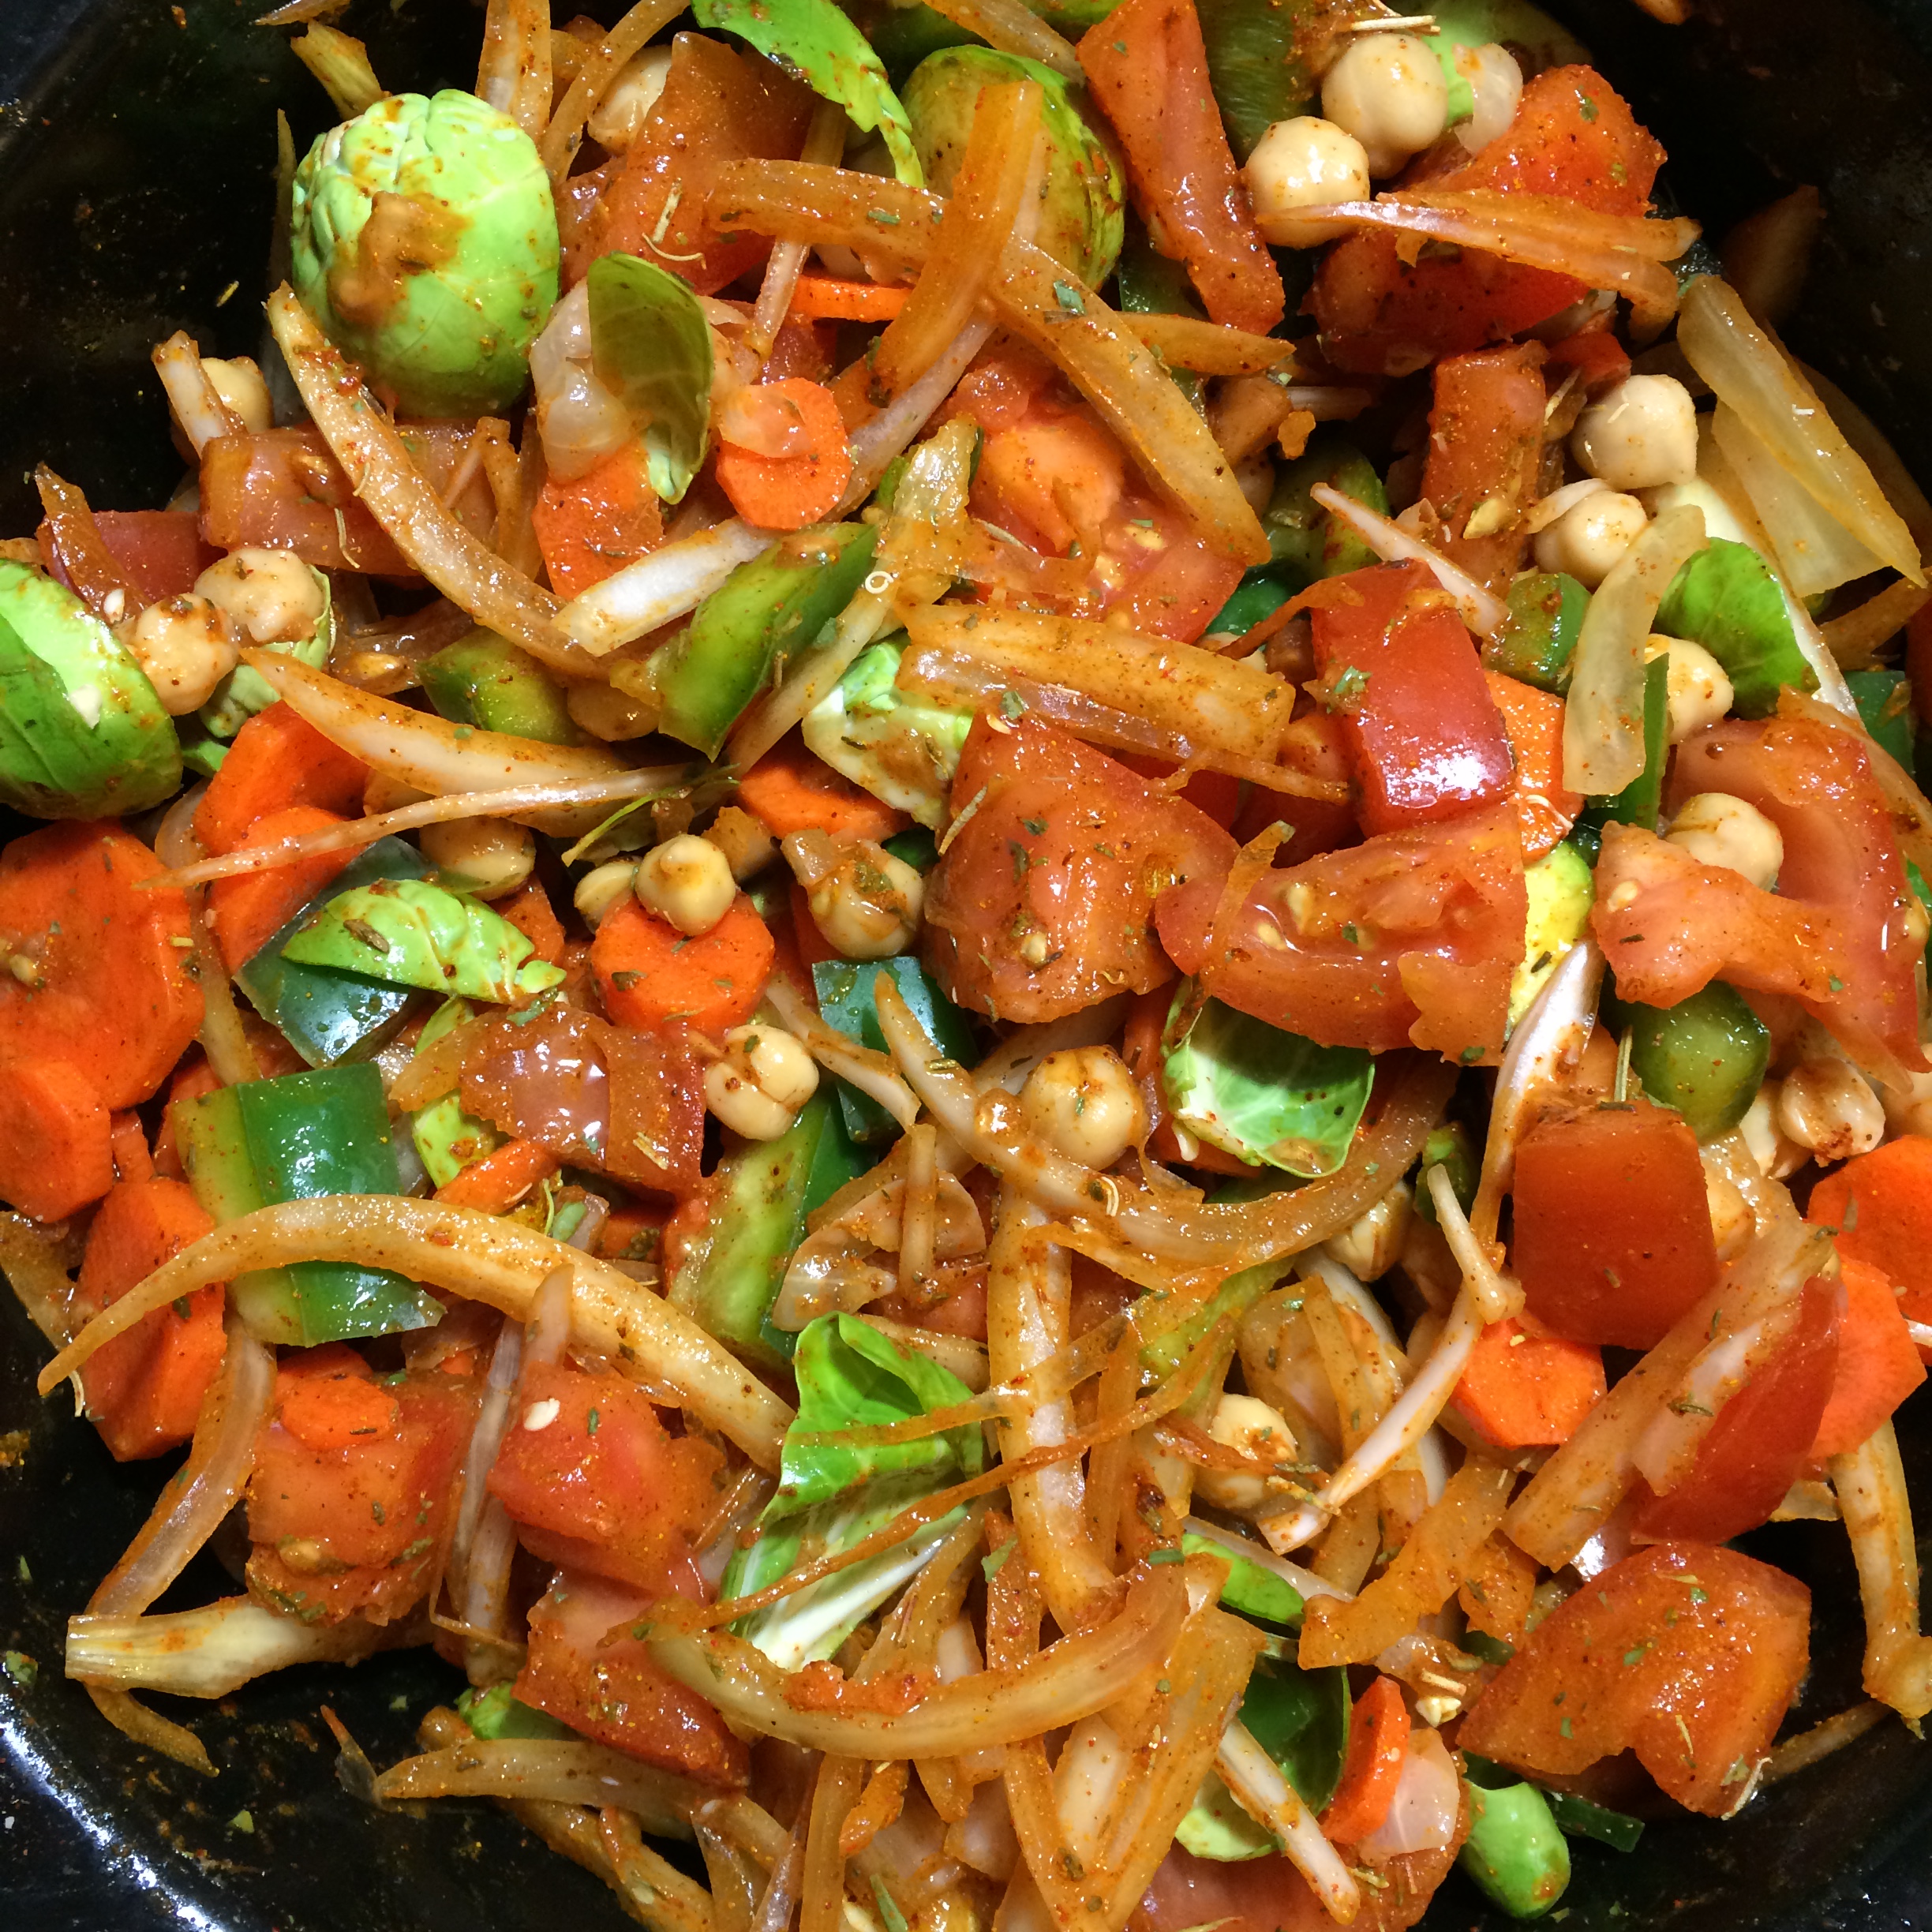
  • 3 cups Brussels sprouts, stems chopped off and sliced into quarters
  • 1 acorn squash, halved with seeds removed
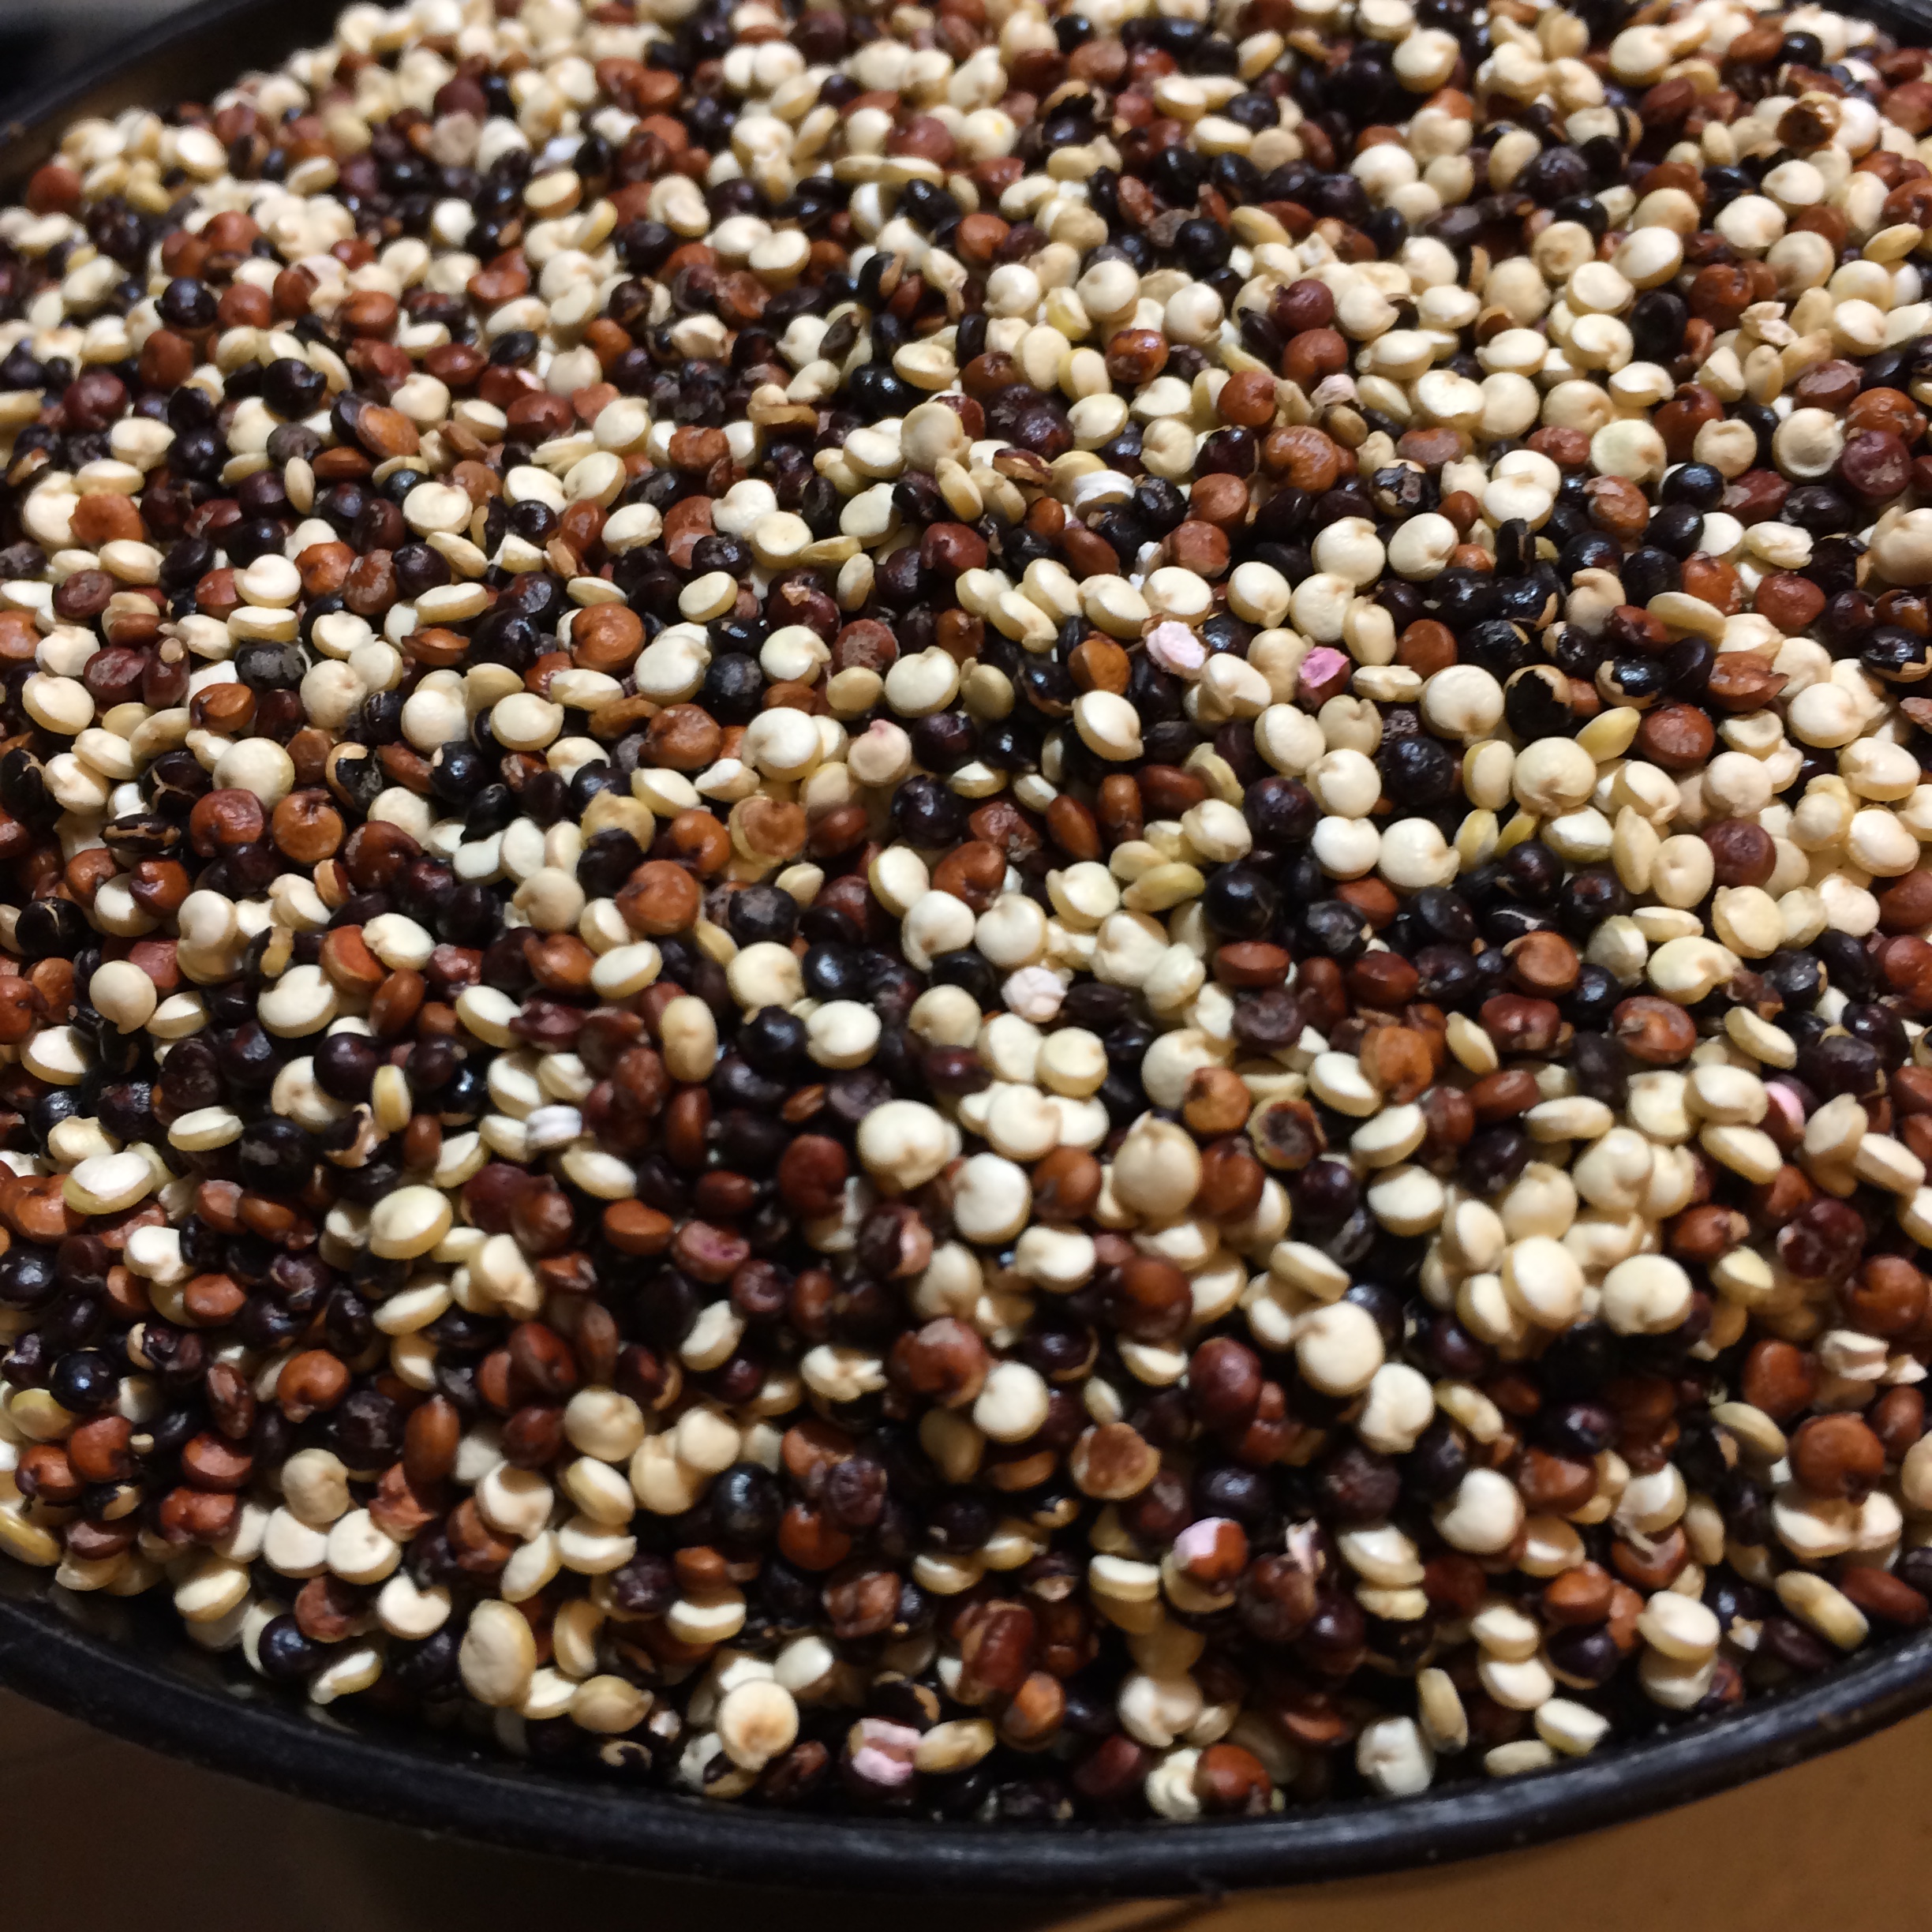
  • 1 cup dry wild rice
  • 1/2 cup chopped walnuts
  • 1/2 cup chopped dried cranberries
  • 2 tbsp dijon mustard
  • 1/4 cup coconut oil, melted
  • 1/4 cup apple cider vinegar
  • 2 cloves garlic, minced
  • 1/2 tsp ground cinnamon
  • 1/4 tsp ground nutmeg
  • 1/2 tsp crushed red pepper

What You Do:

Preheat oven to 375F

Place the acorn squash halves face down on a baking sheet lined with foil and bake for about 30 minutes or until the skins begin to brown and pucker.

IMG_1383

Simultaneously, cook the wild rice according to package directions. It usually takes about 45 minutes so it’s good to start it early so it can cook while you prepare the rest of the meal.

While the squash and rice cook, place the Brussels sprouts, walnuts and cranberries in a large dutch oven or casserole dish, mixing well.

In a small mixing bowl, whisk together the remaining ingredients (mustard through crushed red pepper) and set aside.

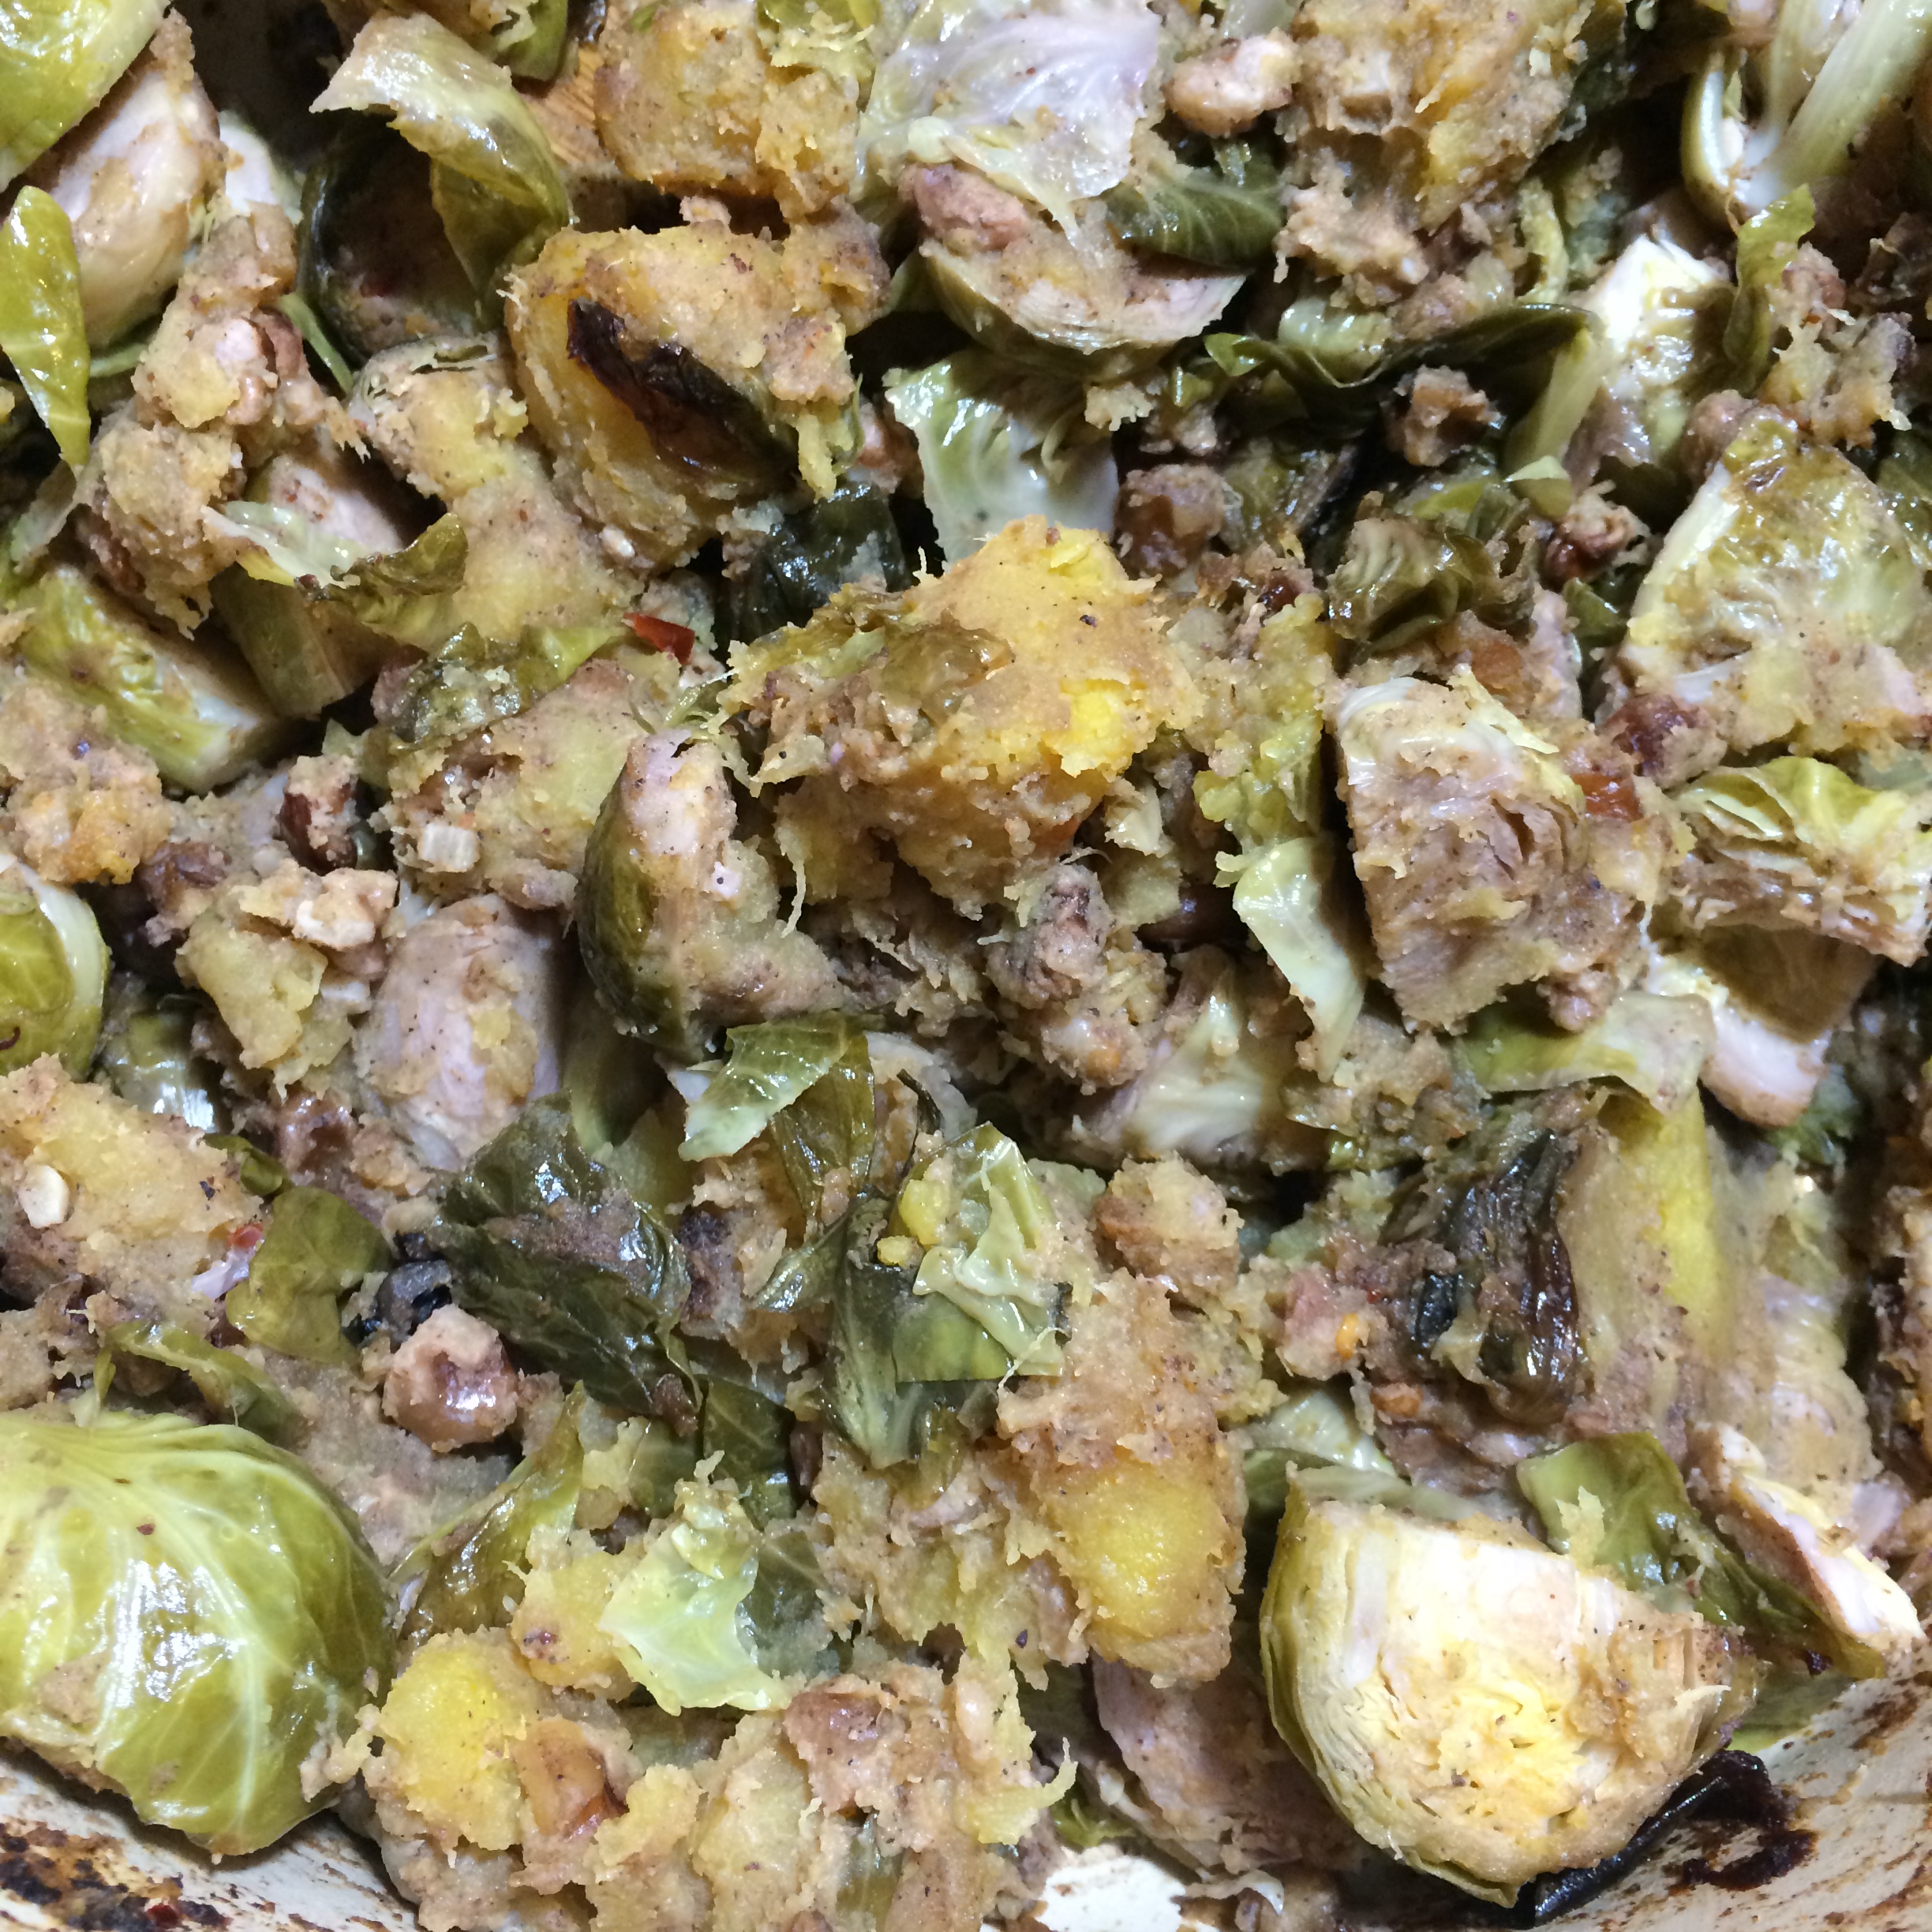
When the squash is done, gently remove the skins by peeling them off (you may find it easier to flip the squash right side up and scoop out the flesh).

Fold the squash into the Brussels sprouts mixture.

Pour the mustard sauce over the entire dish and bake, covered, for 20-30 minutes or until the Brussels sprouts are soft. Some may have leaves that dry out or slightly blacken – this just means they’re done.

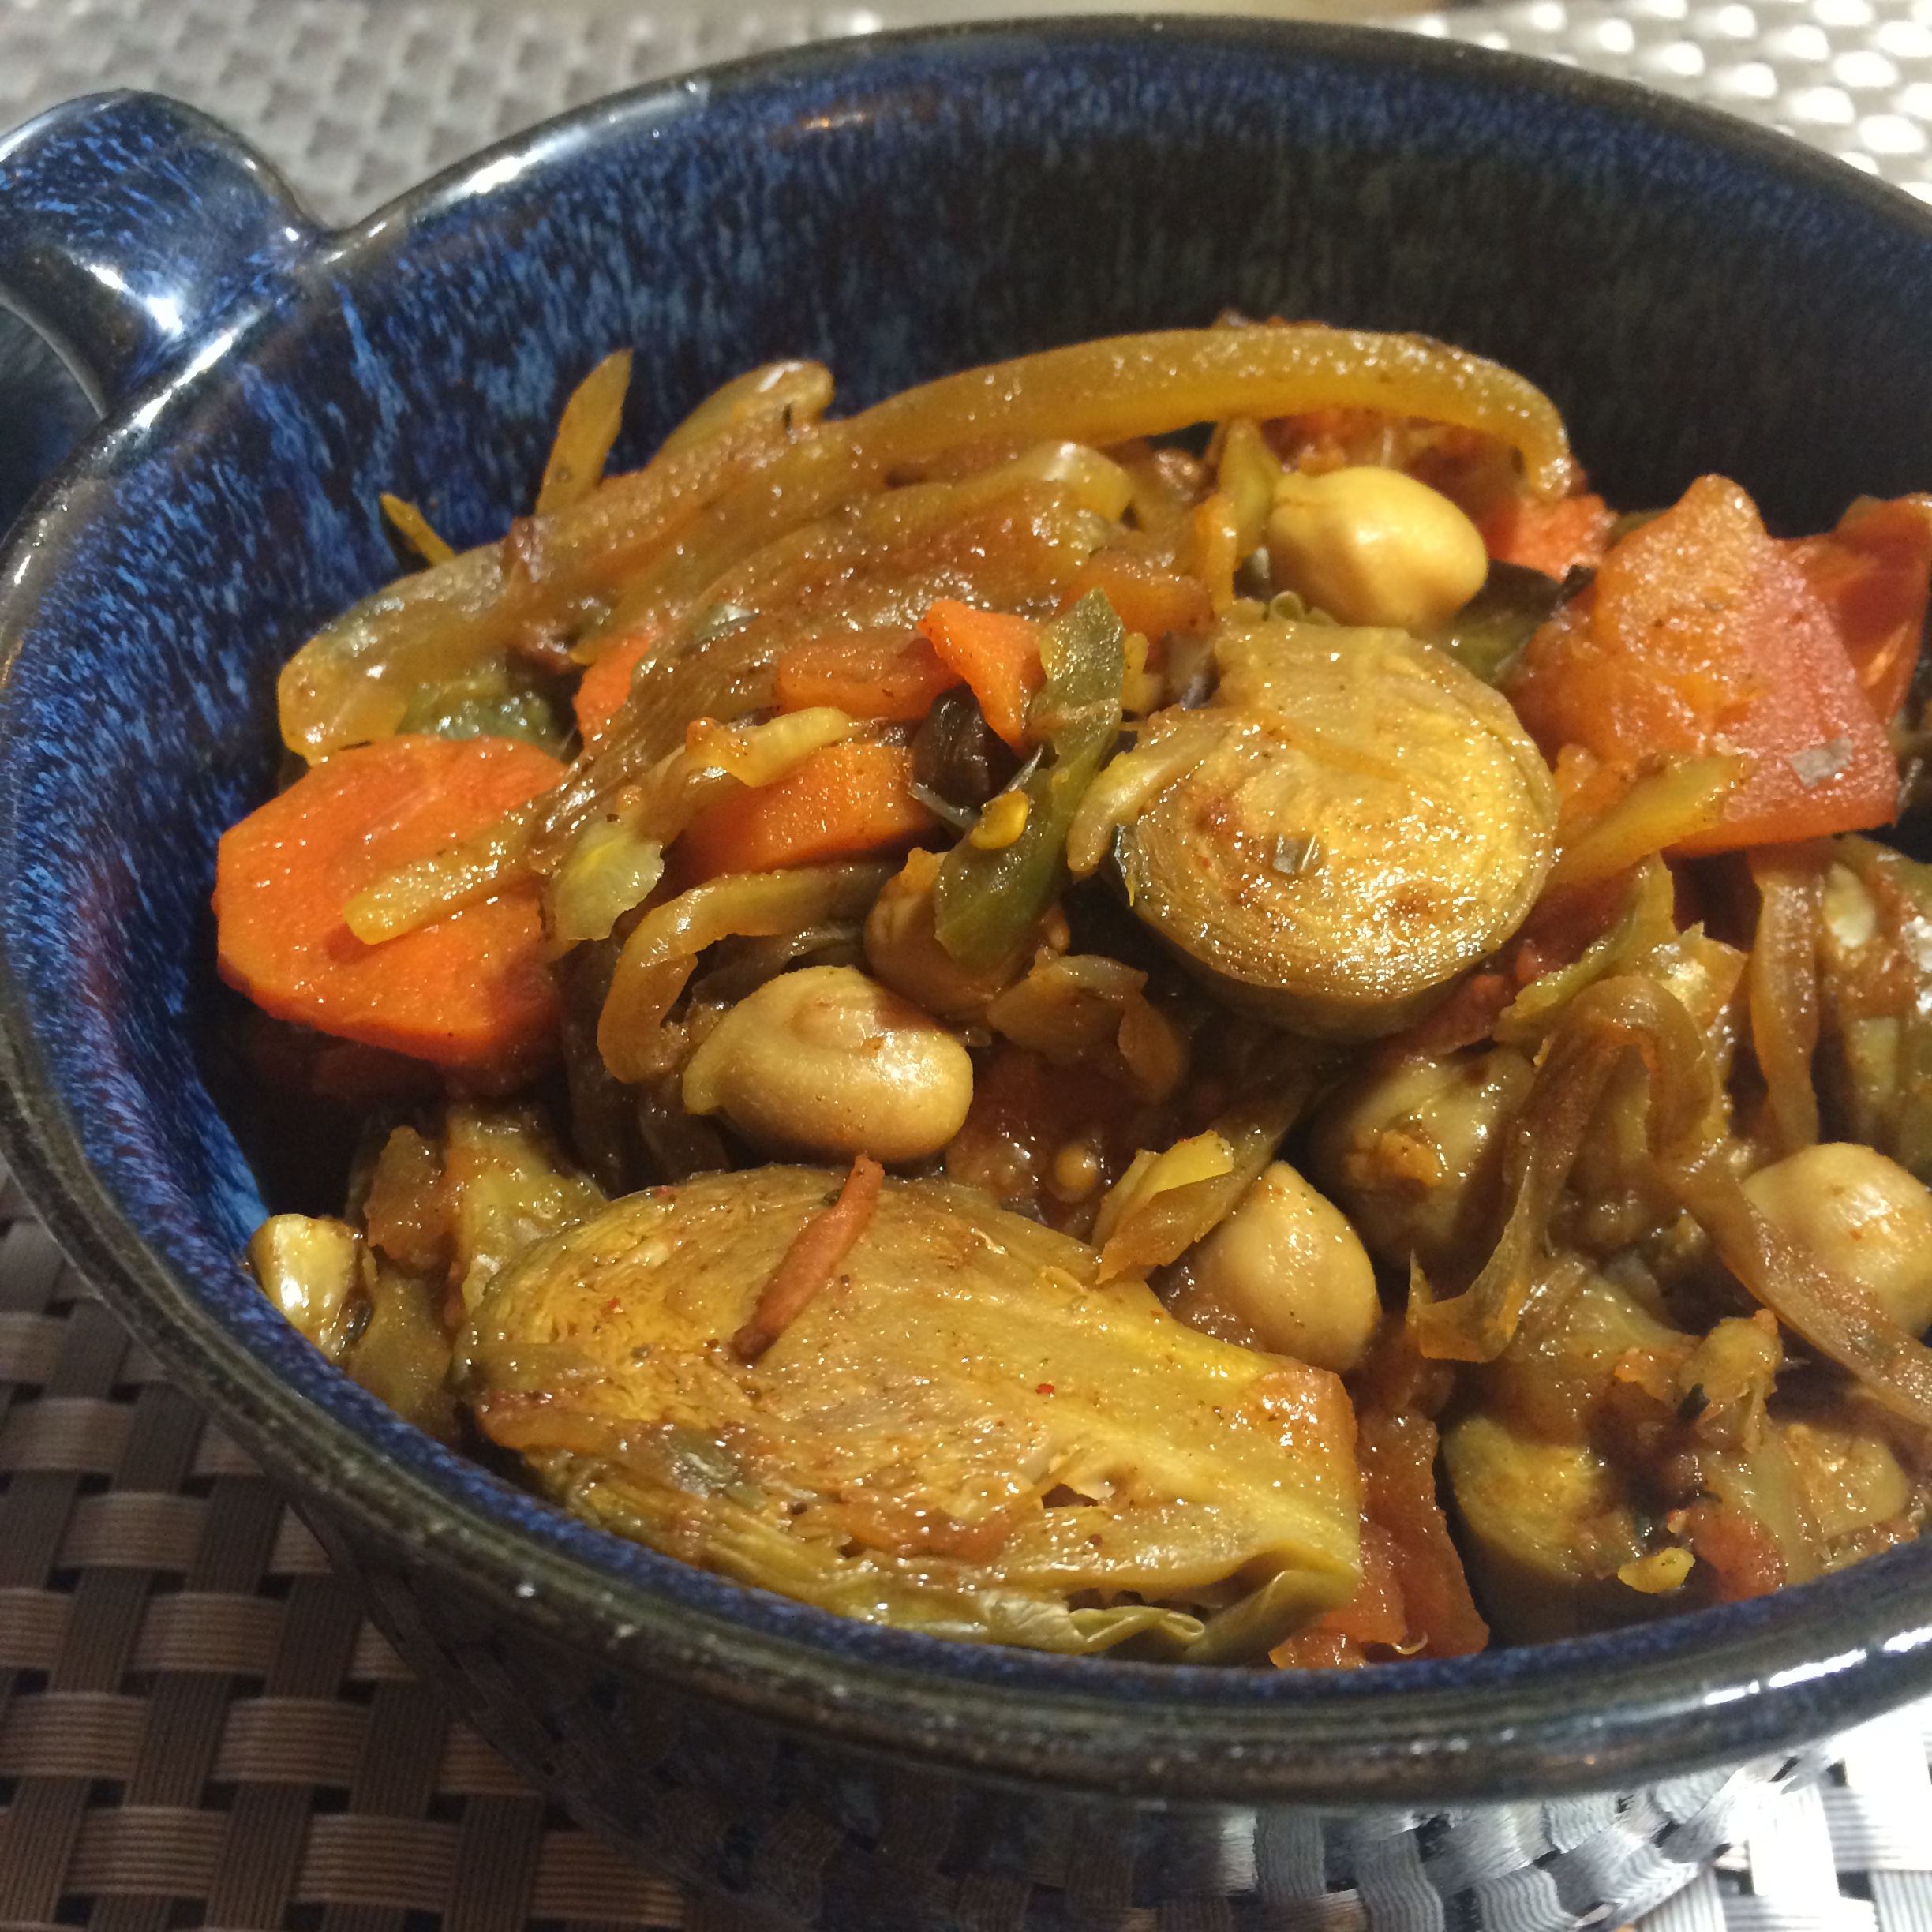
Serve over the rice and enjoy!

IMG_1424


Advertisement

3-Ingredient Gluten Free Banana Pancakes

Whenever I go out to breakfast, I have the same dilemma: do I get pancakes, or eggs?

IMG_1418

On the one hand, eggs means home fries, hot sauce, and cheese. All great things.

IMG_1414

On the other hand, pancakes are pancakes. Sweet, syrupy fluffiness…it’s hard to decide.

IMG_1411

Well I have a solution, and it’ll save you money too since you can make these delightful 3-ingredient pancakes in minutes in your own kitchen, and enjoy them whilst relaxing in your pj’s.

IMG_1404

What You Need:

  • 1 1/2 bananas, mashed completely with a fork in a medium mixing bowl
  • 2 eggs
  • 2 tbsp brown sugar
  • Oil or butter for the pan

What You Do:

Using a fork, mix together the mashed banana, eggs and brown sugar until thoroughly mixed.

In a skillet warmed with melted butter or oil, pour the batter into pancake-like rounds. Cook for about 3 minutes – little bubbles should form on the surface of each cake.

Flip gently and cook another 3 minutes. You’ll want to flip them again to cook each side one more time. They’ll be ready when each side is golden brown.

Enjoy with syrup, peanut butter, nutella, mixed berries or whatever topping you prefer.

IMG_1417

How to Make Yummy Grilled Cheese on Gluten Free Bread (and Tomato Soup)

I’m pretty new to eating gluten free, but the longer I maintain this diet, the easier it gets and the better I feel. I have more energy, I feel healthier, and I make better food choices, especially when it comes to snacks.

IMG_1320

But as anyone who has eaten gluten free bread knows, it’s not quite the same. It doesn’t hold together as well, and it doesn’t toast the same way as regular bread. But it still makes a decent grilled cheese. I served it with this delicious tomato soup.

I’m sharing this recipe because I’ve decided this is the best way to make a grilled cheese on gluten free bread. Putting the cheese on both sides of the bread really seemed to help keep it all together. And the cheese kind of oozed out of the bread and toasted onto the outside, which ended up being just marvelous. Plus, the tomato soup is amazing. So there’s that.

What You Need for the Grilled Cheese:

  • 2 slices regular or gluten free bread
  • Enough butter, softened, to cover one side of each slice of bread
  • 10 thin slices of your favorite cheddar cheese
  • 2 slices tomato
  • 2-3 avocado slices, mashed into a spread
  • 1/4 tsp crushed red pepper flakes

IMG_1319

What You Need for the Tomato Soup:

  • 12 plum tomatoes
  • 4 cloves garlic, peeled and roughly chopped
  • 1/2 large yellow onion, sliced
  • 1 tsp dried thyme leaves
  • 1 tsp ground sage

What You Do to Make the Grilled Cheese:

Heat a medium skillet on low-medium.

Butter the bread sides and prepare cheese slices, tomato and avocado before placing the bottom slice in the pan.

Place cheese sliced on the bread in one single layer that covers the bread surface.

Place the tomato slices on the cheese.

Next, spread the mashed avocado and sprinkle the crushed red pepper on top so it sticks.

Press down another layer of cheese slices on top of the avocado and cover with the top bread slice.

Slowly cook, flipping often because the bread will stick easily to the pan. Add more butter if necessary. Remove from heat when the sandwich is lightly toasted and the cheese is melted (mine didn’t fully melt but I couldn’t keep the bread on the stove any longer).

IMG_1317

What You Do to Make the Tomato Soup:

Preheat oven to 400F

Halve the plum tomatoes and layer them in a large baking dish.

Add onion slices and garlic between each layer of tomatoes and over the top.

Cover and bake for 45-60 minutes, or until the tomatoes are soft and pinched with the skin broken, and the juices bubbling.

Place everything in a food processor and pulse until it is roughly blended and thick.

Pour into a large bowl and stir in the thyme and sage. Serve alongside the grilled cheese and enjoy!


Hot Italian Sausage and Roasted Pepper Risotto

So I’ve started watching this new TV show called The Last Man on Earth.

IMG_1198

At first the show really depressed me. I mean, it is kind of sad to think about a virus killing everyone off and then being the one person who’s left. All those lonely nights, right? But I guess having your choice of any car, any home, any ANYTHING would be pretty sweet. Who needs running water when you’ve got all the outfits?

IMG_1182

Of course, (spoiler alert), it turns out he’s not the last person on earth. He’s since met two women so, I think we know where this show is going. In the meantime, they’re giving us a real glimpse into how to survive in an abandoned world.

IMG_1195

In the second episode, they made meatballs out of raisins. I don’t know about all that, but I do know this dish is better than raisin meatballs.

IMG_1188

What You Need:

  • 1 pound red, yellow, orange and/or green bell peppers, seeded and sliced in half
  • 2 tbsp coconut oil, divided
  • 3 large links hot Italian sausage, cut into slices (I always pull off the casings but that’s just me.)
  • 1/2 cup yellow onion, diced
  • 2 cloves garlic, minced
  • 1 jalapeno, seeded if desired to reduce spiciness, and diced
  • 1 cup arborio (risotto) rice
  • 6 cups vegetable broth
  • 1/2 tsp salt
  • 1 tsp black pepper
  • 4 oz. firmer goat cheese for serving

IMG_1190

What You Do:

Preheat oven to 350F

Lay the peppers out on a baking sheet in a single layer and bake for about 20 minutes or until roasted (the skin will be pinched and they may have blackened or caramelized around the edges).

When the peppers are done, chop roughly and set aside.

In a medium skillet, heat 1 tbsp of the coconut oil and, when warm, add the sausage and cook, turning frequently to heat all sides.

While the sausage is cooking, heat the other tablespoon of coconut oil in a large frying pan and add the onion, garlic and jalapeno, sauteing and stirring frequently until onion is soft and translucent.

IMG_1196

Add the risotto and mix well.

Add one cup vegetable broth and stir constantly, keeping the dish on a simmer, until the broth has evaporated. Continue adding the broth one cup at a time until it has all absorbed or evaporated.

Mix in the salt and pepper.

Drain excess liquid from the sausage pan and blot out the sausage on paper towels if you like it less greasy like me.

Add the sausage and roasted peppers to the risotto and stir well.

Top with goat cheese. Enjoy!

IMG_1199


Broccoli and Shrimp Stir Fry with Homemade Sweet n’ Sour Sauce

I read through my old journals from junior high and high school this weekend. And…wow. Just wow.

IMG_1337

Here is what I learned about myself in a nutshell: I was completely boy-crazy in junior high (honestly, was anything else going on in my life at that time?!?); I enjoyed writing with brightly-colored markers (but who doesn’t); and I over-analyzed EVERYTHING – although anyone who knows me today wouldn’t be surprised by that.

IMG_1335

My favorite journal discovery, however, was an entry from 1999 (I was 15), where I actually made a list of things I was currently unhappy about. On this list were such existential revelations as: material wealth, Geometry, worrying, rules, pimples, and getting up early. Yes, this list is real. How one makes the jump from material wealth to pimples in a list of biggest concerns, only 15-year-old me can understand.

IMG_1341

My life was beautifully uncomplicated for years, but I apparently just couldn’t handle the simplicity of it all. Hormones are a bitch, amiright? It’s a wonder I never really made it as an actor – I was very, very dramatic. At least now I can pour my latent angst into my cooking.

What You Need for the Stirfry:

  • 1 1/2 cups Basmati, Jasmine, White or Brown rice (I used Basmati but it’s your preference)
  • 1 cup broccoli florets
  • 1 cup diced carrots
  • 1 cup sliced yellow onion
  • 1 cup sliced white button mushrooms
  • 1 cup chopped red bell pepper
  • 1 bag frozen, peeled and deveined shrimp
  • 1 tbsp olive oil

IMG_1339

What You Need for the Sweet & Sour Sauce:

  • 1 cup vegetable broth
  • 1/2 cup soy sauce
  • 1/2 cup apple cider vinegar
  • 1/2 cup distilled white wine vinegar
  • 1/4 cup pineapple juice
  • 1/8 cup brown sugar
  • 1/8 cup white cane sugar
  • 2 tbsp garlic chili paste
  • 1/2 cup red and green bell pepper, VERY finely chopped (I put mine in a food chopper)
  • 1 tbsp corn starch (see below for substitutes)

What You Do to Make the Stirfry:

Cook the rice according to package directions and set aside, keeping covered and warm.

Thaw out the frozen shrimp in a bowl of cold water (the package will have these directions. I usually switch out the water one or two times until the shrimp are fully unfrozen.)

In a wok or large pan, heat olive oil and add all the vegetables (broccoli through bell pepper).

Cook vegetables until soft, stirring well. Add shrimp and continue cooking until shrimp are cooked through.

IMG_1343

What You Do to Make the Sauce:

Fill a medium sauce pot with all of the ingredients for the Sweet & Sour sauce and bring to a boil.

The sauce is basically easy to make but needs a lot of attention. Keep it at a boil and stir constantly. It’s similar to a balsamic reduction in that it will be a liquid consistency for about 10-15 minutes until all of a sudden it will very quickly thicken. This is the part you have to be aware of because you must remove it from the heat immediately or else it will burn. I learned this the hard way and might be buying a new pot this week.

After about 10 minutes, add the corn starch (you can also substitute corn starch for flour, or gluten free flour).

You’ll know when it’s done because it will be thick and syrupy.

Serve the veggies over the rice and top with the sauce. Eat with chopsticks for a complete experience.

IMG_1339


Mexican Potato Tacos

Even for New England, this winter was pretty terrible. But the tides are turning, as they say.

IMG_1216

We can all feel it – it’s the feeling that leads you to believe wearing flats to work instead of boots is a great idea, until you go out for lunch and realize you’re severely under-dressed because – duh – it’s still winter and 21 degrees actually isn’t that warm after all…it’s just warmer than 10.

IMG_1218

The feeling of spring around the corner also comes from a renewed interest in my favorite activity – running. Suddenly, races are back on the table. Training has begun. I am starting to think of the weekends as good days for long runs instead of a good opportunity to catch up on my favorite TV shows.

IMG_1213

And of course with a renewed interest in running comes a renewed interest in my diet. Pulling myself out of hibernation and the excess of Popchips, cookies, wine and beer that kept me warm all winter is quite liberating. And it starts with these potato corn tacos, inspired by one of my favorite bloggers, Emerging Adult Eats.

IMG_1214

What You Need:

  • 1 lb (about 2 cups) fingerling potatoes, quartered
  • 1 red pepper, seeded and sliced into quarter-inch long strips
  • 1 green pepper, seeded and sliced into quarter-inch long strips
  • 1/2 red onion, sliced
  • 1 tsp red pepper flakes
  • 1 tsp garlic powder
  • 1/2 tsp cayenne powder
  • 1/2 tsp paprika
  • 1 small can chopped green chilies
  • 1/2 cup shredded red cabbage
  • Corn tortillas (I used Mission)
  • Your favorite salsa (I used Newman’s Own hot salsa)
  • 1 avocado, pitted and sliced into strips

What You Do:

In a large pot filled with boiling water, boil the potatoes uncovered for about 20 minutes or until a fork easily pokes through. Run one or two under cold water and taste-test to be sure they’re done.

Drain potatoes and set aside.

IMG_1215

While the potatoes are cooking: In a large skillet, heat a tablespoon of olive oil on medium. Add the onions and saute, stirring often, for about 3 minutes or until they begin to get soft.

Add the peppers and saute, stirring often, for about 5 minutes or until soft.

Add the red pepper flakes, garlic powder, cayenne, paprika and green chilies and combine.

Remove from heat.

Combine the potatoes and pepper/spice mixture. Stir well.

Lightly toast the corn tortillas in a non-greased, nonstick frying pan over low heat. They only take a few seconds on each side to toast, and the tortilla will begin to wrinkle and smoke when it gets too hot.

Lay out each tortilla and top generously with the potato filling. Garnish with a drop of salsa, some shredded cabbage and the avocado, and they’re ready to eat!

IMG_1217


Brown Sugar Glazed Pistachio Baked Carrots

I like getting my nails done.

Pistacio Carrots (1)

Mind you, this is not an activity I nor anyone who knows me would have guessed I would enjoy. I have always been a tomboy-type – an outdoor-loving, dirt-under-the-fingernails kind of girl. I don’t wear makeup and don’t plan on starting anytime soon, and I own exactly two pairs of heels that gather dust until a specific social event forces me to put them on.

Pistacio Carrots (9)

Somehow, though, my nails have always been the exception. I like to take one night each month and labor over all 20 of them, filing and buffering, gently brushing on smooth coats of deep reds, purples and bright pinks. And then, because I can’t just stop there, I apply some pretty little stickers to my thumbs and big toes and seal them over with a clear topcoat.

Pistacio Carrots (5)

What do manicures have to do with cooking, you ask? Nothing. Except that eating carrots is supposed to make your nails grow stronger and look better, so that is what I was hoping for when I devoured this dish.

What You Need:

  • 3 lbs carrots, washed and peeled with greens cut off about 1 inch above carrot tops
  • 3 cups water
  • 1/2 cup shelled pistachios
  • 1/2 cup melted butter
  • 1/3 cup brown sugar

Pistacio Carrots (2)

What You Do:

Preheat oven to 350F

In a large pot, bring the 3 cups water to a boil.

Add the carrots and reduce heat to a simmer and cover. Let simmer for about 10 minutes or until carrots are tender and easily punctured with a fork.

While carrots are cooking, mix butter and brown sugar together until they form a glaze.

Place pistachios in a single layer on a baking sheet and bake for 5-8 minutes or until just toasted.

Drain carrots and move to a serving dish, fanning them out to open space between carrots for the glaze to seep through.

Pour the glaze over the carrots.

Top with toasted pistachios and serve!

Pistacio Carrots (6)

Heavenly Slow Cooker Meals: Swiss Chard and Butternut Squash

Once again, I will repeat: I love the snow.

IMG_1002

There are a few basic, undeniable truths about New England life between November and April.

1. It gets cold.

2. It will probably snow.

3. It will probably snow more than once. And be really windy.

4. It will stay this way for so long, you’ll begin to forget four seasons exist.

IMG_0956

People get really annoyed about the snow and how long this whole season drags on for. Give me a snow day, a glass of wine and a good meal, and I’m good to go. I’m pretty sure winter in New England is why crock pots were invented.  After a long day of shoveling, maneuvering cars that were not built for blizzard conditions through snow banks, and uncomfortably trying to get work done on my slow home computer, nothing beats wandering into the kitchen and discovering that dinner is just…ready. Just like that.

IMG_0958

What You Need: 

IMG_1001

  • 4 cups cubes butternut squash
  • 2 large parsnips, peeled and diced (substitute potatoes here if desired)
  • 1 can chickpeas (15.5 oz)
  • 1 yellow onion, thinly sliced
  • 1 tsp black pepper
  • 1/4 tsp sea salt
  • 1 tsp crushed red pepper flakes
  • 1 tsp ginger
  • 2 tsp oriental seasoning OR 1 tsp each of onion and garlic powder
  • 1/2 cup vegetable broth
  • 1/2 cup coconut milk
  • 4 cups shredded swiss chard (leaves only – remove from stems)

What You Do:

In your crock pot bowl, add the squash through vegetable broth and cook on high for 4 hours.

Once the time is up, keep warm and add the coconut milk, stirring well to combine.

Add swiss chard leaves, stirring well until the leaves become limp and reduced.

Now it’s ready to serve!

IMG_1004


Heavenly Crock Pot Meals: Vegetable Stew with Chickpeas

Thank you Parenthood. Thank you The Newsroom. Twice in one night I found myself bursting into tears because your stories are so damn compelling.

IMG_0962

I am talking total waterworks. I’ve been known to fold during iPhone commercials and especially poignant endings to novels, but it was a double-whammy this time around. As I sat alone at home with a glass of wine watching my shows On Demand, these people’s fictional lives really rocked my world. I hate series finales. Worst. Idea. Ever.

IMG_0948

So maybe I made myself feel better by stuffing my face with slow-cooked comfort food. Maybe.

What You Need:

  • 3 large tomatoes, diced into cubes
  • 1 large yellow onion, sliced
  • 1 can chickpeas, drained and rinsed
  • 1 green pepper, seeded and diced
  • 1 cup Brussels sprouts, halved, with stems cut off
  • 1 jalapeno
  • 4 carrots, peeled and sliced into rounds
  • 1 tsp cayenne
  • 1 tsp paprika
  • 1 tsp chili powder
  • 1 tsp dried rosemary
  • 1 tsp ground turmeric
  • 1 tsp dried tarragon
  • 1 tsp ground sage
  • 1 tsp ground thyme
  • 1/2 cup vegetable broth

IMG_0961

What You Do:

Easy. Dump everything into a crock pot and turn it on. Cook on high for 6 hours.

Pro Tip: Make ahead and freeze for a fully prepared meal at any time. This serves 4.

Chicken, Broccoli and Quinoa Bake

There’s something incredibly satisfying about effectively using all of the vegetables in my fridge, their fate otherwise sealed inside my crisper drawer.

IMG_0951

I feel like a good Samaritan almost – freeing the plastic-bag-strangled vegetables from dark corners under less time-sensitive items like onions and unripe avocados. They’re getting their moment to shine, finally, in a dish worthy of their waiting.

IMG_0947

Now I know my vegetables don’t have feelings. But I do feel responsible for their happiness and I want them to have a full and meaningful life. And that of course means rescuing them from the cavernous black hole my refrigerator can become if I don’t watch it closely.

What You Need:

IMG_0943

  • 1 cup uncooked quinoa, cooked according to package directions and set aside (I used Trader Joes Tri-Color Quinoa, which looks super pretty!)
  • 1 lb. fresh broccoli florets
  • 1 lb. brussels sprouts, halved with stems cut off
  • 2 tbsp olive oil, divided
  • 2 large skinless chicken breasts, washed and diced into chunks
  • 1/2 tsp salt
  • 1/2 tsp black pepper
  • 1 1/2 cup scallions, chopped
  • 4 garlic cloves, minced
  • 1/2 cup almond milk
  • 2 cups vegetable broth
  • 2 oz. (about 1/4 cup) Parmesan cheese, freshly grated
  • 2 oz. (about 1/4 cup) cheddar cheese

What You Do:

IMG_0941

Preheat oven to 400F

In a medium saucepan coated with olive oil, add chicken and cover, heating until soft and cooked through. Set aside.

In the same pan, add olive oil and heat over medium heat. Add scallions and garlic and saute until soft and fragrant.

Add milk, Parmesan cheese, salt and pepper and stir well, bringing to a simmer. Remove from heat.

In a large baking dish with a cover, add broccoli, Brussels sprouts, quinoa, chicken and scallion/milk/cheese mix and stir well.

Ladle the vegetable broth over the veggies, cover and bake for 15 minutes or until the bake is bubbly and soft.

Top with cheddar cheese and serve! I hope you find this as enjoyable as I did.

IMG_0950