Greek Yogurt Chicken Salad Lettuce Wraps

Yogurt Chicken (14)

I love guilt-free dinners more than probably anything. It justifies me eating more of it than is likely acceptable, and topping off that meal with a hefty portion of Ben & Jerry’s Late Night Snack. If you haven’t tried that kind, but have a potential affinity for chocolate-covered potato chips enveloped in vanilla ice cream and creamy caramel, then go pick a pint up right now. I’m not kidding.

Anyways, back to the food.

Yogurt Chicken (8)

This is super good. And if you don’t want to eat your sandwich fillings between crispy lettuce leaves, just use bread and put the lettuce on as a topping. BUT IT’S NOT AS FUN! 🙂

Yogurt Chicken (11)

What You Need:

  • 6-8 large, full Romaine lettuce leaves
  • 6-8 thin boneless chicken breasts
  • 1/4 cup chopped pecans
  • 1/2 cup chopped dried cranberries
  • 1 cup chopped celery
  • 1/2 cup chopped scallions
  • 1 1/2 tbsp chopped fresh tarragon
  • 1 1/2 cups plain Greek yogurt
  • 1/2 tsp salt
  • 1 tsp fresh ground black pepper

What You Do:

Cook the chicken in a medium pan with a tbsp of olive oil, covered, flipping after 5 minutes. Remove when cooked through and while it’s still moist – we don’t want dry chicken!

Slice and chop the chicken into tiny pieces. Put in a large bowl. Yogurt Chicken (7)

In a small saucepan on low heat, slowly toast the pecans, stirring in the pan frequently to keep them moving and keep them from burning. They’ll start to smell pretty pungent when they’re almost done. Be careful not to burn them.

Add the pecans, chopped cranberries, celery, scallions, salt and pepper to the chicken and mix thoroughly.

Add Greek yogurt and mix well.

Add the tarragon and mix well.

Place on lettuce leaves and wrap, and enjoy!


Pro Tip: Add a dab of honey mustard before wrapping these babies up for a little zing.


Advertisement

Thai Peanut Tofu Stirfry with Kale

IMG_4090

For the FIFTH (but let’s face it, certainly not final) day of Five Days of Farmer’s Market Meals, I give you a ridiculously easy but totally delish vegetable explosion in a pan.

For the fact that I have this crazy amount of kale in my backyard, I realize I haven’t made nearly enough kale-involved recipes this week. So I’m making up for it right now.

Zukes (10)    Zukes (6)    IMG_4096

I have a not-so-secret addiction to Thai food – particularly Tofu Pad Thai. But a long time ago I decided it was silly to keep buying it when the ingredients are really so super simple. However, I’ve never been able to give my tofu that golden crispiness, probably because I cook them in oil and not in a fry-o-lator 🙂

This dish is a farmer’s market-friendly spin on Pad Thai, with homemade everything. Sometimes I make these meals to ensure I will have a lunch in the fridge at work the next day that I truly look forward to eating. No shame in that!

The Farmer’s Market ingredients used in this recipe are:

  • Kale (from my garden)
  • Garlic scapes
  • Red and green peppers
  • Bean sprouts
  • Scallions

IMG_4089

What You Need for the Stir Fry

  • 1 bunch kale (about 15 leaves) hand shredded
  • 1 package firm tofu, cut into small squares
  • 2 garlic scapes, chopped into small rounds
  • 1 scallion, sliced
  • 1 red pepper, chopped
  • 1 green pepper, chopped
  • 1 bunch bean sprouts, cut into 1-inch strands

What You Need for the Peanut Sauce

  • 1/4 cup honey
  • 1/4 cup peanut butter
  • 3 tbsp soy sauce
  • 3 tbsp olive oil
  • 1 tbsp sesame oil
  • 2 tsp minced garlic
  • 1 tbsp fresh ginger root, grated
  • red pepper flakes, to taste (about 1-2 tsp)


What You Do:

To make the peanut sauce, simply combine all ingredients. Easy!

Set aside.

In a medium skillet, heat a tbsp of olive or coconut oil and cook the tofu, covered, stirring often. It will be done when the tofu begins to brown and stick slightly to the pan.

IMG_4093

In a large wok or skillet, heat the olive or coconut oil and add the scallions. Cook, stirring frequently, for about 3 minutes or until soft.

Add garlic scapes, cook for about 2 minutes. Add peppers, stir and cook for about 5 minutes.

Add the tofu and kale. Stir and cook for about 5-8 minutes or until the kale is soft.

Pour the peanut sauce over the tofu stir fry, mix well, and serve topped with bean sprouts, or add the bean sprouts into the mix just before serving.

Pro Tip: Substitute the tofu for chicken, beef or shrimp if desired. Also, you can spice up this dish quite a bit by adding some chopped jalapeno or serrano pepper.

Zucchini, Tomato and Corn Gratin

Zukes (20)

Ah zucchini.

I like squash a lot. I really do. But I’m at that point in the summer when, to be honest, the level of squash present in my life is getting to be slightly overwhelming. Not only am I harvesting a small bumper crop in my backyard, but I for some reason keep thinking that purchasing additional summer squash at the farmer’s market is a good idea.

Zukes (12)

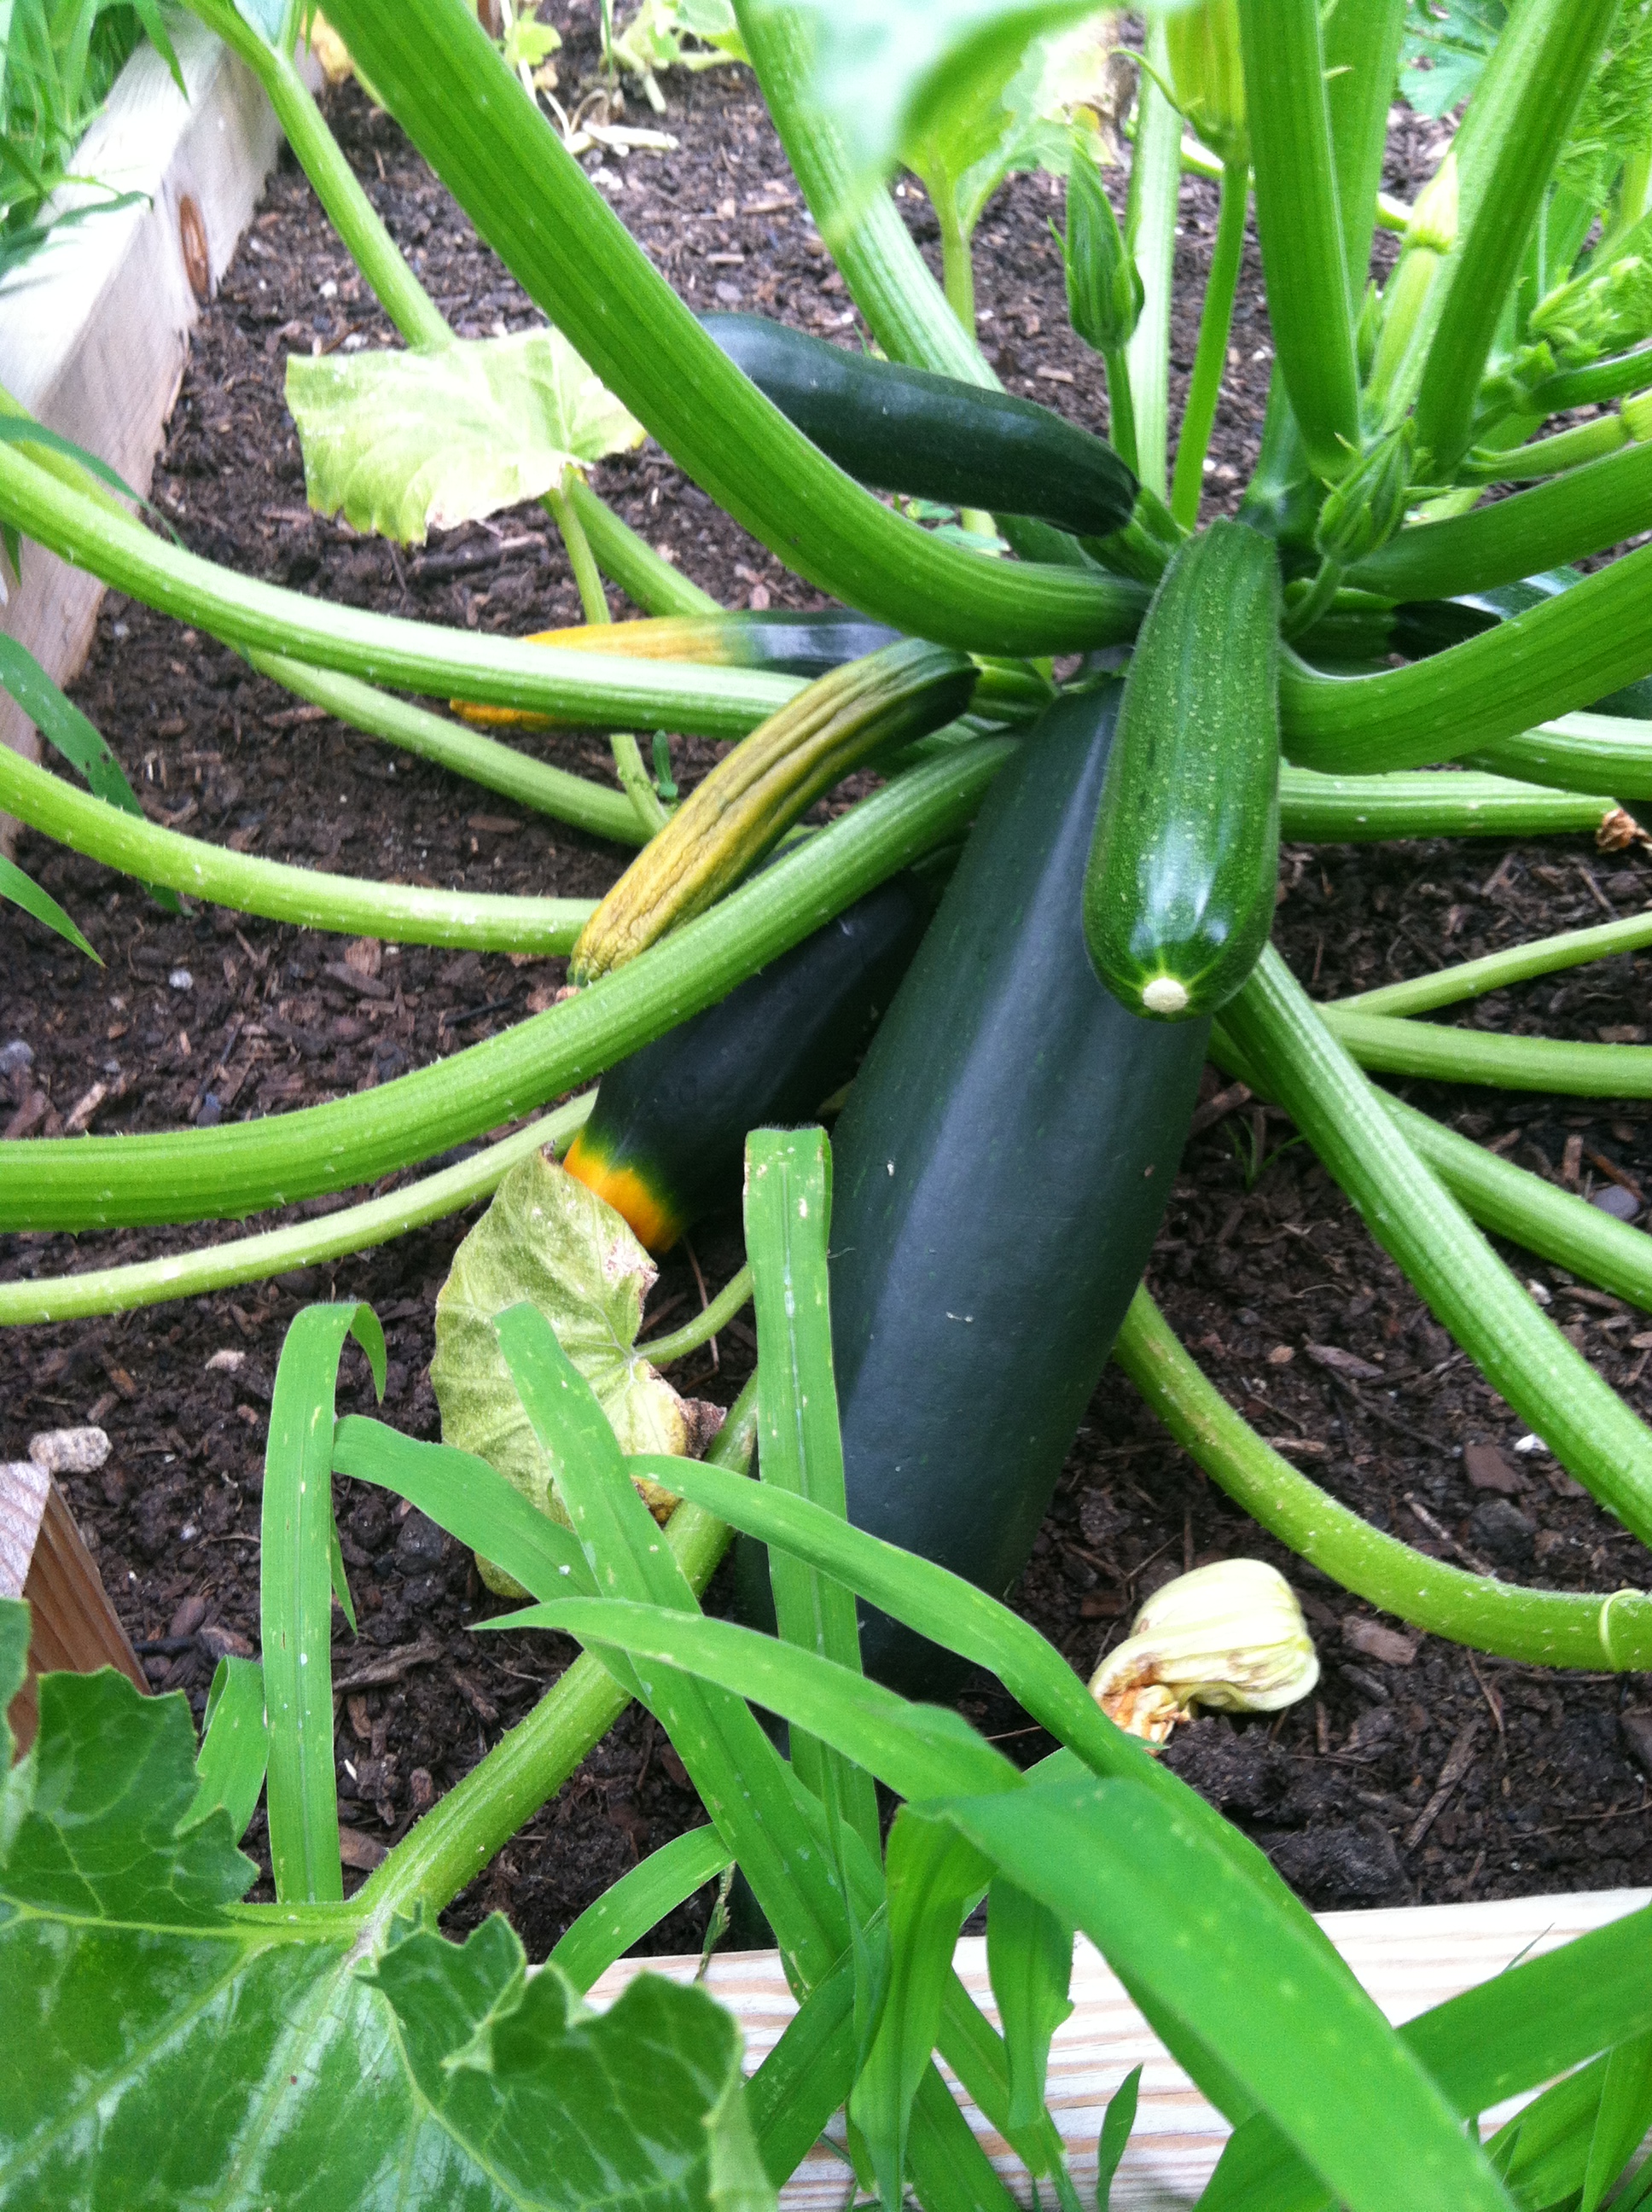
One of my zucchini plants, going strong.

So the chain of events is as follows: Buy fresh squash at the FM –> feel compelled to use said fresh squash before it goes bad  –> neglect picking the actively-growing squash in my garden –> end up with giant backyard squash.

Zukes (13)


This isn’t even the biggest one. My latest monster creation is at LEAST 3 Hershey’s bars long, and probably half of one in width.

So Mike has been subjected to an onslaught of zucchini recipes lately, which have included zucchini bread, zucchini pizza boats, and zucchini-topped pizza, and this is basically fine as he doesn’t mind squash. (But he might after this summer!) I’m still fine with it too, but the ongoing challenge is cooking it in different ways so we don’t get sick of it.

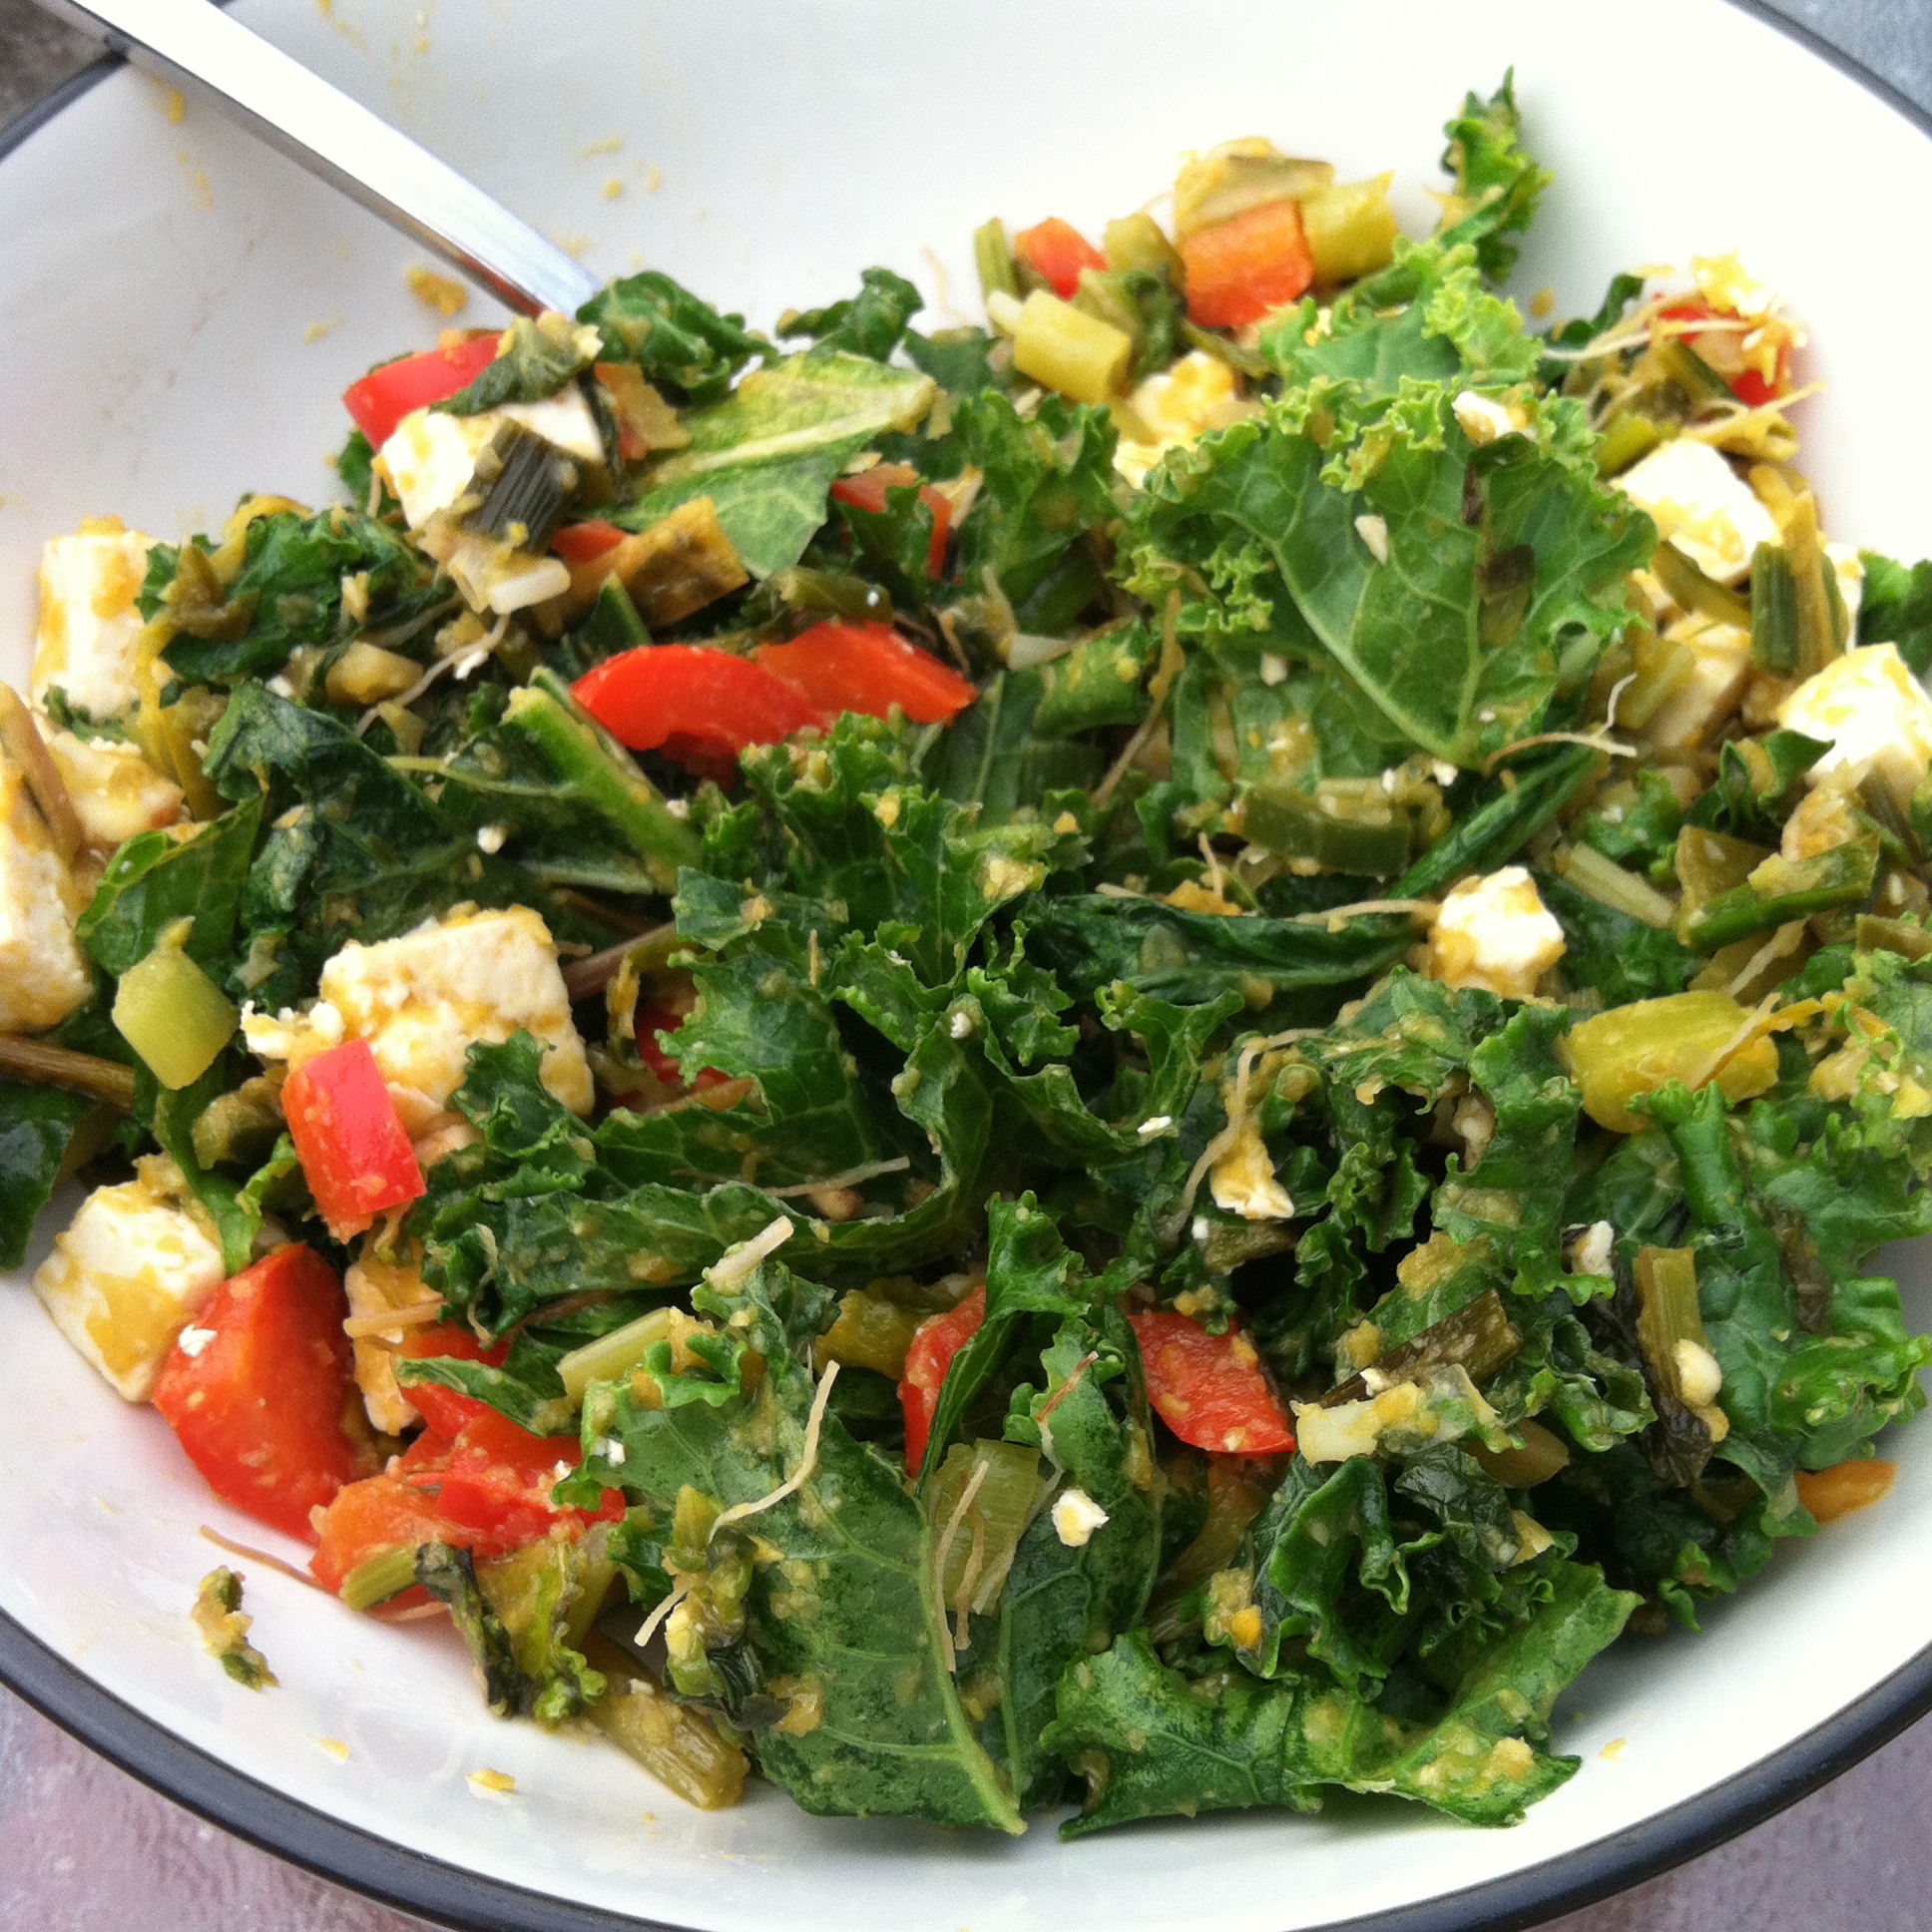
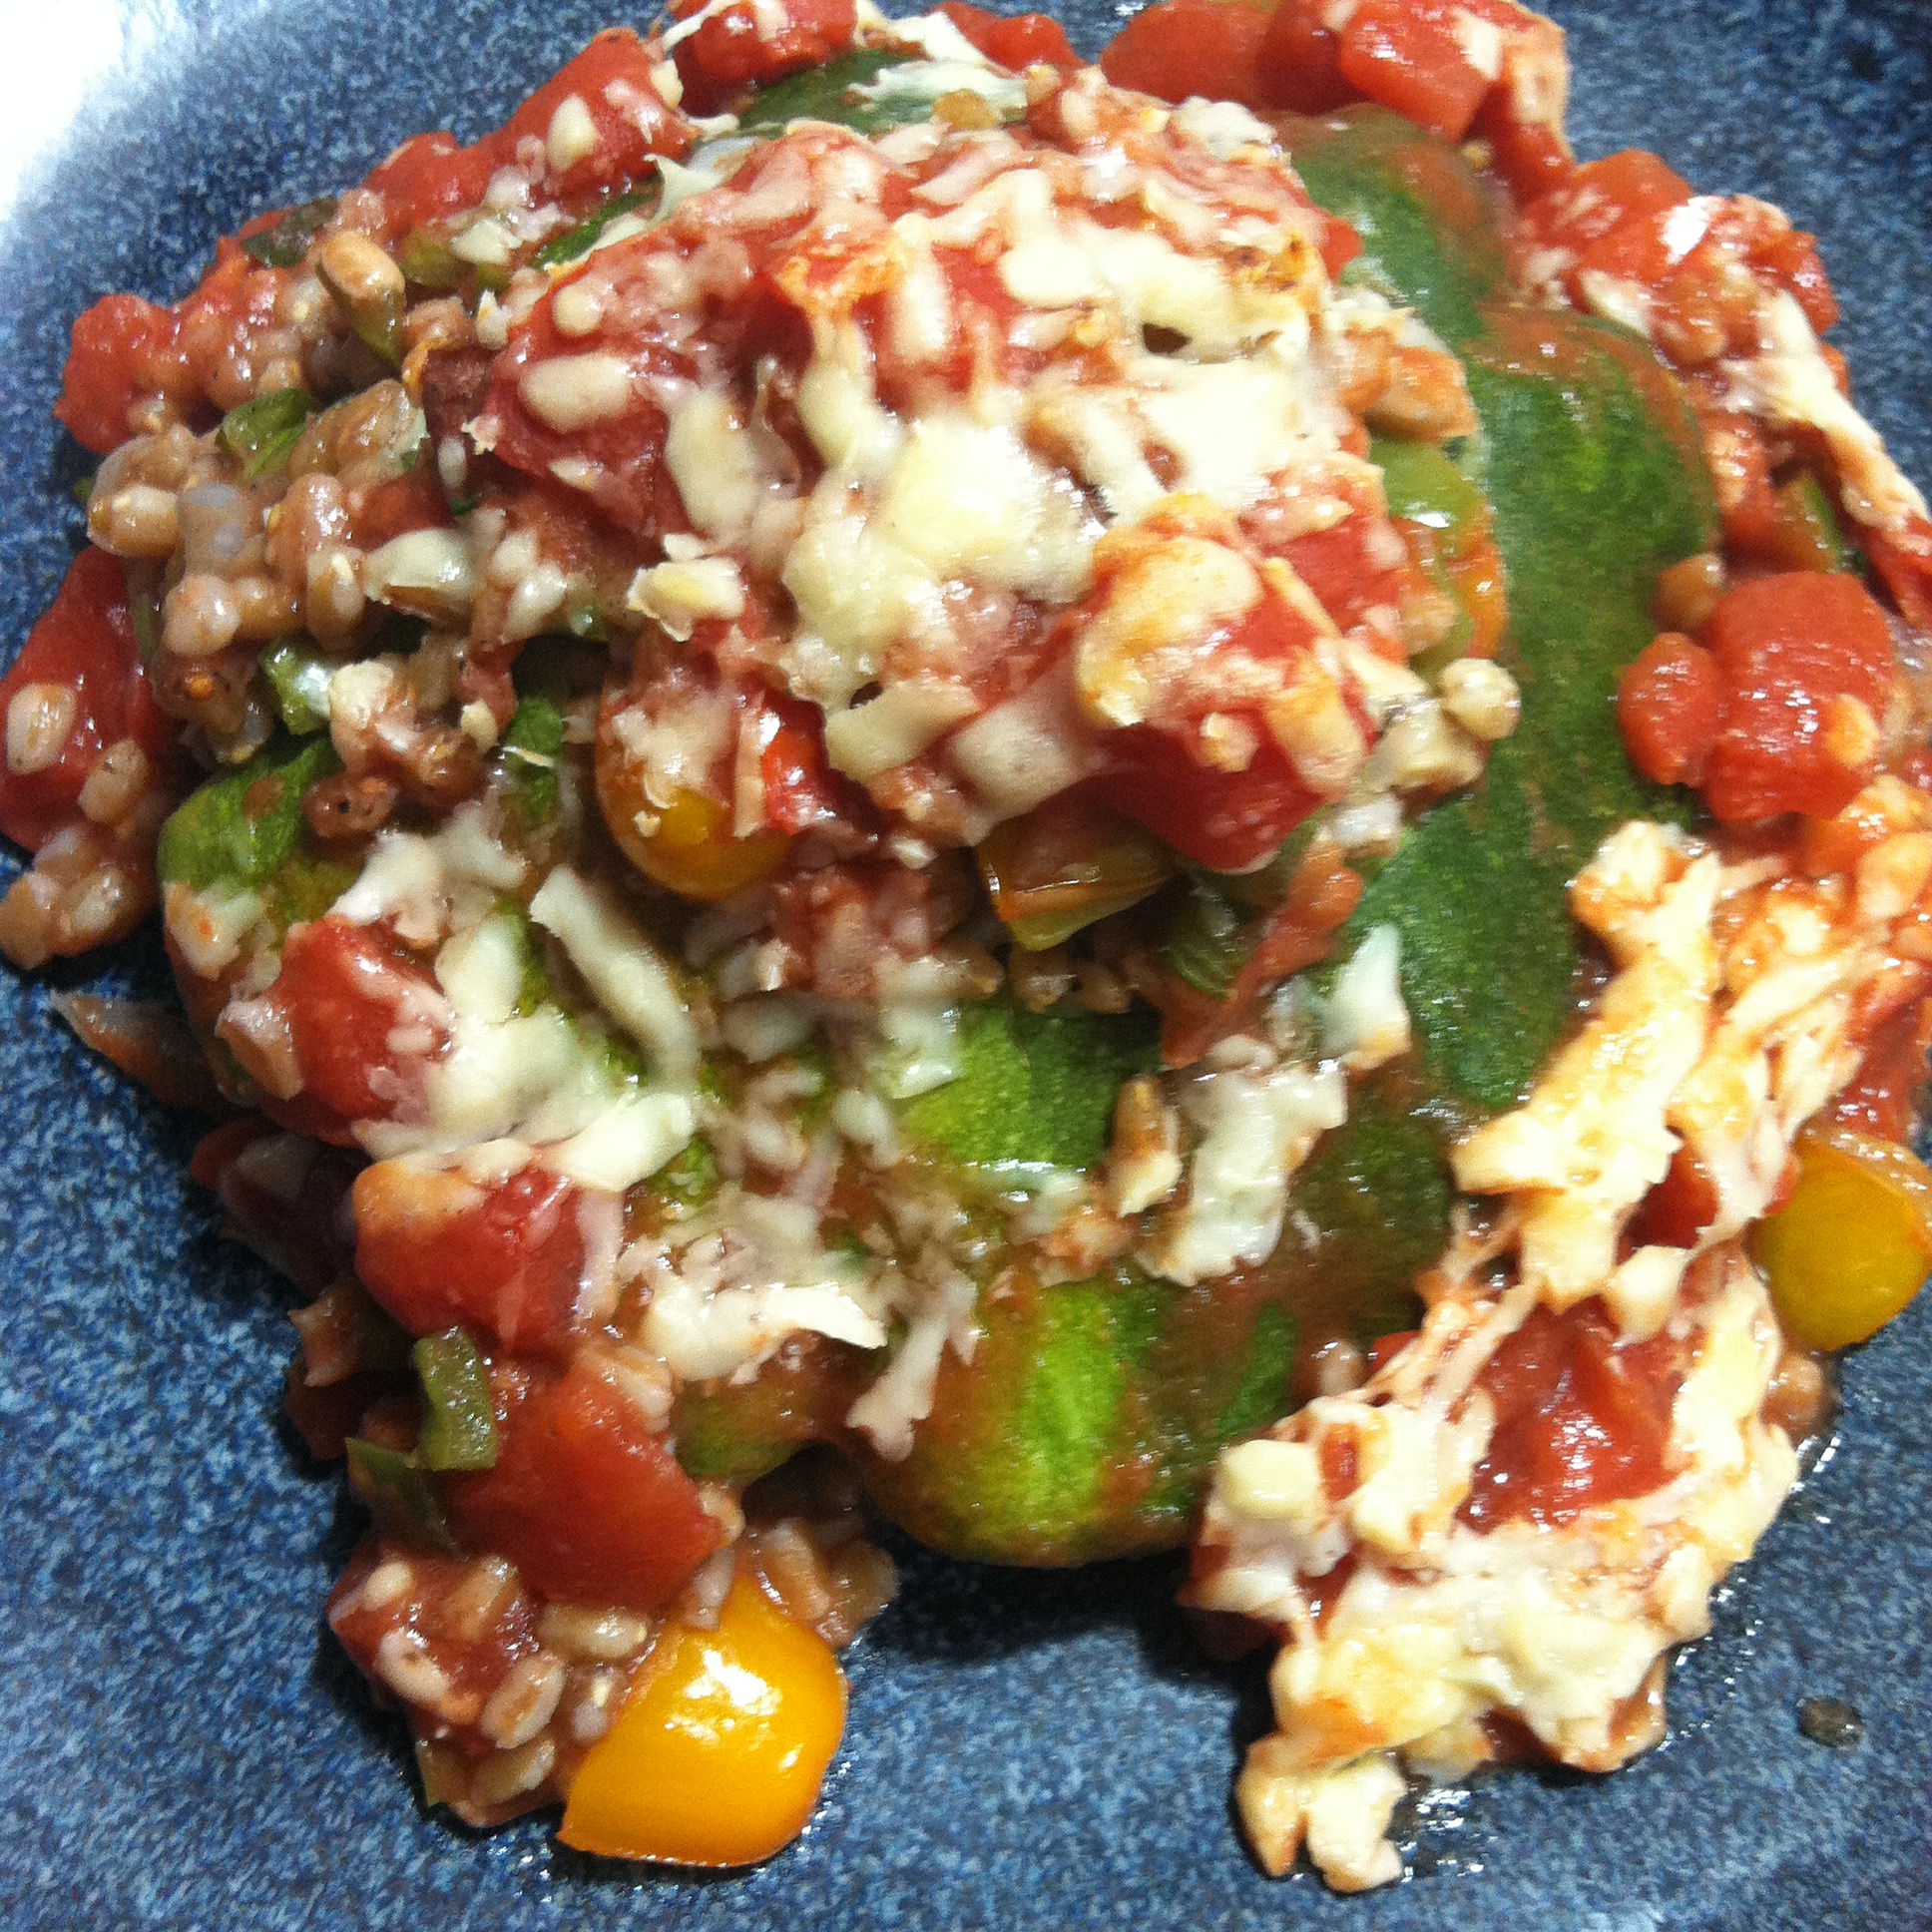
You don’t have to love squash to like this dish, though. It is really very good. This recipe post reflects a few changes that I would most certainly employ if I cook this again, which I will, so don’t lose faith in me if you feel the photos don’t quite do it justice.

The farmer’s market/my garden ingredients used in this meal are:

  • Zucchini and Summer Squash
  • Corn on the cob
  • Onion
  • Tomatoes
  • Garlic

What You Need:

Zukes (14)

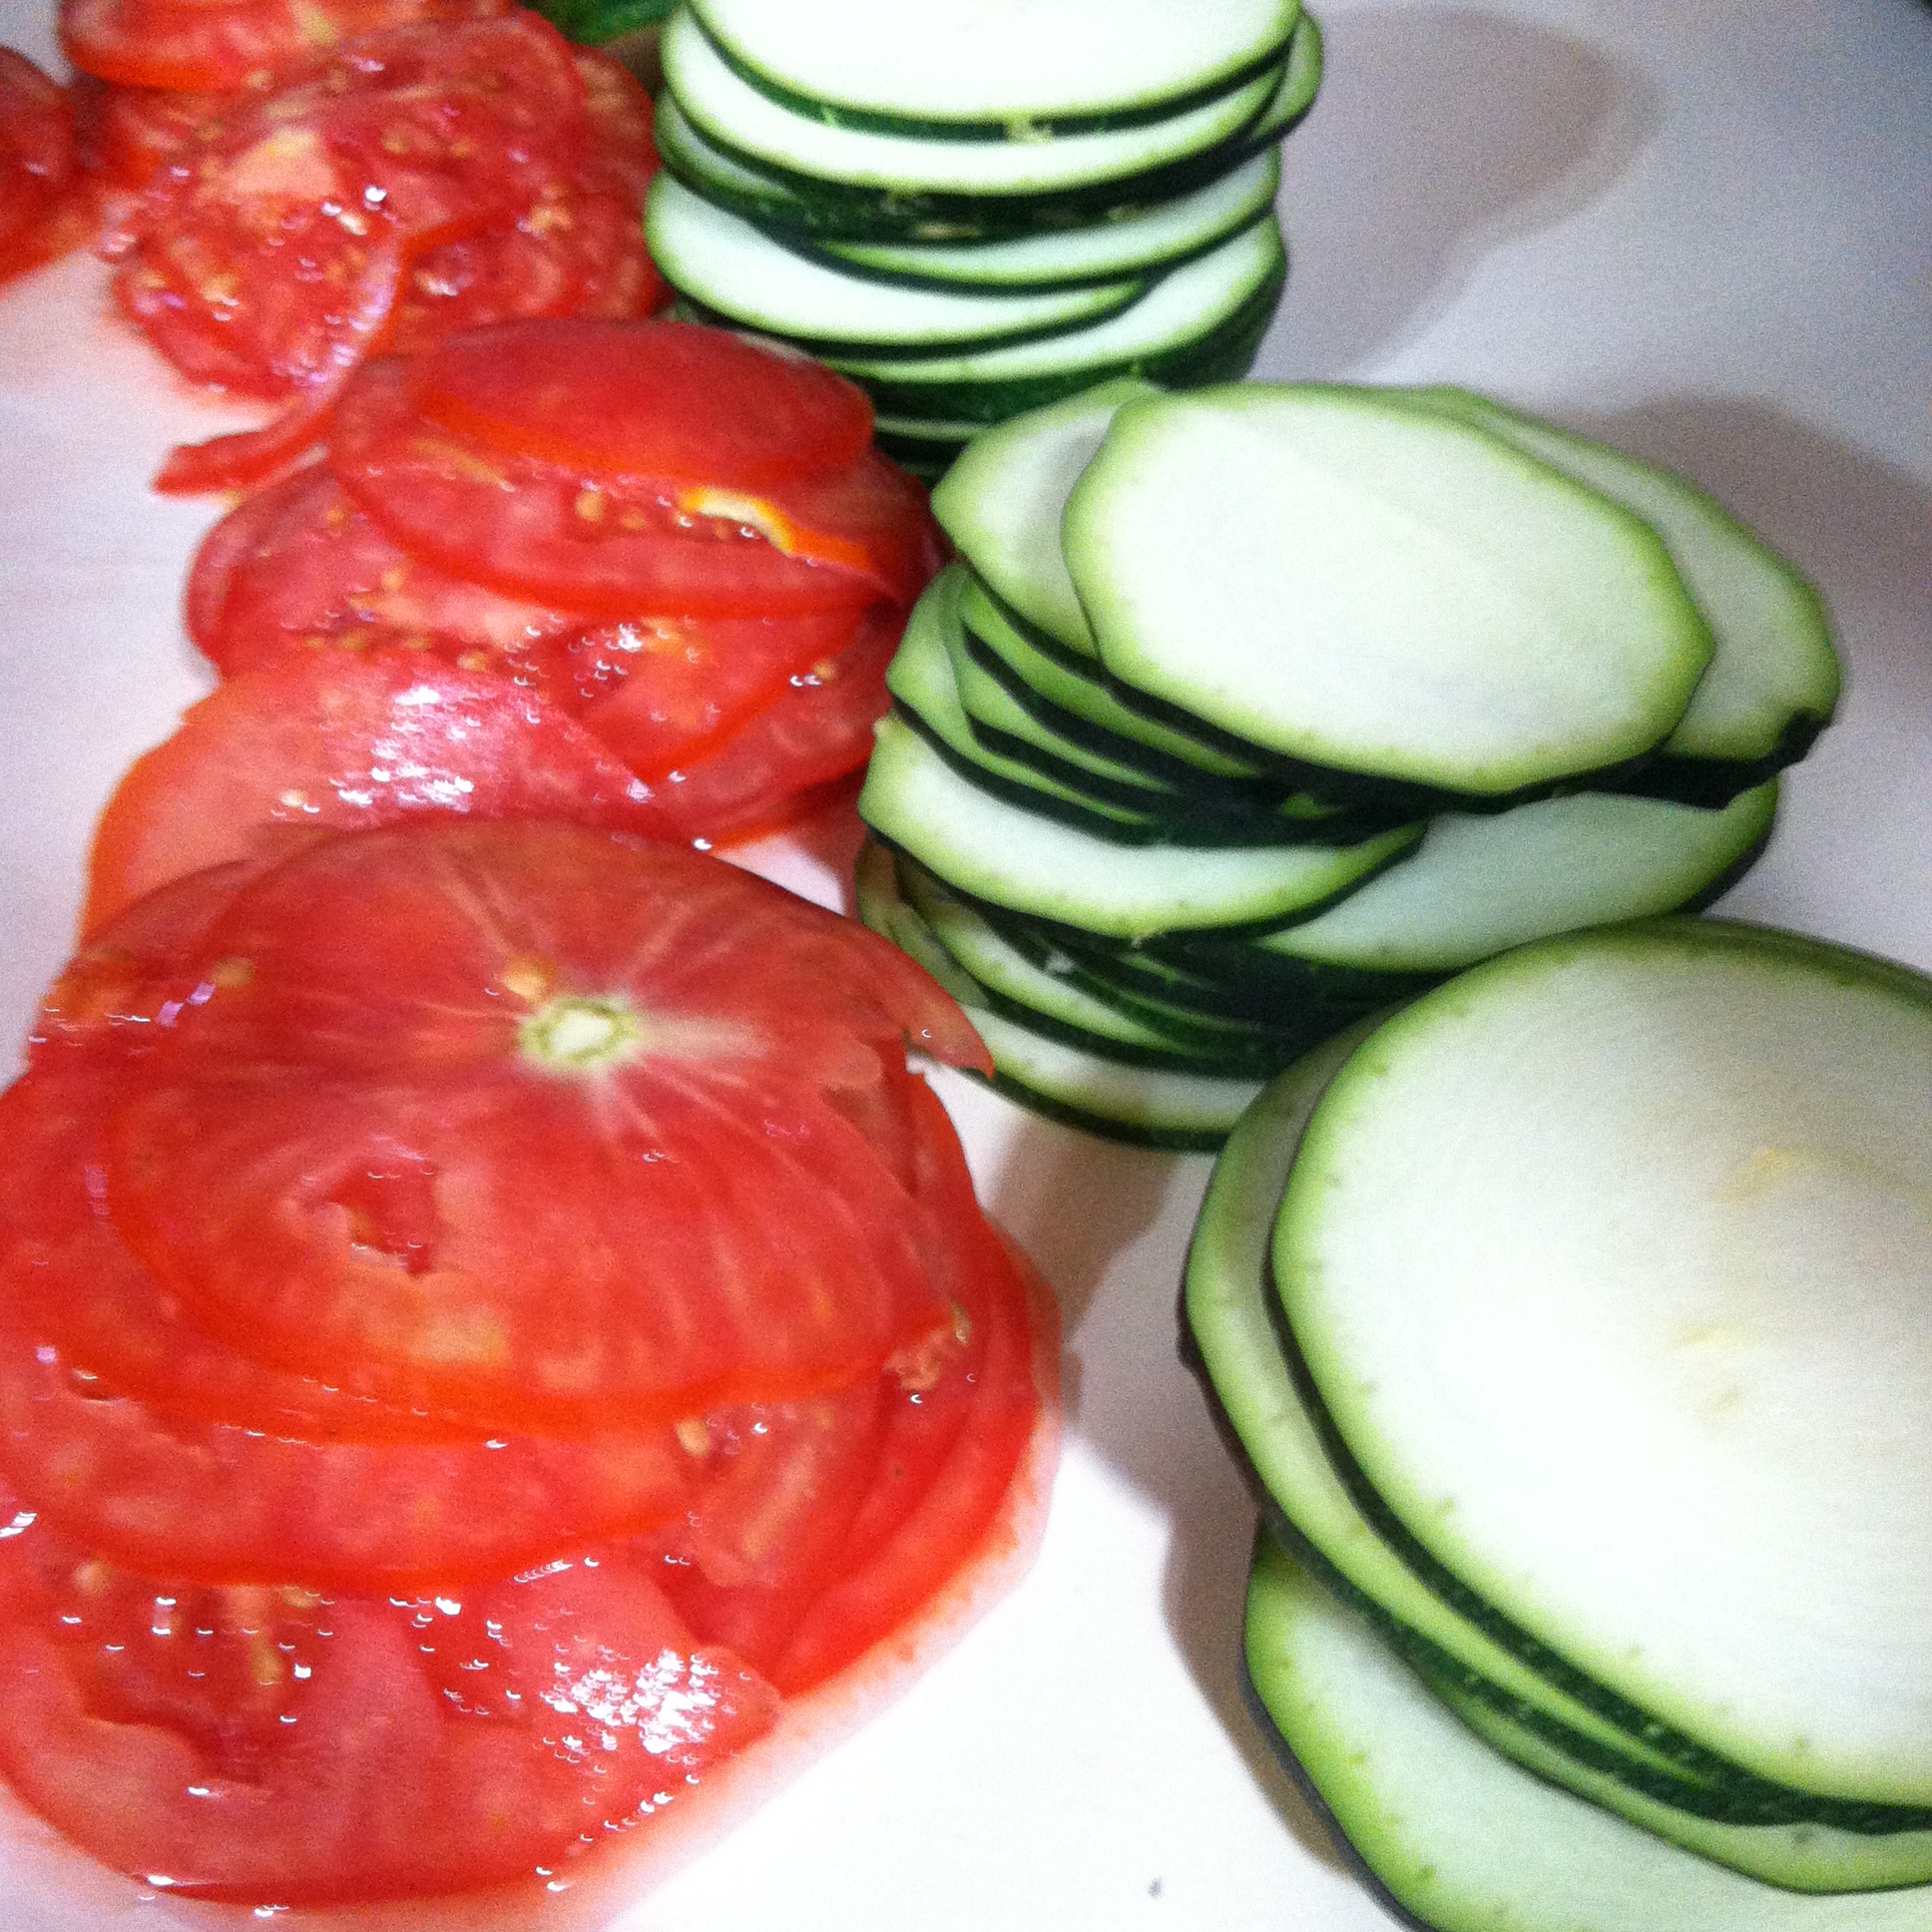
  • About a pound of zucchini and summer squash sliced into thin rounds (I used a mandolin for this)
  • 1 1/2 cups panko or your favorite bread ground up to make breadcrumbs
  • 1 small yellow onion, sliced
  • 2 corn on the cob, with corn sliced off the cob
  • 1 cup Parmesan or Romano cheese, grated
  • 2 large tomatoes, sliced thin (I also used a mandolin for this)
  • Salt
  • Olive or coconut oil
  • 1 tsp black pepper
  • 2 tbsp butter, melted
  • 2 cloves garlic, minced


What You Do:

The Squash

Preheat oven to 350F

Here’s an important step you should never, ever ignore when cooking squash, but I always do anyways. Salt your squash to help remove moisture. This will help it cook better and faster, and overall just taste better.

So, toss your squash rounds with 1-2 tsp salt and set aside in a colander to let it drain (about 10 minutes).

After, lay the slices out on a VERY LIGHTLY oiled baking sheet, and place in the oven for about 5-7 minutes, or until the slices look slightly translucent and soft.

Leave the oven on since the whole dish needs about 10 minutes in there at the end.

The Filling

Warm a tbsp of olive or coconut oil in a medium frying pan over medium heat. When hot, place onion slices in and cover, letting the onions caramelize. Remove them when they smell sweet and look translucent with just a touch of brown.

Gently toss your corn with a tiny bit of salt, black pepper and olive or coconut oil, and mix with the caramelized onions.

The Topping

Melt the 2 tbsp of butter over low heat.

In a small bowl, mix your grated cheese and panko, adding a sprinkle of salt and black pepper.

Pour the melted butter into the panko mixture, add the minced garlic and stir it up.

The Finale

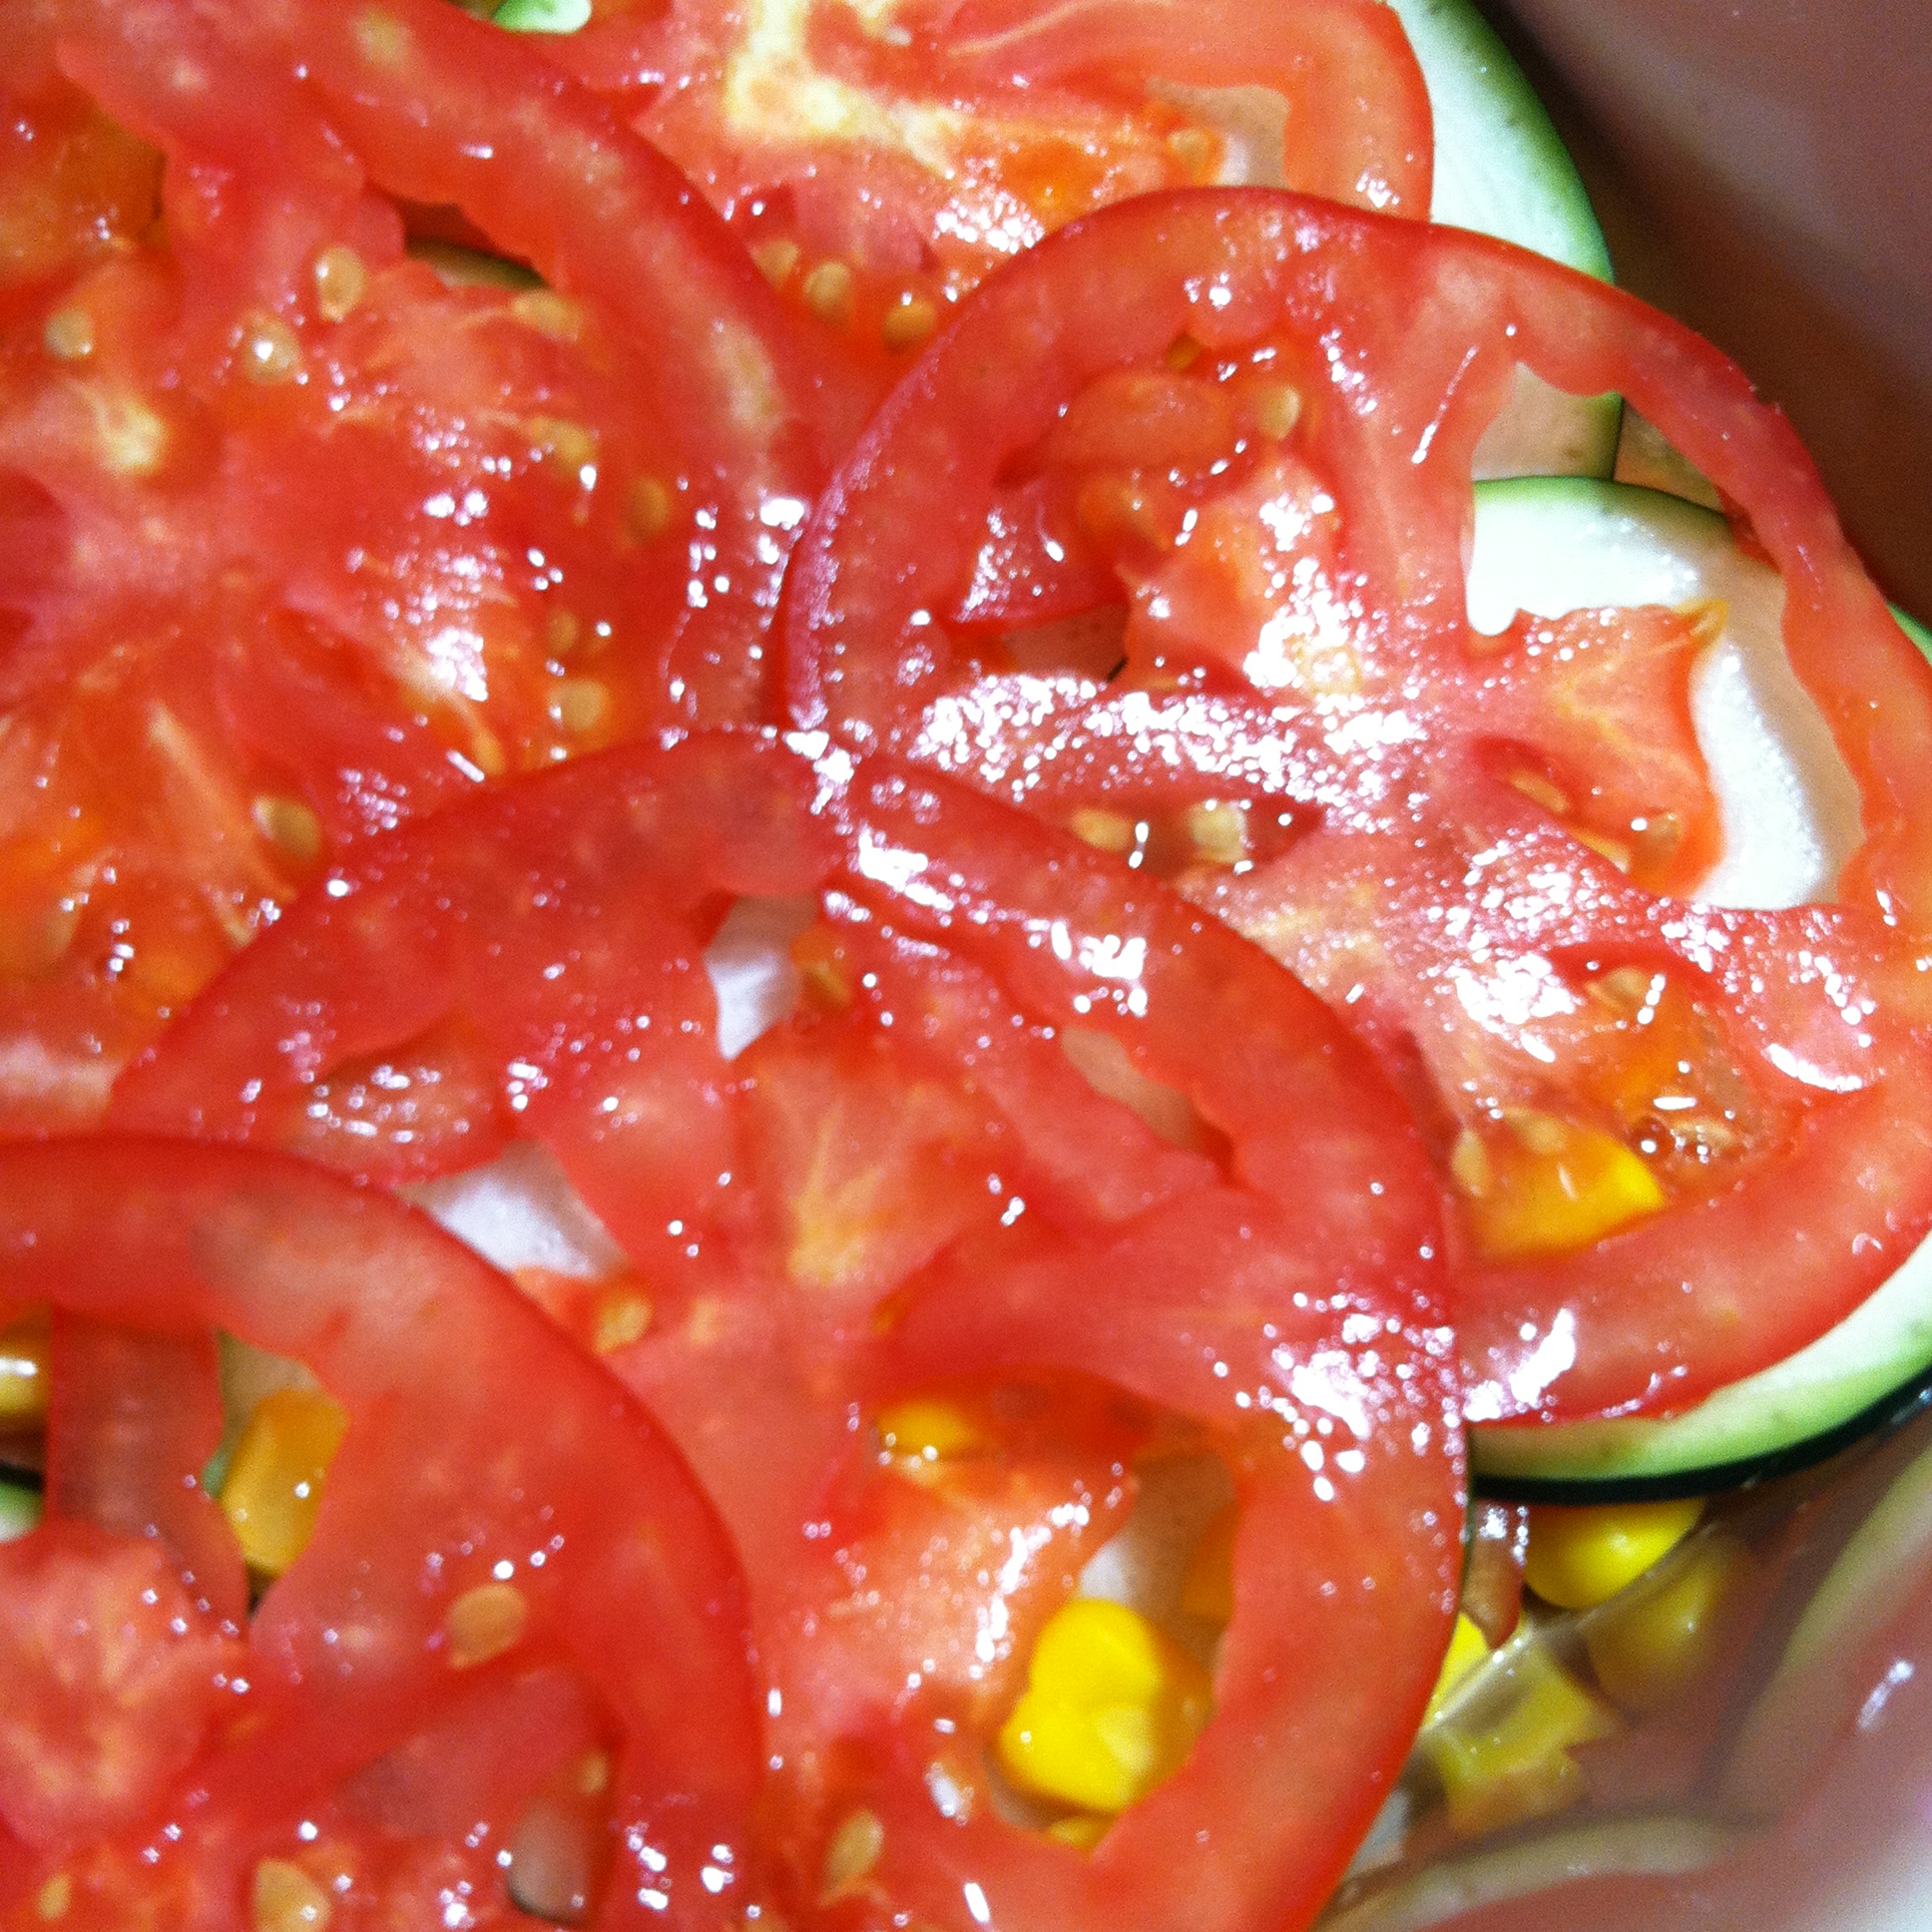
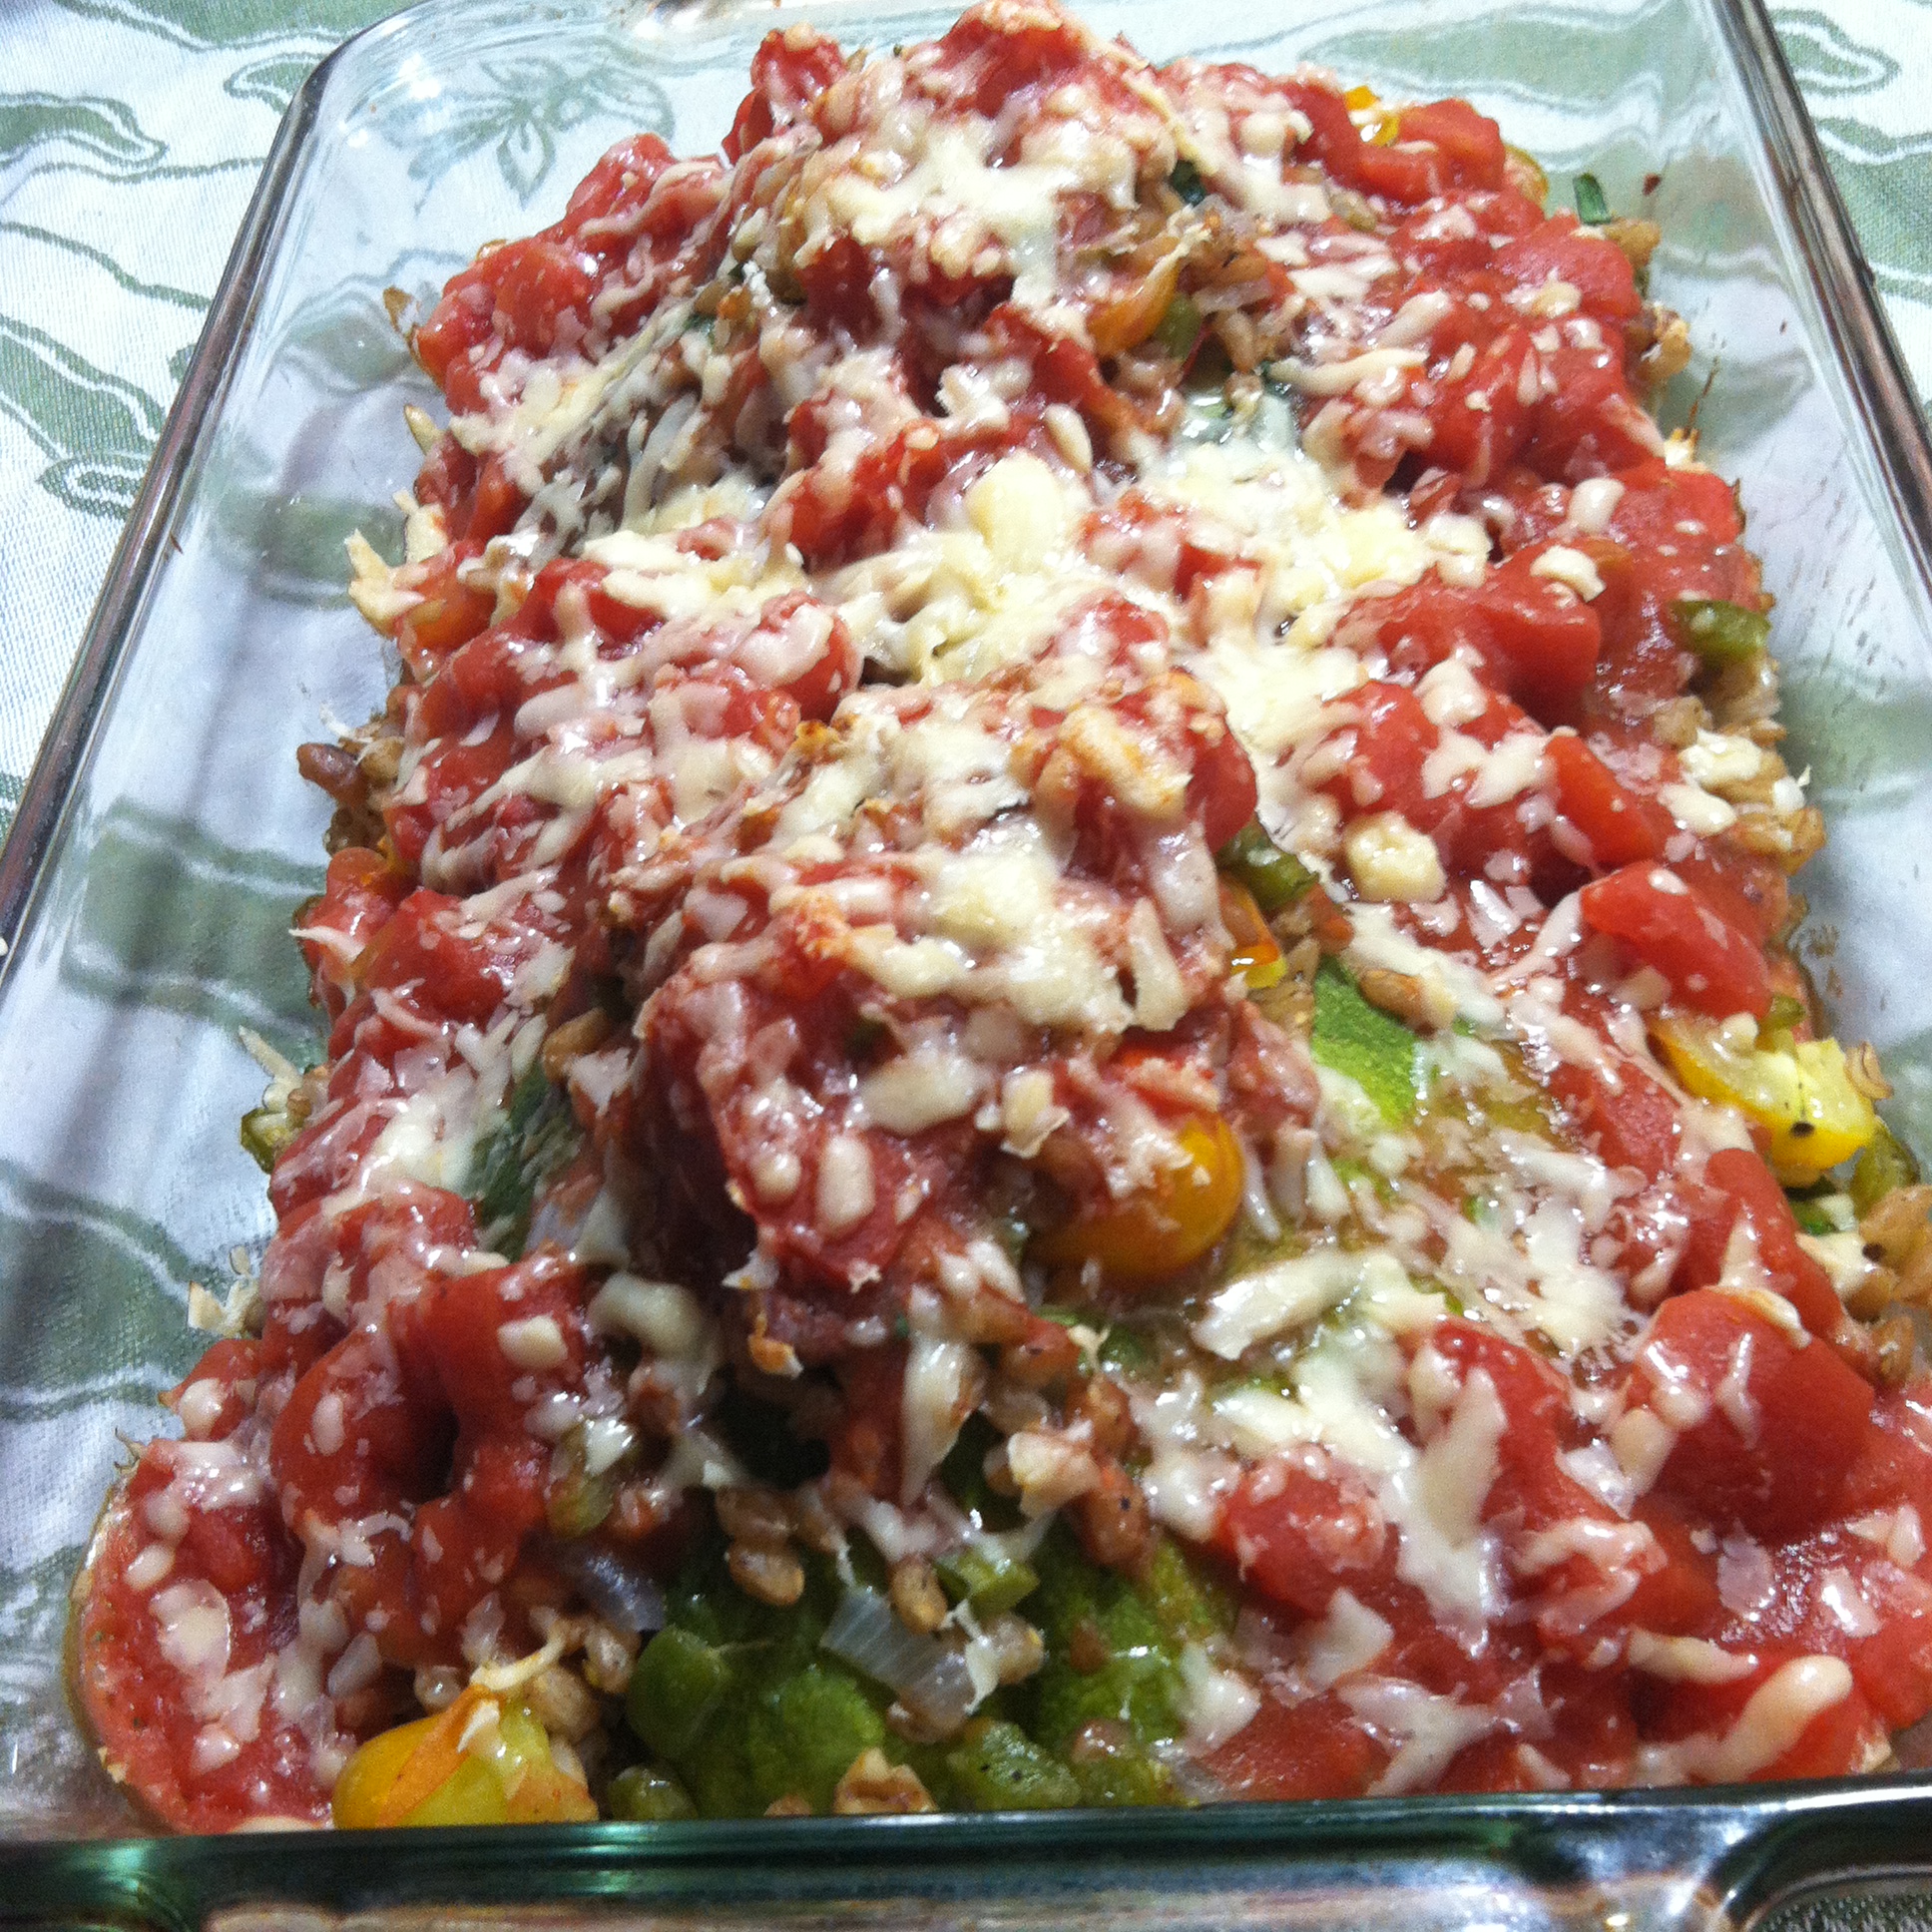
Line a baking dish with the cooked squash and raw tomato slices, alternating as you go. After you have one layer down, sprinkle some of your onion and corn mixture over it.

Zukes (17)     Zukes (16)

Add more squash and tomato slices, covering them with onions and corn each time you have a new layer, until both toppings are gone.

Top the entire dish with the panko mix.

Place in the oven for 10 minutes or until the topping starts to brown and the tomato juices are bubbling. Then – enjoy!

Zukes (19)


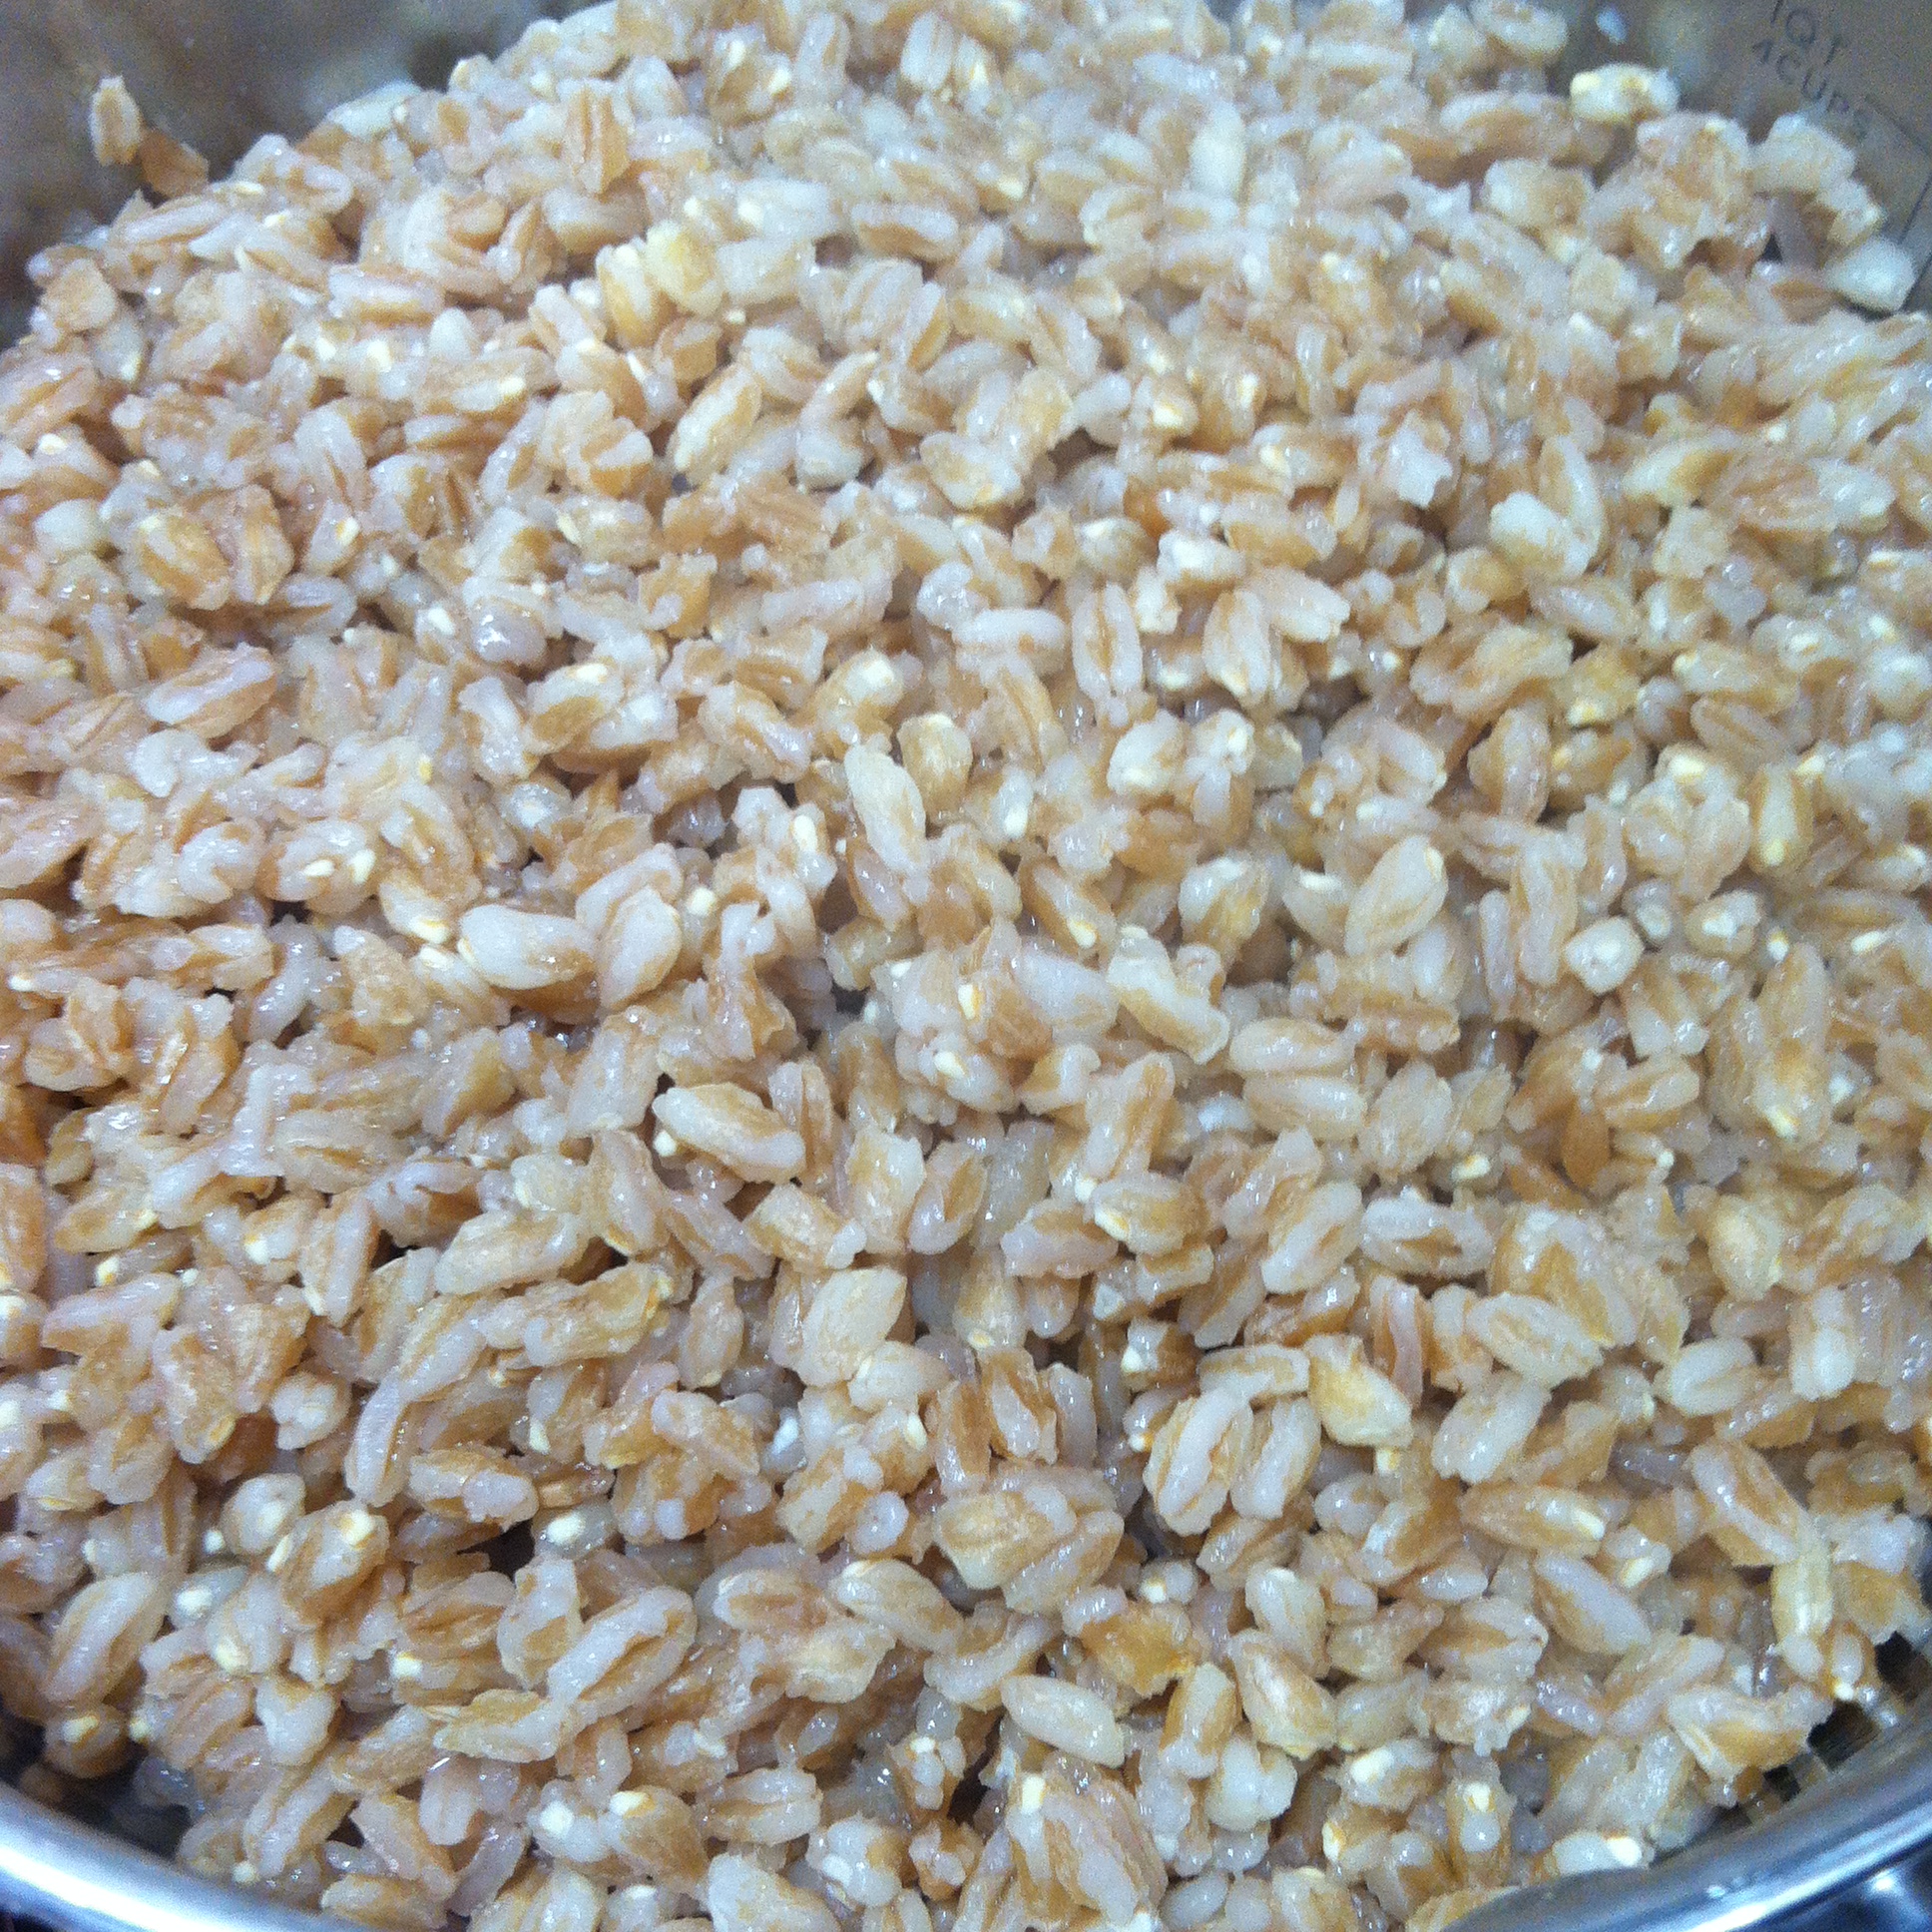
Pro-Tip: I would recommend making this a wild rice gratin to replace the panko and make it a gluten-free meal. Cook up some wild rice, mix it with an egg and the onions and corn and cheese. Put it on the bottom of the pan and line the tomato and squash on top. Sprinkle with some additional cheese. There ya go!

Buttery Farro-Stuffed Patty Pan Squash

For day 2 of my Five Days of Farmer’s Market Meals, I’m bringing in the squash. You just don’t have summer without squash! A couple of summers ago, I bought my first patty pan squash at – per usual – the advice of the farmer who sold it to me.

IMG_4501

I couldn’t get over how cute these squashes are. I just envisioned Mike and myself sitting down with our individual squashes for a nice little personalized squash dinner.

Anyways, I can’t resist buying them as soon as they’re available and serving up personal patty pan squashes. They’re perfect.

The farmer’s market ingredients used in this dish are:

  • Patty pan squashes
  • Grape tomatoes
  • Yellow onion
  • Green bell peppers
  • Cayenne pepper
  • Garlic

IMG_4499

Preheat oven to 350F

What You Need:

  • 1 tbsp coconut oil (or cooking oil of your choice)
  • 1 cup farro seeds
  • 2 large or 4 small patty pan squashes
  • 1/2 pint cherry tomatoes, quartered
  • 2 cloves garlic, minced
  • 1 small yellow onion, diced
  • 1 bell pepper, chopped (green, yellow, red–doesn’t matter)
  • 1 tbsp cayenne pepper, finely chopped (or hot pepper or your choice) – Optional
  • 2 tbsp chopped walnuts or pecans
  • 1/4 cup shredded fresh parm
  • 2 cups canned diced tomatoes
  • 1/2 or 1 tbsp butter for each squash you’re making (amount depends on the size of the squashes) – Optional but highly recommended!

What You Do:

Rinse the cup of farro seeds and drain cloudy water. In a medium saucepan, bring the farro and 3 cups of water to a boil. Keep covered and lower heat. Simmer for about 15 minutes or until the seeds have fully expanded and taste slightly chewy (but not hard!)

At the same time, boil about an inch of water in a large pot. Add whole patty pan squashes and cover. The squashes will steam cook this way, and are ready when you can easily pierce them with a fork.

While the farro and squashes are cooking, heat coconut oil in a large skillet and add the minced garlic.

IMG_4491

After about 1 minute, add onion and gently stir until translucent. Then add green pepper and cayenne pepper and cook for about 5 minutes.

Once farro is done, combine with the onion mixture and stir thoroughly. Add cherry tomatoes and stir. Then add the walnuts or pecans and stir.

When the squashes are done, gently slice off just the tops. Then, use a spoon, melon baller or – like me – an ice cream scoop, to gently carve out the insides, being careful to remove all the seeds but not too much of the squash. It’ll be pretty watery, so feel free to just hold them upside down over the sink to drain them out.

IMG_4489       IMG_4493       IMG_4494

Now comes the fun part. Place the squashes in a baking dish and fill each squash with the farro mix, packing each spoonful down to fit as much as you can. I just let them overflow over the sides.

Next, top each squash with a butter patty, and then cover each squash with the diced tomatoes, and sprinkle the shredded parm on top.

Bake for about 10 minutes in the oven to get it hot and melt the cheese.

Then, just scoop out the squashes for everyone’s individual serving! It’ll be a hit!

IMG_4496


Pro Tip: Make this with quinoa! Coucous! Risotto! Other rices! Add meat! You can make it any way you want.

Black Bean, Chickpea and Zucchini Veggie Burgers with Curried-Honey Glazed Tri-Color Carrots

IMG_4054

There’s nothing better than a summer meal. Like really nothing at all. There’s just something about that wonderful smell wafting from the grill from flame-kissed summer veggies that makes every slow sunset better than the last.

I’m not going to lie, it’s super hard right now for me to do anything after work besides come home, throw on my apron, turn up my Spotify playlist, crack a bottle of wine and get to cooking. It doesn’t always work out that way, but tonight it did (sans the wine – trying to be responsible!)

IMG_4043

My longtime desire to create a veggie burger recipe that actually works on the grill without falling horribly apart has finally been realized, along with my longtime desire to cook tri-color carrots.

I know, small victories.

Anyways, on to the perfect summertime recipe.

IMG_4046What You Need:

For the burgers:

  • 2 cups panko
  • 1 can black beans
  • 1 can chickpeas (garbanzo beans)
  • 1 cup cooked quinoa
  • 1 medium zucchini, chopped
  • 1 egg
  • 2 tsp onion powder
  • 2 tsp pepper
  • 1 tbsp olive oil

For the carrots:

  • 1 bunch tri-colored carrots (I found mine at Trader Joes, but I KNOW they’ll have them at the farmer’s market eventually)
  • 1 tbsp curry powder
  • 3 tbsp honey

What You Do:

Cook the quinoa according to package directions. Set aside 1 cup of the cooked quinoa for this recipe and use the rest for whatever!

Mix the honey and the curry powder and brush over the carrots. Lay the carrots out on a large piece of lightly oiled tin foil. Wrap tightly and place on the top shelf of the grill. They’ll need about 45 minutes to an hour to cook fully, and they will be ready to eat when they’re very soft.

IMG_4050Drain and rinse the black beans and chickpeas.

In a food processor, load in the two cans of beans and the rest of the ingredients.

Pulse gently until the mixture is coarsely ground. If it seems too loose and won’t make burgers that feel fairly solid, add additional panko until the mixture is thicker and forms burgers without trouble and without globbing all over your hands (I have no better way to describe this).

Lay burgers out of a piece of lightly oiled foil and place on the grill. Let the burgers cook about 5 minutes on each side and flip them four times.

Toast your burger rolls of choice or just eat the burgers bun free! I topped them with ketchup and mescalin mix.

Pro Tip: Make these gluten-free by substituting the panko for a gluten-free bread of your choice (just chop it in the food processor ahead of time).

IMG_4055


Tomatillo Pizza

Pizza with tomato sauce? How about pizza with tomatillo sauce?

I’ve only ever used tomatillos to make salsa. That is, until I discovered that when you slice them and heat them in a pan, they reduce to a thick and sweet sauce that pairs perfectly with other veggies and – my favorite – goat cheese.

This sauce puts a fun spin on pizza. It makes it a little sweet but it’s definitely tasty and a really good summer pizza. I busted it out on a hot day for a pre-dinner appetizer and it was a hit!

IMG_3851

Preheat Oven to 350F-375F

What You Need to Make the Pizza Dough:

(Adapted from this recipe from my cooking idol Smitten Kitchen)

  • 1 1/2 cups flour (can replace up to half of this with whole wheat flour)
  • 1 teaspoon table salt
  • 3/4 teaspoon  active dry yeast
  • 1/2 cup lukewarm water (may need up to 1 or 2 tablespoons more)
  • 1 tablespoon olive oil
  • About 1-2 tablespoons whole flax seed. Gives the dough a little crunch and healthy boost!

What You Need to Make the Topping:

  • Pre-made or homemade pizza crust. If you make your own, I highly suggest using this recipe from my cooking idol Smitten Kitchen.
  • 6-8 medium tomatillos, shells peeled off and sliced into quarters
  • 1 medium red onion, sliced
  • 3-4 oz. of goat cheese
  • 1/4-1/2 cup of corn meal (to sprinkle on baking pan to bake the pizza on)

IMG_3853To Make the Pizza Dough:

Stir dry ingredients, including yeast, in a large bowl. Add the water and olive oil and stir until formed into a ball. Knead well and place in a well-greased bowl with a damp towel covering it for 1-2 hours until it has doubled in size.

Knead dough again to eliminate air pockets and place back in the bowl for 20-30 minutes. Roll out the dough and lift onto a pizza stone or pizza pan pre-sprinkled with cornmeal.

To Make the Topping:

Place the tomatillos into an oiled pan heated on medium. Cover and simmer until they reduce and thicken, stirring frequently.

While tomatillos are cooking, place sliced onions in an oiled pan on medium heat, cover and cook until caramelized.

Spread the tomatillo mixture across pizza like a sauce. Top with caramelized onions and goat cheese and bake for 10-12 minutes depending on the thickness of your dough.

Pro Tip: Along with the flax seed, add fresh basil or dill to the pizza dough to give it a little kick and a little more of that summer flavor!

Vegetarian Quesadillas with Beans and Corn

This is truly a quick dinner dish. Perfect for those nights when you’ve worked late and have no desire to cook anything, but have no leftovers in the fridge and no appetite for Annie’s Mac (which is generally my go-to for nights like this).

001

I went straight for the cupboard for this dinner, pulling out a can of corn and a can of pinto beans. Luckily, this is one of those dinners that you can make with pretty much anything you find around your kitchen.

I made one for me and one for Mike because I wanted mine to be super spicy. It took about 40 minutes total and really hit the spot!

Preheat the oven to 350F

006What You Need:

  • Wraps (I used 4 Joseph’s Omega 3 wraps)
  • Freshly grated cheese of your choice (I used cheddar)
  • 1 can of corn
  • 1 can of beans of your choice
  • Chopped jalapeno or serrano pepper (optional)
  • 1 avocado
  • Jar of salsa (I used a spicy corn salsa)
  • Sour Cream (optional)

What You Do:

Drain the corn and beans in a strainer and combine. Add a teaspoon of salt and pepper if desired.

Sprinkle shredded cheese on one half of the wrap OR on one whole side of one wrap. Then sprinkle the corn and bean mixture on top. Add chopped hot pepper if desired.

Sprinkle more shredded cheese on top and fold the wrap over to cover it OR place another wrap over it.

Place in the oven and bake until cheese is melted and the wrap is toasty.

To dress, add salsa and avocado or – to be “fancy”, mash the avocado and blend with some salsa for a quick and easy not-quite-guacamole.

Add a side salad if desired and you’re good to go!003


Pro-Tip: Add chicken if you want! Also, you will probably have leftover corn and beans, so use the mixture to top a salad!


Gluten Free and Vegetarian Polenta Pizza

It’s apparently polenta week! Maybe I’m feeling inspired by corn? More realistically, I accidentally bought a brand new bag of cornmeal, not realizing I had not one, but two, already at home.

So bring on the cornmeal recipes!

Don’t worry, I won’t bombard you. But I’m pretty excited to experiment with it because I’ve only ever used it for sprinkling beneath a pizza crust so it won’t stick to the pan.

Speaking of pizza…

photo 5


What You Need to Make the Crust:

  • 1 cup cornmeal plus a little extra to line the pan
  • 1 1/2 cups water
  • 3/4 cup milk (I used almond – any kind of dairy-free milk would work too)
  • 1 tbsp olive oil

What You Need for Toppings:

So obviously you can use whatever you want for toppings, and I definitely plan to make this again and switch out the spinach for basil – yum!

  • Thinly sliced tomato
  • Spinach leaves
  • Thinly sliced summer and zucchini squash
  • Mozzarella cheese (grated or sliced)
  • 1 cup balsamic vinegar

What You Do:

Preheat your oven to 375F

Boil the water and milk in a medium pot. When it begins to boil, slowly add the cornmeal while simultaneously (as much as possible anyways) turning the heat down to a slow boil.

Stir well to avoid clumping. If it clumps try to just break them apart. Then cover and let simmer for about 15 minutes until it becomes thicker.

photo 1 (2)Add olive oil. Stir until thickened. I had to add a bit more cornmeal to make the polenta more of a pizza dough consistency.

While this is going on, sprinkle some cornmeal on your pizza stone or pan.

Once the polenta starts moving in a pizza-dough-type ball, remove from the pot. Spread slowly and evenly over the pizza stone or pan until 1/4 inch thick with no rips or holes.

I put the whole thing in the fridge for about half an hour to help it solidify more, but I have a hunch you could skip this step.

After I took it out of the fridge, I put it in the oven, topping-free, for about 15 minutes to burn off any excess water.

Then, it was time for the toppings! Pile them on, then bake for 12-15 minutes!

While it’s baking, make your balsamic reduction by slow boiling the balsamic vinegar. This takes 15-20 minutes. It will become syrupy, and you can test the progress by letting it drip off a spoon. Watch it closely once the level gets low because it will burn if you don’t remove it from the heat as soon as it fully reduces and becomes syrupy.

Drizzle it over the finished pizza and you’re done!

photo 3

Pro Tip: Unlike real pizza, this one doesn’t taste too awesome straight out of the fridge the day after. Heat this up in a toaster oven or conventional oven if you can! Microwaving would probably be ok too!


Potato, Leek and Kale Soup

So Mike has bronchitis. He’s not thrilled, for obvious reasons, but also because he’s been sick straight through some of the nicest days we’ve had in months.

The sun is out, the temperatures are steadily warming up, and there are legitimate flowers growing in our yard. It’s amazing! And on nights like we’ve been having, I naturally gravitate toward the grill. Except when my husband is sick. On nights like THAT, I gravitate toward soup.

Leek Soup (8)

There’s been a leek in our fridge for more than a week, and unlike my interaction with most vegetables, I was kind of stumped on how to use it, and had forgotten why I bought it in the first place.

I know when people are sick, chicken noodle soup is the natural go-to, but I decided to switch it up and make a creamy potato leek soup – completely vegetarian, and completely daily and gluten free.

Leek Soup (1)

What You Need:

  • One large leek, top layer and leaves removed, sliced
  • 4-5 small to medium yellow potatoes, quartered (you can peel them if you want – I didn’t)
  • 3 cloves garlic, chopped
  • 1/2 yellow onion, roughly chopped
  • 3-4 cups kale, chopped
  • 3 cups vegetable broth (I got mine this way)
  • 1/3 cup almond or soy milk
  • 2 tbsp olive oil
  • 1 tbsp ground black pepper

What You Do: Leek Soup (5)

Fill a large saucepan halfway with water and bring to a boil. Add the potatoes and cook at a slow boil for about 30 minutes or until soft.

Drain the potatoes into a strainer and set aside.

Leek Soup (2) In the same saucepan, heat oil on medium. Add sliced l  leeks, chopped onion and chopped garlic and simmer for  about 20 minutes. Add the chopped kale about halfway  through (after about 10 minutes) and simmer all until soft  and kale has reduced.

Add the potatoes and stir. Then add the vegetable broth  and bring the mixture to a slow boil.

Add the black pepper and stir. Remove from heat.

Pour the mixture into a food processor. If you like your soup chunkier like I do, pulse  until just blended. If you want a smoother soup, blend for longer until creamy.

Add the soup back into the saucepan. Add the almond or soy milk (or any milk of your choice) and stir.

It’s ready to serve!

Leek Soup (10)


Pro Tip: Make this soup a little spicy (you know I did) by adding a hot pepper of your choice into the mixture, or simply sprinkling some crushed red pepper on the soup once it’s ready to serve.

Healthy and Easy Quinoa Stuffed Poblano Peppers

Peppers4

Well, life got in the way of cooking for awhile but I’m back! I’ve been training pretty hard for my 20 mile race (which was May 29), so our dinners were mostly pasta, pizza, tacos or pb&j, and about as simplified as possible so I could go to bed at a reasonable hour. But I’m happy to report I beat my 2013 finish by 12 minutes and ran it 40 seconds faster per mile. It was such a good feeling when I finished, especially because the weather was terrible all day – just super rainy and cold. What a relief to be done!

1606281_10101050435251241_747843892_o

Approaching the finish line!

I feel like I owe some of my success to a massive carbo-load the night before the race. I inhaled more bread and pretzel in one sitting than ever before and it was really fun! But I was craving a real, home-cooked and healthy meal by the time my body was done recovering from the race, so I made the best recipe I could think of to deliver on all those cravings with as minimal time on my feet in the kitchen as possible.

That’s how we ended up with quinoa stuffed poblano peppers. I love this dish because it’s really easy and always delicious, and poblanos have a great taste – sweet with a little spicy kick.


Peppers3

I used 4 medium-sized poblano peppers. One stuffed pepper is more than enough for a single serving meal – even for Mike – and the leftovers are just as tasty reheated a day (or two or three!) after.

Preheat oven to 375F

Peppers2

What You Need

  • Poblano peppers (any number you want/need)
  • 1 cup quinoa
  • 1 sweet onion, chopped
  • 1 jalapeno, chopped (optional)
  • 2 cloves garlic, minced
  • 1 jar sun-dried tomatoes, drained of oil and chopped
  • 1 jar tomato sauce (I made my own tomato sauce using this recipe)
  • About 1 cup Parmesan cheese

What You Do

Slice off the stem end of the poblanos, being careful not to take off too much of the pepper itself. Empty out the insides and seeds using your fingers.

Place the poblanos on a sheetpan lined with parchment paper and bake them in the oven for about 15 minutes or until the skin starts to pinch. (Leave the oven on when the peppers are done – you need to bake them again at the same temperature once they’re stuffed)

While the peppers are baking, cook your quinoa according to package directions. I boiled 2 cups of water and added one cup of quinoa, and simmered, covered, until the water was gone. Obviously if you’re stuffing more than 4 peppers, you might want to make more quinoa.

While the quinoa is cooking, put a tablespoon of olive oil in a pan and heat the onions, jalapeno and garlic for about 5 minutes or until the onions become translucent and soft.

Stir the onion mixture into the quinoa until combined. Peppers

In a large bowl, mix the sun-dried tomatoes with the tomato sauce.

Stuff your slightly baked peppers with the quinoa mixture. Lay extra quinoa on the bottom of the baking dish like a bed for the peppers. Place the stuffed peppers on their bed and cover with tomato sauce. Sprinkle with parmesan cheese.

Bake at 375F for about 20 minutes.

Serve with additional cheese on top if you want. I love my cheese!


Pro Tip: You can really stuff quite a bit of the quinoa mixture into these peppers! Gently tap the bottom end of the pepper on the palm of your hand or a dish to pack down the quinoa. Once you near the top of the pepper with stuffing, push the quinoa down with your spoon for more room.

Peppers5