Sweet Dumpling Squash Fritters

A few years ago, groggy from a raucous New Years Eve celebration the night before, Mike and I embarked on a fairly involved breakfast of zucchini fritters and pancakes, a cooking endeavor I can only attribute to having been younger and therefore more motivated than we should have been.

IMG_0065

We had followed this recipe, from my all-time favorite cooking blogger, and it was absolutely perfect. We devoured every last fritter (and quite possibly went back to bed after).

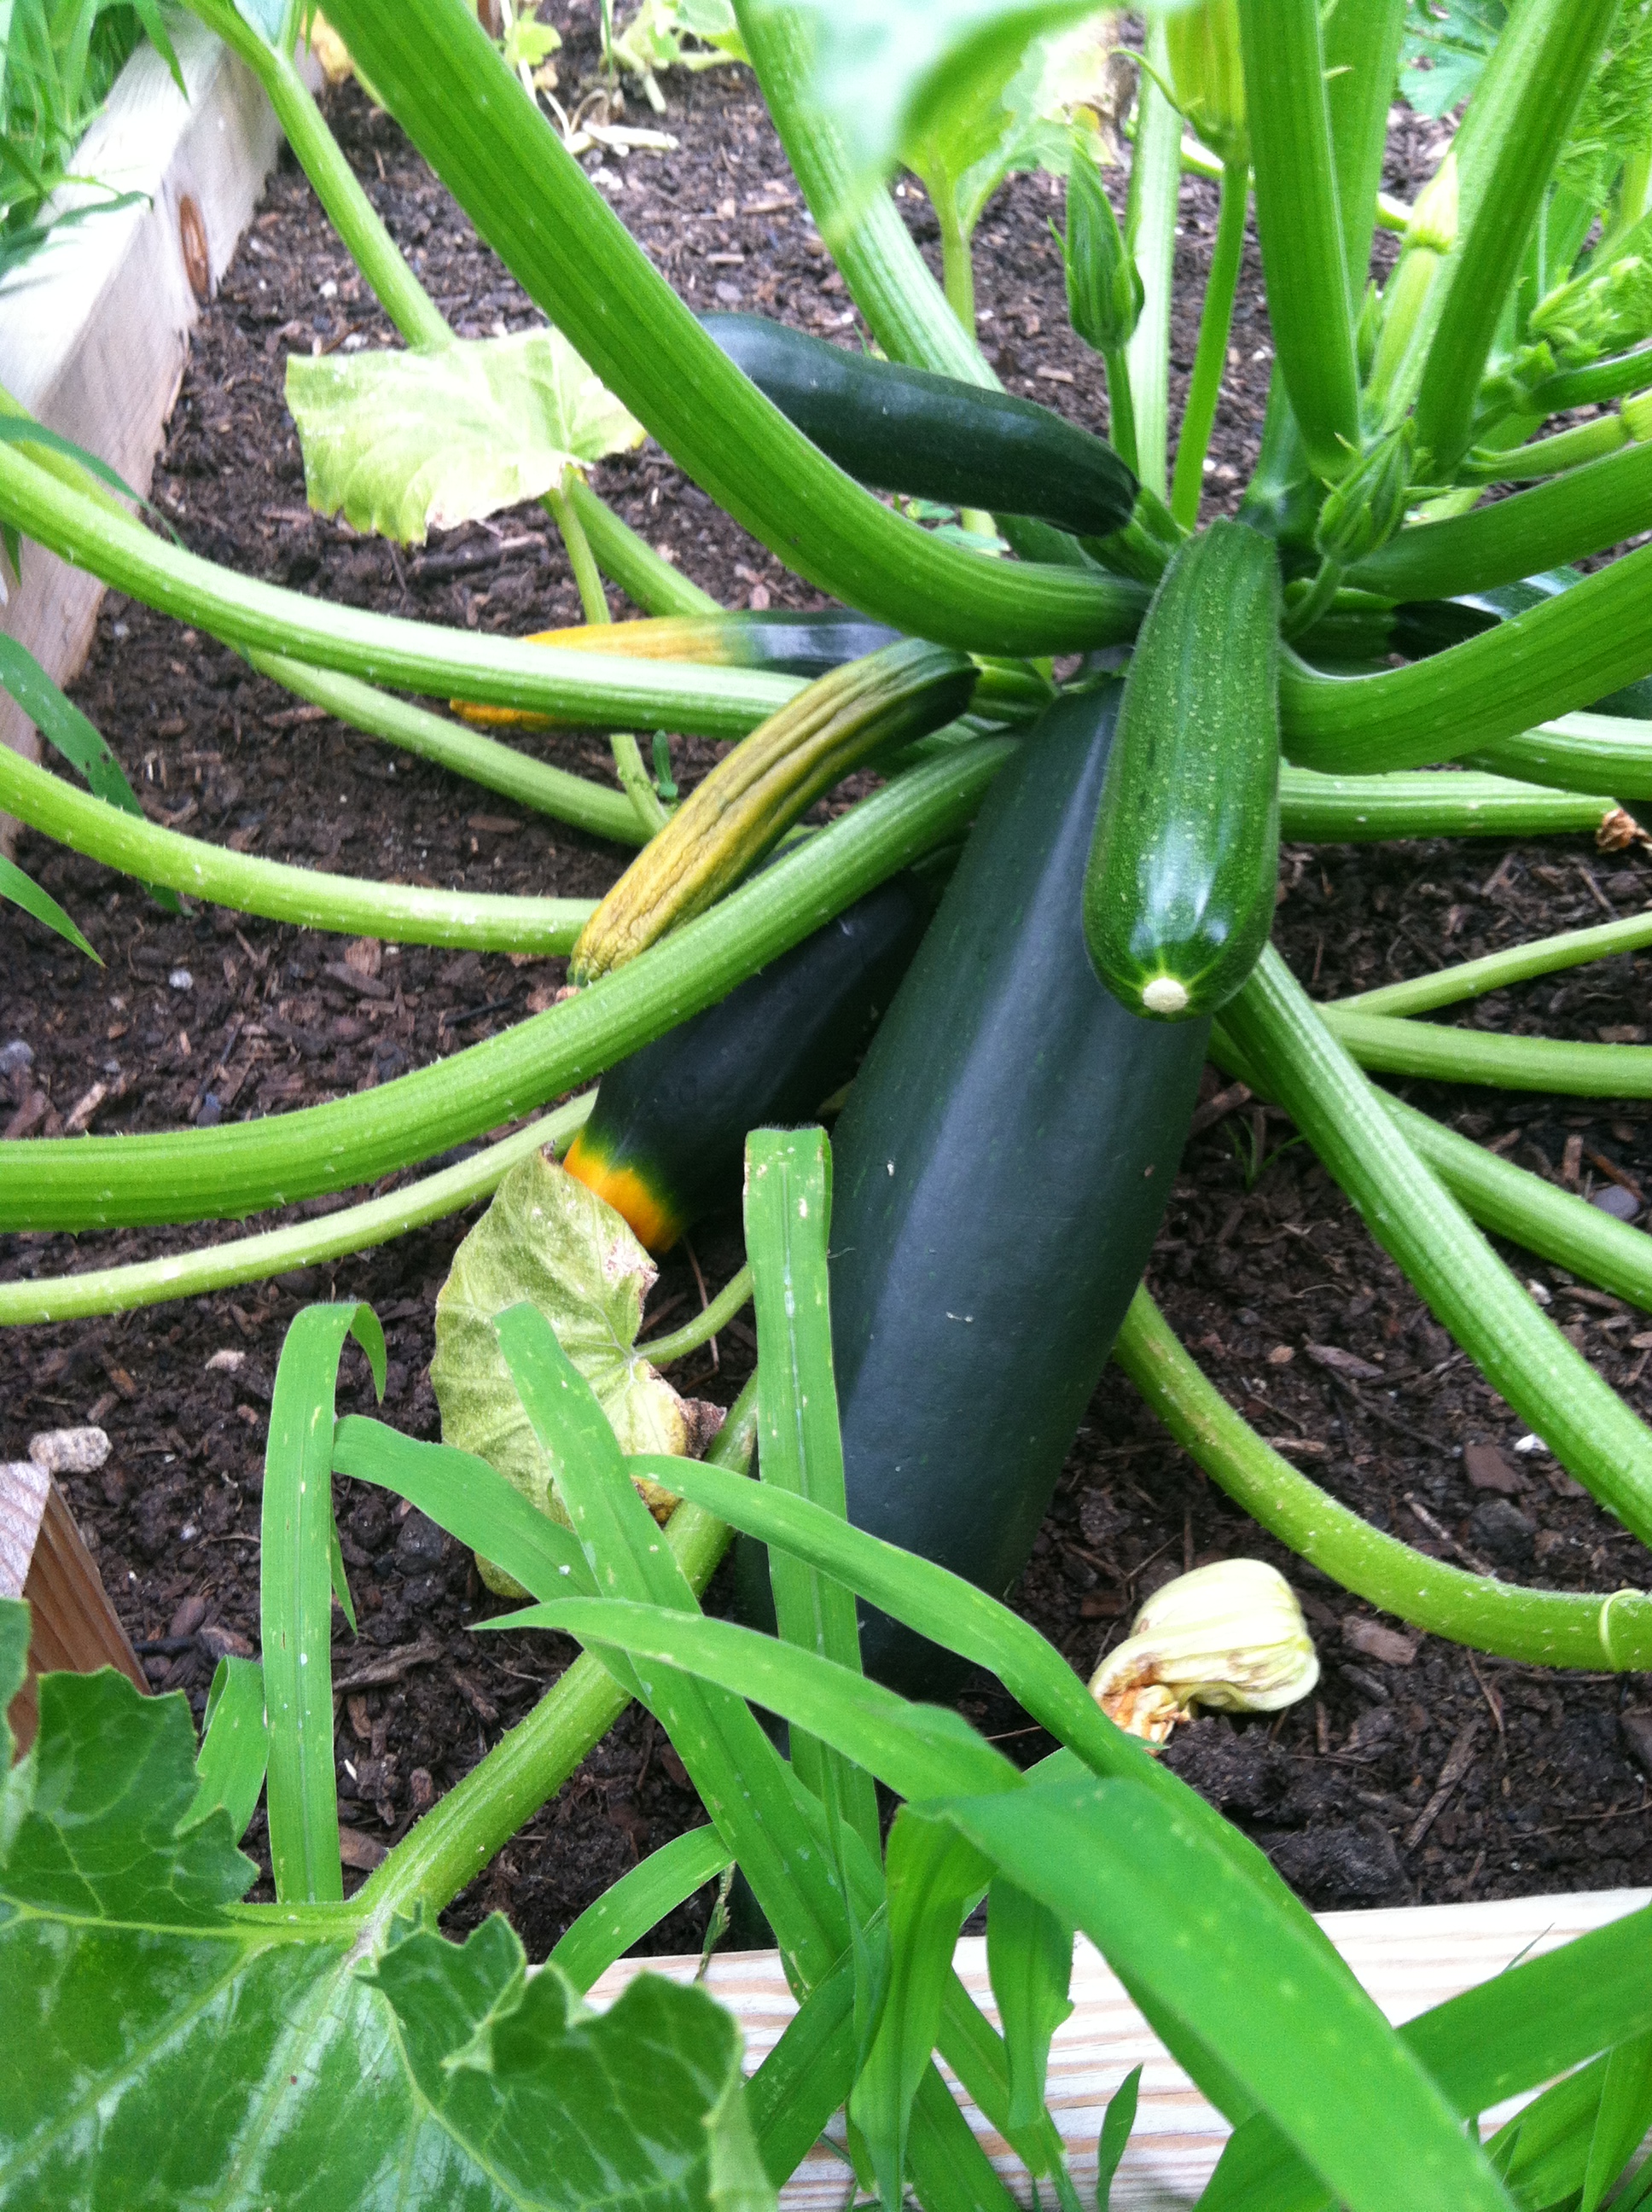
Since I went through this summer’s zucchini bumper crop without making one single fritter (the horror!!) I HAD to make up for it.

Enter: the Sweet Dumpling Squash.

IMG_0047

These beauties are delish – a bit sweeter than other squashes, and such a cute size! Having bought four from the farm without any major plans for them, I seized the chance to replicate those New Year’s Day fritters in a slightly different way.

IMG_0060

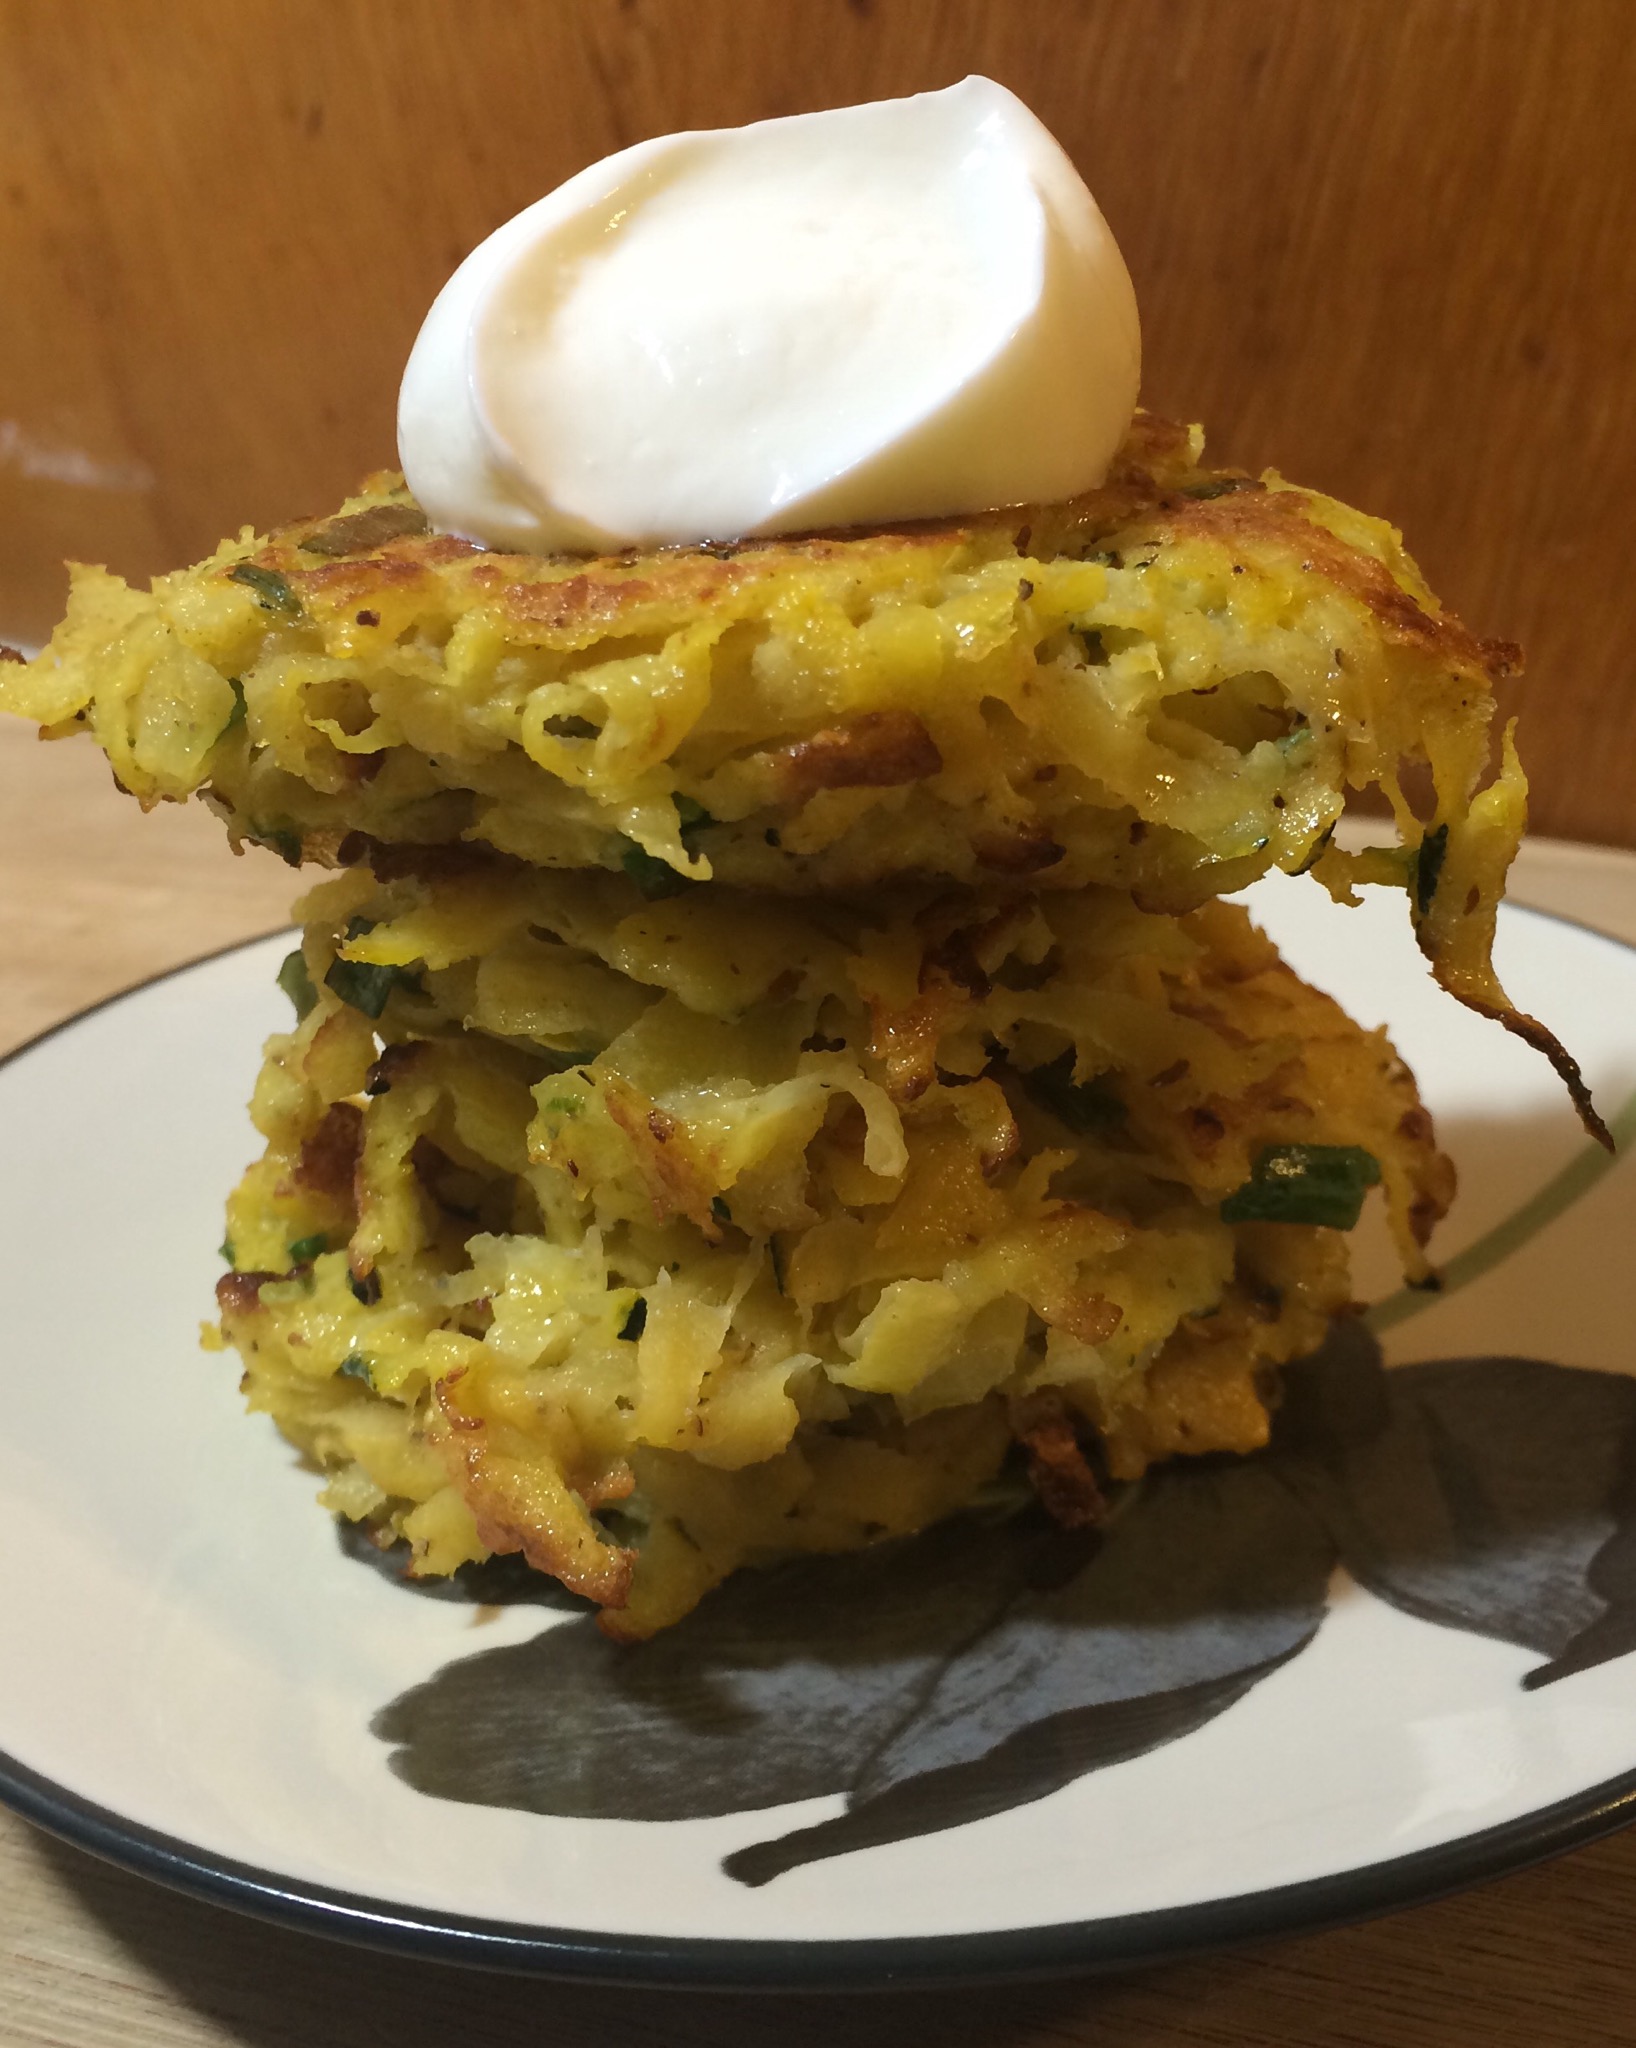
This is a super-simple dish that works as an appetizer or as a side-dish with dinner. I served each fritter with a dollop of plain Greek yogurt on top, alongside oven-roasted BBQ chicken and sweet potatoes.

What You Need:

Squash Chicken (32)

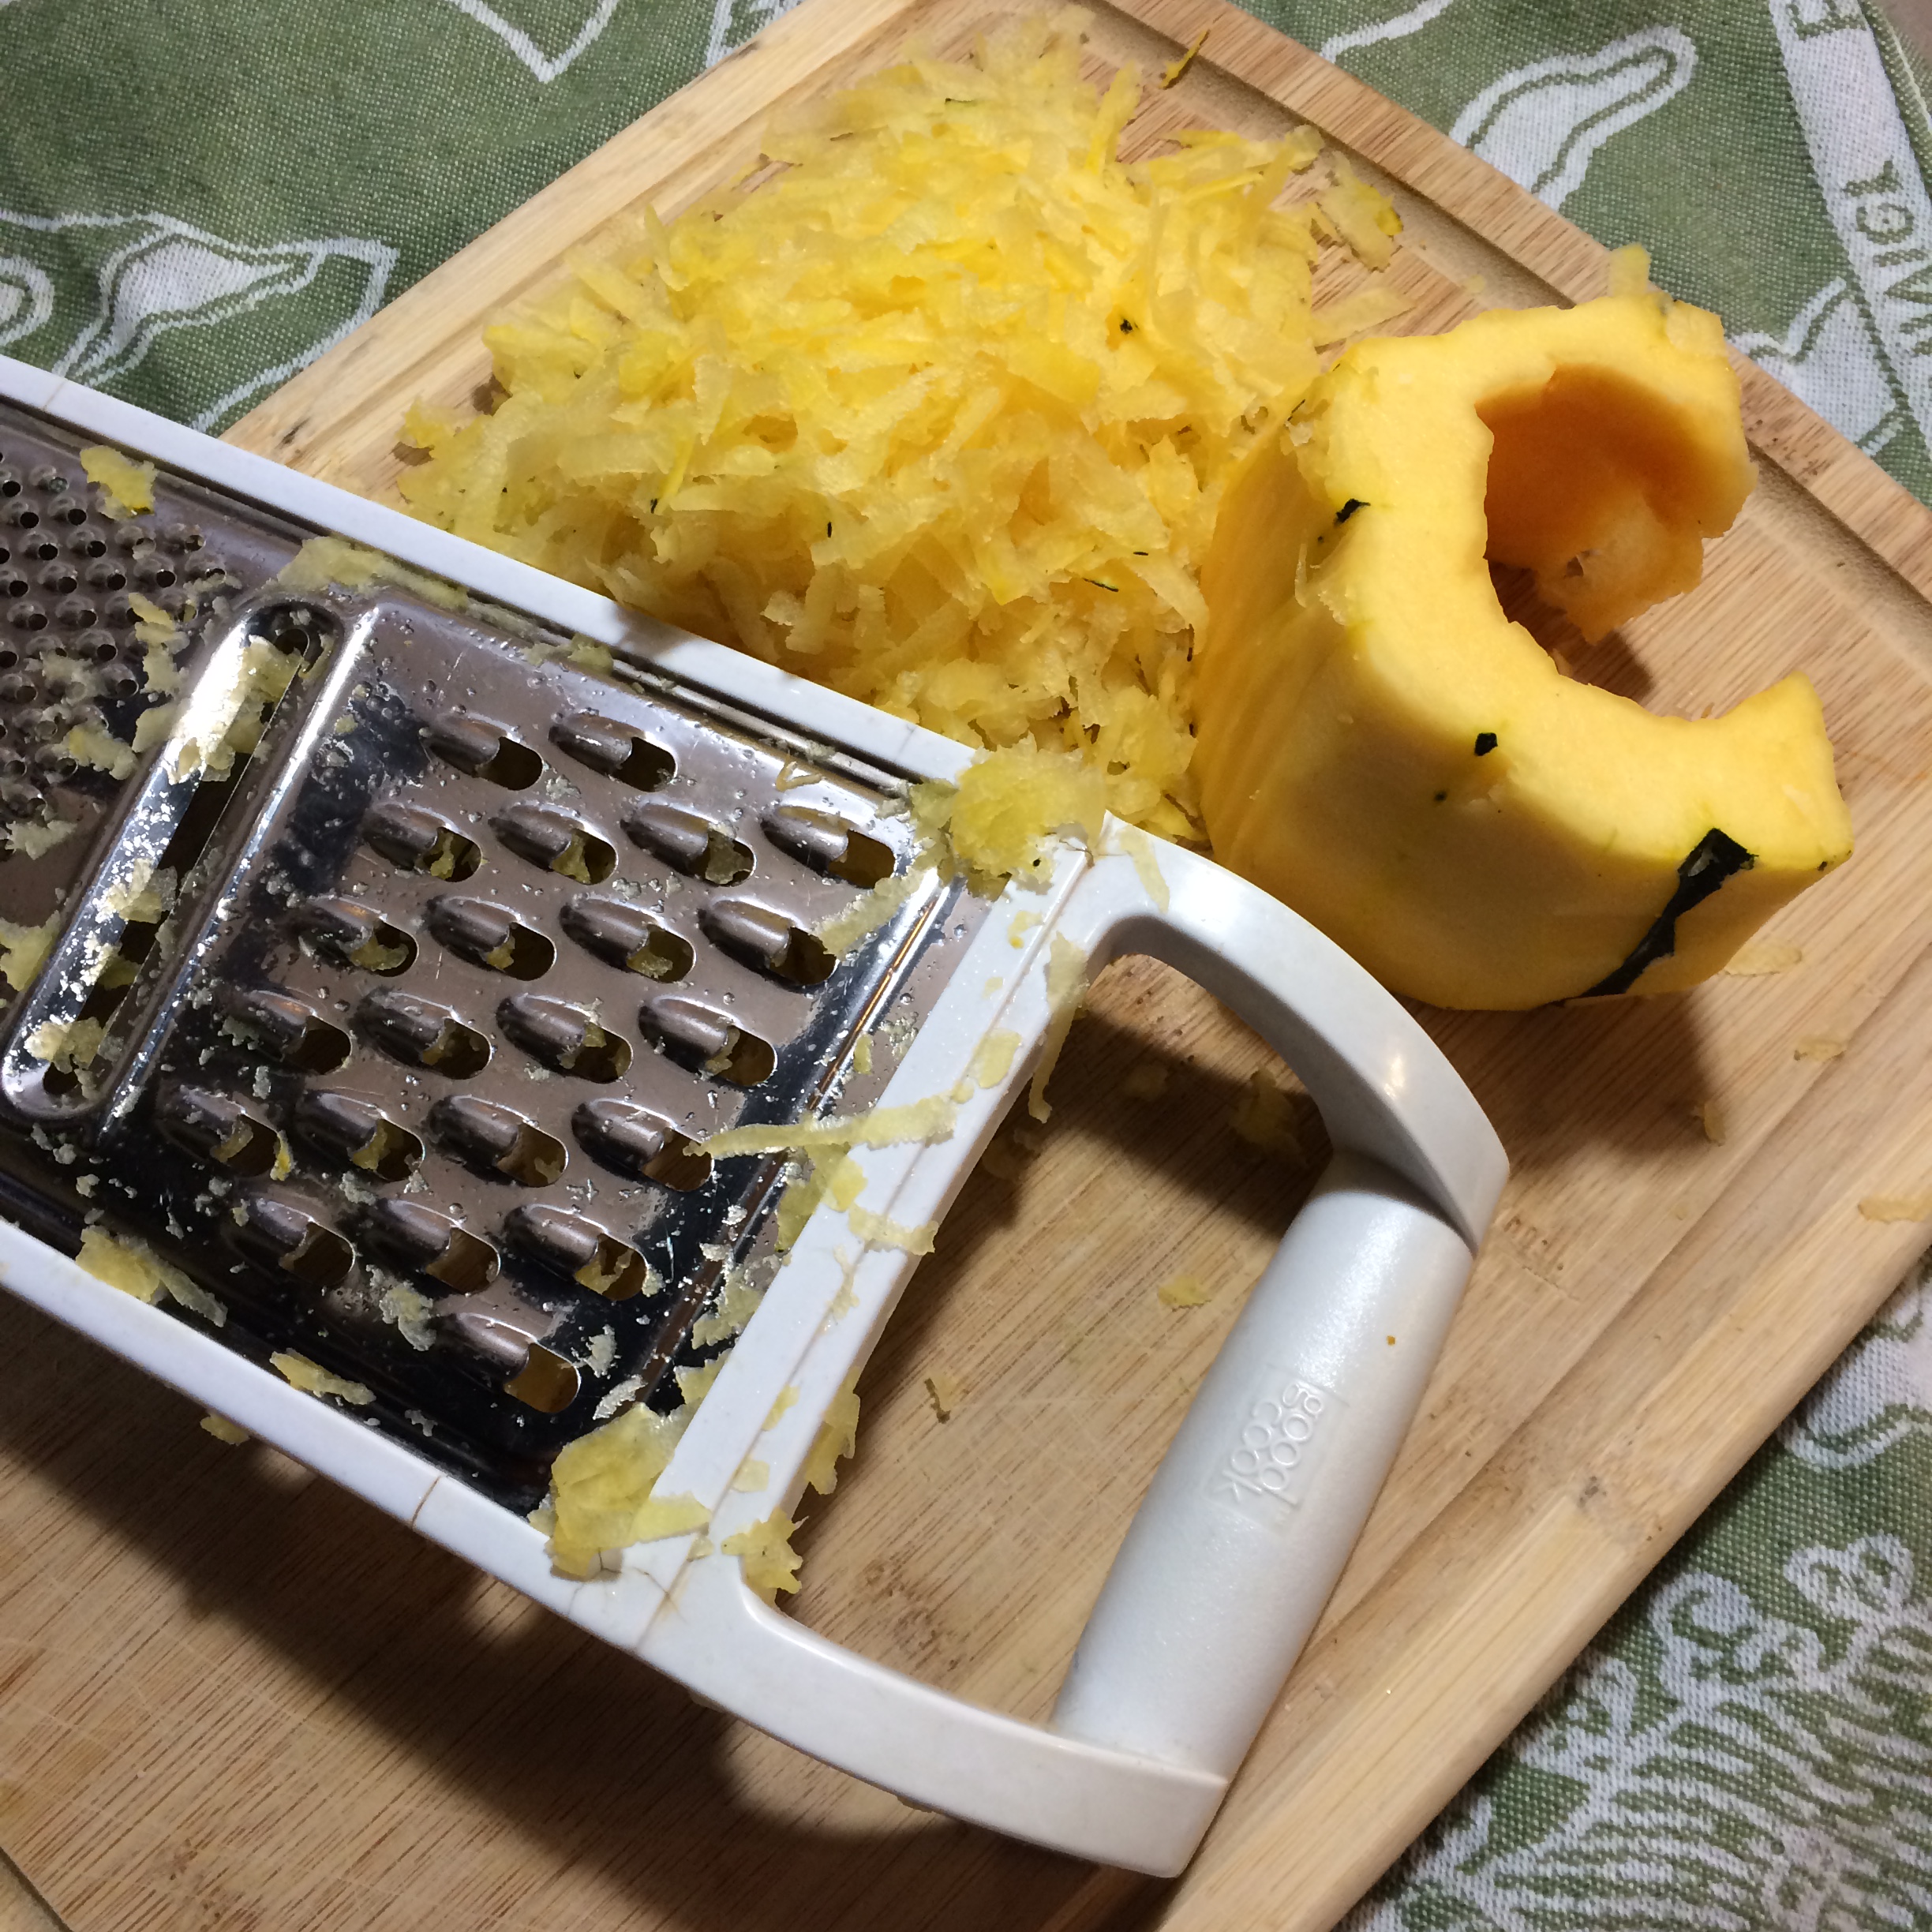
  •  2 Sweet Dumpling squashes, skin peeled, seeds scooped out, grated by hand (about 3 cups grated squash. More detail below)
  • 1/2 cup fresh chives, diced
  • 2 tsp freshly ground pepper
  • 1 tsp salt
  • 1 tbsp ground flax seed (substitute this with chia or hemp seeds – whatever you like)
  • 1 egg
  • 1/4 cup flour (gluten-free flour works totally fine)
  • Coconut oil (at least 3 tbsp but you might find you need more)
  • Plain Greek yogurt for dollops on top


What You Do:

Slice the tops and bottoms off the squashes and discard. Gently cut a circle around the inside perimeter of the squash, leaving about 1 1/2 inches between the skin and where you’re cutting. The circle you cut should loosen and easily pull away from the seeds and out, exposing the inside.

Squash Chicken (23)

Scoop out the seeds with a spoon. Then, with a sharp knife, gently slice off the outer skin. This doesn’t have to be a perfect job because the skin is actually edible. I just got as much as I could but left it in the grooves where it wouldn’t readily slice off.

Using a hand or box grater, grate the squash until it’s mostly used up (you won’t be able to grate the entire thing, but get as much as you can).

Squash Chicken (24)

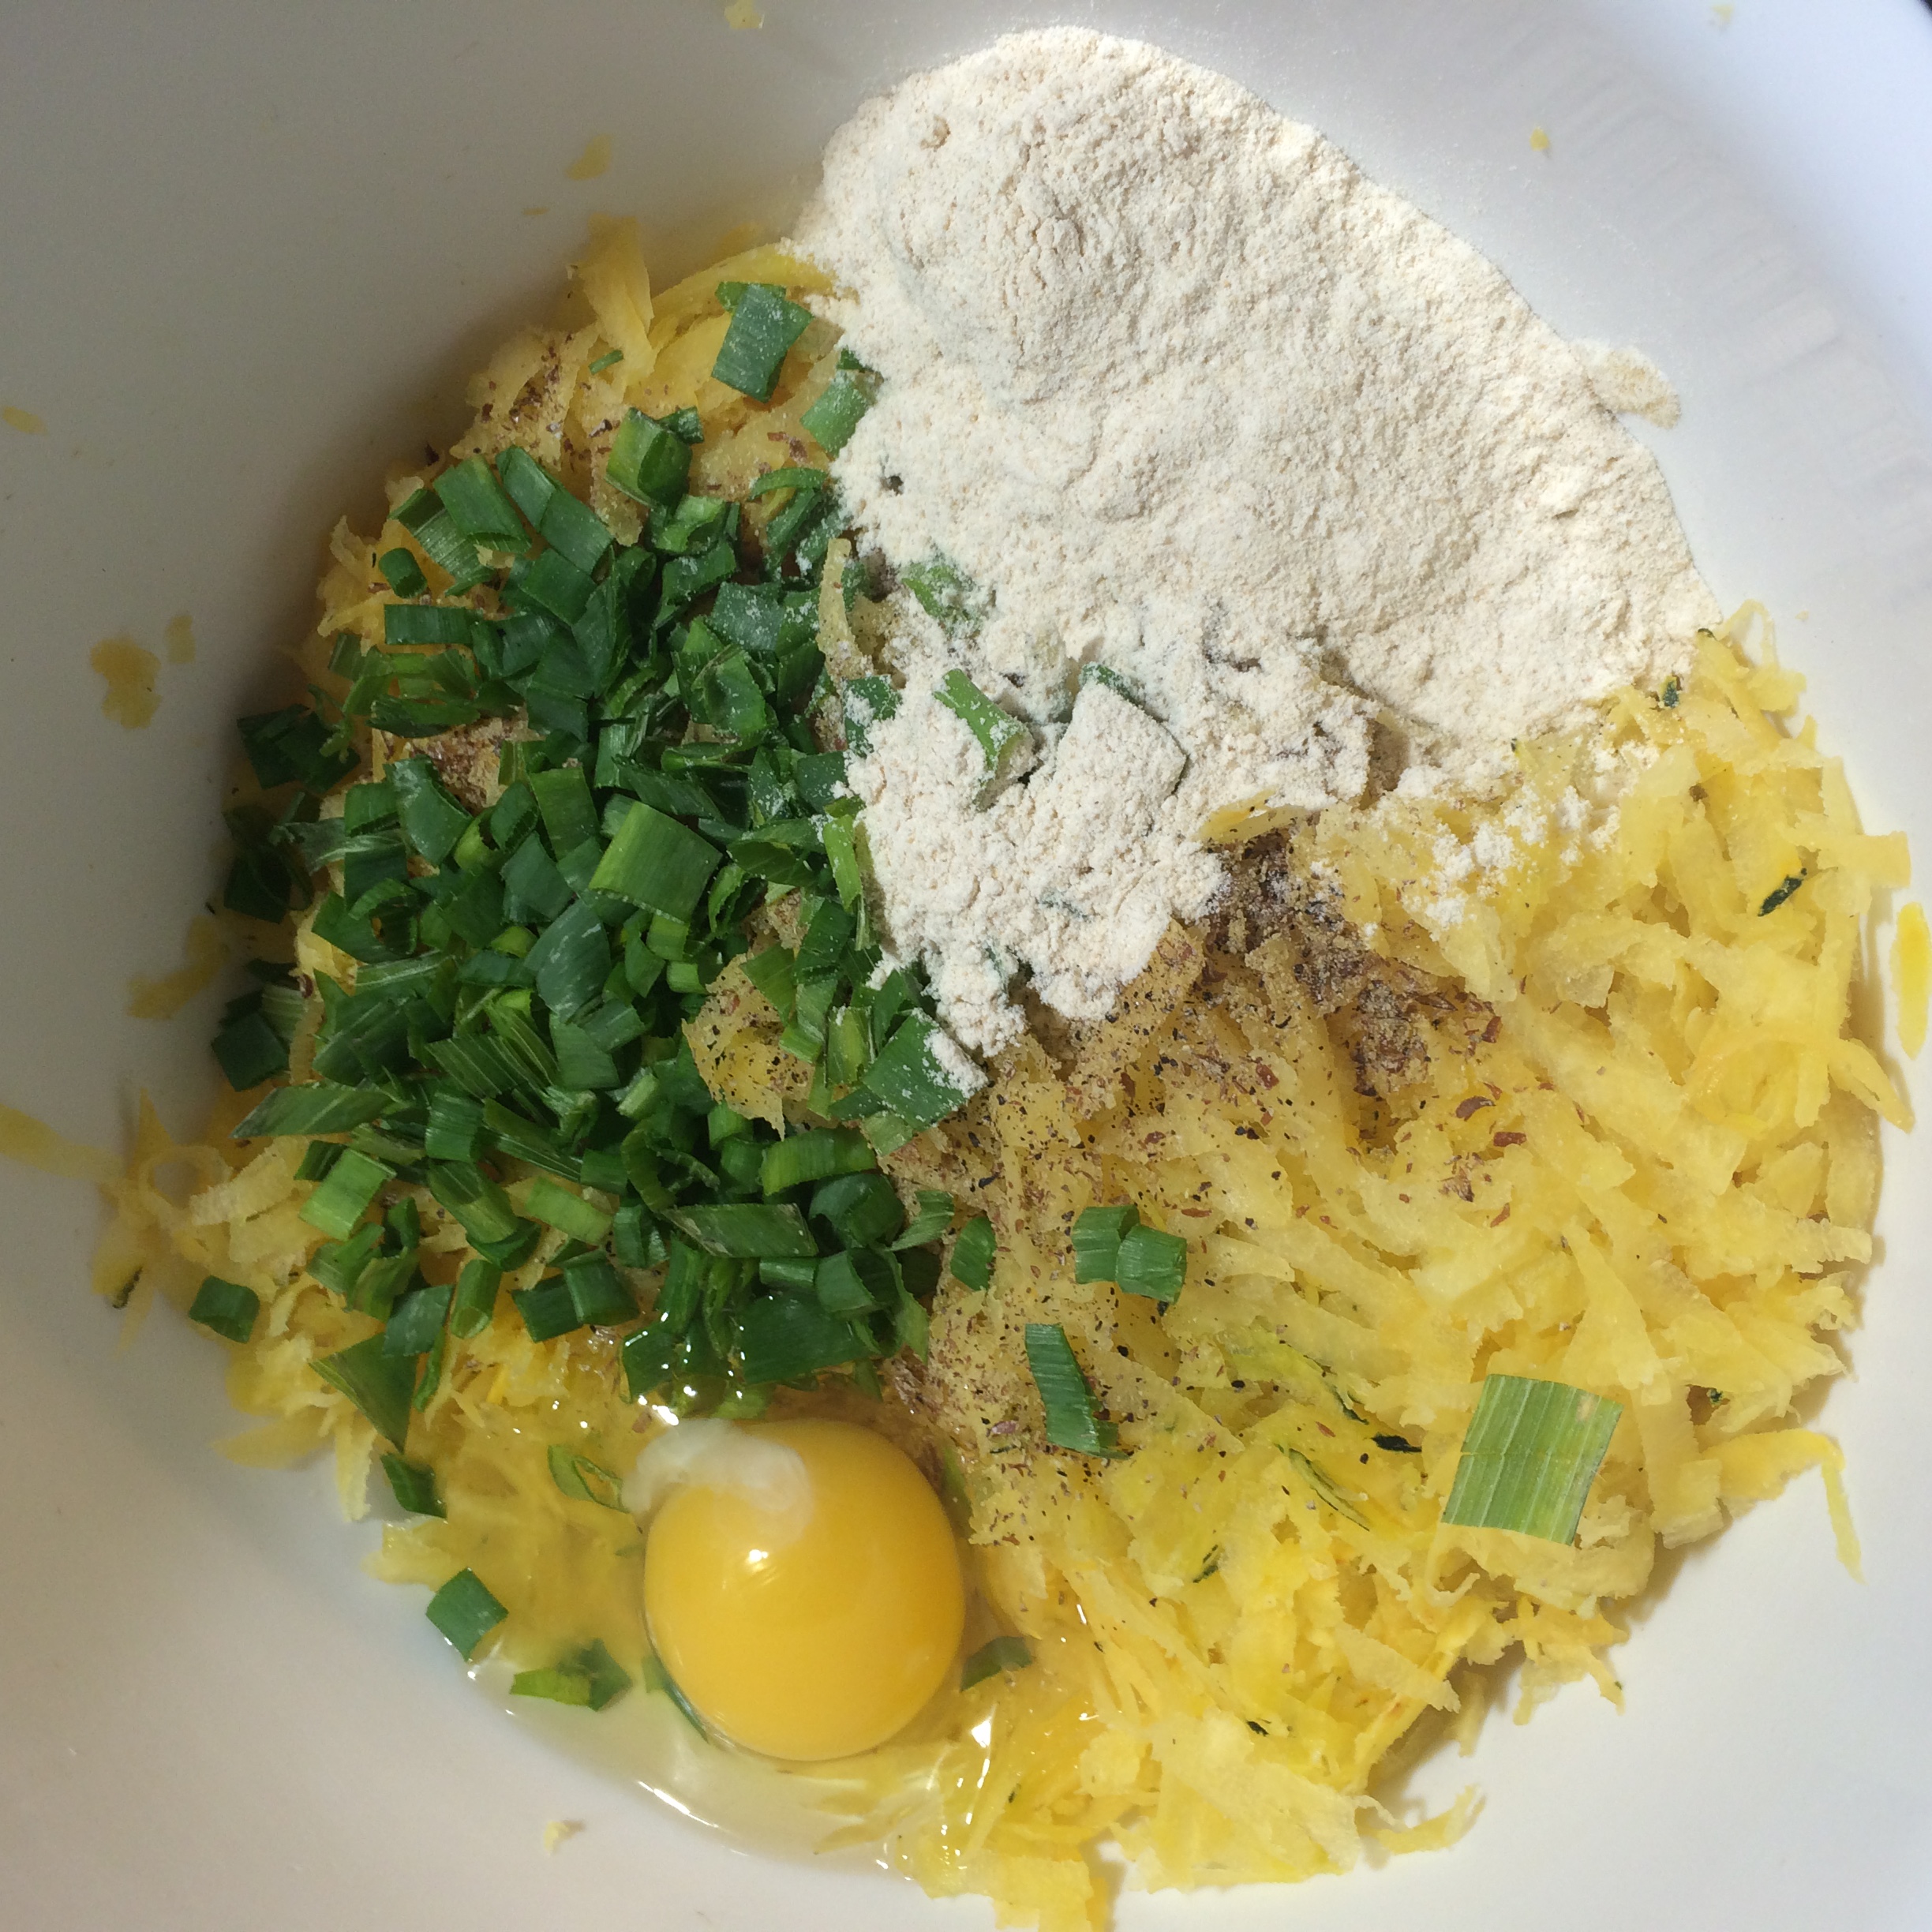
Place the grated squash in a large mixing bowl. Add the chives, pepper, salt, flax seed, egg and flour, and stir well.

In a large pan on medium heat, add a tbsp of coconut oil.

Squash Chicken (36)

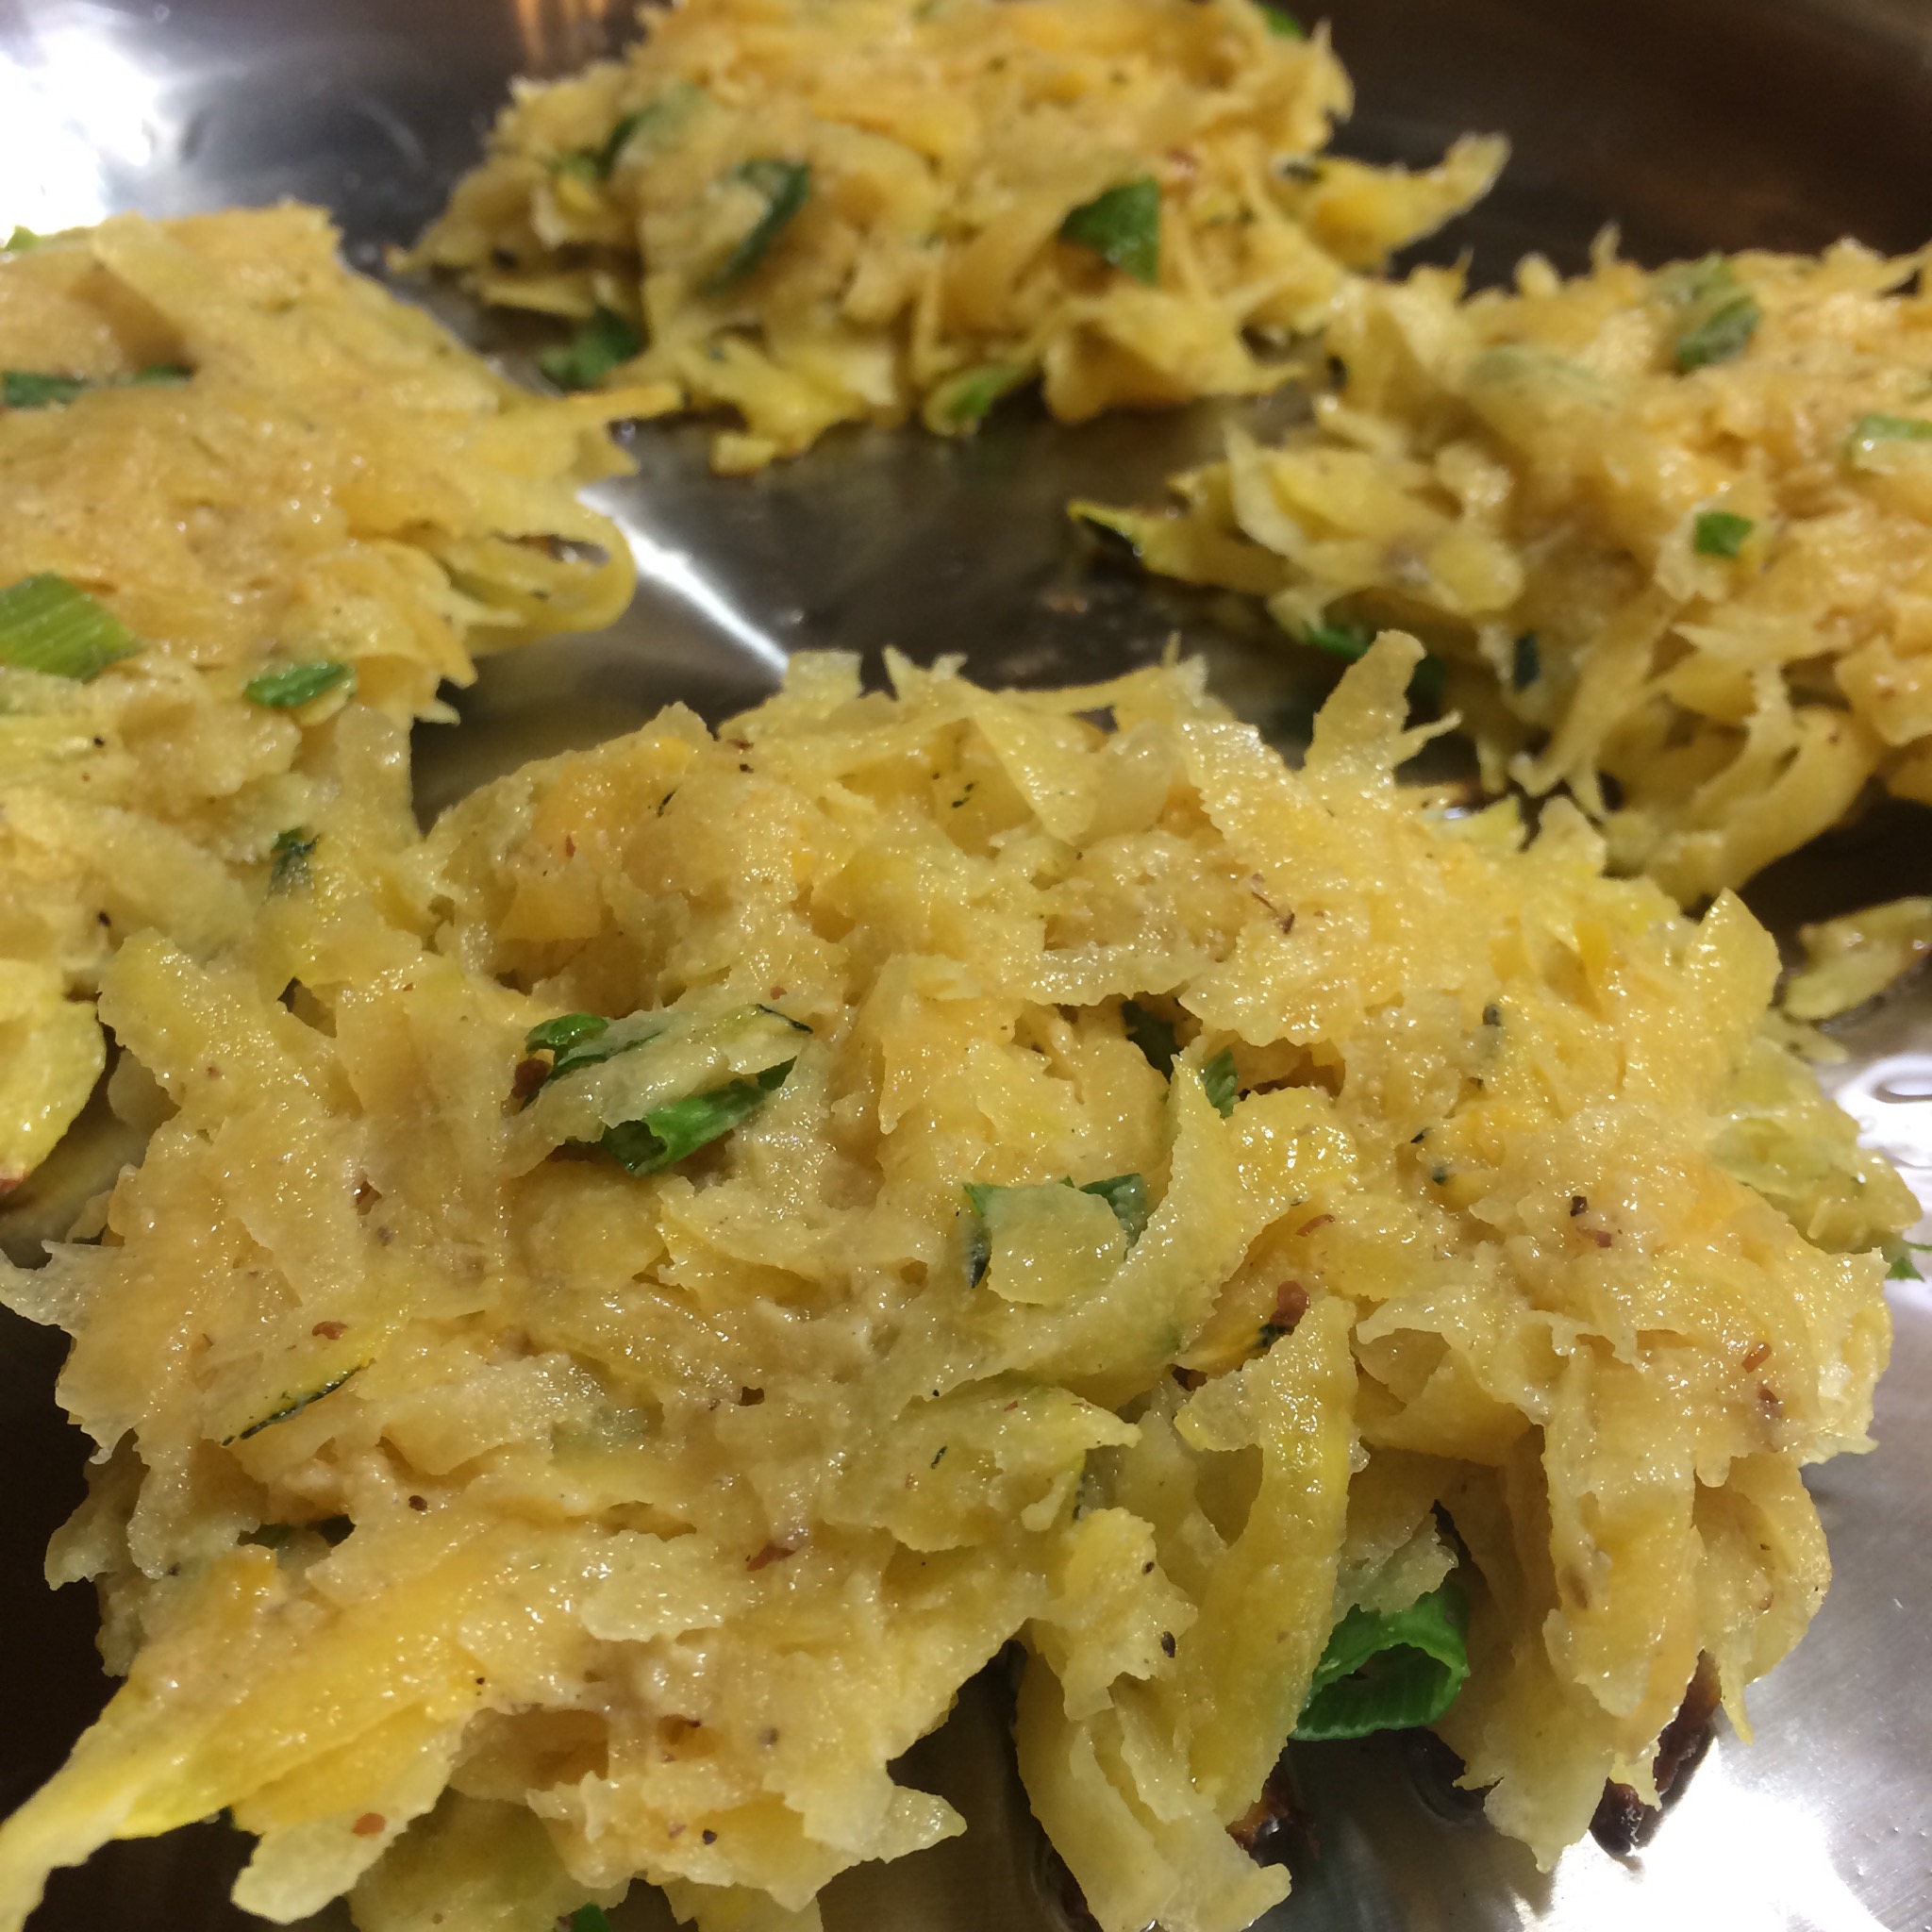
Form the squash mixture into small, flat patties and place them in the pan. They should sizzle in the oil once it’s properly heated.

Give each side of the fritters a few minutes to cook, lifting them periodically when a spatula to ensure they don’t burn.

You want the fritters to have a nice, golden brown coloring. The longer each side cooks (without burning) the crispier and more held-together they will be.

This recipe should make 8-10 fritters. Add a tbsp of coconut oil each time you add new patties to the pan, and add additional oil if the pan begins to look dry or the patties start to burn.

Serve hot with a dollop of Greek yogurt or sour cream on top.

Pro Tip: Any type of squash will work with this recipe. I like Sweet Dumpling because of their sweeter taste, and because the skin is edible, but Acorn or Butternut squash are good substitutes in a pinch.

Squash Chicken (37)


Advertisement

Ratatouille with Coconut Curry Sauce

I feel bad calling myself a cooking enthusiast since I had not even heard of ratatouille until I saw the Disney movie. After seeing a rat prepare it, I thought, “I could do that.”

Coconut Curry Ratattoile (12)

But then, a lot of time went by. (A LOT of time. I just checked, and that movie was released in 2007 – yikes!)

So seven years later, I got my act together and made a decision to prepare this undoubtedly delicious meal for my in-laws, who were visiting from New York. I learned the basic gist of the recipe, and I was only feeling a little apprehensive about being able to pull it off.

But then, I was totally sidelined. The power of suggestion is absurdly effective. One second, I am happily going about my day thinking about trees and flowers (not really, just trying to make a point here), and the next, I see a commercial for pizza and suddenly, that is ALL I WANT.

As I was preparing for ratatouille-making, a friend happened to mention having had a delicious coconut curry dish at lunch.

Well. I’ll be damned. I LOVE coconut curry.

Coconut Curry Ratattoile (14)

So, since I was already feeling overwhelmed by the recipe, I made an effortless decision to swap out the sauce for a coconut curry tomato sauce.

I’ll tell you – it was an amazing decision. This dish does not disappoint, and was a hit with my in-laws (at least that’s what they told me) 🙂

Quick Disclaimer: If you don’t own a mandolin, this recipe is still possible to make – it just might drive you crazy. Make sure you have a sharp knife, at the very least!

Coconut Curry Ratattoile (13)

What You Need for the Ratatouille:

  • 1 medium zucchini squash, ends cut off
  • 1 medium summer squash, ends cut off
  • 1 large tomato
  • 1 each red bell pepper, green bell pepper and yellow bell pepper, tops cut off and de-seeded but still bell-shaped
  • 2 cups dry Jasmine or white rice

What You Need for the Coconut Curry Sauce:

  • 1 tbsp olive oil
  • 1 medium onion, diced
  • 1 clove garlic, minced
  • 1 jalepeno, minced (seeded if desired)
  • 1/2 tbsp fresh ginger, minced (powdered ginger will also work fine)
  • 1 1/2 tbsp curry powder
  • 1 28-ounce can diced tomatoes and their juices (this is equal to 3 1/2 cups diced tomatoes if you wish to stay away from canned foods)
  • 1 14-ounce can unsweetened coconut milk
  • 1 tsp sugar
  • salt and pepper to taste

Coconut Curry Ratattoile (3)

What You Do:

Preheat oven to 400F

In a large wok or skillet, pour in the olive oil and lightly simmer the onion, garlic, jalepeno and fresh ginger until soft. (If you only have powdered ginger, add it later).

Add the tomatoes and curry powder (also add ginger powder if using).  Turn heat up to bring to a slight boil and stir well.

Add the coconut milk and sugar, stirring well. Reduce heat to a simmer and cook for about 5 minutes.

Set aside, but keep warm on low heat.

Using a mandolin, thinly slice all of your vegetables. As I said, if you don’t have a mandolin, you can get away with cutting everything by hand. Try to make very thinly-sliced pieces. Thicker pieces really only impact how long the dish will take to cook.

Layer the vegetables in alternating order along the bottom of a large baking dish or dutch oven. Each time you complete a layer, spoon about 1 cup of the still-hot coconut curry tomato sauce over the veggies.

Continue layering and alternately pouring with sauce until the veggies have been used up. Depending on the size of your baking dish, you may find you have vegetables left over. This is ok! They make great snacks, after all!

Pour remaining sauce over the top, gently poking apart the vegetables to let it seep through.

Coconut Curry Ratattoile (4)  Coconut Curry Ratattoile (5)  Coconut Curry Ratattoile (9)

Cover, and place the whole concoction into the oven for about 20-30 minutes, or until the vegetables have softened and are easily pierced with a fork. You may find it takes slightly longer depending, again, on the size of your baking dish and thickness of your layers.

While the dish is baking, cook your rice according to package directions.

When everything is ready, serve the ratatouille over the rice and enjoy! It’s where French cuisine meets Indian cuisine, right? Bon’ appetite!

Coconut Curry Ratattoile (15)


Pro Tip: If you have leftovers and want to re-purpose the meal to try and pull a fast one on your family, simply pulse the ratatouille (without the rice) in a food processor with a small amount of vegetable broth to turn it into soup! Make it as chunky or pureed as you desire, and add the rice after for some additional texture.

Healthy and Easy Crustless Summer Vegetable Quiche

Quiche (2)

I have never been so determined to make a dinner from scratch as I was when I forged ahead and baked this quiche, even though I didn’t start it until 8pm on a work night, knowing full well it wouldn’t be ready to eat until at least 9:30pm; and that’s if everything went smoothly. (It did).

Perhaps a saner person would have looked at the clock and resigned themselves to leftover Annie’s Mac and Cheese, or even a fresh salad, but I would not give up the dream of quiche. It came out of the oven so late that Mike didn’t even eat it (he had already eaten the mac and cheese and a fresh salad with toast on the side, like a smart thinker).

Quiche (5)

But I made sure to ooo and ahhh over this quiche as I helped myself to not one but THREE (small) servings, trying to savor it as the clocked ticked rapidly toward 10pm and my bedtime loomed near. I try not to eat close to going to bed, but quiche night was an exception.

It’s good. Good enough to wait well into the night for, and good enough to risk going to bed with a quiche hangover. I also need to note that the reason it didn’t maintain it’s pie-slice shape in the photos was because I insisted on eating it within a few seconds of taking it out of the oven. Let this thing cool – it’s worth it!

What You Need:

Quiche (6)

  • 1/2 of a large yellow onion, roughly chopped
  • 2 small garlic cloves, finely chopped
  • 1/2 of a green bell pepper, chopped
  • 1/2 jalapeno or habenero pepper, chopped
  • 1/4 cup chives, chopped
  • 1 1/2 cup broccoli florets
  • 1/2 cup very finely chopped kale (spinach would work well too!)
  • 3 eggs, lightly beaten
  • 1 cup almond milk (or any other milk of your choosing)
  • 1 cup shredded muenster cheese
  • 1 cup shredded cheddar cheese
  • 2 tsp dijon mustard
  • 2 tsp fresh black pepper
  • 1 tsp salt
  • 6-8 very thin slices of zucchini
  • 6-8 very thin slices of tomato

Quiche (4)What You Do:

Preheat your oven to 375F.

In a lightly oiled medium skillet, heat the garlic and onion on medium heat until the onion becomes soft and translucent.

Add the jalapeno or habenero, and bell pepper, and chives, and stir.

Add the broccoli florets and stir well to combine with the onion mixture. Add a tablespoon of water if necessary to keep the pan moist, and cover, cooking on low-medium until the broccoli has reduced, about 7 minutes.

Quiche (3)

While the broccoli mixture is cooking up, grab a small mixing bowl and combine the eggs, milk, cheeses, mustard, black pepper and salt, stirring well.

Set aside.

Before taking the broccoli mixture off the heat, add the kale and stir well.

Pack the broccoli mixture into a well-greased pie dish.

Pour the egg mixture over the broccoli filling, using a fork to gently nudge the broccoli around to let the egg mixture seep through to the sides and bottom of the pie dish. (There should still be a healthy amount of egg mixture over the top of the dish.)

In any pattern you like, place the zucchini and tomato slices around the top of the quiche. Make a happy face if you want!

Place the pie dish in the oven for about 40 minutes (check after 20-30 though – you want the egg cooked through and the top to be slightly browned and crispy but not burned, obviously).

Let cool for a few minutes before delving in, if for no other reason than to keep it in pie-slice shape 🙂

Enjoy!

Pro Tip: Have it for breakfast! Experiment with different cheeses too – I think Parmesan or feta would be absolutely delish.

Quiche (1)

Zucchini, Tomato and Corn Gratin

Zukes (20)

Ah zucchini.

I like squash a lot. I really do. But I’m at that point in the summer when, to be honest, the level of squash present in my life is getting to be slightly overwhelming. Not only am I harvesting a small bumper crop in my backyard, but I for some reason keep thinking that purchasing additional summer squash at the farmer’s market is a good idea.

Zukes (12)

One of my zucchini plants, going strong.

So the chain of events is as follows: Buy fresh squash at the FM –> feel compelled to use said fresh squash before it goes bad  –> neglect picking the actively-growing squash in my garden –> end up with giant backyard squash.

Zukes (13)


This isn’t even the biggest one. My latest monster creation is at LEAST 3 Hershey’s bars long, and probably half of one in width.

So Mike has been subjected to an onslaught of zucchini recipes lately, which have included zucchini bread, zucchini pizza boats, and zucchini-topped pizza, and this is basically fine as he doesn’t mind squash. (But he might after this summer!) I’m still fine with it too, but the ongoing challenge is cooking it in different ways so we don’t get sick of it.

You don’t have to love squash to like this dish, though. It is really very good. This recipe post reflects a few changes that I would most certainly employ if I cook this again, which I will, so don’t lose faith in me if you feel the photos don’t quite do it justice.

The farmer’s market/my garden ingredients used in this meal are:

  • Zucchini and Summer Squash
  • Corn on the cob
  • Onion
  • Tomatoes
  • Garlic

What You Need:

Zukes (14)

  • About a pound of zucchini and summer squash sliced into thin rounds (I used a mandolin for this)
  • 1 1/2 cups panko or your favorite bread ground up to make breadcrumbs
  • 1 small yellow onion, sliced
  • 2 corn on the cob, with corn sliced off the cob
  • 1 cup Parmesan or Romano cheese, grated
  • 2 large tomatoes, sliced thin (I also used a mandolin for this)
  • Salt
  • Olive or coconut oil
  • 1 tsp black pepper
  • 2 tbsp butter, melted
  • 2 cloves garlic, minced


What You Do:

The Squash

Preheat oven to 350F

Here’s an important step you should never, ever ignore when cooking squash, but I always do anyways. Salt your squash to help remove moisture. This will help it cook better and faster, and overall just taste better.

So, toss your squash rounds with 1-2 tsp salt and set aside in a colander to let it drain (about 10 minutes).

After, lay the slices out on a VERY LIGHTLY oiled baking sheet, and place in the oven for about 5-7 minutes, or until the slices look slightly translucent and soft.

Leave the oven on since the whole dish needs about 10 minutes in there at the end.

The Filling

Warm a tbsp of olive or coconut oil in a medium frying pan over medium heat. When hot, place onion slices in and cover, letting the onions caramelize. Remove them when they smell sweet and look translucent with just a touch of brown.

Gently toss your corn with a tiny bit of salt, black pepper and olive or coconut oil, and mix with the caramelized onions.

The Topping

Melt the 2 tbsp of butter over low heat.

In a small bowl, mix your grated cheese and panko, adding a sprinkle of salt and black pepper.

Pour the melted butter into the panko mixture, add the minced garlic and stir it up.

The Finale

Line a baking dish with the cooked squash and raw tomato slices, alternating as you go. After you have one layer down, sprinkle some of your onion and corn mixture over it.

Zukes (17)     Zukes (16)

Add more squash and tomato slices, covering them with onions and corn each time you have a new layer, until both toppings are gone.

Top the entire dish with the panko mix.

Place in the oven for 10 minutes or until the topping starts to brown and the tomato juices are bubbling. Then – enjoy!

Zukes (19)


Pro-Tip: I would recommend making this a wild rice gratin to replace the panko and make it a gluten-free meal. Cook up some wild rice, mix it with an egg and the onions and corn and cheese. Put it on the bottom of the pan and line the tomato and squash on top. Sprinkle with some additional cheese. There ya go!