Baked Spaghetti Squash and Vegetables

Whenever Mike and I return from a holiday weekend, we inevitably feel totally stuffed (even if our last big meal was the day before) and guilty from all the treats and goodies we tossed freely into our mouths. And yet somehow we still manage to cram leftovers down our throats.

IMG_0367

When we returned on Sunday from our whirlwind Thanksgiving holiday in Connecticut and New York, I gave myself one last hurrah meal. I indulged with a bagel pizza I made using a New York bagel we heisted from Mike’s aunt’s house before heading out. There is just something so special about these bagels. It’s rumored to be the water used in the dough, which is apparently unique to the Empire State. Whatever it is, I had no choice but to say a tearful farewell to these bagels and what had been turning into a dangerous daily breakfast habit.

IMG_0370

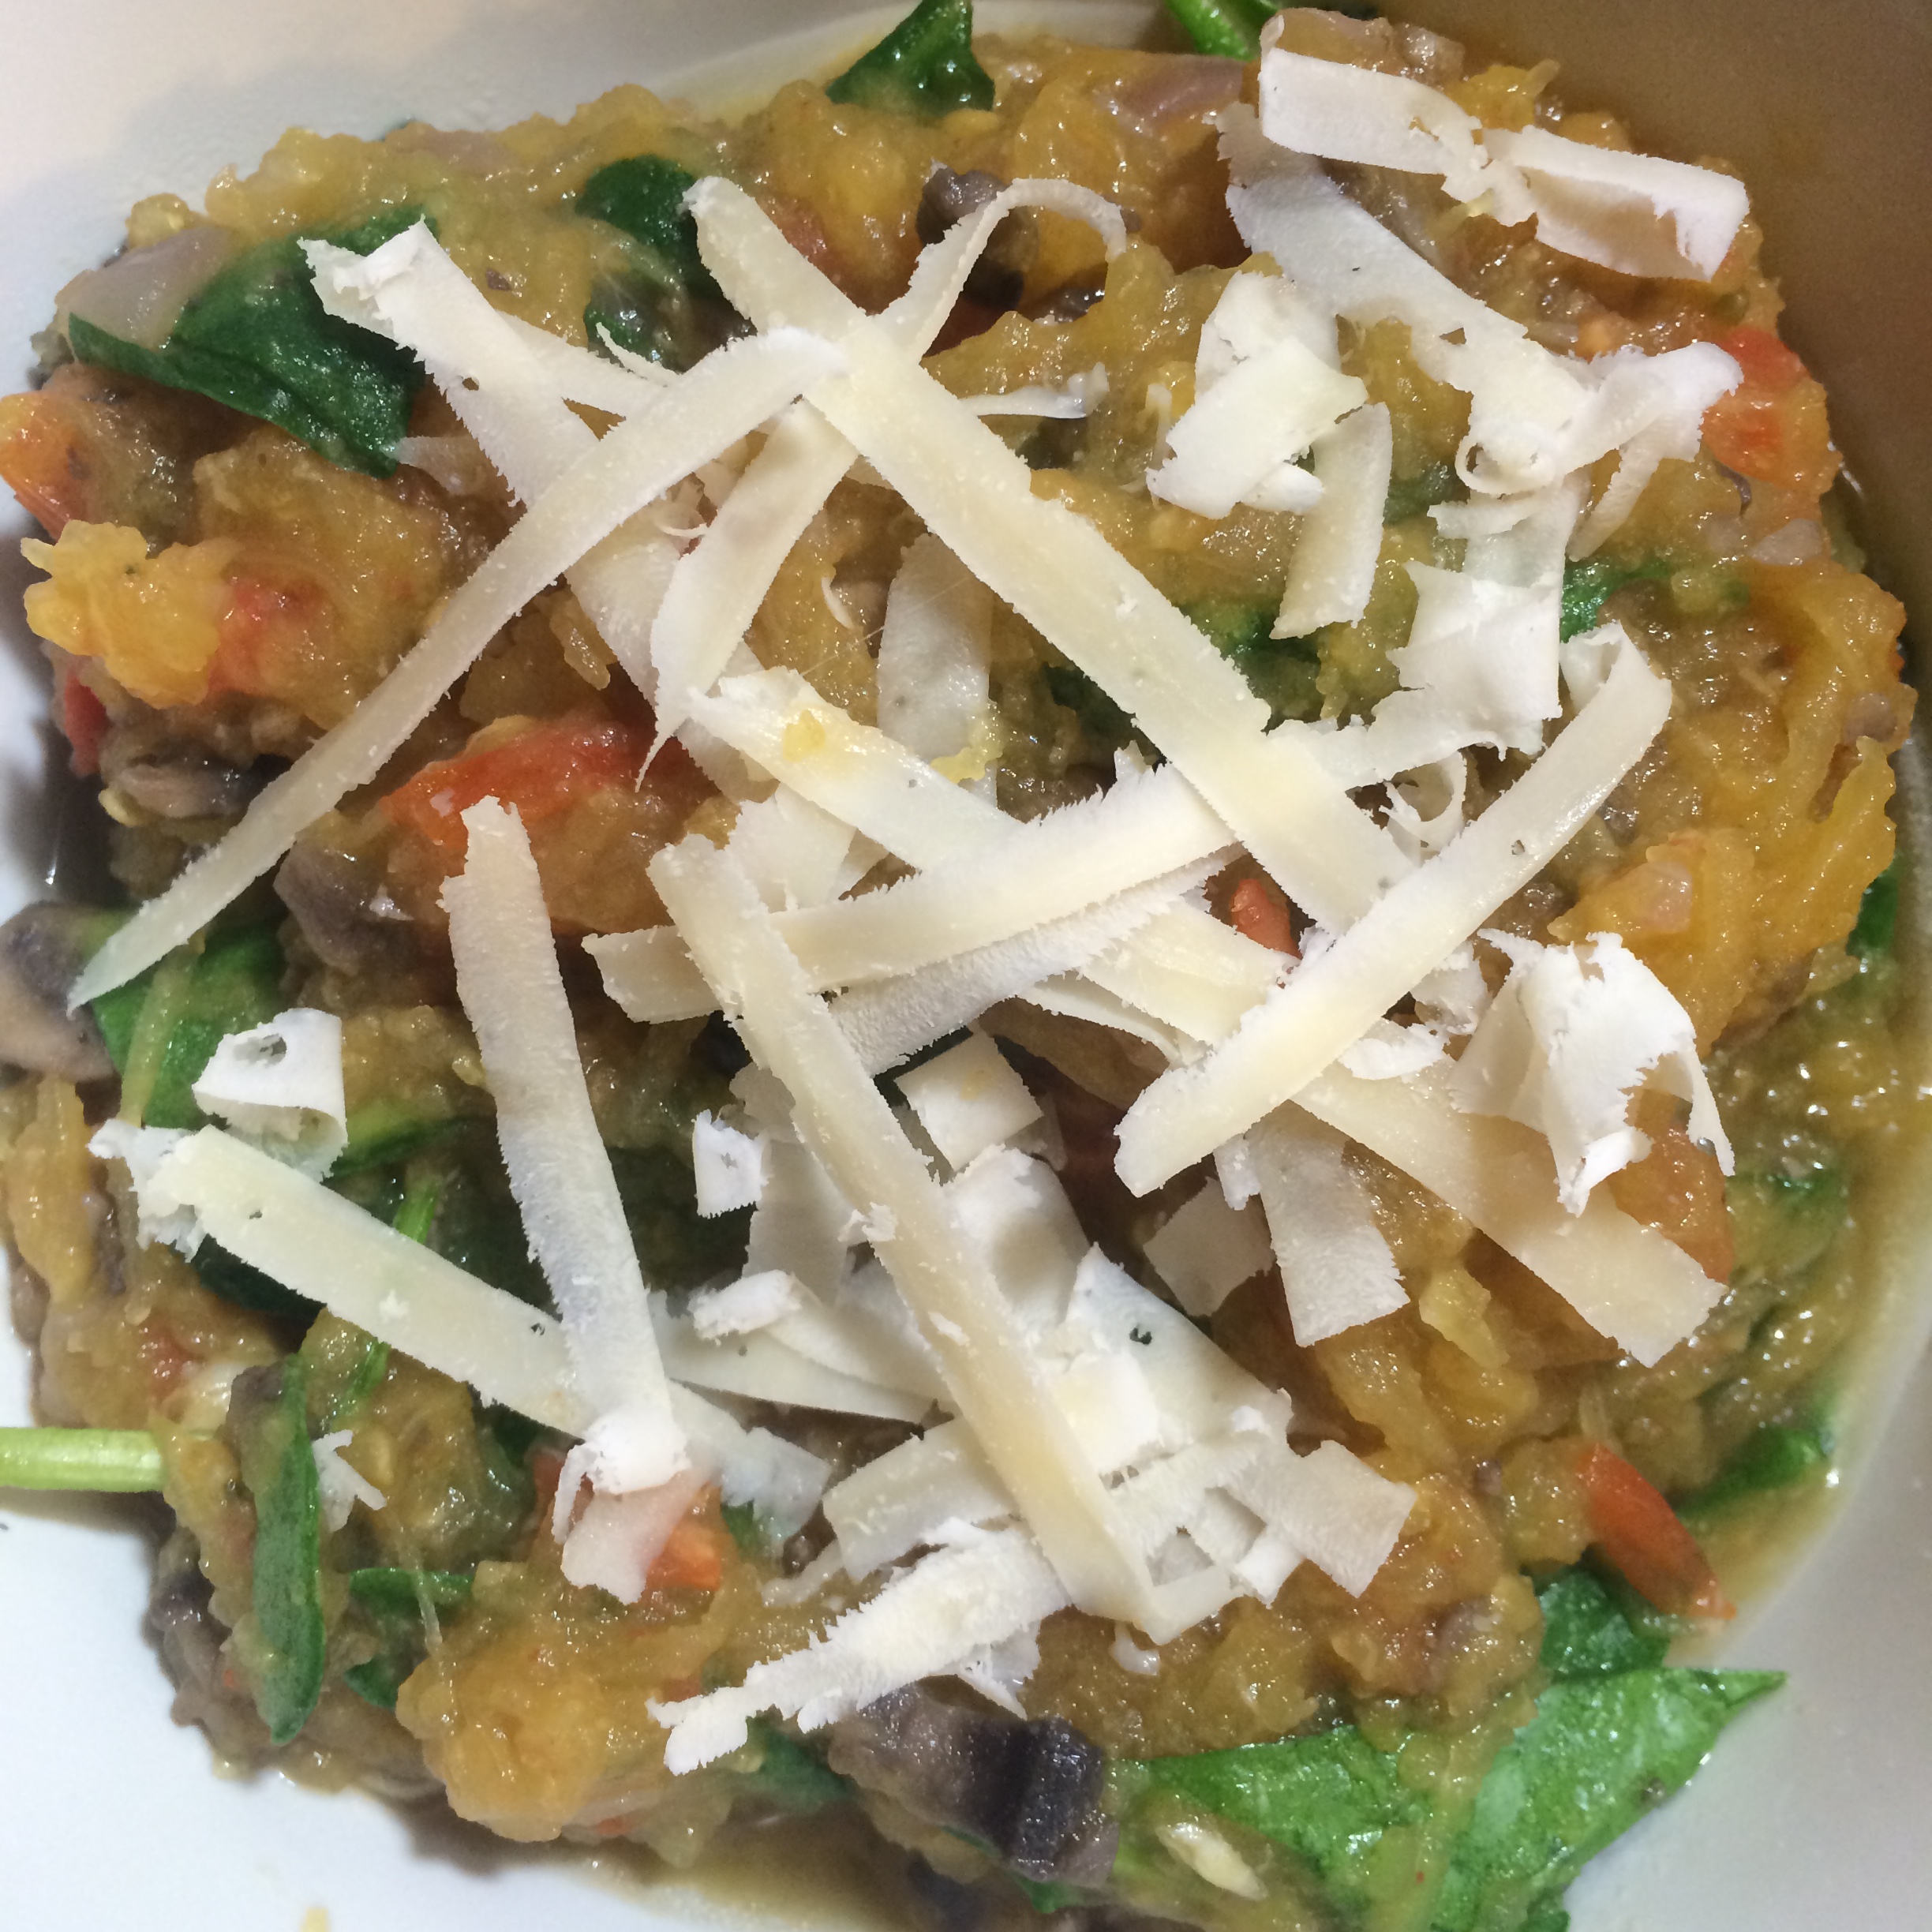
Enter the spaghetti squash. Low in calories and sugar but high in nutrition and taste, there is no better way to reverse the holiday binge than with spaghetti squash. I typically prefer to prepare these as though it is actual pasta, and slather it with homemade tomato sauce and cheese, but given the circumstances I thought a lighter meal would be better. And this dish certainly is light. It really helped start our week off on the right foot.

IMG_0373

What You Need:

  • 1 spaghetti squash (about 5 cups cooked)
  • 1 tbsp coconut oil
  • 1 yellow onion, diced
  • 2 cloves garlic, minced
  • 1 jalapeno (seeded if desired)
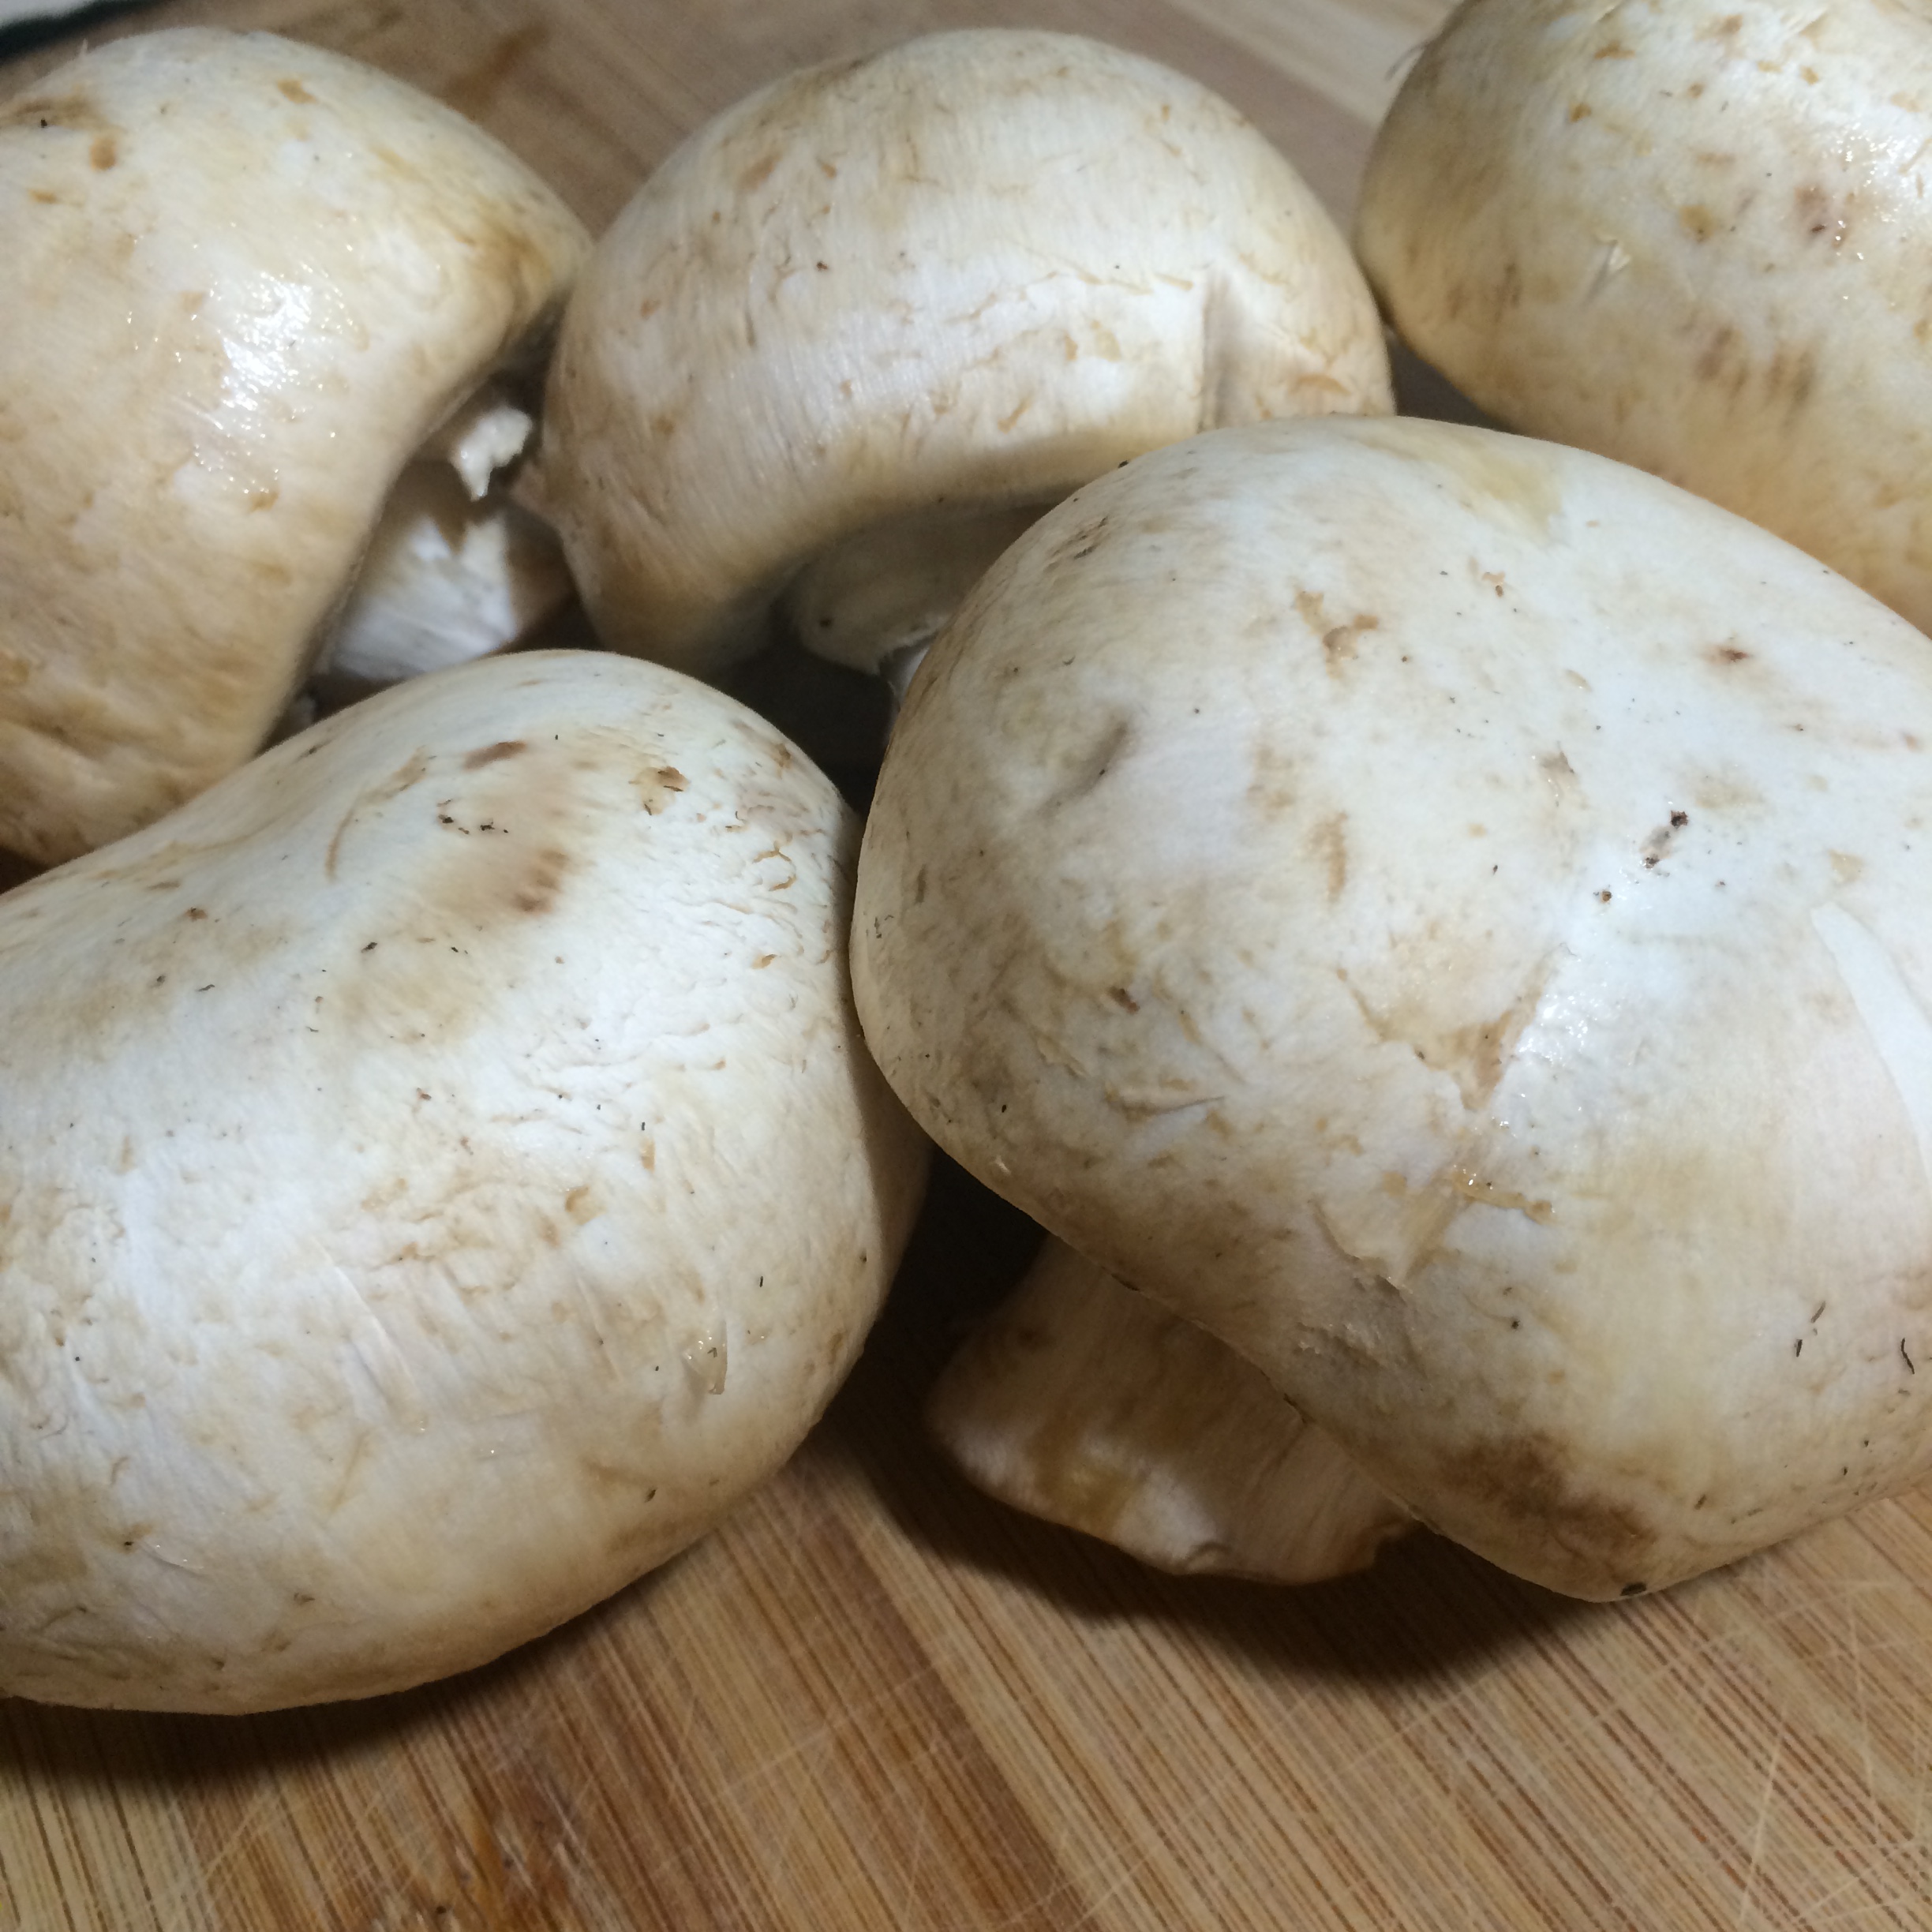
  • 4 or 5 large white button mushrooms, chopped (about 1 cup)
  • 1 1/2 cups vegetable broth, divided*
  • 1 tbsp fresh sage, finely chopped
  • 6-10 Campari Tomatoes, cut into quarters (juices should be kept and added to dish)
  • 2 cups fresh baby spinach, uncooked
  • 1/4 cup freshly grated Parmesan cheese

What You Do:

Preheat oven to 400F

*Because this recipe calls for vegetable broth, you have the option to simply make your own. Boil 2 1/2 cups water in a pasta pot and add any parts of the vegetables from this recipe that you’re discarding. (Onion and garlic skin, mushroom stems, a few springs of sage, jalapeno stem and any unused parts of the tomatoes). Once you have boiled down the vegetables, strain the broth into a separate pot and set aside.

IMG_0357

Halve the spaghetti squash with a sharp knife. Dig out the seeds with a spoon and place squash face-down on a foil-lined baking sheet.

Bake for 30-45 minutes or until the squash skin becomes darkened and the squash begins to caramelize around the edges. If you can easily stick a fork through the skin and squash meat, you’re good to go.

While the squash is baking, heat coconut oil in a large skillet on medium heat. Add onions and garlic and saute until translucent and soft. Add chopped mushrooms and jalapenos, heating continuously until the mushrooms are brown, soft and fragrant. The mushrooms will emit some water, so let the entire dish simmer for about 10 minutes, stirring frequently.

IMG_0360

Once the water begins burning off, add one cup vegetable broth and stir. The heat should still be on medium and the broth simmering. Once it has simmered down to less liquid, add the sage and tomatoes with their juices. Continue to simmer.

Using a fork, remove the strands of spaghetti squash from the shell. You should have about 5 cups. Add it to the vegetable mixture and mix everything up well.

Add the remaining 1/2 cup vegetable broth (if you made your own, simply freeze any leftover broth for another dish).

Add the spinach and mix until it becomes limp and blends into the dish.

Top each serving with a sprinkling of Parmesan cheese.

IMG_0354     IMG_0355     IMG_0351

Pro Tip: If you have extra time, pile the whole deal into a baking dish, sprinkle with the cheese and bake on 350F for about 10 minutes or until cheese is melted.

Advertisement

Ratatouille with Coconut Curry Sauce

I feel bad calling myself a cooking enthusiast since I had not even heard of ratatouille until I saw the Disney movie. After seeing a rat prepare it, I thought, “I could do that.”

Coconut Curry Ratattoile (12)

But then, a lot of time went by. (A LOT of time. I just checked, and that movie was released in 2007 – yikes!)

So seven years later, I got my act together and made a decision to prepare this undoubtedly delicious meal for my in-laws, who were visiting from New York. I learned the basic gist of the recipe, and I was only feeling a little apprehensive about being able to pull it off.

But then, I was totally sidelined. The power of suggestion is absurdly effective. One second, I am happily going about my day thinking about trees and flowers (not really, just trying to make a point here), and the next, I see a commercial for pizza and suddenly, that is ALL I WANT.

As I was preparing for ratatouille-making, a friend happened to mention having had a delicious coconut curry dish at lunch.

Well. I’ll be damned. I LOVE coconut curry.

Coconut Curry Ratattoile (14)

So, since I was already feeling overwhelmed by the recipe, I made an effortless decision to swap out the sauce for a coconut curry tomato sauce.

I’ll tell you – it was an amazing decision. This dish does not disappoint, and was a hit with my in-laws (at least that’s what they told me) 🙂

Quick Disclaimer: If you don’t own a mandolin, this recipe is still possible to make – it just might drive you crazy. Make sure you have a sharp knife, at the very least!

Coconut Curry Ratattoile (13)

What You Need for the Ratatouille:

  • 1 medium zucchini squash, ends cut off
  • 1 medium summer squash, ends cut off
  • 1 large tomato
  • 1 each red bell pepper, green bell pepper and yellow bell pepper, tops cut off and de-seeded but still bell-shaped
  • 2 cups dry Jasmine or white rice

What You Need for the Coconut Curry Sauce:

  • 1 tbsp olive oil
  • 1 medium onion, diced
  • 1 clove garlic, minced
  • 1 jalepeno, minced (seeded if desired)
  • 1/2 tbsp fresh ginger, minced (powdered ginger will also work fine)
  • 1 1/2 tbsp curry powder
  • 1 28-ounce can diced tomatoes and their juices (this is equal to 3 1/2 cups diced tomatoes if you wish to stay away from canned foods)
  • 1 14-ounce can unsweetened coconut milk
  • 1 tsp sugar
  • salt and pepper to taste

Coconut Curry Ratattoile (3)

What You Do:

Preheat oven to 400F

In a large wok or skillet, pour in the olive oil and lightly simmer the onion, garlic, jalepeno and fresh ginger until soft. (If you only have powdered ginger, add it later).

Add the tomatoes and curry powder (also add ginger powder if using).  Turn heat up to bring to a slight boil and stir well.

Add the coconut milk and sugar, stirring well. Reduce heat to a simmer and cook for about 5 minutes.

Set aside, but keep warm on low heat.

Using a mandolin, thinly slice all of your vegetables. As I said, if you don’t have a mandolin, you can get away with cutting everything by hand. Try to make very thinly-sliced pieces. Thicker pieces really only impact how long the dish will take to cook.

Layer the vegetables in alternating order along the bottom of a large baking dish or dutch oven. Each time you complete a layer, spoon about 1 cup of the still-hot coconut curry tomato sauce over the veggies.

Continue layering and alternately pouring with sauce until the veggies have been used up. Depending on the size of your baking dish, you may find you have vegetables left over. This is ok! They make great snacks, after all!

Pour remaining sauce over the top, gently poking apart the vegetables to let it seep through.

Coconut Curry Ratattoile (4)  Coconut Curry Ratattoile (5)  Coconut Curry Ratattoile (9)

Cover, and place the whole concoction into the oven for about 20-30 minutes, or until the vegetables have softened and are easily pierced with a fork. You may find it takes slightly longer depending, again, on the size of your baking dish and thickness of your layers.

While the dish is baking, cook your rice according to package directions.

When everything is ready, serve the ratatouille over the rice and enjoy! It’s where French cuisine meets Indian cuisine, right? Bon’ appetite!

Coconut Curry Ratattoile (15)


Pro Tip: If you have leftovers and want to re-purpose the meal to try and pull a fast one on your family, simply pulse the ratatouille (without the rice) in a food processor with a small amount of vegetable broth to turn it into soup! Make it as chunky or pureed as you desire, and add the rice after for some additional texture.

Carnival Squash Stuffed with Quinoa and Sugar-Baked Apples

Ok. I know I have some explaining to do.

Squash (10)

I’m making a somewhat sheepish return to this blog with my tail between my legs; this newest post clouded by the undeniable fact that it has been LITERALLY MONTHS since my last post, which is not only unfair to those who actually read and like my blog (thank you!) but is also really sad because I’m letting the entire fall season virtually pass by without posting any of the great fall vegetable recipes that make this time of year a true delight.

I’m sorry. I have no excuse. You should know that I have still been cooking, so you will finally get to take part in that experience. I hope these next recipes will be at least marginally useful to you, even though fall is half over.

Some exciting news though! It was my birthday the other day, which means I’ve been blogging steadily (don’t say it) for about a year! I find this to be among my top accomplishments as a person, and to celebrate, I bestow upon you this quintessentially fall dish, which I owe to the wonderful people at Barker’s Farm in Stratham, NH for hooking me up with some of the coolest must-have squashes of the season (You know how I feel about squashes – **swoon**)

Squash (11)     Squash (13)

What You Need:

  • Two medium or large carnival squashes (or four smaller ones if you’re feeding several people or prefer smaller portions) If you don’t have or can’t find a carnival squash, acorn squash is the most similar, and delicata would also be delicious.
  • 2 medium or large apples, any type (I used Cortland) peeled and cut into apple pie-type chunks
  • 1 tbsp butter, very soft or melted
  • 1 tbsp olive oil
  • 2 tbsp brown sugar
  • 1 cup diced red onion
  • 2 cloves garlic, finely chopped
  • 1 habanero or hot pepper of choice, finely chopped (optional)
  • 1 tsp chili powder
  • 1 cup dry quinoa, cooked according to package directions
  • salt and pepper to taste
  • 1/2 cup shredded cheese of your choice (I used goat cheese because that is what we had in the fridge)

Squash (18)

What You Do:

Preheat oven to 400F

Cut the squash lengthwise from stem to bottom and scoop out the seeded insides.

Lightly brush the squash’s insides with butter, lay skin-side-down on a foil-covered baking sheet, and place in the oven to bake for about 30-40 minutes, or until it appears to be caramelizing and easily lets a fork through.

While the squash is baking, cook the quinoa.

Squash (12)While the quinoa is cooking, place the garlic, onion and hot pepper in a frying pan over low-medium heat with 1 tbsp oil.

When they become soft and translucent, add the apple pieces and stir until well-mixed.

Add the brown sugar and chili powder, salt and pepper and continue stirring until the apples become warm and juicy (but still maintain their shape and don’t get mushy) and are well-mixed with the sugar and spices.

Once the quinoa is cooked, add it to the apple mixture in spoonfuls to gauge how much you need to make a nice balanced mix of quinoa and apple mixture. I found 2 cups of quinoa was enough to create a decent amount for stuffing the squash.

When the squash has cooked, place them skin-side-down in a baking dish.

Gently scoop the apple and quinoa mixture into each squash.

Sprinkle your cheese of choice over the top of each (optional) and place back in the oven for about 5 minutes or until the cheese is melted. (If you choose not to use cheese you can skip this step. It’s plenty hot at this point!)

Pro Tip: Add shredded chicken instead of or in addition to the quinoa to make it a non-vegetarian dish. If you’re a fan of raisins (I’m not), sprinkle some into the apple mixture while it’s cooking to add a new texture and flavor.

Squash (14)     Squash (16)


Healthy and Easy Crustless Summer Vegetable Quiche

Quiche (2)

I have never been so determined to make a dinner from scratch as I was when I forged ahead and baked this quiche, even though I didn’t start it until 8pm on a work night, knowing full well it wouldn’t be ready to eat until at least 9:30pm; and that’s if everything went smoothly. (It did).

Perhaps a saner person would have looked at the clock and resigned themselves to leftover Annie’s Mac and Cheese, or even a fresh salad, but I would not give up the dream of quiche. It came out of the oven so late that Mike didn’t even eat it (he had already eaten the mac and cheese and a fresh salad with toast on the side, like a smart thinker).

Quiche (5)

But I made sure to ooo and ahhh over this quiche as I helped myself to not one but THREE (small) servings, trying to savor it as the clocked ticked rapidly toward 10pm and my bedtime loomed near. I try not to eat close to going to bed, but quiche night was an exception.

It’s good. Good enough to wait well into the night for, and good enough to risk going to bed with a quiche hangover. I also need to note that the reason it didn’t maintain it’s pie-slice shape in the photos was because I insisted on eating it within a few seconds of taking it out of the oven. Let this thing cool – it’s worth it!

What You Need:

Quiche (6)

  • 1/2 of a large yellow onion, roughly chopped
  • 2 small garlic cloves, finely chopped
  • 1/2 of a green bell pepper, chopped
  • 1/2 jalapeno or habenero pepper, chopped
  • 1/4 cup chives, chopped
  • 1 1/2 cup broccoli florets
  • 1/2 cup very finely chopped kale (spinach would work well too!)
  • 3 eggs, lightly beaten
  • 1 cup almond milk (or any other milk of your choosing)
  • 1 cup shredded muenster cheese
  • 1 cup shredded cheddar cheese
  • 2 tsp dijon mustard
  • 2 tsp fresh black pepper
  • 1 tsp salt
  • 6-8 very thin slices of zucchini
  • 6-8 very thin slices of tomato

Quiche (4)What You Do:

Preheat your oven to 375F.

In a lightly oiled medium skillet, heat the garlic and onion on medium heat until the onion becomes soft and translucent.

Add the jalapeno or habenero, and bell pepper, and chives, and stir.

Add the broccoli florets and stir well to combine with the onion mixture. Add a tablespoon of water if necessary to keep the pan moist, and cover, cooking on low-medium until the broccoli has reduced, about 7 minutes.

Quiche (3)

While the broccoli mixture is cooking up, grab a small mixing bowl and combine the eggs, milk, cheeses, mustard, black pepper and salt, stirring well.

Set aside.

Before taking the broccoli mixture off the heat, add the kale and stir well.

Pack the broccoli mixture into a well-greased pie dish.

Pour the egg mixture over the broccoli filling, using a fork to gently nudge the broccoli around to let the egg mixture seep through to the sides and bottom of the pie dish. (There should still be a healthy amount of egg mixture over the top of the dish.)

In any pattern you like, place the zucchini and tomato slices around the top of the quiche. Make a happy face if you want!

Place the pie dish in the oven for about 40 minutes (check after 20-30 though – you want the egg cooked through and the top to be slightly browned and crispy but not burned, obviously).

Let cool for a few minutes before delving in, if for no other reason than to keep it in pie-slice shape 🙂

Enjoy!

Pro Tip: Have it for breakfast! Experiment with different cheeses too – I think Parmesan or feta would be absolutely delish.

Quiche (1)

Spanish Rice Baked Stuffed Heirloom Tomatoes

Stuffed Tomatoes (6)

Do you KNOW how many recipes there are in the world for stuffed tomatoes where the stuffing is nothing more than breadcrumbs and some salt and pepper? I’m sure it’s delicious, really. You could put bread product in basically any food and I’d eat it for days. But I feel like I couldn’t quite get away with serving mostly breadcrumbs to Mike for dinner.

Stuffed Tomatoes (13)

Besides – there are so many awesome ways to stuff a tomato, right? I was going to do quinoa and kale for this recipe, but got to thinking about other grains and other dishes and remembered suddenly how much I loved Spanish Rice when my mother would make it when I was a kid. (If my mother is reading this, I want to be candid that I do realize I could be remembering this incorrectly and perhaps I did not love it as a kid, but I certainly consider it a food that I recall eating as a kid and enjoy eating today. So same thing, right?)

I also wanted to share this adorable farm stand that I discovered while running to work one day. (These are the perks of not driving – I tend to pay more attention to what’s going on around me). Check this out:


Stuffed Tomatoes (14)

This person keeps a little bucket near the veggies for your money and it’s completely an honors-system operation. I love it. So I got a few of the tomatoes for this meal from this little stop on my way home.

Stuffed Tomatoes (18)

This dish is super yummy and has the added benefit of providing probably all the lycopenes a person needs for a successful week! The rice you use is completely up to you. I used Jasmine because as I have mentioned it is by far my favorite type of rice, but I imagine a wild or brown rice would also be spectacular in this dish.

What You Need:

  • 5-7 medium red tomatoes or heirloom tomatoes if you can get your hands on them
  • 1 small onion, chopped OR 1/2 of a medium-large onion, chopped
  • 2 small garlic cloves, chopped
  • 1 jalapeno pepper, chopped (optional)
  • 1 small or 1/2 of a large red or green bell pepper, chopped
  • 2 cups vegetable broth
  • 1 cup rice
  • 1-8oz can diced tomatoes in their juices
  • 1/2 tsp salt
  • 1 tsp ground pepper
  • 1 tsp cilantro (finely chopped fresh or ground)
  • 1/4 cup panko breadcrumbs
  • 1/8 cup shredded Parmesan cheese

What You Do:

Preheat your oven to 350F.

Bring the vegetable broth to boiling in a medium saucepan. Reduce heat to a simmer and add the rice. Cover and let simmer for 10-15 minutes or until liquid is gone and rice is cooked.

While the rice is cooking, heat a 2 tsp olive oil in a medium skillet and add the chopped onion, garlic, jalapeno (if using) and bell peppers. Stuffed Tomatoes (2)

Let simmer, stirring frequently, until softened and cooked through. Remove from heat and set aside.

Take your tomatoes and using a small paring knife, slice off just the very top to remove the stem area.

Cut in a circle around the perimeter of the inside of the tomato, basically hulling out the middle stem part and goopy insides, being careful not to slice into the body of the tomato or through the bottom.

Using a spoon, scoop out the insides and carefully clean around the inside to open up a nice space for filling, still being careful not to cut into or damage the body of the tomato.

Arrange the hollowed-out tomatoes in a large baking dish with a small amount (1/4 cup) of water in the bottom.

        Stuffed Tomatoes (3)          Stuffed Tomatoes (9)

Combine the onion mixture with the rice mixture, and add the diced tomatoes and chopped cilantro, and stir up well to make the stuffing. Add salt and pepper and mix again.

Using a tablespoon, scoop the stuffing into the hollowed-out insides of each tomato, packing it down and letting extra stuffing flow out the top of the tomatoes.

Combing the panko breadcrumbs and shredded Parmesan cheese and sprinkle over each tomato.

Bake for about 45 minutes or until the tomatoes are pinched and the breadcrumbs begin to brown.

Add more water to the bottom of the baking dish if necessary after about 20 minutes.

Enjoy!!

Stuffed Tomatoes (12)

Pro Tip: As noted above, I think this would be marvelous with another rice such as wild or brown! Also, in a pinch you can use salsa instead of diced tomatoes and just add less garlic and probably nix the cilantro.

Rhubarb and Green Bean Dijon Potato Salad

Potato Salad (2)


I have to admit, this post is kind of a cheat on my part. I do not think it’s ACTUALLY rhubarb season anymore, although to be fair I did see some at the grocery store…

But I didn’t want to go the whole summer without posting this recipe, which I made awhile back, DURING rhubarb season, from farmer’s market rhubarb with the intention of making it part of my Five Days of Farmer’s Market Meals. But since I failed to do that, I figure now is better than never right? Like most things.

And what’s summer without potato salad? It’s traditional anyways, but this summer was an even bigger hit because of this amazing Kickstarter campaign that gave potato salad the attention and fame it has always deserved.

Potato Salad (1)What You Need:


  • 1/2 white onion, finely chopped
  • 1/2 pound green beans, sliced in half
  • 2 stalks of rhubarb, chopped
  • 1 garlic clove, chopped
  • 1 green pepper, chopped
  • 1 cup celery, chopped
  • 1 pound red potatoes, chopped into 1 1/2” cubes
  • 1 tsp salt
  • 1 tsp black pepper
  • 6-8 tbsp dijon mustard (I like the pub style with the mustard seeds)


What You Do:

Simultaneously boil a large pot of salted water and heat a nonstick skillet over medium.

Once the water is boiling, add the potato cubes and lower the heat so they simmer. Cook until a fork easily goes through them.

Drain and pour potatoes into a large bowl.

In the skillet,heat the rhubarb, stirring frequently, until JUST cooked. Do not leave it in the pan for too long or else the rhubarb will become very soft. You want it to remain firm.

Add onion, green beans, rhubarb, garlic, green pepper and celery to the potatoes and stir to mix well.

Add the mustard to taste and stir well. You may find you need more mustard (or less) so add gradually and see how you feel. Taste tests are the best part of cooking!

Pro Tip: Add other vegetables, or something crazy like bacon! Everyone loves bacon, right?

Potato Salad (3)