Healthy Black Bean Power Brownies

I have an obsession, along with 103,000 other people (and that’s just on Facebook!) with Chocolate Covered Katie and her healthy dessert blog. This obsession is borne from a life-long addiction to desserts and internal struggle between cravings and being healthy. Sure, I exercise multiple times a week. I run long distances and get up early to squeeze in a workout before heading to the office.

But when I delve into a pint of Ben and Jerry’s at night following a heaping plate of dinner food, I hear that nagging voice in my head letting me know I’m probably undoing all the good I had done earlier.

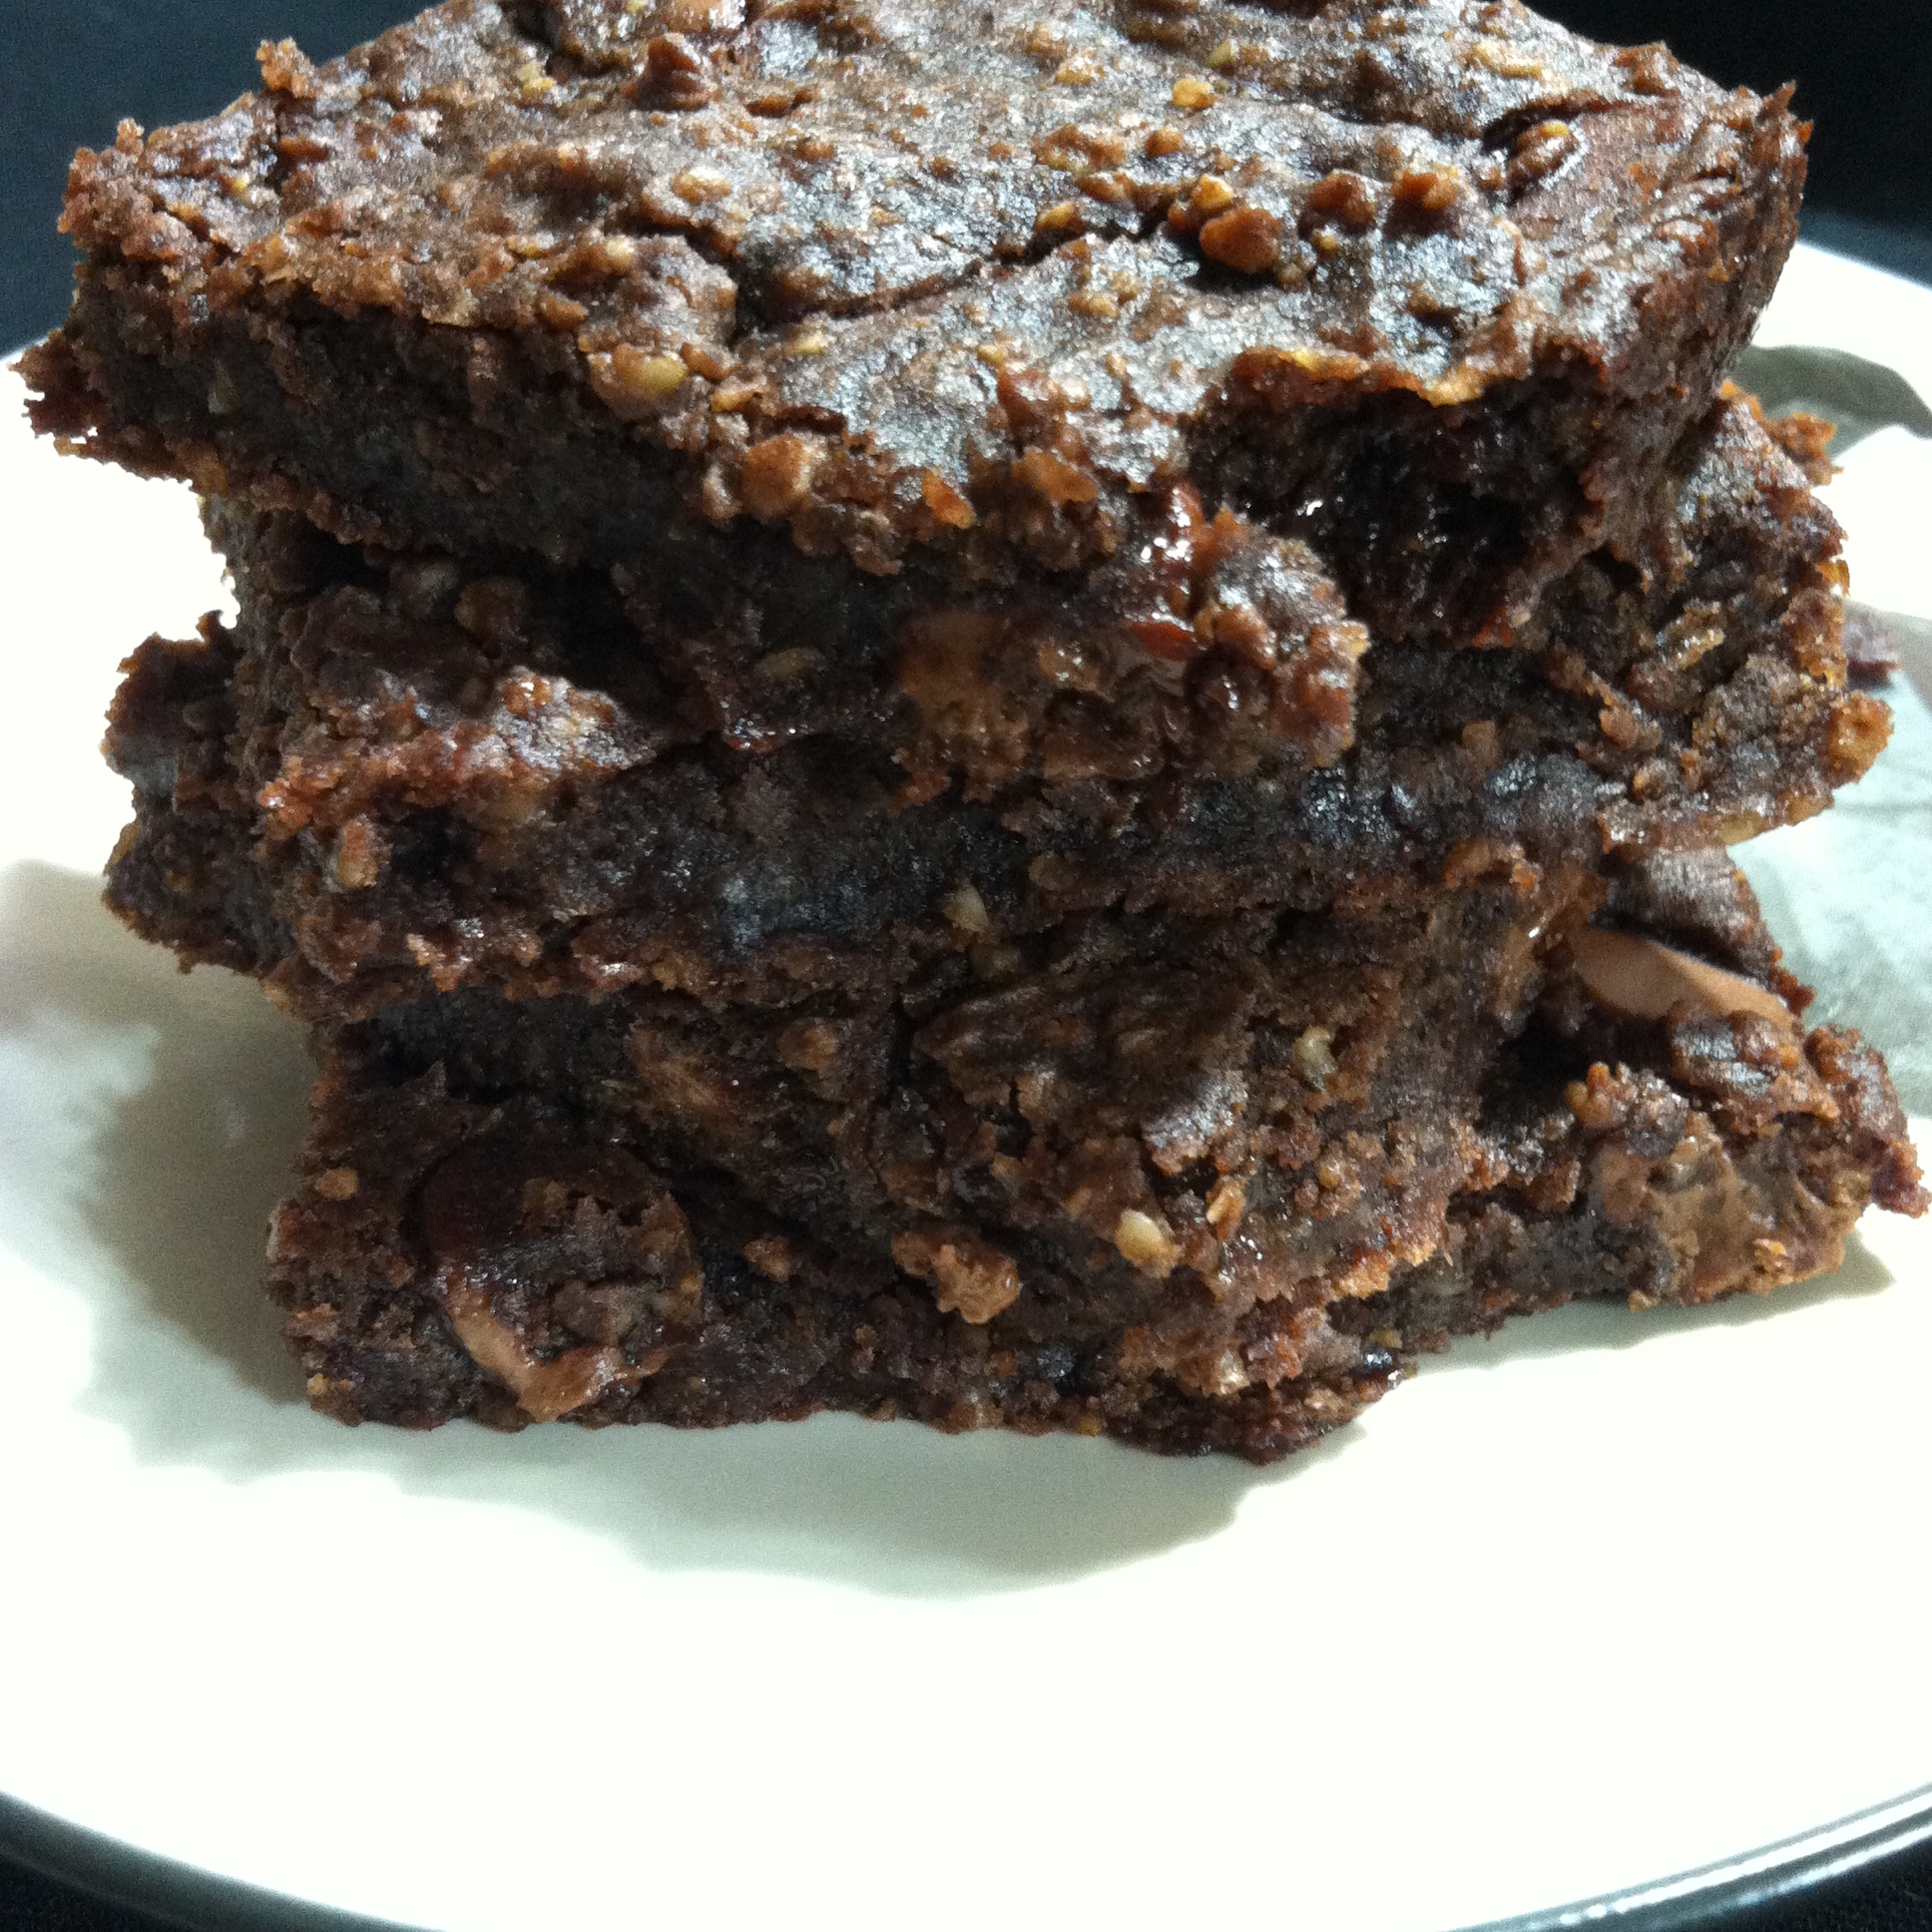
The solution to this battle between desserts and being healthy is to combine the two. Healthy desserts. And that is exactly what Chocolate Covered Katie does on her blog. My latest indulgence is brought to you today in the form of chocolately, ooey-gooey brownies made with – wait for it – black beans.

Brownie 2

They’re only slightly tweaked from this recipe on Chocolate Covered Katie – she’s basically a genius so I can’t really improve upon what she’s done here. I omitted some sugar and added flax seeds and a couple options for the flour mix. No biggie.

Enjoy!

Preheat oven to 350 F

What You Need:

  • One 15-oz can black beans, drained and rinsed
  • 2 tbsp cocoa powder
  • 1/2 cup quick oats OR whole wheat flour OR gluten-free flour OR cooked quinoa
  • 1/4 tsp salt
  • 1/3 cup pure maple syrup or honey
  • 1/4 cup coconut oil
  • 2 tbsp whole flax seeds (chia seeds or hemp seeds or any other seeds you like work here too)
  • 2 tsp pure vanilla extract
  • 1/2 tsp baking powder
  • 3/4 cup chocolate chips

Brownie


What You Do:

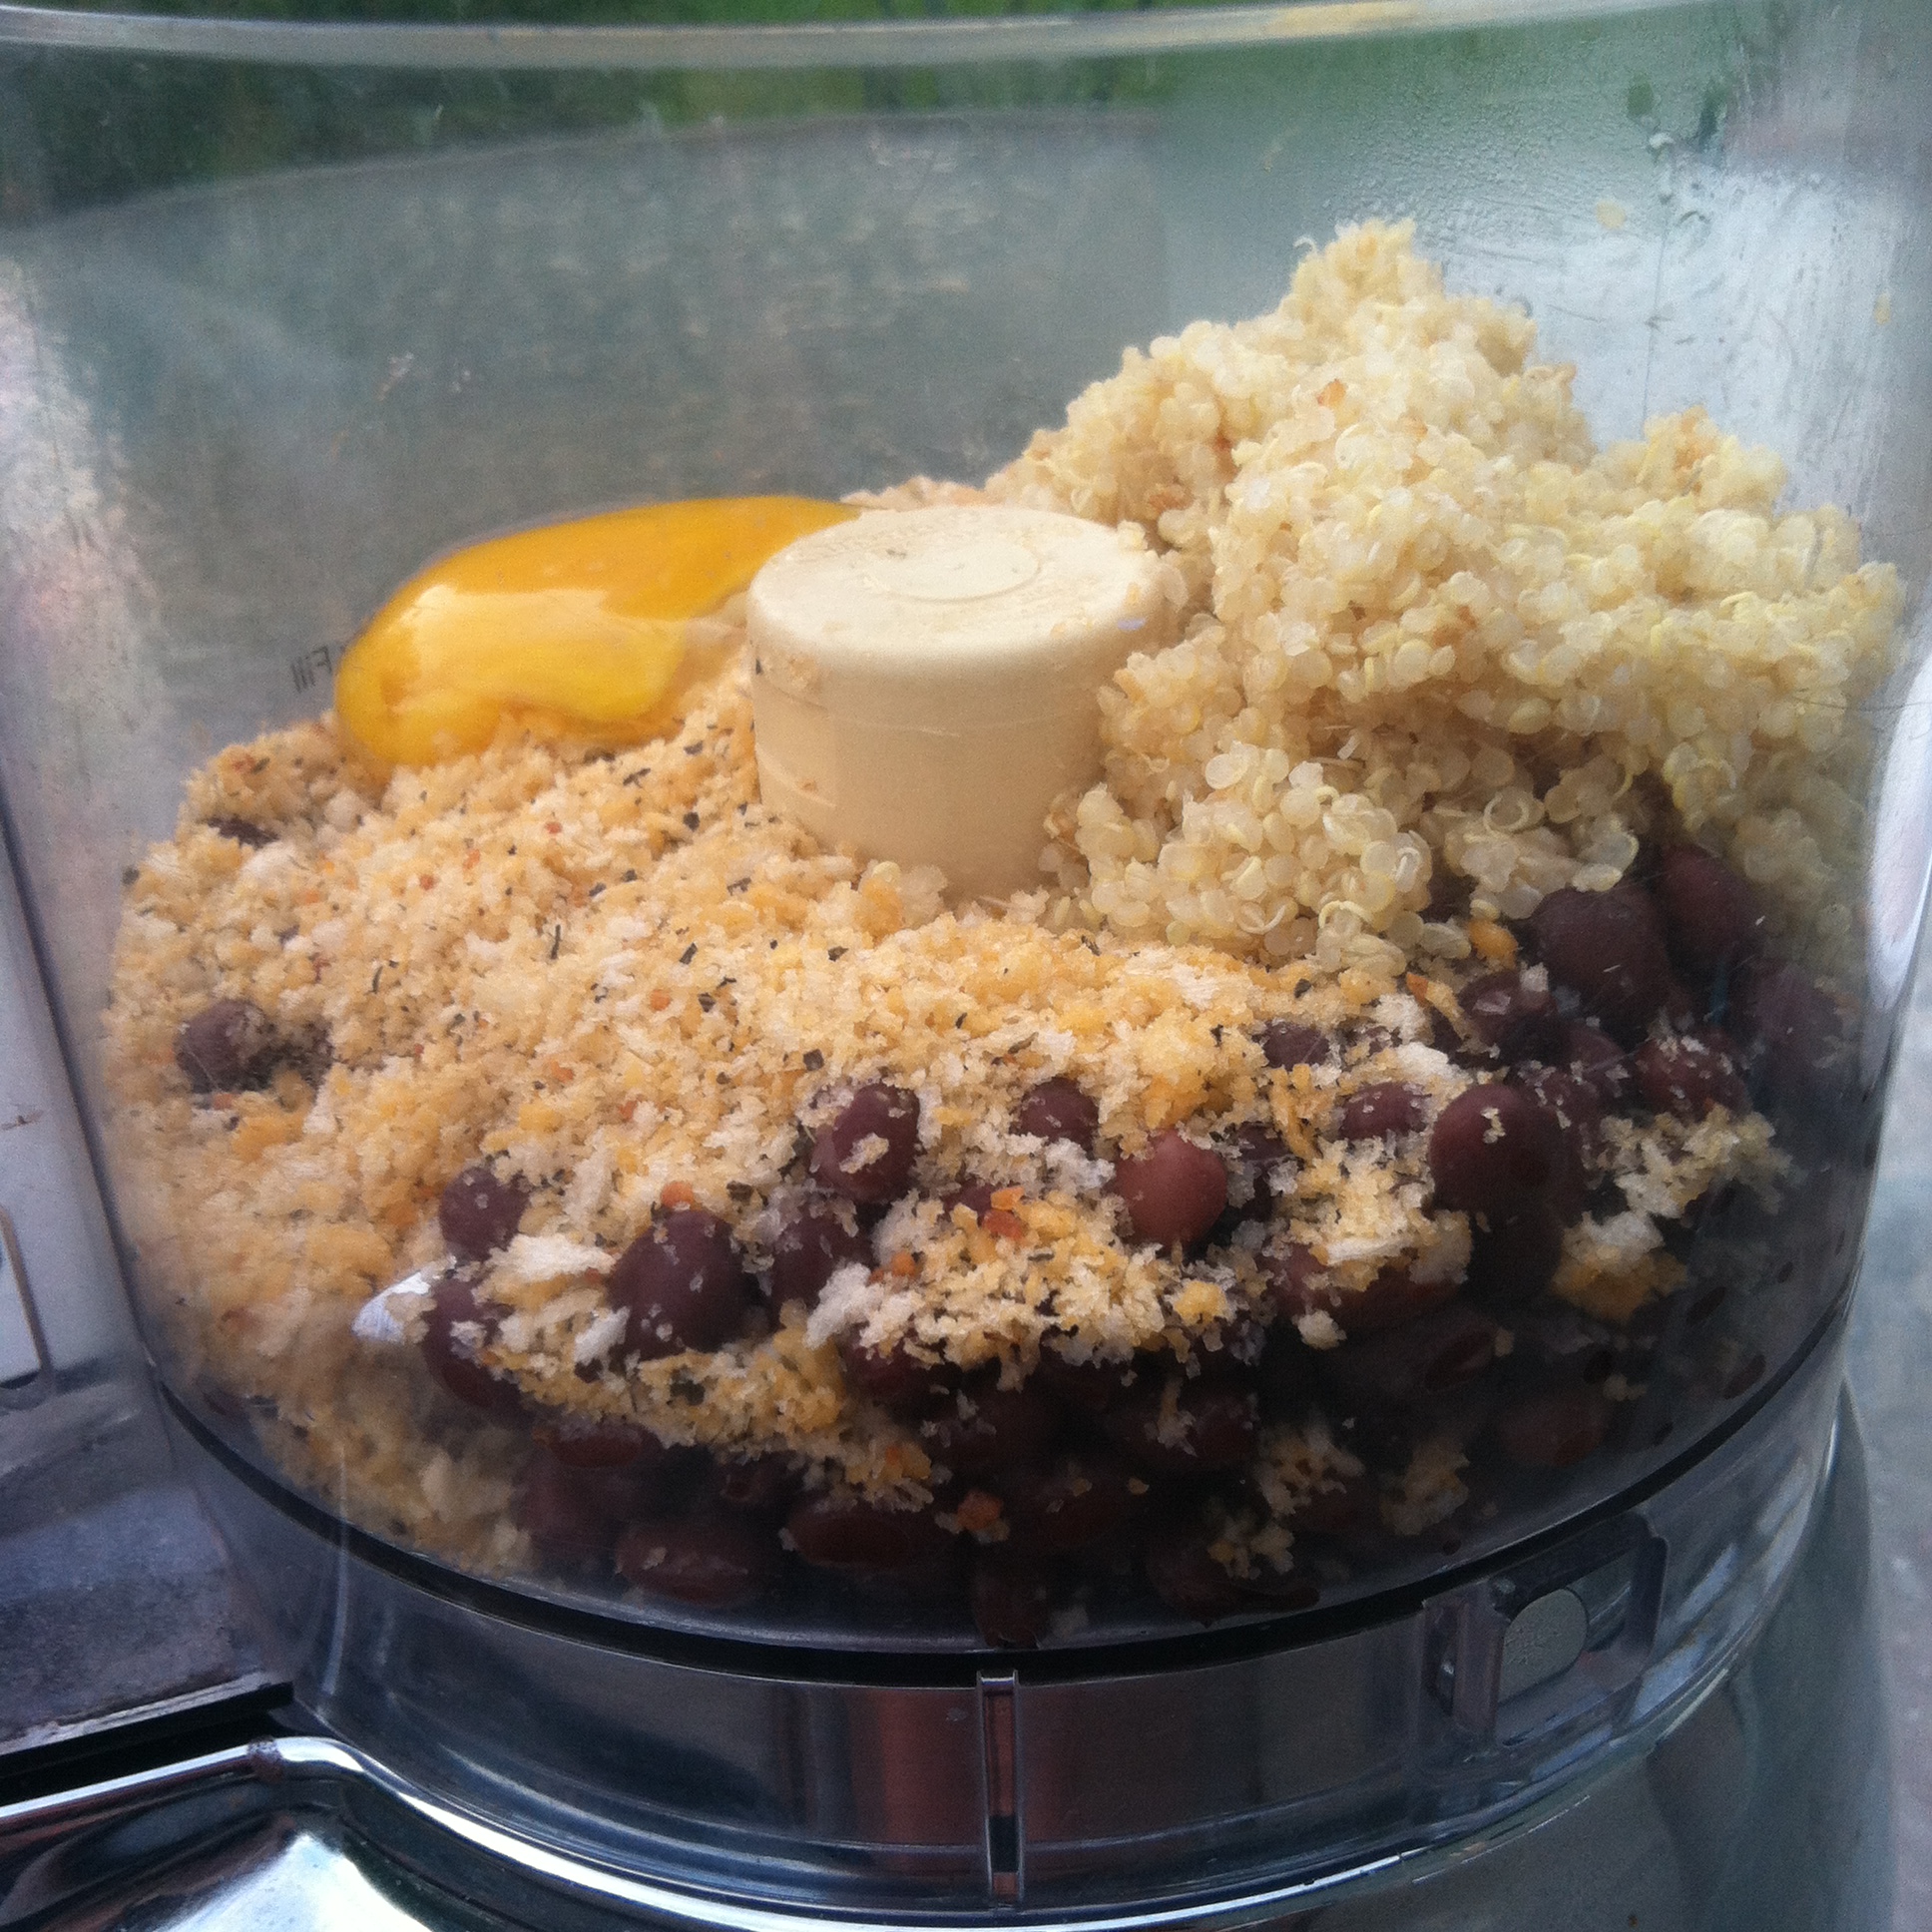
Put everything into a food processor EXCEPT the chocolate chips and flax seeds. Blend well, stir in the chips and seeds, and then pour the batter out into an 8X8 brownie pan.

Bake for about 18-20 minutes. Let cool well for about 10-15 minutes before serving.


Pro Tip: Substitute the oil for applesauce maybe? I didn’t try it this way but it’s worked for brownies and cookies I’ve made in the past. If you do this, let me know how it goes!

Brownie 3

Black Bean, Chickpea and Zucchini Veggie Burgers with Curried-Honey Glazed Tri-Color Carrots

IMG_4054

There’s nothing better than a summer meal. Like really nothing at all. There’s just something about that wonderful smell wafting from the grill from flame-kissed summer veggies that makes every slow sunset better than the last.

I’m not going to lie, it’s super hard right now for me to do anything after work besides come home, throw on my apron, turn up my Spotify playlist, crack a bottle of wine and get to cooking. It doesn’t always work out that way, but tonight it did (sans the wine – trying to be responsible!)

IMG_4043

My longtime desire to create a veggie burger recipe that actually works on the grill without falling horribly apart has finally been realized, along with my longtime desire to cook tri-color carrots.

I know, small victories.

Anyways, on to the perfect summertime recipe.

IMG_4046What You Need:

For the burgers:

  • 2 cups panko
  • 1 can black beans
  • 1 can chickpeas (garbanzo beans)
  • 1 cup cooked quinoa
  • 1 medium zucchini, chopped
  • 1 egg
  • 2 tsp onion powder
  • 2 tsp pepper
  • 1 tbsp olive oil

For the carrots:

  • 1 bunch tri-colored carrots (I found mine at Trader Joes, but I KNOW they’ll have them at the farmer’s market eventually)
  • 1 tbsp curry powder
  • 3 tbsp honey

What You Do:

Cook the quinoa according to package directions. Set aside 1 cup of the cooked quinoa for this recipe and use the rest for whatever!

Mix the honey and the curry powder and brush over the carrots. Lay the carrots out on a large piece of lightly oiled tin foil. Wrap tightly and place on the top shelf of the grill. They’ll need about 45 minutes to an hour to cook fully, and they will be ready to eat when they’re very soft.

IMG_4050Drain and rinse the black beans and chickpeas.

In a food processor, load in the two cans of beans and the rest of the ingredients.

Pulse gently until the mixture is coarsely ground. If it seems too loose and won’t make burgers that feel fairly solid, add additional panko until the mixture is thicker and forms burgers without trouble and without globbing all over your hands (I have no better way to describe this).

Lay burgers out of a piece of lightly oiled foil and place on the grill. Let the burgers cook about 5 minutes on each side and flip them four times.

Toast your burger rolls of choice or just eat the burgers bun free! I topped them with ketchup and mescalin mix.

Pro Tip: Make these gluten-free by substituting the panko for a gluten-free bread of your choice (just chop it in the food processor ahead of time).

IMG_4055


Tomato Rhubarb Cobbler

There is nothing not amazing about this dish.

I know that’s a horribly-put-together sentence, grammatically speaking, but it can’t be helped because I’m still in the haze of having eaten this amazing dinner.

IMG_4008

A couple of years ago my friend had an awesome cooking blog that was basically my kitchen bible. One day she posted this tomato cobbler recipe and with the way she raved about how good it was, it was too tempting not to try. And ever since I too was able to partake in its amazingness, it’s never left the back of my mind as the perfect summer recipe that I crave any time of year.

But it’s almost summer and that’s good enough for me; the local farmer’s market is already full of awesome, inspirational veggies. So, armed with a fresh bundle of rhubarb and already tasting warm pinched cherry tomatoes, I delved into this recipe after work and a yoga session to cap off the day right.

IMG_3993

It has two parts – the filling and the topping – but despite that, it’s pretty easy to make.

Preheat oven to 375 F

What You Need for the Filling:

  • 3 pints cherry tomatoes
  • One large onion, sliced thin
  • 2 cloves garlic, peeled and minced
  • 1 cup chopped rhubarb
  • 1 tbsp olive oil
  • 3 tbsp flour

IMG_4002IMG_4001IMG_4003

What You Need for the Topping:

  • 1 1/2 cup whole wheat flour
  • 1/2 cup all-purpose flour
  • 2 tsp baking soda
  • 1/2 tsp baking powder
  • pinch of salt
  • 4 oz blue cheese crumbles (or extra if you’re cheese-addicted like me)
  • 1 cup buttermilk
  • 1 stick butter (8 tbsp) melted

IMG_3995What You Do:

Start by prepping the filling. Heat oil on low-medium in a large skillet. Add onion slices and cover, letting them caramelize. When they’ve become softer and begin to look translucent, add the rhubarb and garlic, stirring for about 5-8 minutes until the rhubarb softens. Remove from heat before the rhubarb totally breaks down and becomes mushy.

Add cherry tomatoes and 3 tbsp of flour to the rhubarb/onion filling and mix well, making sure the tomatoes are fully coated.

Pour the filling mixture into an 8×11 baking dish and pop the filling mixture into the oven for about 20 minutes. Take them out when the tomatoes are looking hot and pinchy.

In a medium bowl, mix the whole wheat flour, the all-purpose flour, baking soda, baking powder and salt together.

In a separate, larger bowl, mix the buttermilk and melted butter, whisking well.

Slowly add the flour mixture to the buttermilk mixture, stirring well. Then add the blue cheese and mix thoroughly. It will start to become dough-y.

Once the filling is done pre-baking, spread out the dough somewhat generously over the top of the mixture to create a topping. IMG_4005

Put this whole shebang back in the oven for another 20-25 minutes (check it though – the topping will burn easy if it’s in for too long!)

Give it some time to cool, even though that will be hard, and delve in! Works great as leftovers too!


Pro Tip: I have 2. First, as you guessed this is not a Gluten-Free recipe. But it easily could be by substituting the flour and using any gluten-free biscuit recipe you have for the topping! My second tip is that you will likely have biscuit dough leftover so make some biscuits! #duh

Tomatillo Pizza

Pizza with tomato sauce? How about pizza with tomatillo sauce?

I’ve only ever used tomatillos to make salsa. That is, until I discovered that when you slice them and heat them in a pan, they reduce to a thick and sweet sauce that pairs perfectly with other veggies and – my favorite – goat cheese.

This sauce puts a fun spin on pizza. It makes it a little sweet but it’s definitely tasty and a really good summer pizza. I busted it out on a hot day for a pre-dinner appetizer and it was a hit!

IMG_3851

Preheat Oven to 350F-375F

What You Need to Make the Pizza Dough:

(Adapted from this recipe from my cooking idol Smitten Kitchen)

  • 1 1/2 cups flour (can replace up to half of this with whole wheat flour)
  • 1 teaspoon table salt
  • 3/4 teaspoon  active dry yeast
  • 1/2 cup lukewarm water (may need up to 1 or 2 tablespoons more)
  • 1 tablespoon olive oil
  • About 1-2 tablespoons whole flax seed. Gives the dough a little crunch and healthy boost!

What You Need to Make the Topping:

  • Pre-made or homemade pizza crust. If you make your own, I highly suggest using this recipe from my cooking idol Smitten Kitchen.
  • 6-8 medium tomatillos, shells peeled off and sliced into quarters
  • 1 medium red onion, sliced
  • 3-4 oz. of goat cheese
  • 1/4-1/2 cup of corn meal (to sprinkle on baking pan to bake the pizza on)

IMG_3853To Make the Pizza Dough:

Stir dry ingredients, including yeast, in a large bowl. Add the water and olive oil and stir until formed into a ball. Knead well and place in a well-greased bowl with a damp towel covering it for 1-2 hours until it has doubled in size.

Knead dough again to eliminate air pockets and place back in the bowl for 20-30 minutes. Roll out the dough and lift onto a pizza stone or pizza pan pre-sprinkled with cornmeal.

To Make the Topping:

Place the tomatillos into an oiled pan heated on medium. Cover and simmer until they reduce and thicken, stirring frequently.

While tomatillos are cooking, place sliced onions in an oiled pan on medium heat, cover and cook until caramelized.

Spread the tomatillo mixture across pizza like a sauce. Top with caramelized onions and goat cheese and bake for 10-12 minutes depending on the thickness of your dough.

Pro Tip: Along with the flax seed, add fresh basil or dill to the pizza dough to give it a little kick and a little more of that summer flavor!

Vegetarian Quesadillas with Beans and Corn

This is truly a quick dinner dish. Perfect for those nights when you’ve worked late and have no desire to cook anything, but have no leftovers in the fridge and no appetite for Annie’s Mac (which is generally my go-to for nights like this).

001

I went straight for the cupboard for this dinner, pulling out a can of corn and a can of pinto beans. Luckily, this is one of those dinners that you can make with pretty much anything you find around your kitchen.

I made one for me and one for Mike because I wanted mine to be super spicy. It took about 40 minutes total and really hit the spot!

Preheat the oven to 350F

006What You Need:

  • Wraps (I used 4 Joseph’s Omega 3 wraps)
  • Freshly grated cheese of your choice (I used cheddar)
  • 1 can of corn
  • 1 can of beans of your choice
  • Chopped jalapeno or serrano pepper (optional)
  • 1 avocado
  • Jar of salsa (I used a spicy corn salsa)
  • Sour Cream (optional)

What You Do:

Drain the corn and beans in a strainer and combine. Add a teaspoon of salt and pepper if desired.

Sprinkle shredded cheese on one half of the wrap OR on one whole side of one wrap. Then sprinkle the corn and bean mixture on top. Add chopped hot pepper if desired.

Sprinkle more shredded cheese on top and fold the wrap over to cover it OR place another wrap over it.

Place in the oven and bake until cheese is melted and the wrap is toasty.

To dress, add salsa and avocado or – to be “fancy”, mash the avocado and blend with some salsa for a quick and easy not-quite-guacamole.

Add a side salad if desired and you’re good to go!003


Pro-Tip: Add chicken if you want! Also, you will probably have leftover corn and beans, so use the mixture to top a salad!


Gluten Free and Vegetarian Polenta Pizza

It’s apparently polenta week! Maybe I’m feeling inspired by corn? More realistically, I accidentally bought a brand new bag of cornmeal, not realizing I had not one, but two, already at home.

So bring on the cornmeal recipes!

Don’t worry, I won’t bombard you. But I’m pretty excited to experiment with it because I’ve only ever used it for sprinkling beneath a pizza crust so it won’t stick to the pan.

Speaking of pizza…

photo 5


What You Need to Make the Crust:

  • 1 cup cornmeal plus a little extra to line the pan
  • 1 1/2 cups water
  • 3/4 cup milk (I used almond – any kind of dairy-free milk would work too)
  • 1 tbsp olive oil

What You Need for Toppings:

So obviously you can use whatever you want for toppings, and I definitely plan to make this again and switch out the spinach for basil – yum!

  • Thinly sliced tomato
  • Spinach leaves
  • Thinly sliced summer and zucchini squash
  • Mozzarella cheese (grated or sliced)
  • 1 cup balsamic vinegar

What You Do:

Preheat your oven to 375F

Boil the water and milk in a medium pot. When it begins to boil, slowly add the cornmeal while simultaneously (as much as possible anyways) turning the heat down to a slow boil.

Stir well to avoid clumping. If it clumps try to just break them apart. Then cover and let simmer for about 15 minutes until it becomes thicker.

photo 1 (2)Add olive oil. Stir until thickened. I had to add a bit more cornmeal to make the polenta more of a pizza dough consistency.

While this is going on, sprinkle some cornmeal on your pizza stone or pan.

Once the polenta starts moving in a pizza-dough-type ball, remove from the pot. Spread slowly and evenly over the pizza stone or pan until 1/4 inch thick with no rips or holes.

I put the whole thing in the fridge for about half an hour to help it solidify more, but I have a hunch you could skip this step.

After I took it out of the fridge, I put it in the oven, topping-free, for about 15 minutes to burn off any excess water.

Then, it was time for the toppings! Pile them on, then bake for 12-15 minutes!

While it’s baking, make your balsamic reduction by slow boiling the balsamic vinegar. This takes 15-20 minutes. It will become syrupy, and you can test the progress by letting it drip off a spoon. Watch it closely once the level gets low because it will burn if you don’t remove it from the heat as soon as it fully reduces and becomes syrupy.

Drizzle it over the finished pizza and you’re done!

photo 3

Pro Tip: Unlike real pizza, this one doesn’t taste too awesome straight out of the fridge the day after. Heat this up in a toaster oven or conventional oven if you can! Microwaving would probably be ok too!


Vegetarian Polenta Stuffed Poblano Peppers

It’s that time of the month where I have to do a serious assessment of what’s in the fridge. I hate nothing more than reaching into the crisper drawer to grab the tomatoes I bought to make sauce and finding that some – or, GASP!, all – of them have gone bad.

My only consolation is being able to feed my rotten food to the worms in my vermicompost bin, but it’s still food I needed for dinner and no longer have!

My stray vegetable roundup this week resulted in this comfort food dish that was fairly quick to make and perfect after a long day at work.

Preheat Oven to 300F

015

What You Need:

  • 5-6 poblano peppers
  • 1 tbsp olive oil
  • Half a small onion
  • 1 tbsp minced garlic
  • 2 cups kale
  • 1 cup cornmeal
  • 2 cups water
  • 3-4 cups tomato sauce

What You Do To Make the Polenta:

Boil 2 cups of water. When it boils, add 1 cup cornmeal and immediately remove from heat as the cornmeal will thicken super quick in the bioling water. Don’t be alarmed, this literally takes a matter of seconds.

Stir until thickened and add additional water if necessary (I usually have to) to make it creamier. Your polenta should be creamy and easy to stir when complete.

What You Do To Make the Filling:

Slice the tops off the poblano peppers leaving as much pepper on as you can. Cut the pepper in half lengthwise and clean out the seeds and veins.

013Lay the peppers out on a baking sheet and bake for about 15 minutes. Flip them about halfway through and take out when the skin starts to pinch.

While the peppers bake, warm olive oil in a large pan on medium heat. Add the onion and garlic and simmer, stirring frequently, until translucent and soft.

Add any other veggies you want. I added 2 chopped serrano peppers for a little kick and the kale, stirring it until it was steamed and reduced.

Add the onion mixture to your polenta, stirring until well mixed.

Place each pepper in a baking dish with sides, and spoon the polenta mixture into each poblano pepper. Top with tomato sauce and goat cheese, and bake until cheese is melted.

Pro Tip: Consider adding cooked sausage or your favorite kind of bean to the polenta mixture for some protein!

012

Potato, Leek and Kale Soup

So Mike has bronchitis. He’s not thrilled, for obvious reasons, but also because he’s been sick straight through some of the nicest days we’ve had in months.

The sun is out, the temperatures are steadily warming up, and there are legitimate flowers growing in our yard. It’s amazing! And on nights like we’ve been having, I naturally gravitate toward the grill. Except when my husband is sick. On nights like THAT, I gravitate toward soup.

Leek Soup (8)

There’s been a leek in our fridge for more than a week, and unlike my interaction with most vegetables, I was kind of stumped on how to use it, and had forgotten why I bought it in the first place.

I know when people are sick, chicken noodle soup is the natural go-to, but I decided to switch it up and make a creamy potato leek soup – completely vegetarian, and completely daily and gluten free.

Leek Soup (1)

What You Need:

  • One large leek, top layer and leaves removed, sliced
  • 4-5 small to medium yellow potatoes, quartered (you can peel them if you want – I didn’t)
  • 3 cloves garlic, chopped
  • 1/2 yellow onion, roughly chopped
  • 3-4 cups kale, chopped
  • 3 cups vegetable broth (I got mine this way)
  • 1/3 cup almond or soy milk
  • 2 tbsp olive oil
  • 1 tbsp ground black pepper

What You Do: Leek Soup (5)

Fill a large saucepan halfway with water and bring to a boil. Add the potatoes and cook at a slow boil for about 30 minutes or until soft.

Drain the potatoes into a strainer and set aside.

Leek Soup (2) In the same saucepan, heat oil on medium. Add sliced l  leeks, chopped onion and chopped garlic and simmer for  about 20 minutes. Add the chopped kale about halfway  through (after about 10 minutes) and simmer all until soft  and kale has reduced.

Add the potatoes and stir. Then add the vegetable broth  and bring the mixture to a slow boil.

Add the black pepper and stir. Remove from heat.

Pour the mixture into a food processor. If you like your soup chunkier like I do, pulse  until just blended. If you want a smoother soup, blend for longer until creamy.

Add the soup back into the saucepan. Add the almond or soy milk (or any milk of your choice) and stir.

It’s ready to serve!

Leek Soup (10)


Pro Tip: Make this soup a little spicy (you know I did) by adding a hot pepper of your choice into the mixture, or simply sprinkling some crushed red pepper on the soup once it’s ready to serve.

Healthy and Easy Quinoa Stuffed Poblano Peppers

Peppers4

Well, life got in the way of cooking for awhile but I’m back! I’ve been training pretty hard for my 20 mile race (which was May 29), so our dinners were mostly pasta, pizza, tacos or pb&j, and about as simplified as possible so I could go to bed at a reasonable hour. But I’m happy to report I beat my 2013 finish by 12 minutes and ran it 40 seconds faster per mile. It was such a good feeling when I finished, especially because the weather was terrible all day – just super rainy and cold. What a relief to be done!

1606281_10101050435251241_747843892_o

Approaching the finish line!

I feel like I owe some of my success to a massive carbo-load the night before the race. I inhaled more bread and pretzel in one sitting than ever before and it was really fun! But I was craving a real, home-cooked and healthy meal by the time my body was done recovering from the race, so I made the best recipe I could think of to deliver on all those cravings with as minimal time on my feet in the kitchen as possible.

That’s how we ended up with quinoa stuffed poblano peppers. I love this dish because it’s really easy and always delicious, and poblanos have a great taste – sweet with a little spicy kick.


Peppers3

I used 4 medium-sized poblano peppers. One stuffed pepper is more than enough for a single serving meal – even for Mike – and the leftovers are just as tasty reheated a day (or two or three!) after.

Preheat oven to 375F

Peppers2

What You Need

  • Poblano peppers (any number you want/need)
  • 1 cup quinoa
  • 1 sweet onion, chopped
  • 1 jalapeno, chopped (optional)
  • 2 cloves garlic, minced
  • 1 jar sun-dried tomatoes, drained of oil and chopped
  • 1 jar tomato sauce (I made my own tomato sauce using this recipe)
  • About 1 cup Parmesan cheese

What You Do

Slice off the stem end of the poblanos, being careful not to take off too much of the pepper itself. Empty out the insides and seeds using your fingers.

Place the poblanos on a sheetpan lined with parchment paper and bake them in the oven for about 15 minutes or until the skin starts to pinch. (Leave the oven on when the peppers are done – you need to bake them again at the same temperature once they’re stuffed)

While the peppers are baking, cook your quinoa according to package directions. I boiled 2 cups of water and added one cup of quinoa, and simmered, covered, until the water was gone. Obviously if you’re stuffing more than 4 peppers, you might want to make more quinoa.

While the quinoa is cooking, put a tablespoon of olive oil in a pan and heat the onions, jalapeno and garlic for about 5 minutes or until the onions become translucent and soft.

Stir the onion mixture into the quinoa until combined. Peppers

In a large bowl, mix the sun-dried tomatoes with the tomato sauce.

Stuff your slightly baked peppers with the quinoa mixture. Lay extra quinoa on the bottom of the baking dish like a bed for the peppers. Place the stuffed peppers on their bed and cover with tomato sauce. Sprinkle with parmesan cheese.

Bake at 375F for about 20 minutes.

Serve with additional cheese on top if you want. I love my cheese!


Pro Tip: You can really stuff quite a bit of the quinoa mixture into these peppers! Gently tap the bottom end of the pepper on the palm of your hand or a dish to pack down the quinoa. Once you near the top of the pepper with stuffing, push the quinoa down with your spoon for more room.

Peppers5


Signs of Spring: The birth (literally) of my future vegetable garden

Like pretty much everyone who lives in the northeast, I’ve been whining and complaining about this never-ending winter, balking at the temperatures that have dropped hopelessly into the 30s and stubbornly remained there, and – on several occasions – wearing flats despite there being actual snow on the ground.

A girl can dream, even at the expense of freezing cold feet.

But today – a glimmer of hope! No matter how many springs come and pass, I will always be uplifted and captivated by a baby bud. It has to be one of the most hopeful things to witness in life. A teeny tiny seed, buried in dirt, GROWING into SOMETHING.

seeds2

I’m thrilled.

I grow vegetables every year, and since Mike and I now own a house and I have FREE REIGN over this great yard, I am rolling with it. I’m also trying something new – planting flowers! I was inspired by my best friend Kate, who is amazing at gardening and has turned her rental property into a really amazing landscape. Just to clarify – she rents the property, so she truly does this out of a love of gardening. It’s awesome. (I will have to share photos once her flowers bloom. She has a planting plan diagrammed out like the White House).

seeds3


I started with peppers, lettuce, tomatoes, radishes, beets, spaghetti squash, cucumber, and two kinds of peas. This week I’ll move on to hot peppers and some awesome looking flowers to really beautify the yard. It’s all so exciting!!

Even if it doesn’t FEEL like spring around here yet, I am enjoying my own personal spring beginnings in my home. I can’t wait to see how they all progress!

seeds1