Healthy and Easy Crustless Summer Vegetable Quiche

Quiche (2)

I have never been so determined to make a dinner from scratch as I was when I forged ahead and baked this quiche, even though I didn’t start it until 8pm on a work night, knowing full well it wouldn’t be ready to eat until at least 9:30pm; and that’s if everything went smoothly. (It did).

Perhaps a saner person would have looked at the clock and resigned themselves to leftover Annie’s Mac and Cheese, or even a fresh salad, but I would not give up the dream of quiche. It came out of the oven so late that Mike didn’t even eat it (he had already eaten the mac and cheese and a fresh salad with toast on the side, like a smart thinker).

Quiche (5)

But I made sure to ooo and ahhh over this quiche as I helped myself to not one but THREE (small) servings, trying to savor it as the clocked ticked rapidly toward 10pm and my bedtime loomed near. I try not to eat close to going to bed, but quiche night was an exception.

It’s good. Good enough to wait well into the night for, and good enough to risk going to bed with a quiche hangover. I also need to note that the reason it didn’t maintain it’s pie-slice shape in the photos was because I insisted on eating it within a few seconds of taking it out of the oven. Let this thing cool – it’s worth it!

What You Need:

Quiche (6)

  • 1/2 of a large yellow onion, roughly chopped
  • 2 small garlic cloves, finely chopped
  • 1/2 of a green bell pepper, chopped
  • 1/2 jalapeno or habenero pepper, chopped
  • 1/4 cup chives, chopped
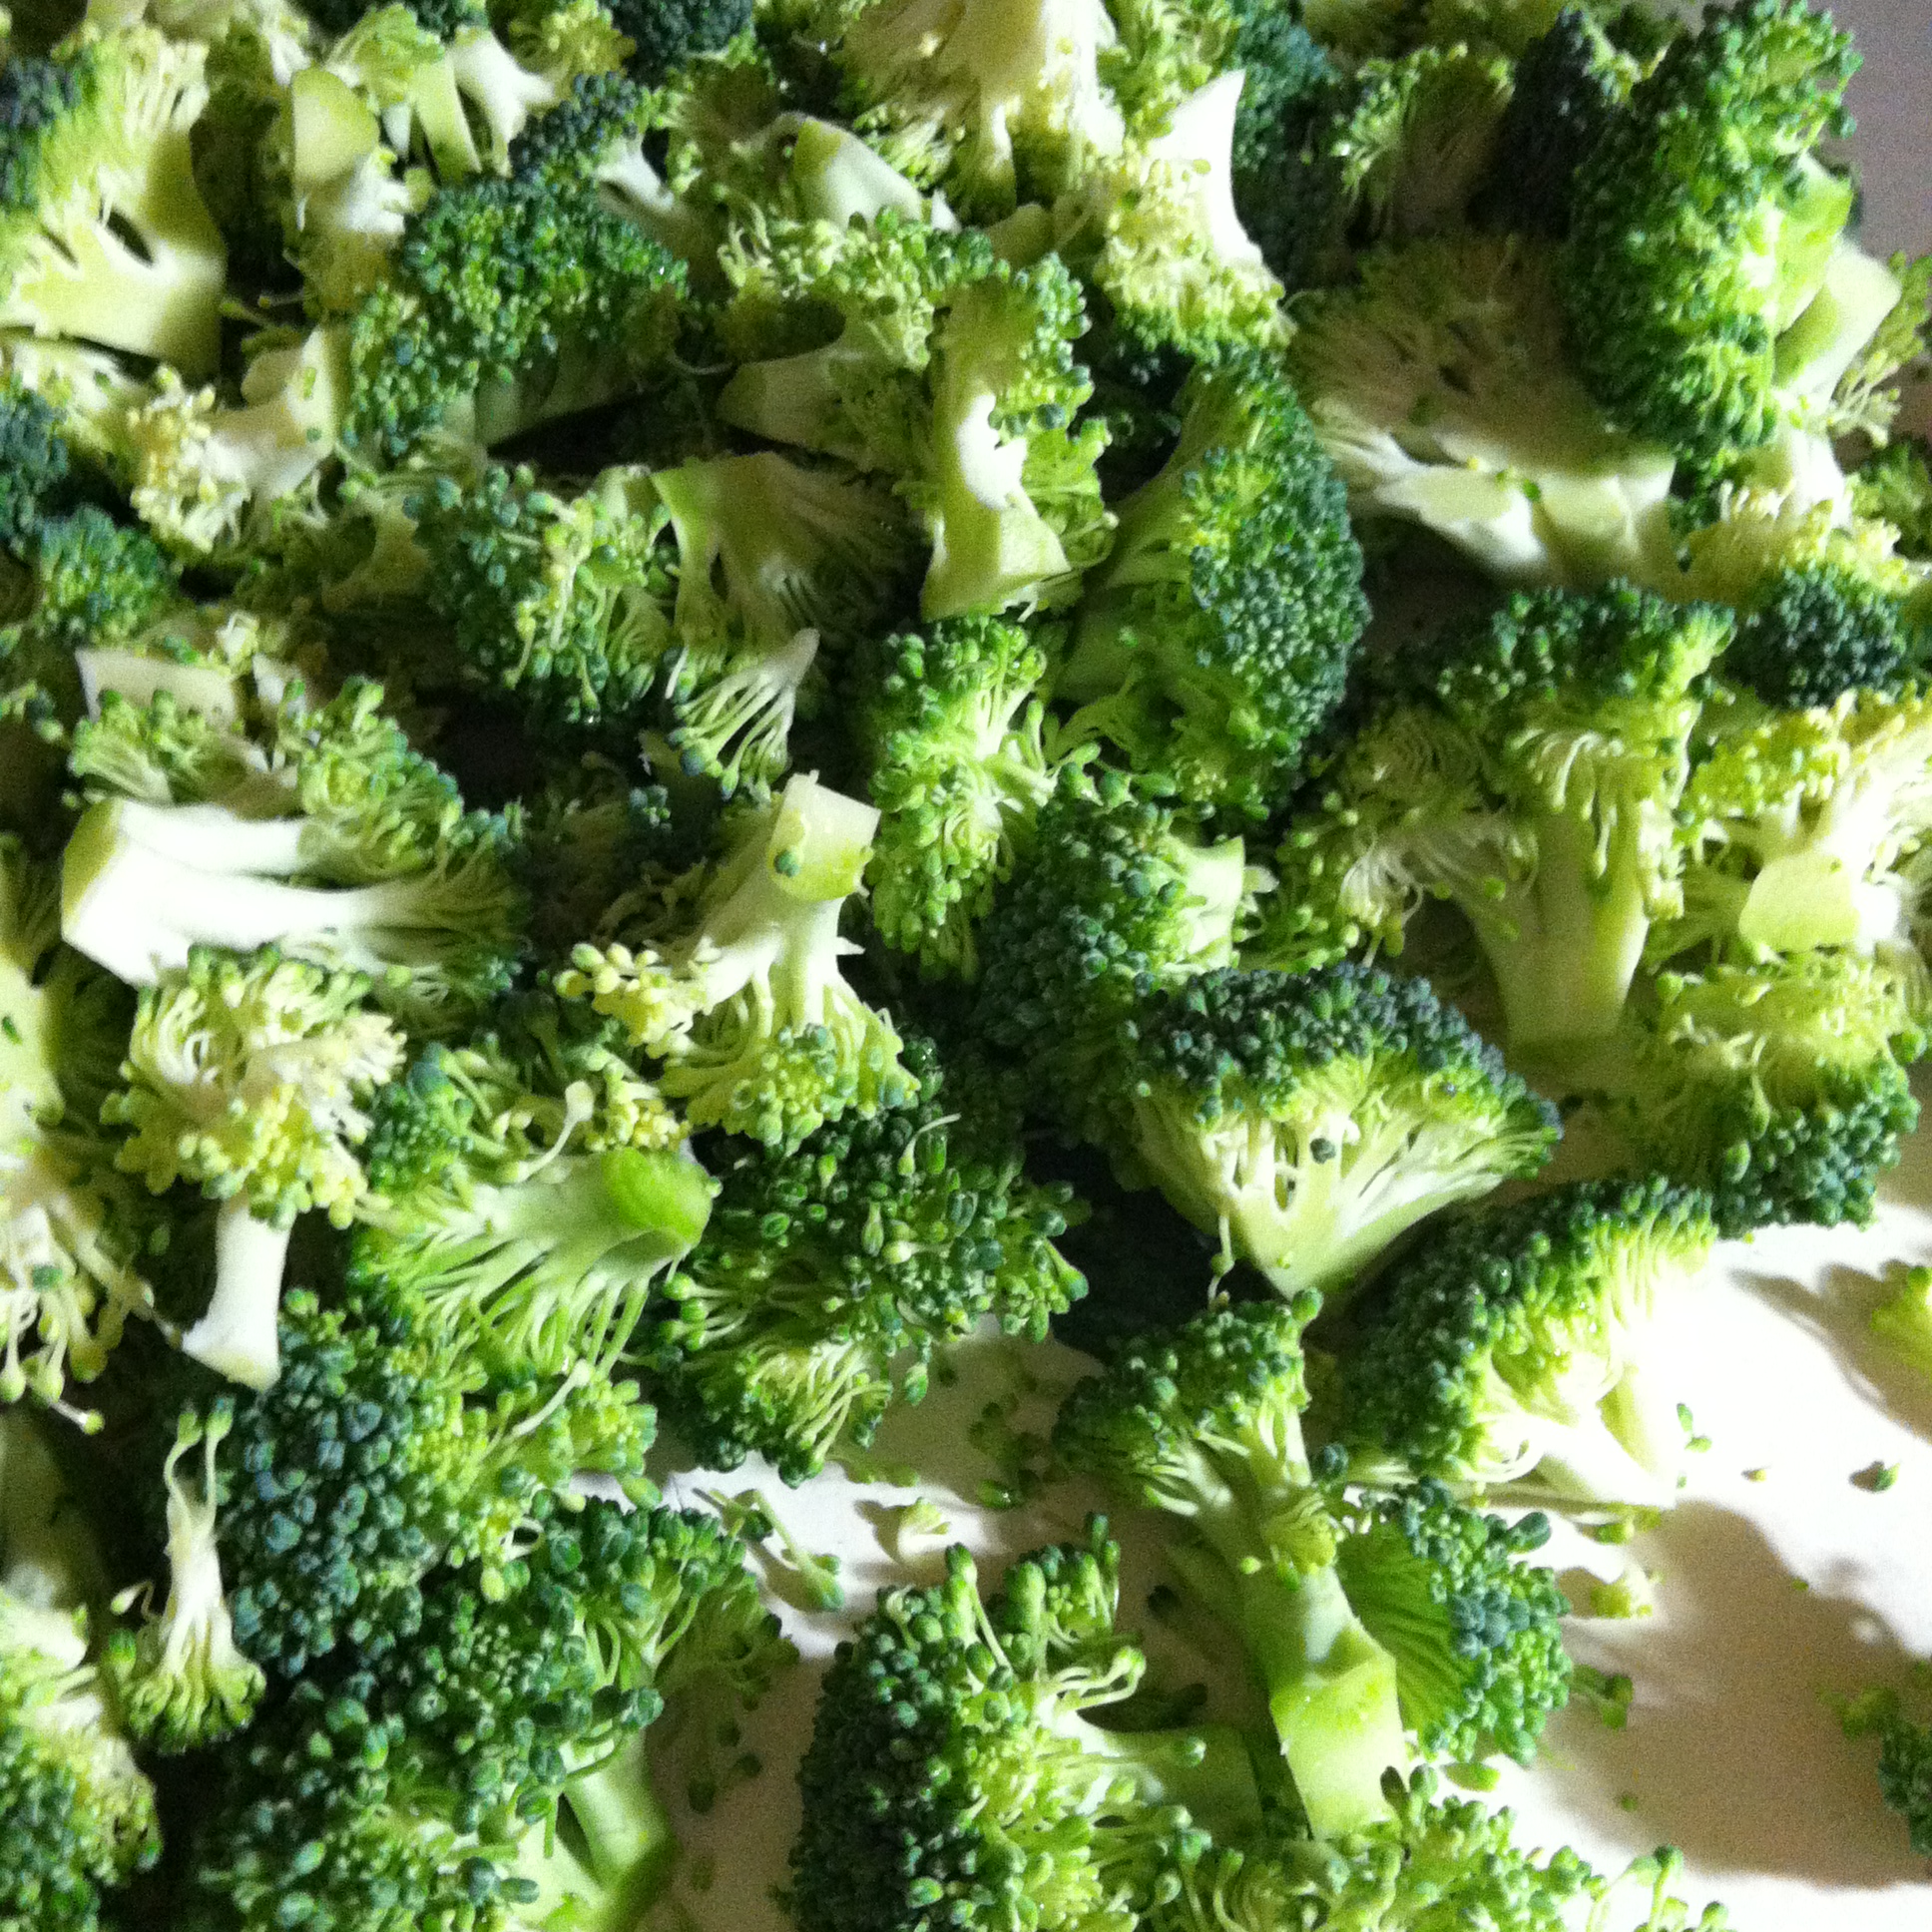
  • 1 1/2 cup broccoli florets
  • 1/2 cup very finely chopped kale (spinach would work well too!)
  • 3 eggs, lightly beaten
  • 1 cup almond milk (or any other milk of your choosing)
  • 1 cup shredded muenster cheese
  • 1 cup shredded cheddar cheese
  • 2 tsp dijon mustard
  • 2 tsp fresh black pepper
  • 1 tsp salt
  • 6-8 very thin slices of zucchini
  • 6-8 very thin slices of tomato

Quiche (4)What You Do:

Preheat your oven to 375F.

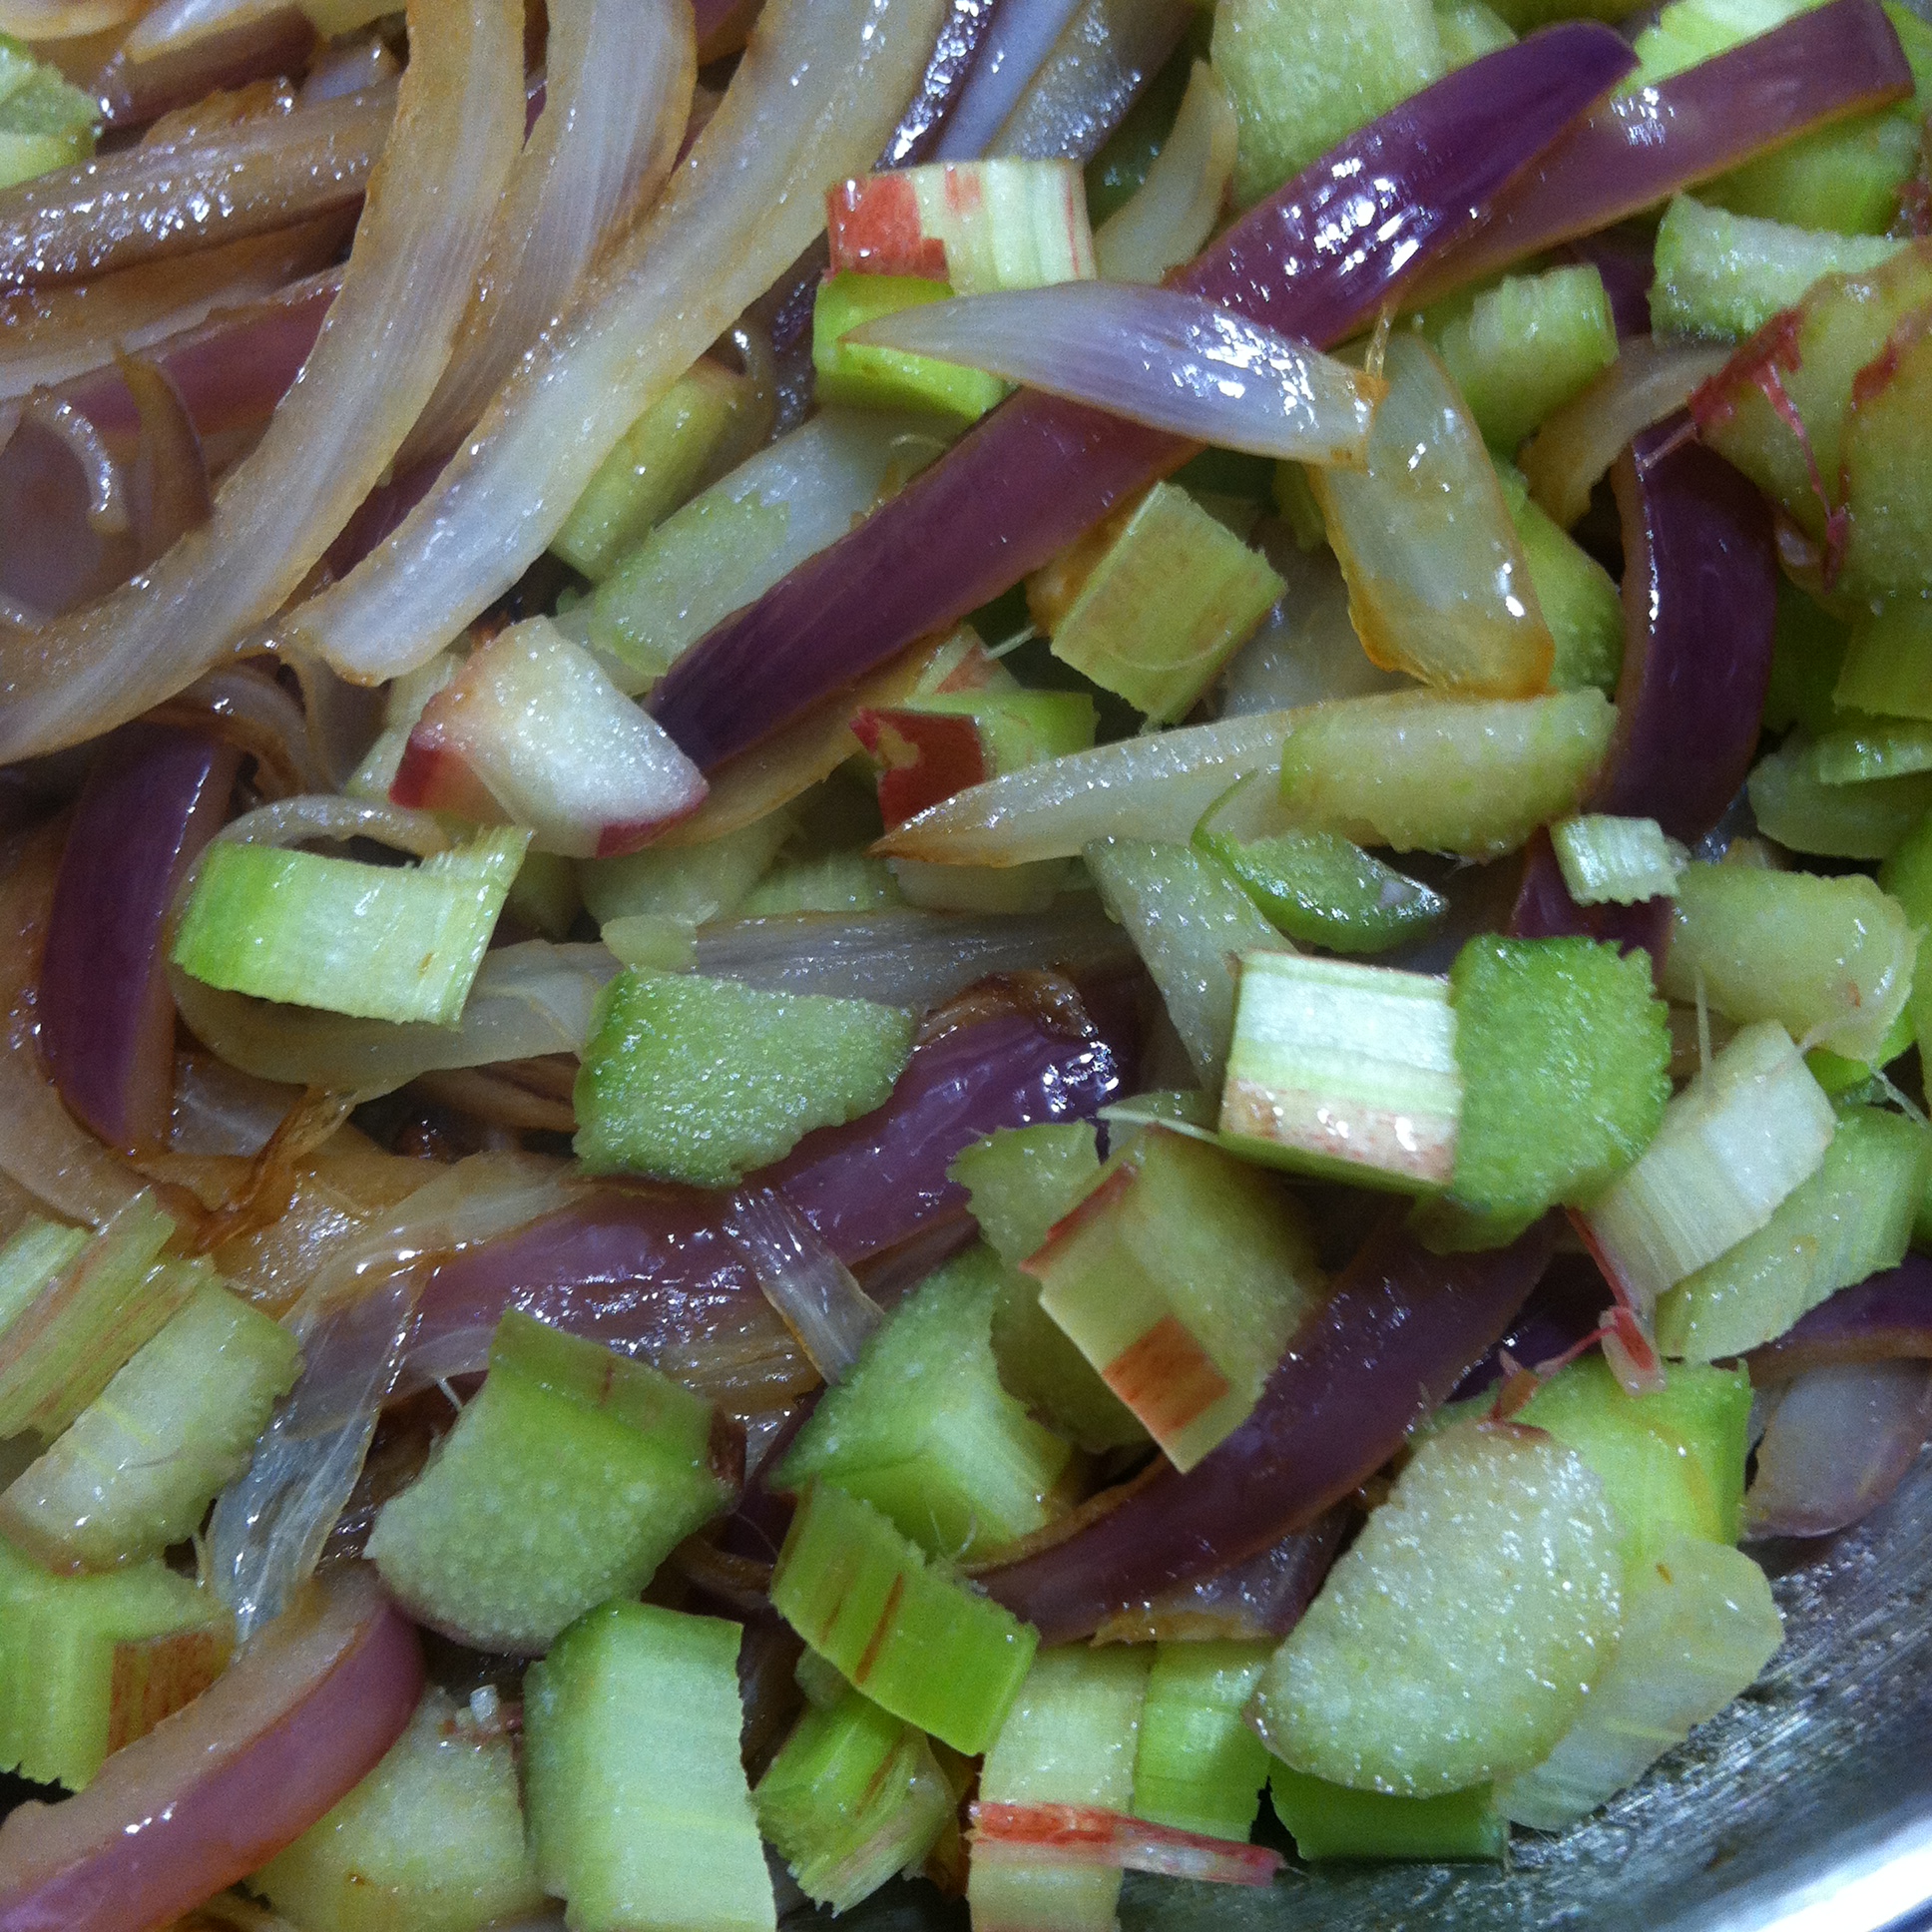
In a lightly oiled medium skillet, heat the garlic and onion on medium heat until the onion becomes soft and translucent.

Add the jalapeno or habenero, and bell pepper, and chives, and stir.

Add the broccoli florets and stir well to combine with the onion mixture. Add a tablespoon of water if necessary to keep the pan moist, and cover, cooking on low-medium until the broccoli has reduced, about 7 minutes.

Quiche (3)

While the broccoli mixture is cooking up, grab a small mixing bowl and combine the eggs, milk, cheeses, mustard, black pepper and salt, stirring well.

Set aside.

Before taking the broccoli mixture off the heat, add the kale and stir well.

Pack the broccoli mixture into a well-greased pie dish.

Pour the egg mixture over the broccoli filling, using a fork to gently nudge the broccoli around to let the egg mixture seep through to the sides and bottom of the pie dish. (There should still be a healthy amount of egg mixture over the top of the dish.)

In any pattern you like, place the zucchini and tomato slices around the top of the quiche. Make a happy face if you want!

Place the pie dish in the oven for about 40 minutes (check after 20-30 though – you want the egg cooked through and the top to be slightly browned and crispy but not burned, obviously).

Let cool for a few minutes before delving in, if for no other reason than to keep it in pie-slice shape 🙂

Enjoy!

Pro Tip: Have it for breakfast! Experiment with different cheeses too – I think Parmesan or feta would be absolutely delish.

Quiche (1)

Advertisement

Healthy Black Bean Power Brownies

I have an obsession, along with 103,000 other people (and that’s just on Facebook!) with Chocolate Covered Katie and her healthy dessert blog. This obsession is borne from a life-long addiction to desserts and internal struggle between cravings and being healthy. Sure, I exercise multiple times a week. I run long distances and get up early to squeeze in a workout before heading to the office.

But when I delve into a pint of Ben and Jerry’s at night following a heaping plate of dinner food, I hear that nagging voice in my head letting me know I’m probably undoing all the good I had done earlier.

The solution to this battle between desserts and being healthy is to combine the two. Healthy desserts. And that is exactly what Chocolate Covered Katie does on her blog. My latest indulgence is brought to you today in the form of chocolately, ooey-gooey brownies made with – wait for it – black beans.

Brownie 2

They’re only slightly tweaked from this recipe on Chocolate Covered Katie – she’s basically a genius so I can’t really improve upon what she’s done here. I omitted some sugar and added flax seeds and a couple options for the flour mix. No biggie.

Enjoy!

Preheat oven to 350 F

What You Need:

  • One 15-oz can black beans, drained and rinsed
  • 2 tbsp cocoa powder
  • 1/2 cup quick oats OR whole wheat flour OR gluten-free flour OR cooked quinoa
  • 1/4 tsp salt
  • 1/3 cup pure maple syrup or honey
  • 1/4 cup coconut oil
  • 2 tbsp whole flax seeds (chia seeds or hemp seeds or any other seeds you like work here too)
  • 2 tsp pure vanilla extract
  • 1/2 tsp baking powder
  • 3/4 cup chocolate chips

Brownie


What You Do:

Put everything into a food processor EXCEPT the chocolate chips and flax seeds. Blend well, stir in the chips and seeds, and then pour the batter out into an 8X8 brownie pan.

Bake for about 18-20 minutes. Let cool well for about 10-15 minutes before serving.


Pro Tip: Substitute the oil for applesauce maybe? I didn’t try it this way but it’s worked for brownies and cookies I’ve made in the past. If you do this, let me know how it goes!

Brownie 3

Tomato Rhubarb Cobbler

There is nothing not amazing about this dish.

I know that’s a horribly-put-together sentence, grammatically speaking, but it can’t be helped because I’m still in the haze of having eaten this amazing dinner.

IMG_4008

A couple of years ago my friend had an awesome cooking blog that was basically my kitchen bible. One day she posted this tomato cobbler recipe and with the way she raved about how good it was, it was too tempting not to try. And ever since I too was able to partake in its amazingness, it’s never left the back of my mind as the perfect summer recipe that I crave any time of year.

But it’s almost summer and that’s good enough for me; the local farmer’s market is already full of awesome, inspirational veggies. So, armed with a fresh bundle of rhubarb and already tasting warm pinched cherry tomatoes, I delved into this recipe after work and a yoga session to cap off the day right.

IMG_3993

It has two parts – the filling and the topping – but despite that, it’s pretty easy to make.

Preheat oven to 375 F

What You Need for the Filling:

  • 3 pints cherry tomatoes
  • One large onion, sliced thin
  • 2 cloves garlic, peeled and minced
  • 1 cup chopped rhubarb
  • 1 tbsp olive oil
  • 3 tbsp flour

IMG_4002IMG_4001IMG_4003

What You Need for the Topping:

  • 1 1/2 cup whole wheat flour
  • 1/2 cup all-purpose flour
  • 2 tsp baking soda
  • 1/2 tsp baking powder
  • pinch of salt
  • 4 oz blue cheese crumbles (or extra if you’re cheese-addicted like me)
  • 1 cup buttermilk
  • 1 stick butter (8 tbsp) melted

IMG_3995What You Do:

Start by prepping the filling. Heat oil on low-medium in a large skillet. Add onion slices and cover, letting them caramelize. When they’ve become softer and begin to look translucent, add the rhubarb and garlic, stirring for about 5-8 minutes until the rhubarb softens. Remove from heat before the rhubarb totally breaks down and becomes mushy.

Add cherry tomatoes and 3 tbsp of flour to the rhubarb/onion filling and mix well, making sure the tomatoes are fully coated.

Pour the filling mixture into an 8×11 baking dish and pop the filling mixture into the oven for about 20 minutes. Take them out when the tomatoes are looking hot and pinchy.

In a medium bowl, mix the whole wheat flour, the all-purpose flour, baking soda, baking powder and salt together.

In a separate, larger bowl, mix the buttermilk and melted butter, whisking well.

Slowly add the flour mixture to the buttermilk mixture, stirring well. Then add the blue cheese and mix thoroughly. It will start to become dough-y.

Once the filling is done pre-baking, spread out the dough somewhat generously over the top of the mixture to create a topping. IMG_4005

Put this whole shebang back in the oven for another 20-25 minutes (check it though – the topping will burn easy if it’s in for too long!)

Give it some time to cool, even though that will be hard, and delve in! Works great as leftovers too!


Pro Tip: I have 2. First, as you guessed this is not a Gluten-Free recipe. But it easily could be by substituting the flour and using any gluten-free biscuit recipe you have for the topping! My second tip is that you will likely have biscuit dough leftover so make some biscuits! #duh

HEALTHY Chocolate Chip Cookie Pie with Quinoa!

I know, yes. If you’re anything like me you just went through about four stages of emotion in order to cope with the news of a healthy chocolate chip cookie pie:

Thrill, followed by Immediate Doubt, then Guarded Hopefulness, and finally a decision to say screw it and eat it regardless of whether it’s actually healthy (it is) because it looks super tasty and involves chocolate.

photo (2)

Well, don’t worry. Thrill was the right reaction (always trust your instincts!). This cookie pie not only is healthy, but it’s gluten free AND one of the ingredients is quinoa – and I always feel like I’m doing the right thing in life whenever I eat quinoa.

One small disclaimer is that it will resemble cookie slop if you try to eat it before it has a chance to spend a few hours in the fridge. But I say slop in the nicest way possible and with a little *nudge nudge* *wink wink* to let you know it’s perfectly fine to eat it that way. It improves the taste too, I think, if you’re hunched over the dish shoveling it into your mouth with your bare hands.

…Not that I would know.

Adapted from Chocolate Covered Katie’s Healthy Deep Dish Cookie Pie.

Preheat Oven to 350F

What You Need:

  • 2 cans garbanzo beans (chickpeas) drained and rinsed
  • 1 cup cooked quinoa
  • 1/4 cup unsweetened applesauce
  • 3 tbsp canola oil
  • 2 tsp pure vanilla extract
  • 1/2 tsp baking soda
  • 2 tsp baking powder
  • 1/2 tsp salt
  • 3/4 cup brown sugar
  • 3/4 cup white sugar (This pie is fairly sweet so this can be adjusted down to 1/2 cup for less sweetness)
  • 1 cup chocolate chips

Directions:

Blend all ingredients except for chocolate chips in a food processor until smooth and cookie dough-like. Mix in chocolate chips. Pour batter into a well-greased pie dish or brownie pan for a square shaped pie.

Bake at 350F for 35-40 minutes or until crust begins to brown. Let cool for 10-15 minutes before eating. Refrigerate to really firm up the cookie pie.