Thanksgiving Day 4: Vegetarian Stuffing Stuffed Mushrooms

If a mushroom is stuffed with stuffing, is it redundant to call it a stuffing stuffed mushroom?

Stuffing (16)

Say that 5 times fast! Either way, the real point here is that stuffing is one of the greatest foods served at the Thanksgiving table. I know I have my whole affinity for squash thing going on, but it’s basically trumped by stuffing.  Stuffing is always flavorful and goes so well with all the other foods on your plate – especially the turkey. Even the name stuffing just makes me love it that much more.

Stuffing is mostly always served in a big bowl, but for the purpose of my 5-day Thanksgiving meal extravaganza (I’m calling it that now, by the way) I wanted to come up with something that would act as more of an appetizer, and be friendly to those traveling who want to bring something unique that can be easily heated up.

Stuffing (14)

This dish is a fun twist on the classic stuffing in a bowl. And it’s really easy to make. It may look like a staggering amount of ingredients but it’s actually very simple. It does include a homemade vegetable broth so you could always make things easier on yourself and use a store-bought kind. There’s 4 ingredients off the list right there!

And this recipe has some great vegetables in it that add amazing flavors so you don’t need to add spices outside of a pinch of salt and pepper.

Stuffing (1)

What You Need:

  • 2 leeks, one cut in half and one diced
  • 1 large yellow onion cut in half, one half left in tact (skins and all) and one peeled and diced
  • 1/2 a tomato
  • 1 jalapeno cut in half
  • 1 stick unsalted butter
  • 1 large parsnip, peeled and diced into cubes
  • 2 leeks, one cut in half and one diced
  • 1/2 large yellow onion, diced
  • 2 cloves garlic, minced
  • 1 medium eggplant, peeled and diced into cubes
  • 2 cups vegetable broth, divided
  • 1 medium sized load of French bread (about 3.5-4oz in weight) OR your favorite gluten free bread to make this a 100% GF dish
  • 1 tbsp fresh chopped sage
  • 1/2 tbsp fresh chopped rosemary
  • 5 large portobello mushrooms
  • 4 tbsp freshly grated Parmesan cheese
  • A pinch of salt and pepper

Stuffing (5)

What You Do:

Preheat oven to 350F

In a large saucepan, bring 6 cups of water to a boil. This is for your vegetable broth. Once the water is boiling, add the leek that is cut in half, the 1/2 tomato, the in-tact onion half and the jalapeno and boil until the vegetables are soft and the water is colored with vegetable leavings.

Strain the broth into a separate pot to separate out the vegetables. Discard the vegetables and set 2 cups of the broth aside. (Freeze the rest for future recipes).

In a very large skillet, melt the butter. Once melted, add the parsnips and let them simmer in the butter for about 2 minutes.

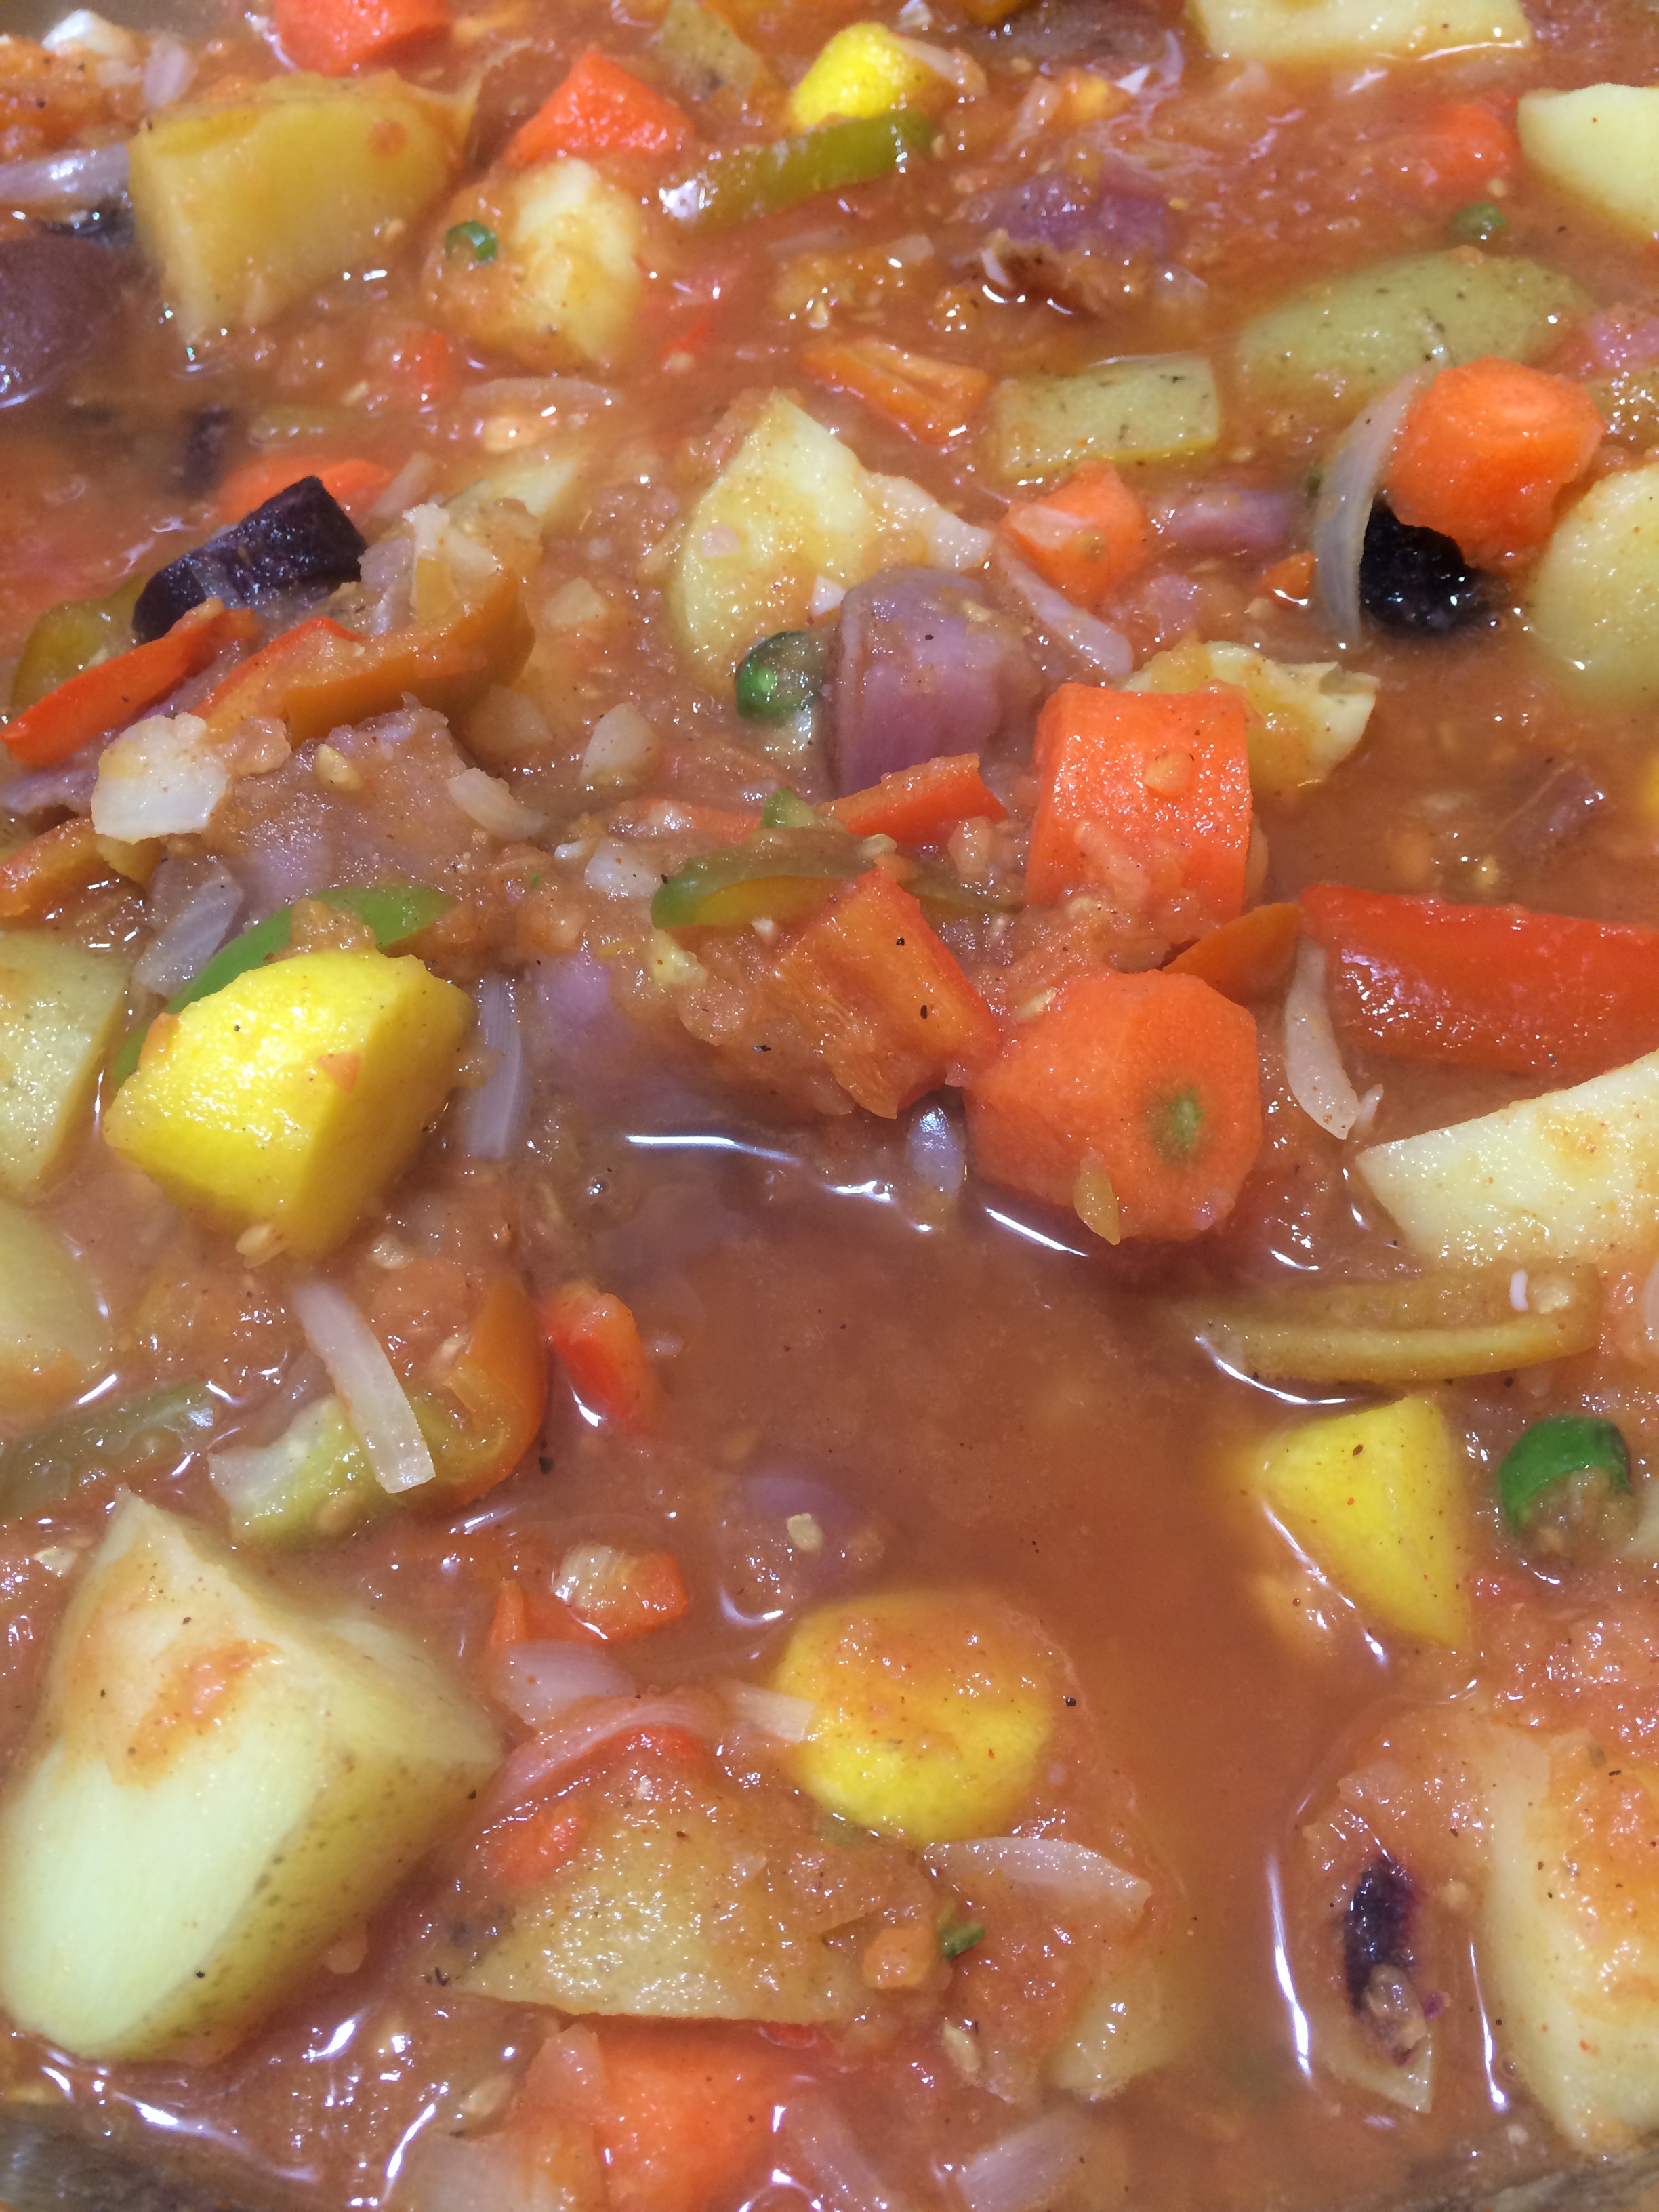
Then, add the leeks, onion, garlic, eggplant and a pinch of salt and pepper (no more than 1/4 tsp each) and cook, covered, on a low-medium heat for about 10 minutes or until all the vegetables are soft.

Add 1 cup of the vegetable broth, cover and simmer for 10 minutes or until the broth has been absorbed.

Slice the bread into 1-inch cubes and lay them in the bottom of a casserole dish.

Sprinkle the sage and rosemary over the bread.

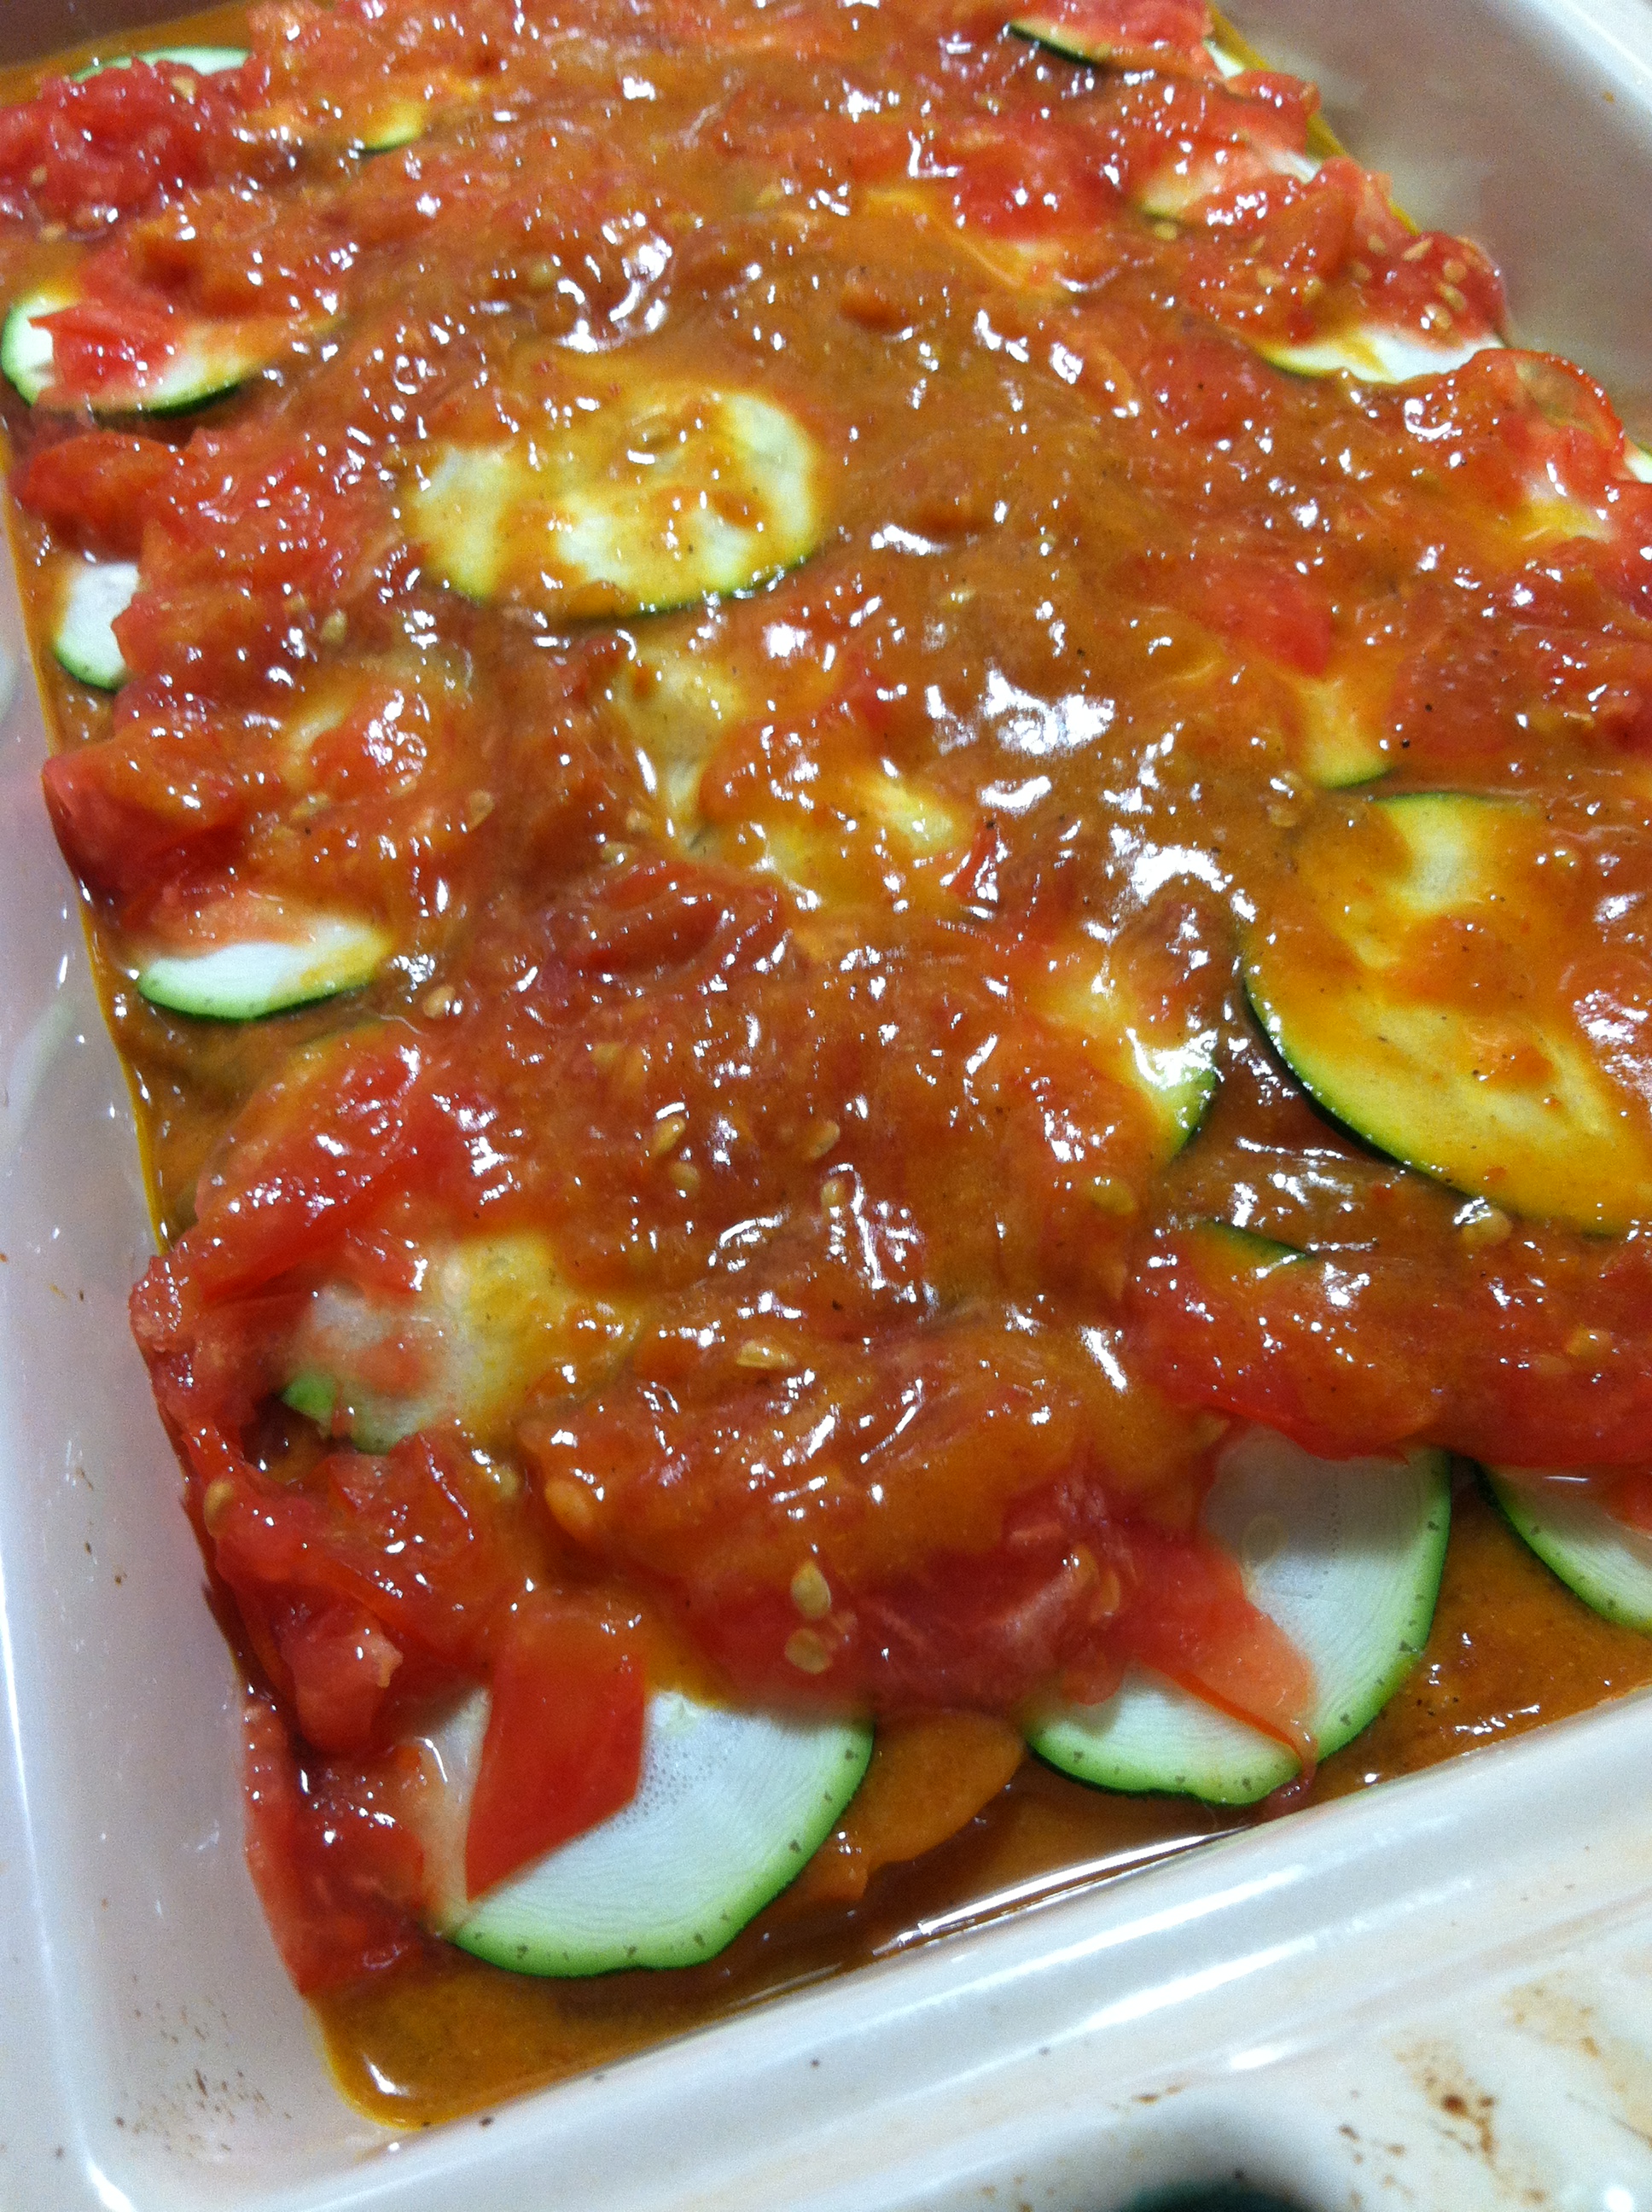
Then, pour the vegetable mixture over the bread as well. Spread it out so it evenly covers the bread.

Stuffing (2)          Stuffing (3)

Pour the remaining cup of vegetable broth over everything, gently pushing aside the vegetable mixture to allow the broth to work through to the bread and the bottom of the casserole dish.

Bake, uncovered, for 40 minutes.

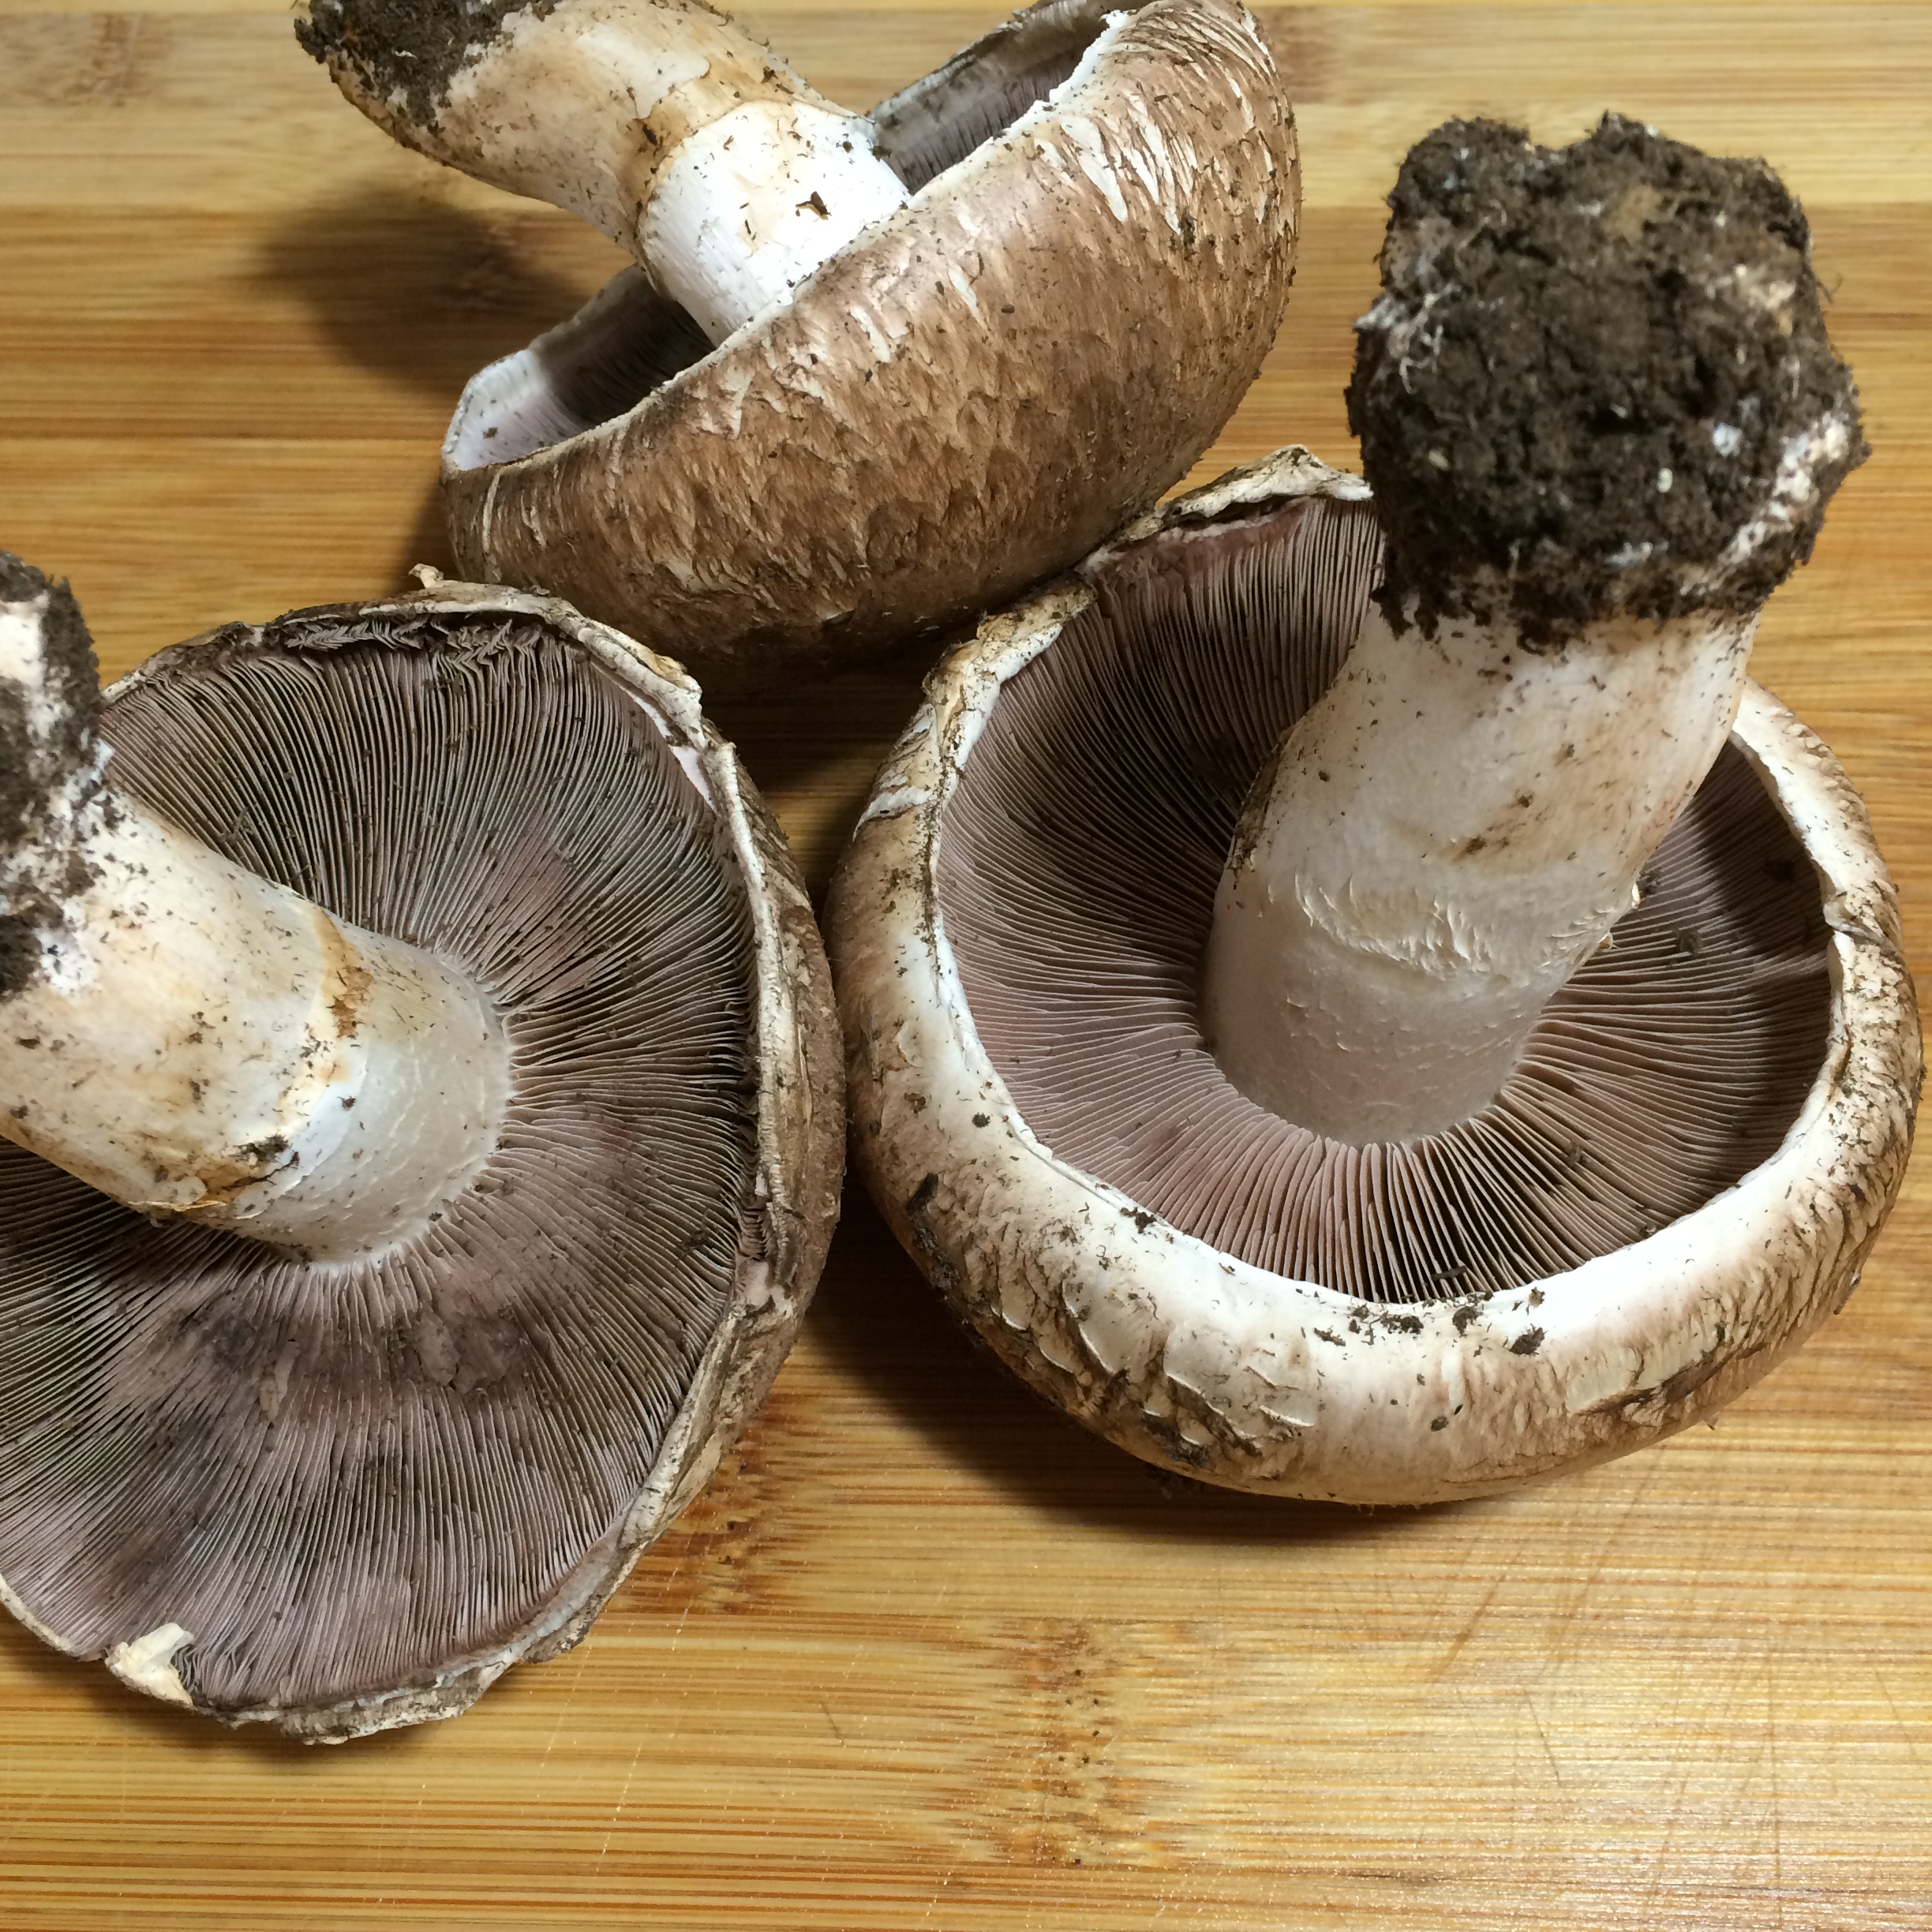
While the stuffing is baking, gently clean any dirt off your mushrooms.

Slice off the stems and gently dig out the gill-like material on the underside of the mushroom caps.

Stuffing (7)         Stuffing (11)

Place the hollowed-out mushrooms cap-side down in a baking dish and bake them in the oven (also at 350F) for about 10 minutes or until they begin to look slightly droopy or wilted. A small amount of liquid might appear inside the caps – this is a good way to know you need to remove them from the oven.

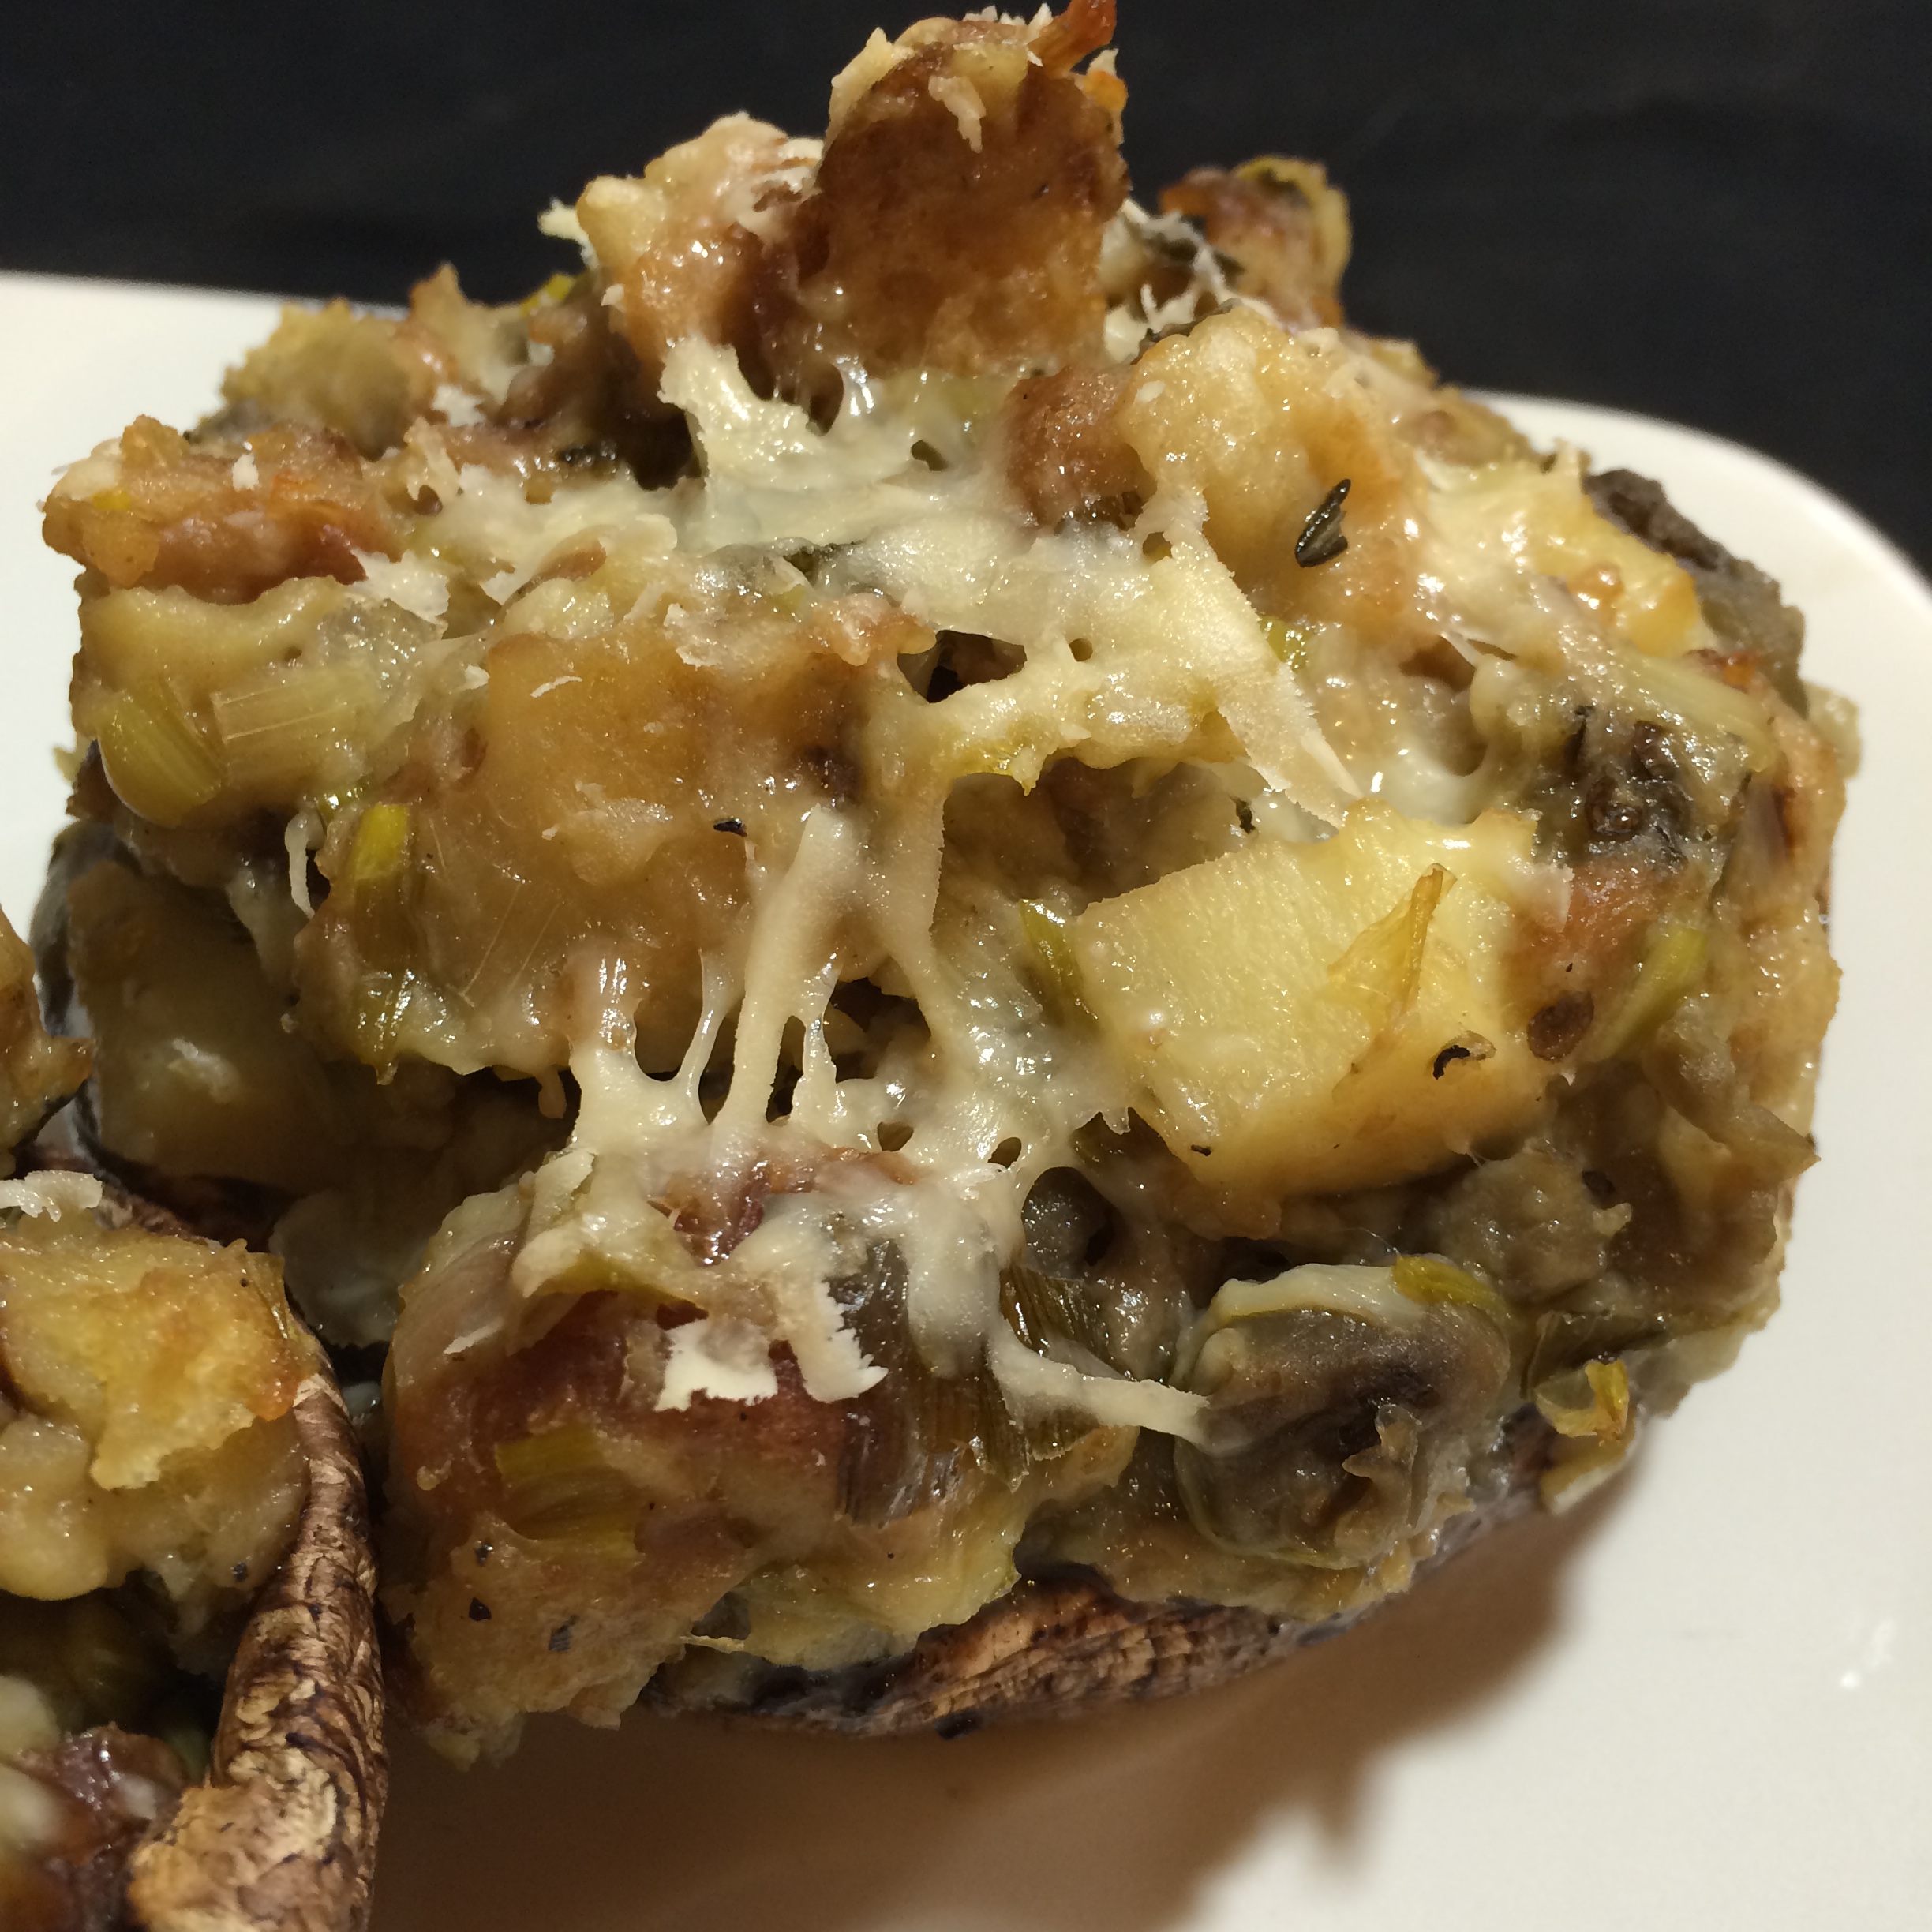
Once the stuffing is done, add a generous scoop of stuffing to each mushroom cap.

Top each with a tablespoon of cheese and place back in the oven for about 5 minutes or until the cheese is melted.

Stuffing (13)

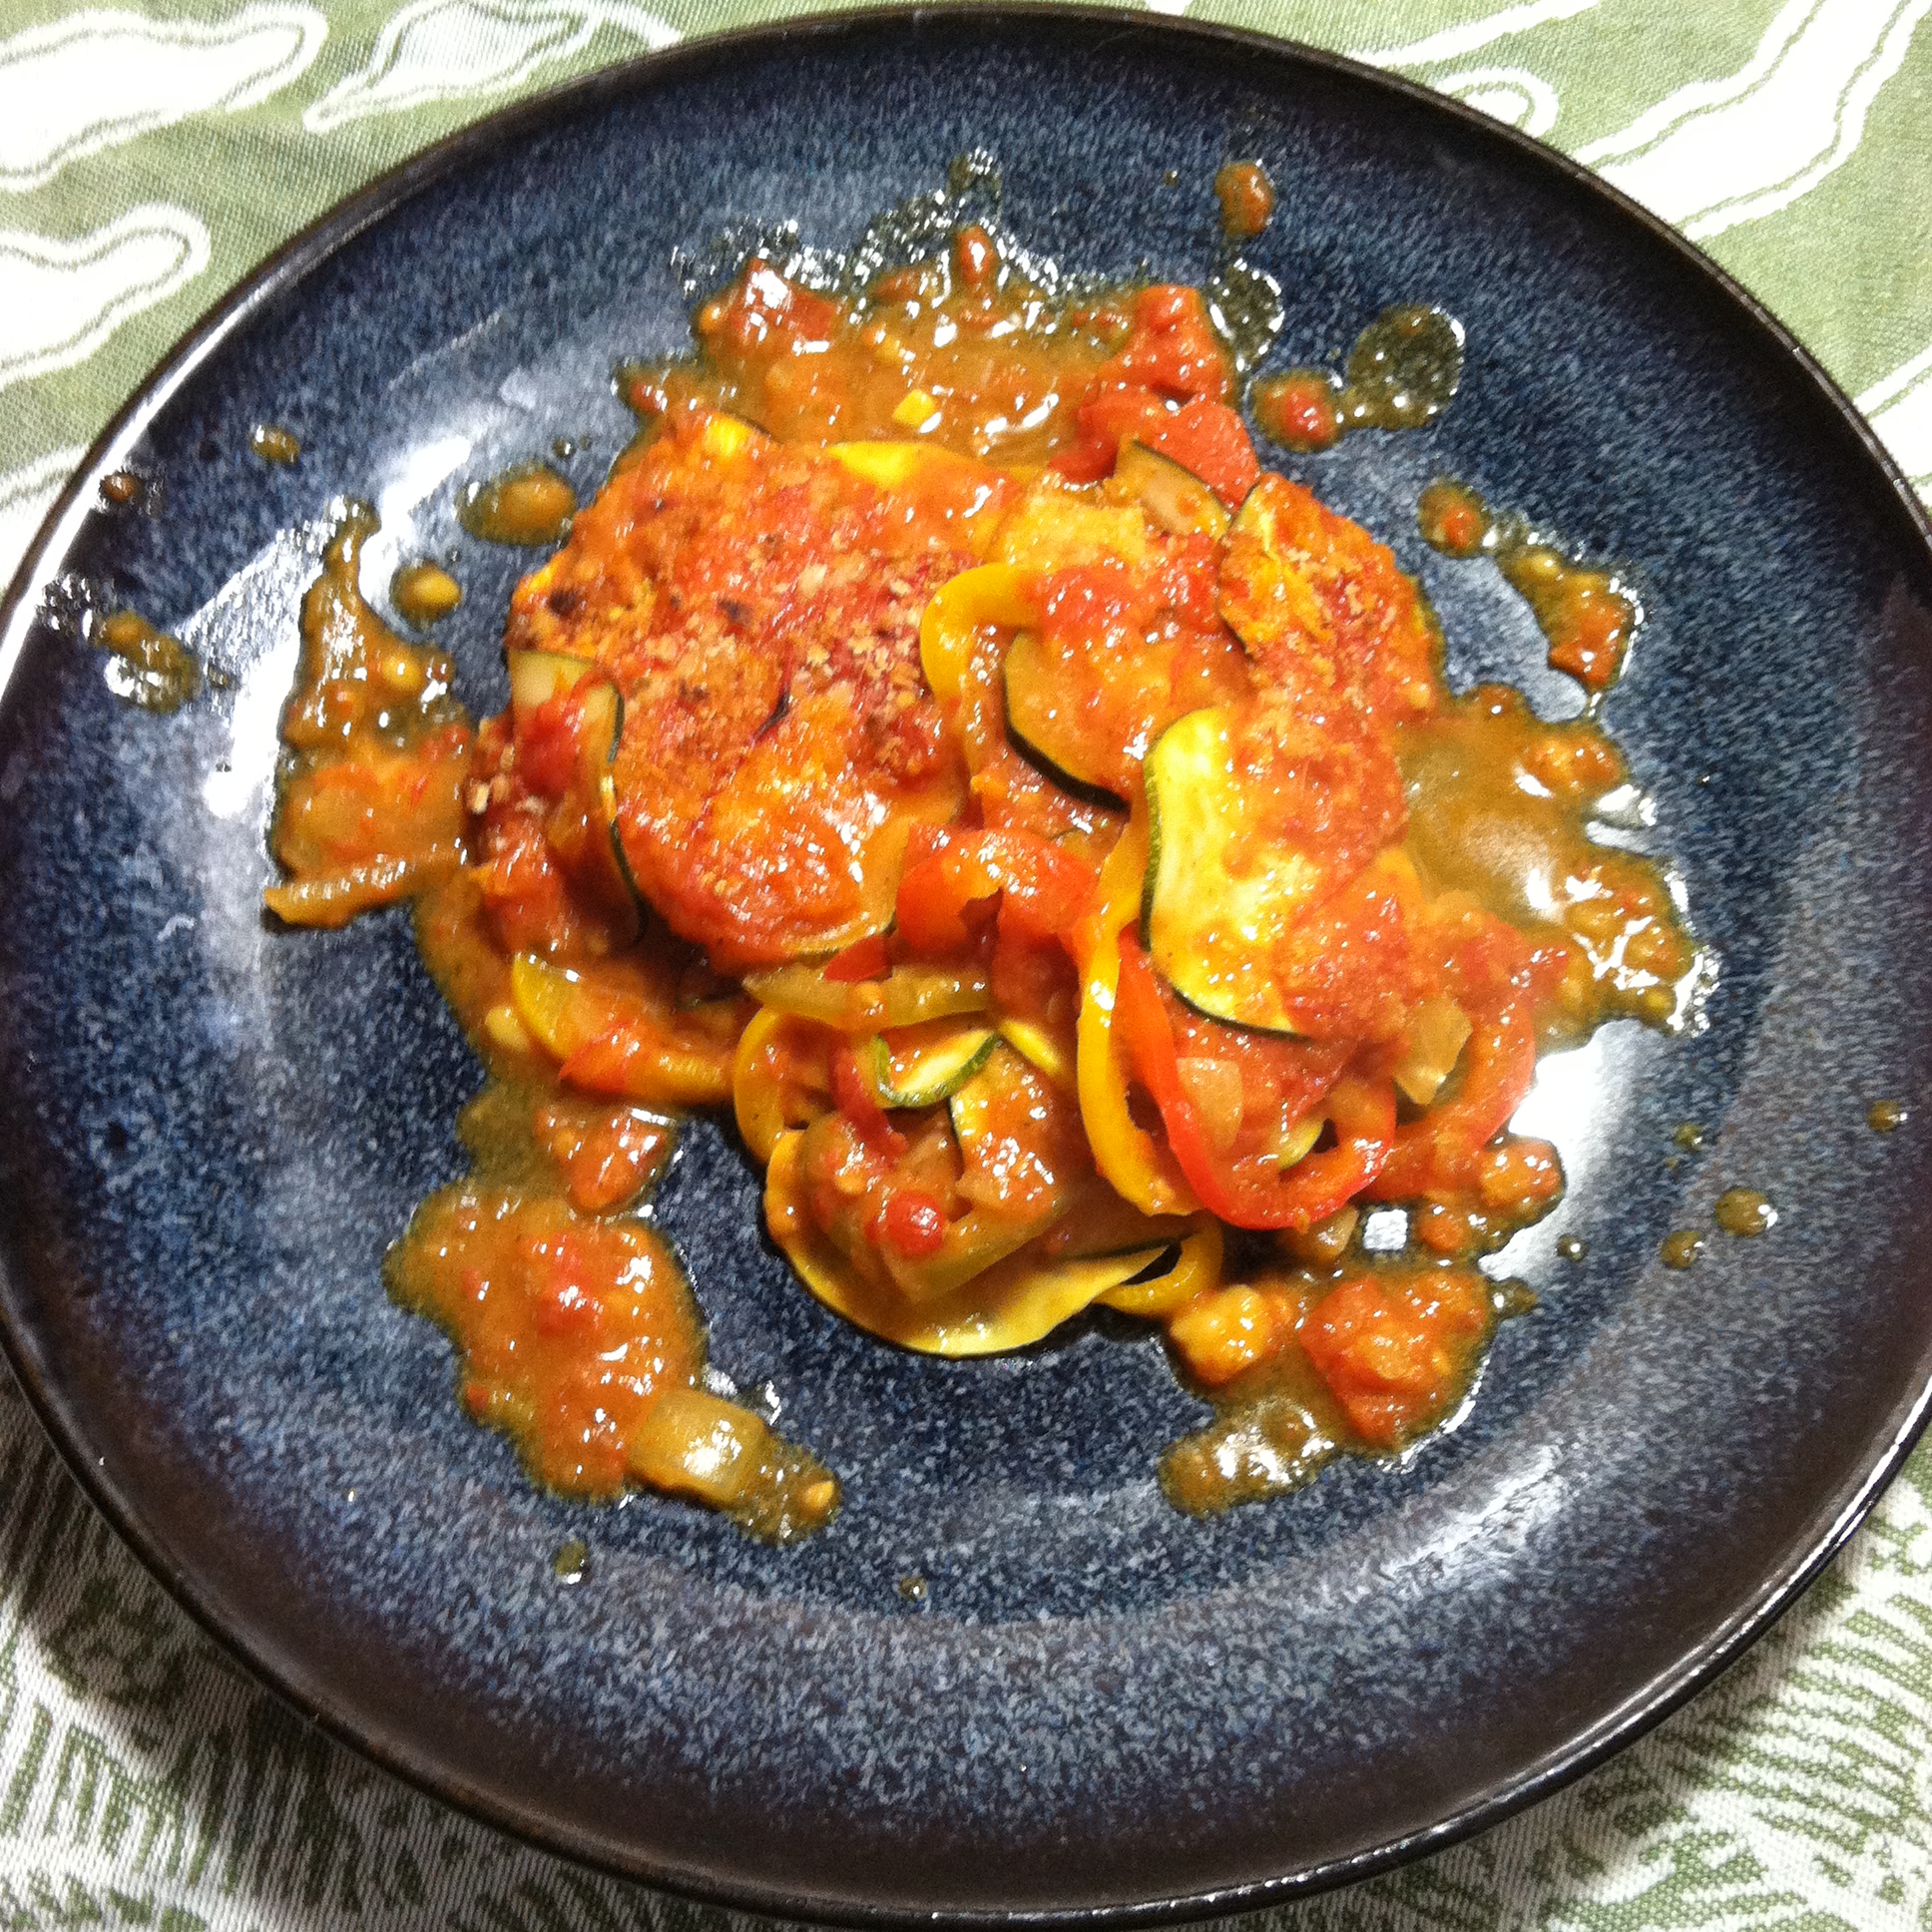
These make for a gorgeous presentation lined up on a serving tray. I hope you enjoy them as much as Mike and I did!

Pro-Tip: Try to pick out portobello mushrooms that have high sides so they’re more cup-shaped instead of flat. These will maintain their shape a lot better after being heated up and make it easier to stuff them.

Stuffing (15)


Thanksgiving Dish Day 3: White Wine Honeyed Brussels Sprouts Over Quinoa

There are some things you’re confronted with as a child that, despite your small stature, are non-negotiable. You will gladly sit at the table all night long, relinquish dessert rights, resign yourself to missing your favorite cartoon, get sent to bed early – all in the name of avoiding eating a vegetable (usually green, usually slightly slimy and usually exuding a questionable odor).

Beet Burgers (22)

Did I ever think I would like – and look forward to – eating Brussels Sprouts? No way. Did my parents? That’s an even bigger “no way.”

I was always “a picky eater” (my mother’s words) – particular about my meals and mostly partial to sugar-laden foods and non-green stuff. But I was a kid. And I grew out of it – thank goodness too because honestly, green stuff is amazing.

Beet Burgers (28)

Brussels Sprouts are like tiny cabbages (but sweeter) that become packed full of the flavors they’re cooked with, and they develop a delicious crispiness when pan-fried that makes them almost more like (yes I’m going there) a snack.

It’s not surprising that kids don’t like these, but it’s probably based on appearance and, also, keeping up appearances, because you can’t just GIVE IN and admit to your parents that you like something right? I hope to raise a child who does, but it’s not likely considering how many times my mother wished that I would have a kid someday just as picky as myself.

I wish I could go back in time and see what my 9-year-old self would think of these bad boys, but definitely let me know how this recipe goes over! My 31-year-old self couldn’t get enough of them, and they’re a great addition to any Thanksgiving spread.

Beet Burgers (30)

What You Need:

  • 1 cup red quinoa, cooked according to package directions
  • 2 cups Brussels Sprouts with the hard stems sliced off and any bad outer leaves pulled off
  • 2 tbsp olive oil, divided
  • 2 tbsp honey, warmed so it’s loose and will mix easily
  • 1/2 tsp salt
  • 1 tsp freshly ground black pepper
  • 1/4 cup white wine

What You Do:

In a large bowl that has lots of extra room to stir the Brussels Sprouts without losing any over the side, mix the Brussels Sprouts with 1 tbsp olive oil, the honey, salt and pepper, until the Brussels are covered well.

Warm the remaining 1 tbsp olive oil in a large skillet on medium heat.

Beet Burgers (34)

Pour Brussels Sprouts into the skillet – they should sizzle in the heated oil.

Stir around, gently cooking all sides of the Brussels.

Once Brussels are warm and well-mixed in the pan, add the wine, and stir continuously until the liquid burns off.

Now they’re ready to serve! Pile over a bed of the quinoa and enjoy!

Pro Tip: For a fuller meal, add cooked sweet potato, squash or diced cooked chicken to the quinoa with some cooked onions and/or peppers.


Thanksgiving Dish Day 2: Creamy Herbed Buttercup Squash Risotto

Where oh where would Thanksgiving be without the squash? My love for these fibrous, flavorful and filling fruits begins in the summertime with zucchinis and summer squashes, but what I really spend my time looking forward to is the fall and winter squashes that each offer a different taste and application.

Risotto (15)

This fall, I committed myself to learning about unique squash varieties and how to best use them. I had always been a Butternut/Acorn/Spaghetti squash kind of girl, but now I’ve discovered Delicata, Sweet Dumpling, Sugar Pumpkin, Carnival and, of course, Buttercup squashes, and can’t get enough of them.

They’re sweet in different ways and each add something unique to dishes. They also all go well with butter. Mmmm butter.

Risotto (11)

Bring this recipe to the Thanksgiving table and I assure you people won’t be able to get enough of it. Risotto is a delectable dish on its own, but infused with a flavorful homemade vegetable broth and creamy herbed squash, it really delivers. Plus, you can serve it right inside the large, hollowed-out shell of the buttercup squash – how cool is that?

Risotto (2)

What You Need:

  • 1 Leek, washed and cut into 2 pieces
  • 1 yellow onion, ends chopped off and cut in half with one half diced, and the other half still in tact with skins and papery shell
  • 1/2 of a whole tomato
  • 1 jalapeno
  • 1 large Buttercup Squash, top sliced off, seeds and loose filling removed and discarded

Risotto (6)

  • 2 tbsp butter
  • 1/4 tsp fresh chopped thyme
  • 1 tsp fresh chopped sage
  • 1/8 tsp salt
  • 1/4 tsp freshly ground black pepper
  • 1 tbsp olive oil
  • 1 medium shallot, diced (about 2 tbsp)
  • 2 garlic cloves, minced (about 1/2 tbsp)
  • 1 cup Arborio (risotto) rice
  • 1/3 cup white wine
  • 1/2 cup freshly grated Parmesan cheese

What You Do:

This dish is really great because you make your own vegetable broth in which to cook the risotto rice. I made a leek, onion, tomato and jalapeno broth – super easy and very flavorful.

Risotto (9)Simply fill a large, 5-6 quart sauce pot about 3/4 of the way with water, cover and bring to a boil. Once boiling, add the leek, 1/2 of the onion (leave on the skin and papery shell), tomato and jalapeno, and continue boiling until the veggies are flimsy-soft and the water is fragrant and colored with vegetable leavings.

Strain the broth over a separate, smaller pot to separate the vegetables from the broth. Discard the vegetables and set aside the finished broth.

While the broth is boiling, take your seeded Buttercup Squash and begin scraping away the inside flesh of the squash to remove as much of the fruit as you can. I also sliced around the inside perimeter of the squash with a sharp knife to remove the flesh. Otherwise, a spoon and a strong arm will do the trick.

Risotto (3)

Dice up any large pieces of squash and place all the squash flesh (should be about 2 cups) into a medium sauce pot.

Risotto (7)

Add the butter, chopped herbs and salt and pepper, cover and heat on low, stirring occasionally to mix the melting butter and herbs.

Once the squash has cooked through and any large chunks have softened and can be easily mashed into the overall mixture, remove the squash from heat and set aside, leaving the cover on.

In a large stir fry pan, heat olive oil on medium and add the shallot, the diced other half of the onion, and the garlic, and simmer for about 30 seconds until the onion becomes translucent and soft.

Add the risotto rice and mix well.

Add the white wine and stir constantly until the liquid begins to burn off. Now, add the vegetable broth one cup at a time until you have added 6 cups. Only add a new cup once the liquid has begun to burn off. Stir constantly after adding each new cup. This slow-cooking method will infuse the rice with flavor and plump it up to create a very filling and flavorful dish.

Once you have stirred in the 6th cup of broth, add the squash mixture and the Parmesan cheese, stirring well to mix everything together evenly.

Then, pour the entire mixture into the hollowed-out squash, and serve!

Risotto (14)

Pro Tip: Cut your cooking time down by a lot by making a large batch of vegetable broth ahead of time and freezing it or just leaving it in the fridge if you’re going to use it in a short time. Pick your favorite veggies or use a combination of leftover trimmings from previous dinners and throw them into the boiling water!

Thanksgiving Dish Day 1: Hassleback Sweet Potatoes with Candied Apples

Discovering that such a thing as a hassleback potato exists kind of blew my mind. I’m not even joking. I had never heard of these before, but of course as soon as I did, it’s all I wanted to make.

Squash Chicken (29)

The best thing about sweet potatoes is how well they pair with both savory and sweet foods; for instance, goat cheese or marshmallow. This dish could go in a thousand different directions, but I chose to make it sweet because (since it’s not Thanksgiving yet) I served them with similar-themed foods: garlic and honey roasted chicken and these delish Sweet Dumpling Squash Fritters.

I highly recommend using larger-sized potatoes that are big in diameter. Length is much less important – and also try to stick with potato that’s a straighter shape – no curves or twists.

Squash Chicken (14)

What You Need:

  •  4-6 large sweet potatoes, peeled
  • 1 apple, peeled, cored, and diced into small pieces
  • 1/4 cup dried cranberries (like OceanSpray)
  • 1/4 cup chopped pecans or walnuts
  • 2 tbsp brown sugar
  • 1 tsp cinnamon
  • 1 tbsp butter, softened

What You Do:

Preheat oven to 425F

The trick to making hassleback potatoes is to cut thin slices in them without slicing completely through the potato. To do this, I laid two wooden spoons (that I don’t care too much about) against each side of the potato, with the potato nestled in the middle.

When you slice the potato, your knife will stop at the spoons, thus leaving the bottom of the potato in tact.

Squash Chicken (20)

Make slices from end to end on each of your potatoes.

Then, mix together your remaining ingredients (apple through butter).

Place the sliced potatoes in a lightly oiled baking dish and cover with the topping. You should be able to stuff some of the topping in-between the slices to inject the flavor, if you will, into the potatoes.

Place the whole shebang into the oven and bake for 20-30 minutes, or until you can easily get a fork through the potatoes. After 20 minutes, check to ensure the sugar isn’t burning. If it does, place on a lower rack and bring the heat down to 300F.

Pro Tip: As I said, because sweet potatoes are so versatile, this dish could be done a bunch of different ways. Try placing a small patty of butter on each potato and sprinkling salt and pepper over the dish. For a fun twist on a fairly traditional Thanksgiving dish, bake the hasslebacks for about 15 minutes or until soft, and then stuff a few small marshmallows in-between the slices and bake again until just browned.

Squash Chicken (26)

Sweet Dumpling Squash Fritters

A few years ago, groggy from a raucous New Years Eve celebration the night before, Mike and I embarked on a fairly involved breakfast of zucchini fritters and pancakes, a cooking endeavor I can only attribute to having been younger and therefore more motivated than we should have been.

IMG_0065

We had followed this recipe, from my all-time favorite cooking blogger, and it was absolutely perfect. We devoured every last fritter (and quite possibly went back to bed after).

Since I went through this summer’s zucchini bumper crop without making one single fritter (the horror!!) I HAD to make up for it.

Enter: the Sweet Dumpling Squash.

IMG_0047

These beauties are delish – a bit sweeter than other squashes, and such a cute size! Having bought four from the farm without any major plans for them, I seized the chance to replicate those New Year’s Day fritters in a slightly different way.

IMG_0060

This is a super-simple dish that works as an appetizer or as a side-dish with dinner. I served each fritter with a dollop of plain Greek yogurt on top, alongside oven-roasted BBQ chicken and sweet potatoes.

What You Need:

Squash Chicken (32)

  •  2 Sweet Dumpling squashes, skin peeled, seeds scooped out, grated by hand (about 3 cups grated squash. More detail below)
  • 1/2 cup fresh chives, diced
  • 2 tsp freshly ground pepper
  • 1 tsp salt
  • 1 tbsp ground flax seed (substitute this with chia or hemp seeds – whatever you like)
  • 1 egg
  • 1/4 cup flour (gluten-free flour works totally fine)
  • Coconut oil (at least 3 tbsp but you might find you need more)
  • Plain Greek yogurt for dollops on top


What You Do:

Slice the tops and bottoms off the squashes and discard. Gently cut a circle around the inside perimeter of the squash, leaving about 1 1/2 inches between the skin and where you’re cutting. The circle you cut should loosen and easily pull away from the seeds and out, exposing the inside.

Squash Chicken (23)

Scoop out the seeds with a spoon. Then, with a sharp knife, gently slice off the outer skin. This doesn’t have to be a perfect job because the skin is actually edible. I just got as much as I could but left it in the grooves where it wouldn’t readily slice off.

Using a hand or box grater, grate the squash until it’s mostly used up (you won’t be able to grate the entire thing, but get as much as you can).

Squash Chicken (24)

Place the grated squash in a large mixing bowl. Add the chives, pepper, salt, flax seed, egg and flour, and stir well.

In a large pan on medium heat, add a tbsp of coconut oil.

Squash Chicken (36)

Form the squash mixture into small, flat patties and place them in the pan. They should sizzle in the oil once it’s properly heated.

Give each side of the fritters a few minutes to cook, lifting them periodically when a spatula to ensure they don’t burn.

You want the fritters to have a nice, golden brown coloring. The longer each side cooks (without burning) the crispier and more held-together they will be.

This recipe should make 8-10 fritters. Add a tbsp of coconut oil each time you add new patties to the pan, and add additional oil if the pan begins to look dry or the patties start to burn.

Serve hot with a dollop of Greek yogurt or sour cream on top.

Pro Tip: Any type of squash will work with this recipe. I like Sweet Dumpling because of their sweeter taste, and because the skin is edible, but Acorn or Butternut squash are good substitutes in a pinch.

Squash Chicken (37)


Imitation Jambalaya Stew with Chorizo

This weekend was a bit of a wash, literally and figuratively. It rained and/or snowed almost the entire two days, basically rendering any serious prospects of trail running, hiking or long walks with our dog impossible. Well, unless we wanted to get drenched and freeze our fingers and toes off, which we didn’t.

Jambalaya (8)

On top of the weather, we also woke up Saturday in a bit of a haze from Friday night’s Halloween shenanigans (worth it) and sacrificed actual productivity for egg sandwiches and re-watching movies on HBO (also worth it).

Halloween

Can you guess what we’re dressed as?

But we finally put on our rain coats and begrudgingly left Madison behind to head to the Farmer’s Market’s last outdoor market of the season. I almost can’t believe we’re already making the transition to the winter market, but then again, it snowed on Sunday, so nothing really surprises me anymore.

It was raining, it was cold, and Mike had just found out that a show we bought tickets to see that night had been cancelled, so the day really wasn’t shaping up very well… until we found chorizo.

Let me tell you – chorizo has some serious mood-improving qualities. With our night suddenly wide open, the promise of a chorizo-filled dinner was the answer to turning a fairly crappy day into an actually pretty OK one. We scuttled around from market tent to market tent, buying up all different kinds of veggies to put in our chorizo stew – just a germ of an idea so far but quickly shaping into something great.

Jambalaya (13)          Jambalaya (14)

A few mildly productive hours later, we were back home, prepping our rainy day chorizo stew. Mike wanted it to be like a jambalaya, so we gave it just enough kick to have that Louisiana Creole flavor. He was head over heels for the chorizo, and I was excited for the return of tri-color carrots into my life. A perfect match.

What You Need:

  • About 6 carrots, peeled and sliced into 1/2-inch rounds
  • 4-5 medium potatoes (any kind is fine) cut into cubes
  • 4-5 large tomatoes
  • 1 tbsp olive oil + 1 tsp olive oil
  • 1 large or 3 small garlic cloves, minced
  • 1/2 yellow onion, sliced
  • 3 small-medium bell peppers, cut into small slices
  • 1 cup chives, chopped
  • 1 jalapeno, finely chopped
  • 1 tsp chili powder
  • 1 tsp paprika
  • 1 tsp ground cayenne pepper
  • 1/2 tsp salt
  • 1 tsp ground pepper
  • 3 large chorizo sausage links, sliced into small rounds
  • 1 cup rice cooked according to package directions

What You Do:

Because the potatoes and carrots will take longer to cook, start these first. Fill a 5-quart pasta pot about halfway with water and bring to a boil. Add the potatoes and carrots, and boil until both are soft. Don’t overcook these as you will be adding them to a hot sauce at the end.

While the potatoes and carrots are cooking, start your tomato sauce. The best thing about this dish is the spicy tomato sauce, which is easy to make by quartering your tomatoes and gently pulsing them in a food processor until they have formed a chunky sauce.

Jambalaya (16)

Pour the sauce into a wok or large skillet and heat on low-medium.

Make your rice, and keep it warm until the meal is complete. This dish is great over a bed of rice, but you can eliminate the extra carbs if you want and it will still deliver.

In another pan, heat a tablespoon of oil on low-medium heat and add your sausage. Let them simmer and flip with the bottom sides are browned.

Jambalaya (3)

Also in another pan, on low-medium heat, heat a teaspoon of olive oil and add the garlic and onion and cook until the onions are translucent and soft.

Add the bell peppers, chives and the jalapeno and cook, stirring occasionally, until soft. When they’re ready, add them to the tomato sauce and stir well.

Jambalaya (17)

Strain the potatoes and carrots when ready and add those to the tomato sauce.

Also add the sausage, careful to leave behind any oil or juices left in the pan.

Then, add your spices, and stir well, bringing to a slight boil.

Jambalaya (18)

Leave the entire jambalaya stew on the stove to, well, stew, for about 10 minutes before serving, just to make sure all the flavors can interact.

Serve over a bed of rice.

Pro Tip: Jambalaya is traditionally a spicy surf and turf dish, so this could be great (and authentic instead of imitation) with shrimp, mussels and/or scallops as well. The great thing about this dish is being able to make the sauce as spicy or as mild as you would like, so feel free to mess around with the ingredients and do frequent taste testing! 🙂

Jambalaya (6)

Ratatouille with Coconut Curry Sauce

I feel bad calling myself a cooking enthusiast since I had not even heard of ratatouille until I saw the Disney movie. After seeing a rat prepare it, I thought, “I could do that.”

Coconut Curry Ratattoile (12)

But then, a lot of time went by. (A LOT of time. I just checked, and that movie was released in 2007 – yikes!)

So seven years later, I got my act together and made a decision to prepare this undoubtedly delicious meal for my in-laws, who were visiting from New York. I learned the basic gist of the recipe, and I was only feeling a little apprehensive about being able to pull it off.

But then, I was totally sidelined. The power of suggestion is absurdly effective. One second, I am happily going about my day thinking about trees and flowers (not really, just trying to make a point here), and the next, I see a commercial for pizza and suddenly, that is ALL I WANT.

As I was preparing for ratatouille-making, a friend happened to mention having had a delicious coconut curry dish at lunch.

Well. I’ll be damned. I LOVE coconut curry.

Coconut Curry Ratattoile (14)

So, since I was already feeling overwhelmed by the recipe, I made an effortless decision to swap out the sauce for a coconut curry tomato sauce.

I’ll tell you – it was an amazing decision. This dish does not disappoint, and was a hit with my in-laws (at least that’s what they told me) 🙂

Quick Disclaimer: If you don’t own a mandolin, this recipe is still possible to make – it just might drive you crazy. Make sure you have a sharp knife, at the very least!

Coconut Curry Ratattoile (13)

What You Need for the Ratatouille:

  • 1 medium zucchini squash, ends cut off
  • 1 medium summer squash, ends cut off
  • 1 large tomato
  • 1 each red bell pepper, green bell pepper and yellow bell pepper, tops cut off and de-seeded but still bell-shaped
  • 2 cups dry Jasmine or white rice

What You Need for the Coconut Curry Sauce:

  • 1 tbsp olive oil
  • 1 medium onion, diced
  • 1 clove garlic, minced
  • 1 jalepeno, minced (seeded if desired)
  • 1/2 tbsp fresh ginger, minced (powdered ginger will also work fine)
  • 1 1/2 tbsp curry powder
  • 1 28-ounce can diced tomatoes and their juices (this is equal to 3 1/2 cups diced tomatoes if you wish to stay away from canned foods)
  • 1 14-ounce can unsweetened coconut milk
  • 1 tsp sugar
  • salt and pepper to taste

Coconut Curry Ratattoile (3)

What You Do:

Preheat oven to 400F

In a large wok or skillet, pour in the olive oil and lightly simmer the onion, garlic, jalepeno and fresh ginger until soft. (If you only have powdered ginger, add it later).

Add the tomatoes and curry powder (also add ginger powder if using).  Turn heat up to bring to a slight boil and stir well.

Add the coconut milk and sugar, stirring well. Reduce heat to a simmer and cook for about 5 minutes.

Set aside, but keep warm on low heat.

Using a mandolin, thinly slice all of your vegetables. As I said, if you don’t have a mandolin, you can get away with cutting everything by hand. Try to make very thinly-sliced pieces. Thicker pieces really only impact how long the dish will take to cook.

Layer the vegetables in alternating order along the bottom of a large baking dish or dutch oven. Each time you complete a layer, spoon about 1 cup of the still-hot coconut curry tomato sauce over the veggies.

Continue layering and alternately pouring with sauce until the veggies have been used up. Depending on the size of your baking dish, you may find you have vegetables left over. This is ok! They make great snacks, after all!

Pour remaining sauce over the top, gently poking apart the vegetables to let it seep through.

Coconut Curry Ratattoile (4)  Coconut Curry Ratattoile (5)  Coconut Curry Ratattoile (9)

Cover, and place the whole concoction into the oven for about 20-30 minutes, or until the vegetables have softened and are easily pierced with a fork. You may find it takes slightly longer depending, again, on the size of your baking dish and thickness of your layers.

While the dish is baking, cook your rice according to package directions.

When everything is ready, serve the ratatouille over the rice and enjoy! It’s where French cuisine meets Indian cuisine, right? Bon’ appetite!

Coconut Curry Ratattoile (15)


Pro Tip: If you have leftovers and want to re-purpose the meal to try and pull a fast one on your family, simply pulse the ratatouille (without the rice) in a food processor with a small amount of vegetable broth to turn it into soup! Make it as chunky or pureed as you desire, and add the rice after for some additional texture.

Vegetable Saute with Kale and Corn Pesto

Potato and Pesto Pics (9)

Everyone likes to talk about how pretty fall is and how awesome the leaves are, yada yada yada. Can we chat for a second about how EVERYONE IS SICK?

I can count the number of days I’ve felt healthy since the end of summer on one hand at this point. I feel as though every time I turn around, someone is sneezing or coughing, and two days later, so am I. It obviously doesn’t help that one day it’ll be 85 degrees out and the next day it’ll be 40.

As someone who is first to brag about how infrequently I get sick, I’ve certainly had to check myself this time around. Is anyone else experiencing this? If you are, please do not come near me.

Potato and Pesto Pics (11)To cater to my tissue-cough-drop-Robitussin dependency, I embarked on this meal with full intentions of completely mailing it in. I should know better though, that the way to truly mail it in is to either do nothing so Mike ends up taking care of dinner, or to just make pasta.

Well I didn’t. This is the result of more time in the kitchen than I intended.

What You Need for the Vegetable Dish:

  • 1 cup dry Jasmine or rice of choice, cooked according to package directions
  • 5 plum tomatoes or large cherry tomatoes.
  • 1/4 lb green beans, sliced in half
  • 1 large yellow onion, thinly sliced
  • 1 each: red bell pepper, green bell pepper, yellow bell pepper, sliced into strips
  • 1/4 cup chives, chopped
  • 1 tbsp olive oil

Potato and Pesto Pics (1)          Potato and Pesto Pics (6)

What You Need for the Pesto:

  • 2 cups kale leaves, roughly shredded
  • 1/2 cup freshly grated Parmesan cheese
  • 1/2 cup olive oil
  • The corn from one cob (cooked and cut off) – or about 3/4 cup of cooked corn
  • 1/3 cup walnuts
  • 3 small garlic cloves, minced (about 3 tsp)
  • A pinch of salt and freshly ground pepper

What You Do: Potato and Pesto Pics (12)

Cook the rice according to package directions.

While the rice is cooking, pile your veggies EXCEPT the chives, into a large skillet, cover and slowly heat on low-medium until they are cooked through and the tomatoes have burst and appear pinched.

While the vegetables are cooking, pile your pesto ingredients EXCEPT the oil, into a food processor or blender. Slowly add the oil as the ingredients are mixing together until everything is combined and has formed a loose mixture similar to the consistency of dip.

Scoop out a desired amount of rice, and cover it with the cooked vegetables, adding some of the liquids for flavor.

Top with a dollop of pesto and sprinkle the chives over the pesto. Viola!

Pro Tip: Don’t make this dish if you’re too sick to stand up for more than 5 minutes.

Potato and Pesto Pics (10)

Carnival Squash Stuffed with Quinoa and Sugar-Baked Apples

Ok. I know I have some explaining to do.

Squash (10)

I’m making a somewhat sheepish return to this blog with my tail between my legs; this newest post clouded by the undeniable fact that it has been LITERALLY MONTHS since my last post, which is not only unfair to those who actually read and like my blog (thank you!) but is also really sad because I’m letting the entire fall season virtually pass by without posting any of the great fall vegetable recipes that make this time of year a true delight.

I’m sorry. I have no excuse. You should know that I have still been cooking, so you will finally get to take part in that experience. I hope these next recipes will be at least marginally useful to you, even though fall is half over.

Some exciting news though! It was my birthday the other day, which means I’ve been blogging steadily (don’t say it) for about a year! I find this to be among my top accomplishments as a person, and to celebrate, I bestow upon you this quintessentially fall dish, which I owe to the wonderful people at Barker’s Farm in Stratham, NH for hooking me up with some of the coolest must-have squashes of the season (You know how I feel about squashes – **swoon**)

Squash (11)     Squash (13)

What You Need:

  • Two medium or large carnival squashes (or four smaller ones if you’re feeding several people or prefer smaller portions) If you don’t have or can’t find a carnival squash, acorn squash is the most similar, and delicata would also be delicious.
  • 2 medium or large apples, any type (I used Cortland) peeled and cut into apple pie-type chunks
  • 1 tbsp butter, very soft or melted
  • 1 tbsp olive oil
  • 2 tbsp brown sugar
  • 1 cup diced red onion
  • 2 cloves garlic, finely chopped
  • 1 habanero or hot pepper of choice, finely chopped (optional)
  • 1 tsp chili powder
  • 1 cup dry quinoa, cooked according to package directions
  • salt and pepper to taste
  • 1/2 cup shredded cheese of your choice (I used goat cheese because that is what we had in the fridge)

Squash (18)

What You Do:

Preheat oven to 400F

Cut the squash lengthwise from stem to bottom and scoop out the seeded insides.

Lightly brush the squash’s insides with butter, lay skin-side-down on a foil-covered baking sheet, and place in the oven to bake for about 30-40 minutes, or until it appears to be caramelizing and easily lets a fork through.

While the squash is baking, cook the quinoa.

Squash (12)While the quinoa is cooking, place the garlic, onion and hot pepper in a frying pan over low-medium heat with 1 tbsp oil.

When they become soft and translucent, add the apple pieces and stir until well-mixed.

Add the brown sugar and chili powder, salt and pepper and continue stirring until the apples become warm and juicy (but still maintain their shape and don’t get mushy) and are well-mixed with the sugar and spices.

Once the quinoa is cooked, add it to the apple mixture in spoonfuls to gauge how much you need to make a nice balanced mix of quinoa and apple mixture. I found 2 cups of quinoa was enough to create a decent amount for stuffing the squash.

When the squash has cooked, place them skin-side-down in a baking dish.

Gently scoop the apple and quinoa mixture into each squash.

Sprinkle your cheese of choice over the top of each (optional) and place back in the oven for about 5 minutes or until the cheese is melted. (If you choose not to use cheese you can skip this step. It’s plenty hot at this point!)

Pro Tip: Add shredded chicken instead of or in addition to the quinoa to make it a non-vegetarian dish. If you’re a fan of raisins (I’m not), sprinkle some into the apple mixture while it’s cooking to add a new texture and flavor.

Squash (14)     Squash (16)


Healthy and Easy Crustless Summer Vegetable Quiche

Quiche (2)

I have never been so determined to make a dinner from scratch as I was when I forged ahead and baked this quiche, even though I didn’t start it until 8pm on a work night, knowing full well it wouldn’t be ready to eat until at least 9:30pm; and that’s if everything went smoothly. (It did).

Perhaps a saner person would have looked at the clock and resigned themselves to leftover Annie’s Mac and Cheese, or even a fresh salad, but I would not give up the dream of quiche. It came out of the oven so late that Mike didn’t even eat it (he had already eaten the mac and cheese and a fresh salad with toast on the side, like a smart thinker).

Quiche (5)

But I made sure to ooo and ahhh over this quiche as I helped myself to not one but THREE (small) servings, trying to savor it as the clocked ticked rapidly toward 10pm and my bedtime loomed near. I try not to eat close to going to bed, but quiche night was an exception.

It’s good. Good enough to wait well into the night for, and good enough to risk going to bed with a quiche hangover. I also need to note that the reason it didn’t maintain it’s pie-slice shape in the photos was because I insisted on eating it within a few seconds of taking it out of the oven. Let this thing cool – it’s worth it!

What You Need:

Quiche (6)

  • 1/2 of a large yellow onion, roughly chopped
  • 2 small garlic cloves, finely chopped
  • 1/2 of a green bell pepper, chopped
  • 1/2 jalapeno or habenero pepper, chopped
  • 1/4 cup chives, chopped
  • 1 1/2 cup broccoli florets
  • 1/2 cup very finely chopped kale (spinach would work well too!)
  • 3 eggs, lightly beaten
  • 1 cup almond milk (or any other milk of your choosing)
  • 1 cup shredded muenster cheese
  • 1 cup shredded cheddar cheese
  • 2 tsp dijon mustard
  • 2 tsp fresh black pepper
  • 1 tsp salt
  • 6-8 very thin slices of zucchini
  • 6-8 very thin slices of tomato

Quiche (4)What You Do:

Preheat your oven to 375F.

In a lightly oiled medium skillet, heat the garlic and onion on medium heat until the onion becomes soft and translucent.

Add the jalapeno or habenero, and bell pepper, and chives, and stir.

Add the broccoli florets and stir well to combine with the onion mixture. Add a tablespoon of water if necessary to keep the pan moist, and cover, cooking on low-medium until the broccoli has reduced, about 7 minutes.

Quiche (3)

While the broccoli mixture is cooking up, grab a small mixing bowl and combine the eggs, milk, cheeses, mustard, black pepper and salt, stirring well.

Set aside.

Before taking the broccoli mixture off the heat, add the kale and stir well.

Pack the broccoli mixture into a well-greased pie dish.

Pour the egg mixture over the broccoli filling, using a fork to gently nudge the broccoli around to let the egg mixture seep through to the sides and bottom of the pie dish. (There should still be a healthy amount of egg mixture over the top of the dish.)

In any pattern you like, place the zucchini and tomato slices around the top of the quiche. Make a happy face if you want!

Place the pie dish in the oven for about 40 minutes (check after 20-30 though – you want the egg cooked through and the top to be slightly browned and crispy but not burned, obviously).

Let cool for a few minutes before delving in, if for no other reason than to keep it in pie-slice shape 🙂

Enjoy!

Pro Tip: Have it for breakfast! Experiment with different cheeses too – I think Parmesan or feta would be absolutely delish.

Quiche (1)